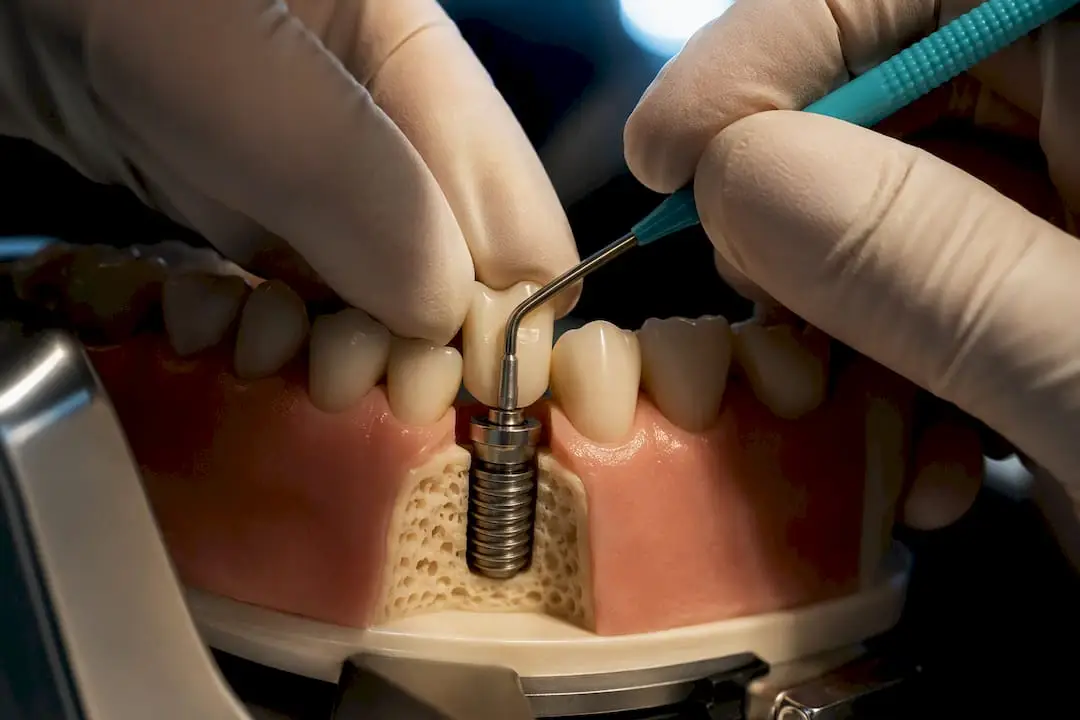
Manage implant complications by screening every implant for bleeding on probing, starting nonsurgical debridement with the prosthesis removed whenever possible, and re-evaluating at three months. If pockets stay above 5 mm with bleeding or suppuration, move to defect-directed surgery; if the implant is mobile or has failed to integrate, remove it. Mechanical complaints like a loose or fractured screw need a separate occlusal and biomechanical workup, not just a re-torque.
Managing Implant Complications: What Presentation and Prevalence Tell You
The two biological complications you’ll see most are peri-implant mucositis and peri-implantitis, and they behave differently enough that lumping them together in your charting is a mistake. Mucositis is inflammation confined to soft tissue, with no bone loss, and it’s reversible with proper debridement. Peri-implantitis adds progressive bone loss around an osseointegrated implant, and once it starts, it doesn’t reverse on its own.
Prevalence estimates vary by study population, but a recent narrative review put peri-implant mucositis at roughly 42.9% and peri-implantitis at about 21.7% of implants examined. That means roughly one in five implants you place will eventually show measurable bone loss if patients are followed long enough. Mucositis tends to show up early, often within the first one to three years after loading, while peri-implantitis more commonly surfaces later, frequently after year five, though it can appear earlier in patients with uncontrolled risk factors.
Biological and mechanical complications present through different clinical signals, and separating them at the first visit saves time:
- Biological signs: bleeding on probing (BOP), suppuration, increasing probing depth, radiographic bone loss on periapical films, and patient-reported bad taste or mild discomfort.
- Mechanical signs: an audible click during function, a rocking or rotating prosthesis, occlusal high spots the patient can point to, and sudden looseness after a hard bite.
- Overlap signs: pain on percussion can show up in both categories, so it’s not diagnostic on its own. Always correlate with probing and imaging before assuming it’s biological.
Suppuration deserves special attention because it’s a late finding. If you see it, you’re already past the early-intervention window, and the treatment plan should assume active infection rather than early inflammation. Mobility is the opposite: a mobile implant almost never recovers, and testing for it should be part of every recall, not just when a patient reports a problem.
Diagnosis and Screening: The Clinic-Ready Checklist
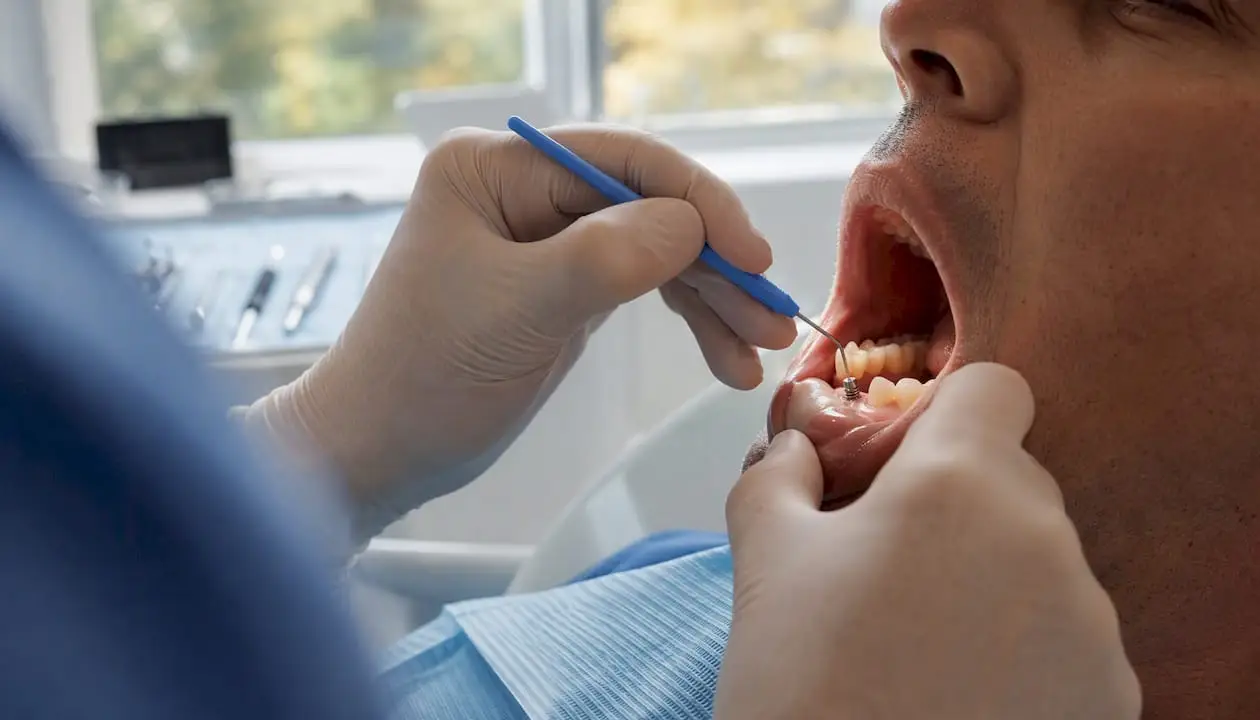
A thorough peri-implant exam takes under three minutes once your team has a routine, and skipping steps is how early peri-implantitis gets missed until it’s a surgical case.
1. Probe every implant at four to six sites, using light force (around 0.25 N), with a plastic or specially designed periodontal probe. Metal probes can scratch the implant surface and are best avoided for routine screening. Record probing depth (PD) and bleeding on probing (BOP) as a percentage of sites, not just a yes/no per implant.
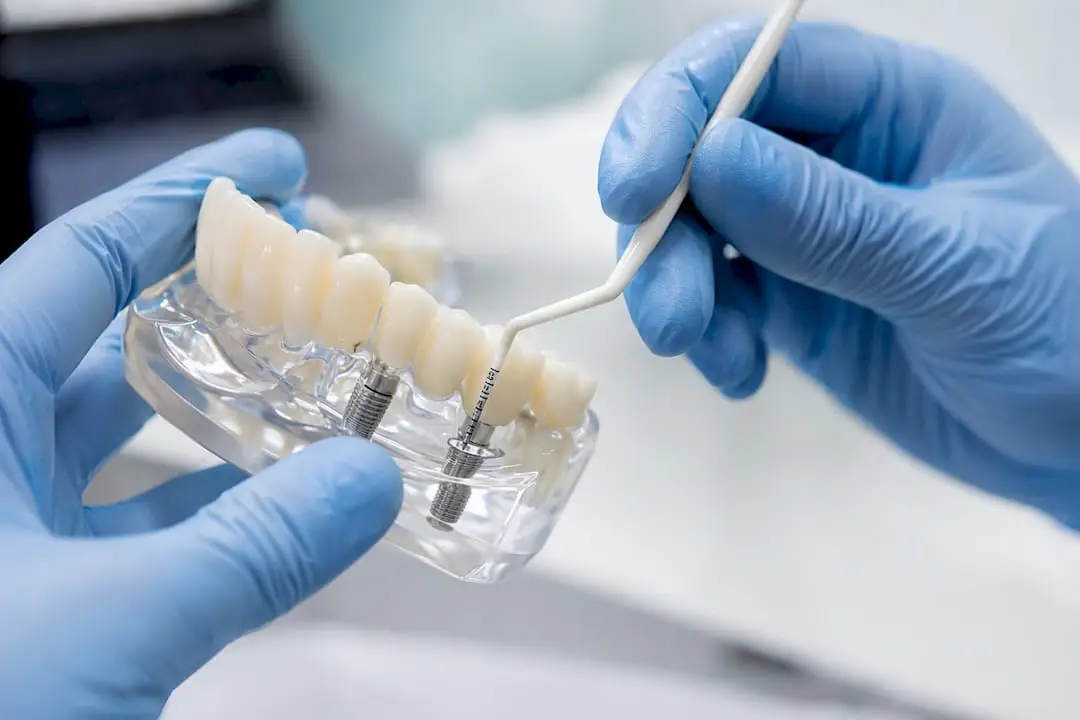
2. Check for suppuration by applying gentle digital pressure at the mucosal margin. If pus appears, document it immediately. It changes the treatment plan even if PD hasn’t increased since the last visit.
3. Test mobility manually with two instrument handles, applying opposing pressure buccolingually. Any detectable movement suggests loss of osseointegration, not just soft-tissue flexibility, and it’s a different diagnosis from a loose abutment screw. Resonance frequency analysis (reported as an Implant Stability Quotient, or ISQ) adds objective data where it’s available, and values trending downward across visits matter more than any single reading.
4. Take a periapical radiograph with a paralleling technique at baseline and at defined intervals to track crestal bone level changes. Reserve cone beam CT (CBCT) for cases where you suspect a buccal or lingual dehiscence that a two-dimensional film can’t show, or where you’re planning surgical access and need to know the defect’s true three-dimensional shape before you open a flap.
5. Correlate every finding against the baseline radiograph taken at implant placement or restoration delivery. Without a baseline, you’re guessing at what’s new bone loss versus what’s remodeling that happened years ago.
Pro Tip: Photograph the probe position at each site during the first screening visit and keep it in the chart. When a different team member re-checks the same implant six months later, matching probe angle removes a surprising amount of measurement variability that otherwise gets misread as disease progression.
Risk Assessment and Prevention: Building an IDRA-Style Workflow
Not every implant carries the same risk of complications, and treating them all with the same generic hygiene talk wastes chairtime on low-risk patients while under-serving high-risk ones. An Implant Disease Risk Assessment (IDRA) approach scores patients across several domains to generate a risk category that should directly drive your recall interval.
The factors worth scoring on every patient include:
- History of periodontitis, since patients with a prior periodontitis diagnosis show materially higher peri-implantitis rates than periodontally healthy patients.
- Compliance with supportive periodontal therapy or hygiene visits before implant placement.
- Percentage of sites with bleeding on probing across the full dentition, not just around implants.
- Probing depth patterns elsewhere in the mouth.
- Bone loss relative to patient age on remaining natural teeth.
- Prosthetic design factors, including whether margins are accessible for hygiene and whether the implant is part of a splinted or cantilevered restoration.
- Systemic factors, particularly smoking status and glycemic control in diabetic patients.
Recall interval should follow directly from that score. Guideline-level recommendations call for structured supportive peri-implant care as a core part of long-term management, with three-month intervals for high-risk patients and three to six months for average-risk patients, rather than a blanket annual recall for everyone with an implant.
The maintenance-frequency signal is one of the clearest in the literature. Patients who received three or more supportive visits per year after peri-implantitis surgery maintained treatment success at notably higher rates than patients seen sporadically. That single data point should change how your practice schedules post-surgical recall.
Prevention beyond scheduling comes down to a handful of controllable factors: designing prosthetic margins that a patient can actually clean, managing keratinized tissue width at placement rather than after problems appear, counseling smokers toward cessation before and after surgery, and coordinating with physicians on HbA1c targets for diabetic patients. None of these are exotic interventions, but they require the same consistency you’d expect from a periodontal maintenance program, applied to a population that often assumes implants are maintenance-free.
Nonsurgical Management: What to Try First and Its Limits
Nonsurgical therapy is the default first move for both mucositis and early-to-moderate peri-implantitis, and the phased protocol calls for nonsurgical treatment first, re-evaluation at roughly three months, then a decision on surgery based on how the tissue responded.
Access matters more than most clinicians assume. Removing the prosthesis before debridement, when the restoration design allows it, dramatically improves both visibility and your ability to fully decontaminate the implant surface rather than working blind around a fixed crown or bridge.
For instrumentation, your options include:
- Plastic or titanium curettes designed not to scratch the implant surface.
- Ultrasonic scalers fitted with plastic or PEEK tips built for peri-implant use.
- Glycine or erythritol powder air abrasion, which reaches into threads and undercuts that hand instruments can’t access.
A recent six-month randomized controlled trial found that mechanical submarginal instrumentation alone produced clinically meaningful improvement in early peri-implantitis lesions, confirming it as a legitimate first-line approach rather than a placeholder before surgery. The same trial found that adjunctive glycine powder air abrasion produced the largest numerical improvements among the arms tested, though it didn’t reach statistical superiority over mechanical debridement alone. That’s a useful nuance: air abrasion is a reasonable adjunct where you have the equipment, but it isn’t a demonstrated must-have.
Adjunctive chemical and pharmacological options include chlorhexidine irrigation of the pocket, locally delivered minocycline microspheres, and in select cases, systemic metronidazole. The evidence for antibiotics is mixed, and some protocols report increased nonsurgical success when antibiotics are added in specific patient subsets, but routine systemic antibiotic use for every case of peri-implant inflammation isn’t supported and carries the usual resistance and side-effect tradeoffs.
Set expectations honestly with patients before you start. Nonsurgical therapy typically produces modest probing depth reductions and a meaningful drop in bleeding on probing, but it rarely resolves established bone defects on its own. The three-month re-evaluation is the checkpoint: if BOP persists and pockets remain deep, that’s your signal to plan surgery rather than repeating the same nonsurgical protocol indefinitely.
Pro Tip: *Document BOP percentage at the three-month re-evaluation using the same site pattern as your baseline exam.
Surgical Management: Matching the Approach to the Defect
Surgery becomes the right call when nonsurgical therapy has failed to resolve inflammation, when probing depths exceed 5 mm with persistent bleeding or suppuration, or when radiographic bone loss shows a defect morphology that mechanical access alone can’t reach.
The decision of which surgical approach to use depends almost entirely on what the bone defect looks like once you reflect a flap:
- Resective surgery reshapes bone and soft tissue to eliminate pockets, and it fits horizontal bone loss patterns or supracrestal defects where regeneration isn’t realistic. Implantoplasty, mechanically smoothing exposed implant threads, is often combined with resective approaches on the buccal or facially exposed surfaces to reduce future plaque retention, particularly in esthetically less critical zones.
- Access (open flap debridement) surgery provides direct visualization for decontamination without significant bone recontouring, and it’s a reasonable middle option when the defect is shallow or when regenerative material isn’t indicated.
- Regenerative surgery uses bone grafting material, sometimes with a barrier membrane, for contained defects with a favorable morphology, typically circumferential or three-wall defects where the anatomy can actually support new bone fill.
Combined defects, part horizontal and part contained, often call for a combined resective-plus-regenerative approach rather than forcing the case into a single category.
Surface decontamination is where many surgical cases succeed or fail regardless of which flap design you chose. A multi-modal approach combining mechanical debridement with chemical decontamination and, where indicated, pharmacological adjuncts gives a more thorough result than any single method alone. Mechanical options at the surgical stage include titanium brushes, air abrasion, and in some protocols, laser decontamination. Chemical adjuncts range from citric acid to hydrogen peroxide to chlorhexidine rinses of the exposed surface.
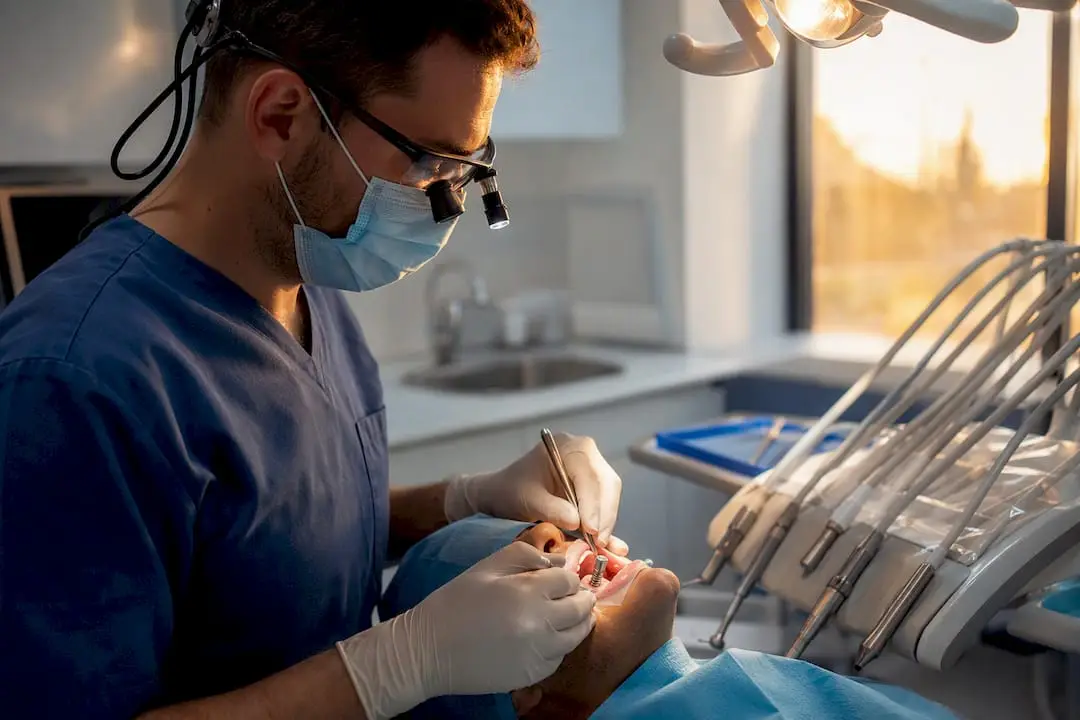
Removing the prosthesis before surgical decontamination, whenever the restoration design permits it, meaningfully improves both visualization and the completeness of surface cleaning. This holds true surgically for the same reason it holds true nonsurgically: you can’t decontaminate what you can’t see or reach.
Practical sequencing that works well in most cases:
- Reflect a full-thickness flap sized to expose the entire defect, not just the visible pocket.
- Remove all granulation tissue before touching the implant surface.
- Decontaminate mechanically first, then chemically.
- Choose resective, regenerative, or combined treatment based on the defect shape you’re now looking at directly, not what the radiograph suggested preoperatively.
- Close primarily where possible, and plan a longer initial healing check given the compromised local biology.
For clinicians still building confidence in defect classification and flap design under supervision, a hands-on peri-implantitis treatment protocol course walks through this decision tree case by case rather than as a static flowchart.
Mechanical and Prosthetic Complications: Retrieval and Prevention
Mechanical failures don’t get the same research attention as biological complications, but they’re a significant share of the calls your practice fields, and they demand a different diagnostic mindset entirely. Screw loosening is the most common technical complication, followed by screw fracture, and framework or veneering material fracture rounds out the list. Correct torque application at placement, combined with a retightening protocol roughly ten minutes after initial torque, meaningfully reduces loosening incidents, because the screw settles slightly as micro-gaps at the implant-abutment interface close under load.
When you’re facing a fractured screw, work through retrieval in order of least to most invasive:
- Improve visualization first. Magnification, a rubber dam, and adequate suction let you see the fragment before you attempt anything mechanical.
- Try a rescue kit designed for the specific implant system. Most major systems have a dedicated screw-removal kit with a reverse-thread tap or ultrasonic tip built for this exact scenario.
- Attempt ultrasonic vibration in a counterclockwise direction with a fine tip, which often backs out a partially fractured screw without further instrumentation.
- Only consider drilling a new internal thread and placing a repair screw when radiographic and tactile assessment confirms enough remaining internal thread to support it, since drilling blind risks damaging the implant’s internal geometry beyond repair.
- If the fragment can’t be retrieved and the implant’s internal connection is compromised, plan for implant removal rather than forcing a repair that won’t hold under function long-term.
Prevention beats retrieval every time, and the habits that matter most are straightforward: torque to manufacturer specification every time, follow a retightening check at the next visit rather than assuming the first torque holds indefinitely, verify passive framework fit before final cementation or screw-retention, minimize cantilever length on multi-unit prostheses, and adjust occlusion to distribute load rather than concentrating it on a single implant. Understanding implant design and biomechanics at the connection level, internal hex versus conical, for instance, changes how you approach both prevention and troubleshooting for a given system.
Pro Tip: Keep a torque log for multi-implant cases. When a screw loosens repeatedly on the same implant despite correct initial torque, that’s usually an occlusal or passive-fit problem, not a hardware defect, and re-torquing again without addressing the underlying cause just delays the next failure.
Escalation, Removal Criteria, and Retreatment Planning
Some implants can’t be saved, and recognizing that early spares the patient repeated failed interventions. An implant meets removal criteria when it shows clinical mobility, a continuous radiolucent halo around the fixture, or, where ISQ testing is available, a stability value below roughly 45 alongside clinical signs of failure. These aren’t judgment calls made from a single data point; they’re confirmed across at least two visits when the clinical picture is ambiguous.
Once you decide to remove an implant, the next question is timing for redevelopment of the site:
- Staged guided bone regeneration (GBR) is the safer path when there’s active infection, significant bone loss, or an unclear healing trajectory, letting the site resolve fully before you graft.
- Simultaneous reimplantation can work when removal is atraumatic, the defect is well contained, and there’s no sign of active infection at the time of extraction, but it requires a level of site control that isn’t present in most failed-implant cases.
- Reviewing the original site development sequence, including whether the initial extraction-to-implant timeline allowed adequate healing, often explains why the first implant failed and should inform the second attempt.
Document the conversation with the patient as carefully as the clinical findings. That means recording the prognosis you gave, the alternatives discussed (including no treatment), the expected timeline for staged versus simultaneous approaches, and the cost implications of a second surgical phase. Patients tolerate implant failure far better when they understood upfront that it was a possibility, and a documented consent conversation protects both the patient relationship and your practice.
Post-Treatment Maintenance: The Recall Workflow That Actually Works
Treatment success, whether nonsurgical or surgical, only holds up if the maintenance program that follows it is structured rather than assumed. A complete peri-implant maintenance visit includes four components, run in the same order every time:
- Professional mechanical plaque removal (PMPR) using implant-safe instrumentation around every fixture, not just the ones the patient mentions as bothersome.
- Full peri-implant charting, recording BOP percentage, probing depth at four to six sites, and checking specifically for suppuration.
- Prosthetic inspection, checking screw tightness where accessible, framework stability, and occlusal contacts against the opposing dentition.
- Hygiene reinforcement, tailored to the specific prosthetic design the patient has, since a fixed full-arch case needs different home-care instruction than a single crown.
Recall frequency should track the risk category established during the initial IDRA-style assessment, not a default annual schedule. High-risk patients, particularly those with a periodontitis history or a prior peri-implantitis episode, do better on three-month intervals. Average-risk patients can typically extend to three to six months. The data backing this is specific: patients receiving three or more supportive care visits annually after peri-implantitis surgery sustained treatment success at meaningfully higher rates than those seen less often, and that gap widens the longer follow-up continues.
Define success in measurable terms so your team isn’t guessing at each visit: no bleeding on probing, probing depth of 5 mm or less, no suppuration, and a stable bone level on sequential radiographs compared to the prior year’s baseline. A structured implant maintenance protocol turns these targets into a repeatable visit template rather than something reinvented case by case.
Where Guideline Knowledge Meets Procedural Skill
Reading the EFP S3 guideline tells you what the evidence supports. It doesn’t teach you how a peri-implantitis defect actually looks once you’ve reflected the flap, or how much pressure a titanium curette needs before you’re scratching the implant surface instead of cleaning it. That gap between guideline knowledge and procedural competence is where most complications get mismanaged, not from ignorance of the protocol, but from never having done the procedure under supervision.
One World Dental built its course structure around closing exactly that gap. Courses run through live surgery and mentorship rather than lecture-only formats, with tiered learning paths that take clinicians from foundational technique through advanced regenerative and prosthetic-rescue skills. That structure matters most in exactly the scenarios this article covers: surgical defect management, screw retrieval, and building a maintenance workflow your team can actually run consistently.
If you’re building out complication-management competence, prioritize hands-on regenerative surgery labs, prosthetic rescue and retrieval workshops, and nonsurgical peri-implant therapy training that lets you practice instrumentation technique under direct observation before you take it into your own operatory.
A Clinician’s Perspective on What Actually Goes Wrong
The most common mistake I see isn’t a bad surgical decision. It’s inconsistent screening. Practices that catch peri-implantitis early almost always probe every implant at every recall, not just the ones a patient complains about. The ones that miss it are usually doing solid dentistry everywhere else and simply treating implants as maintenance-free once they’re restored.
The second pattern worth naming: clinicians reach for surgery too fast when nonsurgical therapy hasn’t been given a real trial, or too slow when a defect clearly needs surgical access and three more months of debridement just delays the inevitable. The three-month re-evaluation exists precisely to force that decision with data instead of instinct.
Follow the SPT protocol even when the patient feels fine. Feeling fine and having stable bone levels are not the same thing, and the radiograph will tell you the truth the symptoms won’t.
— Jake
Build the Skills the Protocol Assumes You Have
Every step in this pathway, defect classification, surface decontamination, screw retrieval, assumes a level of hands-on comfort that reading alone doesn’t build. Onewd’s course catalog is structured around that exact gap: hands-on dental implant training puts you through live surgical scenarios with mentorship rather than lecture slides, and the broader training course listing covers prosthetic rescue, regenerative technique, and nonsurgical peri-implant therapy as separate, focused modules rather than one generic implant seminar. Coordinating patient recall around your new maintenance protocol gets easier with structured reminder systems too. Tools built for dental patient engagement over WhatsApp can help keep high-risk patients showing up for the three-month visits this protocol depends on.
If you’re deciding where to start, the dental implant courses guide for 2026 breaks down which course level matches your current experience. Visit the course catalog and book the module that matches the skill gap you identified while reading this article.
Recommended