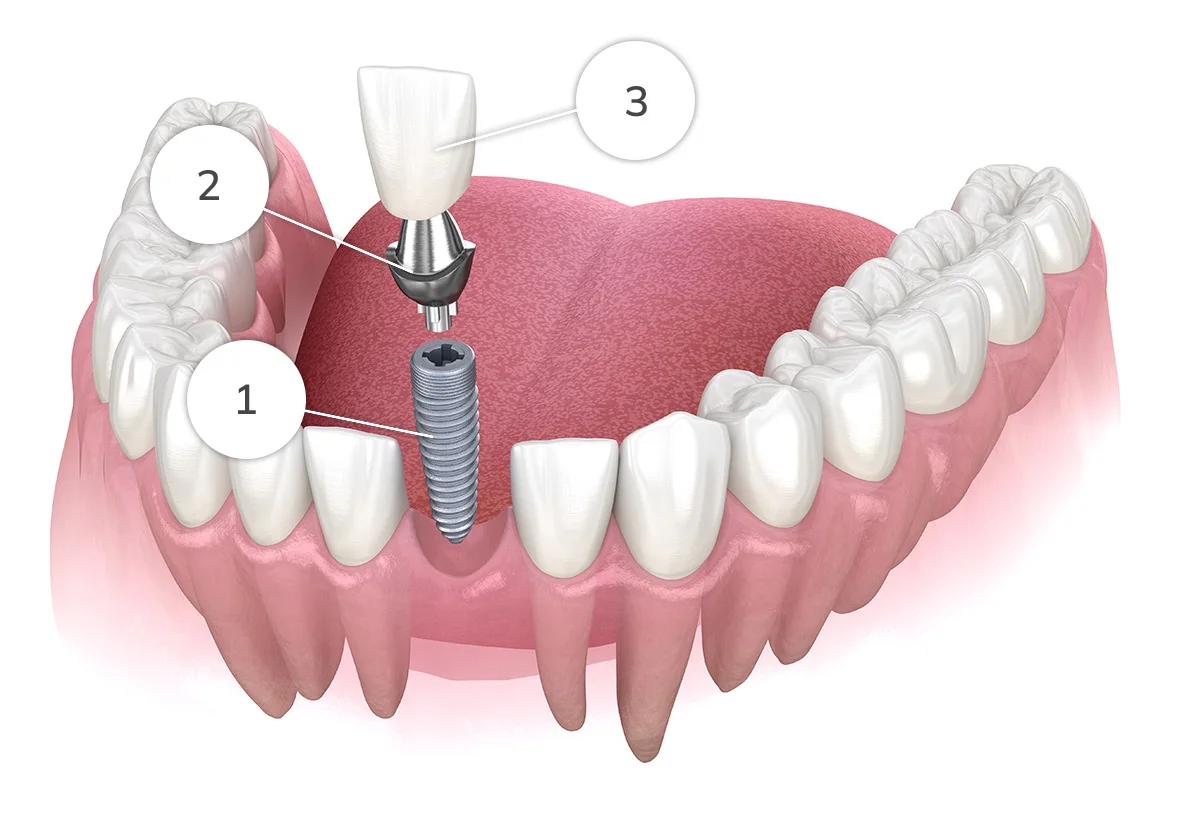
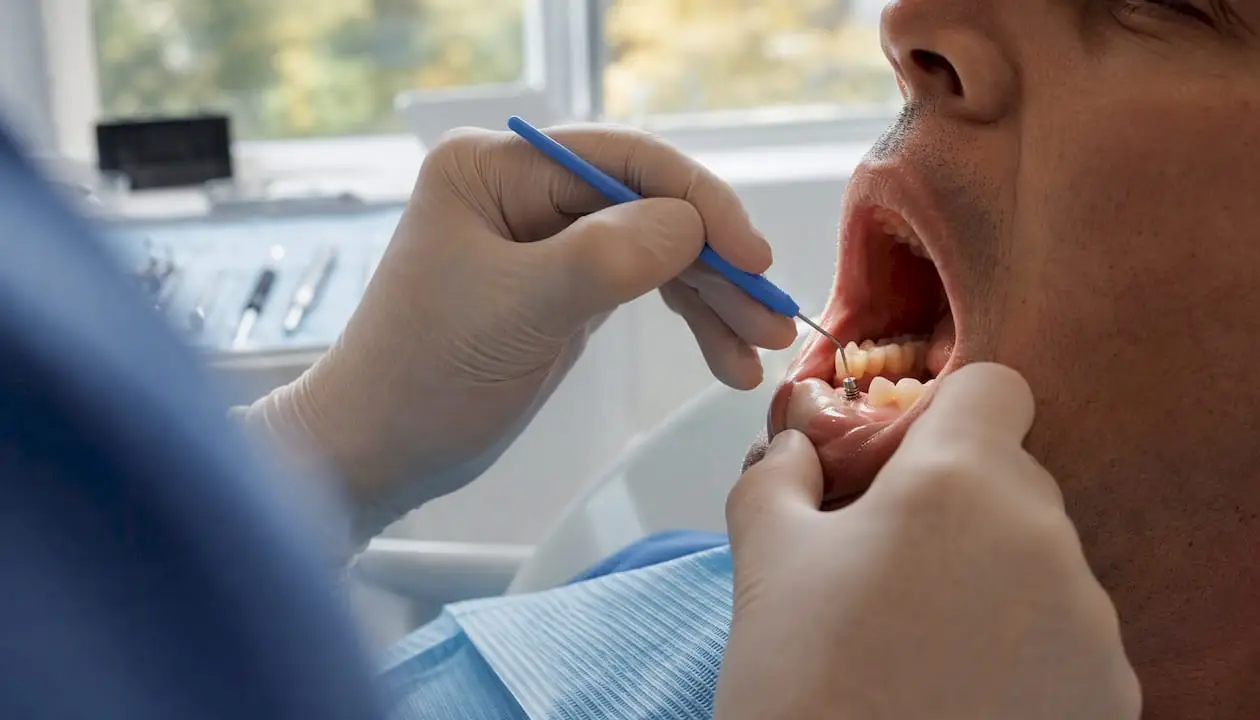
Implant digital planning is the prosthetically driven process of using CBCT volumetric data, intraoral scans, and planning software to virtually position an implant before a single drill touches bone, then translating that plan into a physical or navigated surgical guide. The core benefit is straightforward: you design the crown first, then back-calculate the ideal implant axis, depth, and emergence profile, rather than placing the implant and hoping the restoration follows. The workflow runs five steps: (1) intraoral scan, (2) CBCT acquisition, (3) DICOM/STL merge and prosthetically driven virtual planning, (4) surgical guide design and 3D printing, and (5) guided surgery execution. A 2026 systematic review and meta-analysis found digital workflows cut mean procedure time by approximately 4.28 minutes versus conventional methods while maintaining implant survival above 98%. A randomized clinical trial comparing fully digital and partially digital workflows reported mean entry-point deviations of 0.44 mm and 0.85 mm respectively, numbers that matter when you are working 1–2 mm from the inferior alveolar nerve.
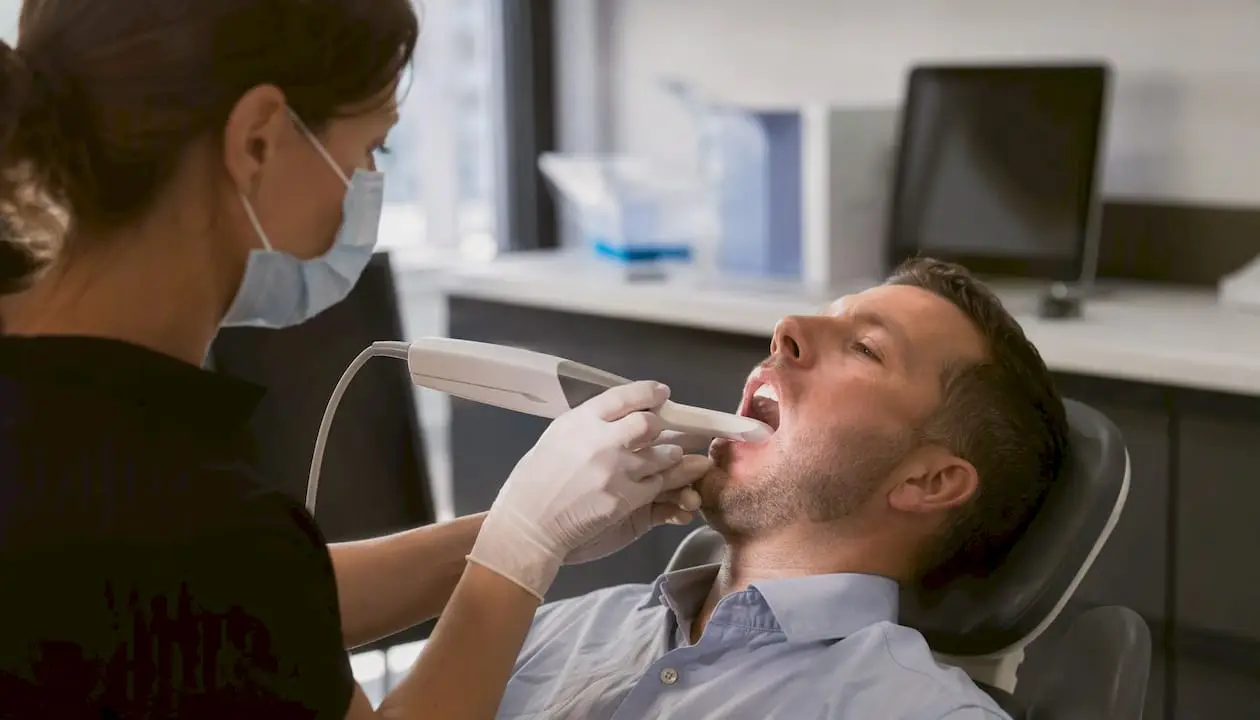
- Intraoral scan (STL)
- CBCT acquisition (DICOM)
- Dataset merge and prosthetically driven virtual plan
- Surgical guide design and manufacture
- Guided surgery execution
Key Takeaways
A fully digital implant planning workflow, when executed with verified data acquisition, prosthetically driven planning, and pre-op guide QA, consistently outperforms partially digital and freehand approaches on positional accuracy and procedure efficiency.
| Point |
Details |
| Five-step workflow |
Follow: intraoral scan, CBCT, DICOM/STL merge, guide design/print, guided surgery in sequence. |
| Accuracy advantage |
Fully digital workflows produce mean entry-point deviations of 0.44 mm vs 0.85 mm for partially digital protocols. |
| Safety margin rule |
Plan a minimum 1.5–2 mm margin from critical anatomy to account for the realistic spread around mean deviations. |
| Pre-op QA is non-negotiable |
Seat the guide on a printed model before surgery; most guided-case errors trace to skipped verification steps. |
| Onewd training |
Onewd’s tiered hands-on implant courses cover CBCT interpretation through live guided surgery with mentorship follow-up. |
What are the clinical goals and limits of digital implant planning?
The crown-down philosophy is the organizing principle. You start with the ideal restorative outcome, defined by emergence profile, occlusal load axis, and biologic width, and constrain the implant position to serve that outcome. That is what separates prosthetically driven planning from simply placing an implant where the bone looks favorable.
Primary clinical goals:
- Position the implant platform to achieve the correct emergence profile and soft-tissue architecture
- Align the implant axis so screw-channel access exits through the cingulum or occlusal surface, not the facial
- Maintain at least 2 mm of bone to adjacent teeth and 1.5 mm between implants
- Confirm a minimum 1.5 mm safety margin from the inferior alveolar nerve, mental foramen, and sinus floor
Cases that favor digital planning: single-tooth replacements with tight restorative space, immediate placement with provisional delivery, full-arch fixed cases, and any case where freehand angulation risk is high.
Situations requiring caution or hybrid steps: heavy metal scatter from existing restorations that degrades CBCT resolution, limited mouth opening below 35 mm that prevents guide seating, and complex soft-tissue management cases where flap design cannot be pre-planned digitally.
Clinical red flags where guided approaches may be contraindicated:
- Unstable ridge anatomy that prevents predictable guide seating (severe undercuts, mobile tissue)
- Extreme angulation requirements that exceed the drill-kit’s offset range
- Patients who cannot tolerate the guide for the full drilling sequence (gag reflex, trismus)
Digital workflows improve patient comfort and reduce impression time, but they do not replace clinical judgment. Software assists; the clinician approves and verifies.
How do you acquire high-quality CBCT and intraoral scan data?
Data quality at this stage determines everything downstream. A poorly acquired CBCT or an incomplete intraoral scan creates registration errors that compound through every subsequent step. Getting this right is not glamorous, but it is where guided cases succeed or fail.
CBCT acquisition checklist:
- Remove all removable appliances before scanning; metal clasps and acrylic bases scatter signal
- Select a limited field of view (4×4 cm to 8×8 cm) centered on the surgical site to maximize resolution
- Use a voxel size of 0.2 mm or smaller for implant planning; 0.3 mm is acceptable for full-arch surveys but reduces fine anatomical detail
- Apply metal artifact reduction (MAR) protocols when existing restorations are present
- For edentulous or partially edentulous cases, consider a radiopaque scanning prosthesis or fiducial markers to improve merge accuracy
Intraoral scan best practices:
- Retract soft tissue adequately before scanning; gingival margins and scan body shoulders must be fully captured
- Follow a systematic scan path: start occlusal, then buccal, then lingual, to minimize stitching errors
- Capture scan bodies with the implant analog in place if planning for an existing implant; capture the edentulous ridge with adequate extension for guide support
- Scan the opposing arch and record an occlusal bite registration in the same session
Pro Tip: Scan the scan bodies last, after completing the full arch scan. This preserves the overall arch geometry and reduces the chance of the software losing registration when it encounters the scan body’s geometric features mid-sequence.
High-quality data merging depends on removing sources of scatter and capturing adequate registration points. When fiducial markers are used, place them outside the surgical field to avoid interfering with guide seating.
How do you merge datasets and build a prosthetically driven virtual plan?
The merge step is where CBCT volumetric anatomy and the surface-accurate intraoral scan become a single working model. Registration errors here propagate directly to guide accuracy.
DICOM/STL merge checklist:
- Import the CBCT DICOM series into your planning software and confirm slice thickness and orientation
- Import the intraoral STL and align it to the CBCT using at least three non-collinear anatomical landmarks (cusp tips, incisal edges, or fiducial markers)
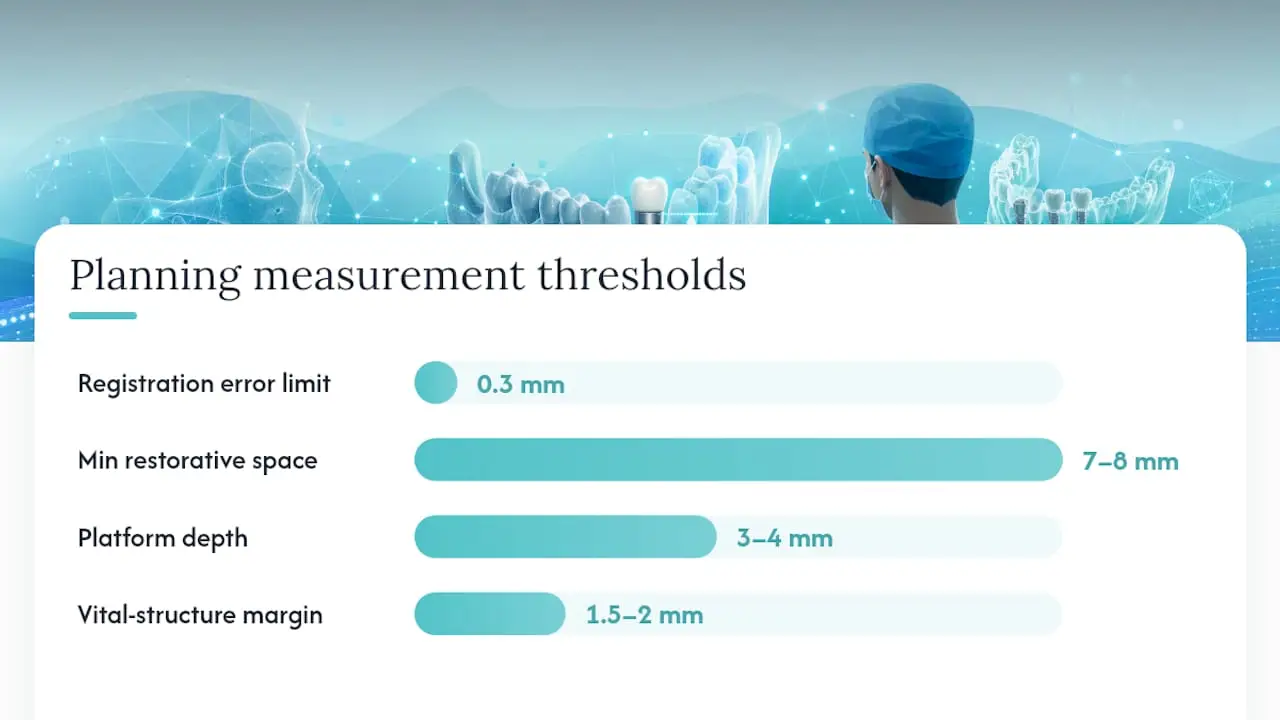
- Verify registration accuracy by overlaying the STL surface onto the CBCT cortical outline; discrepancies above 0.3 mm at any landmark warrant re-registration
- Confirm the merged model displays correct tooth positions relative to the underlying bone before proceeding
Prosthetic planning checks:
- Place a virtual restoration (wax-up or diagnostic crown) before positioning the implant
- Confirm restorative space: minimum 7–8 mm occluso-gingivally for a standard abutment and crown
- Check implant axis relative to the occlusal plane; the screw channel should exit through the cingulum or occlusal surface
- Set the platform depth to achieve the planned emergence profile, typically 3–4 mm below the free gingival margin for a tissue-level design
- Verify the planned position against the inferior alveolar nerve, mental foramen, and sinus floor with a minimum 1.5–2 mm safety margin
File format note: prioritize planning systems with native STL and DICOM support. Third-party format conversions introduce dimensional errors that are difficult to detect visually and can shift the merged model by fractions of a millimeter. Interoperability between proprietary formats remains a documented challenge in current digital dentistry platforms.
A practical clinical workflow resource demonstrates that one-click transfer from the planning module to a guide design service reduces rework and preserves the prosthetic-driven position through to manufacture.
How do you design a reliable static surgical guide?
Guide design is where the virtual plan becomes a physical instrument, and small design decisions have outsized effects on intraoperative accuracy. The three variables that matter most are support type, sleeve system, and fixation.
Support type selection:
- Tooth-supported guides are the most stable and accurate option when adequate dentition is present; they require no fixation pins in most cases and seat predictably
- Mucosa-supported guides are used in fully edentulous cases; they require fixation pins (typically 2–4) to prevent rotation during drilling and are more sensitive to soft-tissue changes between planning and surgery
- Bone-supported guides are reserved for cases where neither teeth nor stable mucosa is available; they require a flap for seating and are the least common in routine practice
Sleeve selection and drill compatibility:
- Confirm sleeve inner diameter matches your implant system’s guided drill kit exactly; a 0.1 mm mismatch translates to measurable angular deviation
- Choose between internal sleeves (press-fit into the guide body) and external sleeves (bonded or printed integral) based on your lab or in-office workflow
- Verify offset values: the distance between the sleeve center and the planned implant axis must match the drill-kit specification
Fixation and coverage:
- For mucosa-supported guides, plan fixation pin locations at least 5 mm from the surgical site and on stable bone
- Extend guide coverage to include at least two teeth or anatomical structures on each side of the implant site for stability
- Reduce guide coverage over the surgical site to allow irrigation access and direct visualization of the drill
Pro Tip: Request inspection windows in the guide body directly over each implant site. A small oval cutout lets you confirm the guide is fully seated against the tissue before drilling begins, preventing the “floating guide” error that causes depth miscalculation.
Guide design choices including support type, material, and sleeve placement directly affect intraoperative accuracy and error rates. Annotate the final design file with planned implant depth, diameter, and safety margin notes so the surgical team has a reference during the procedure.
What printing technologies and materials produce accurate surgical guides?
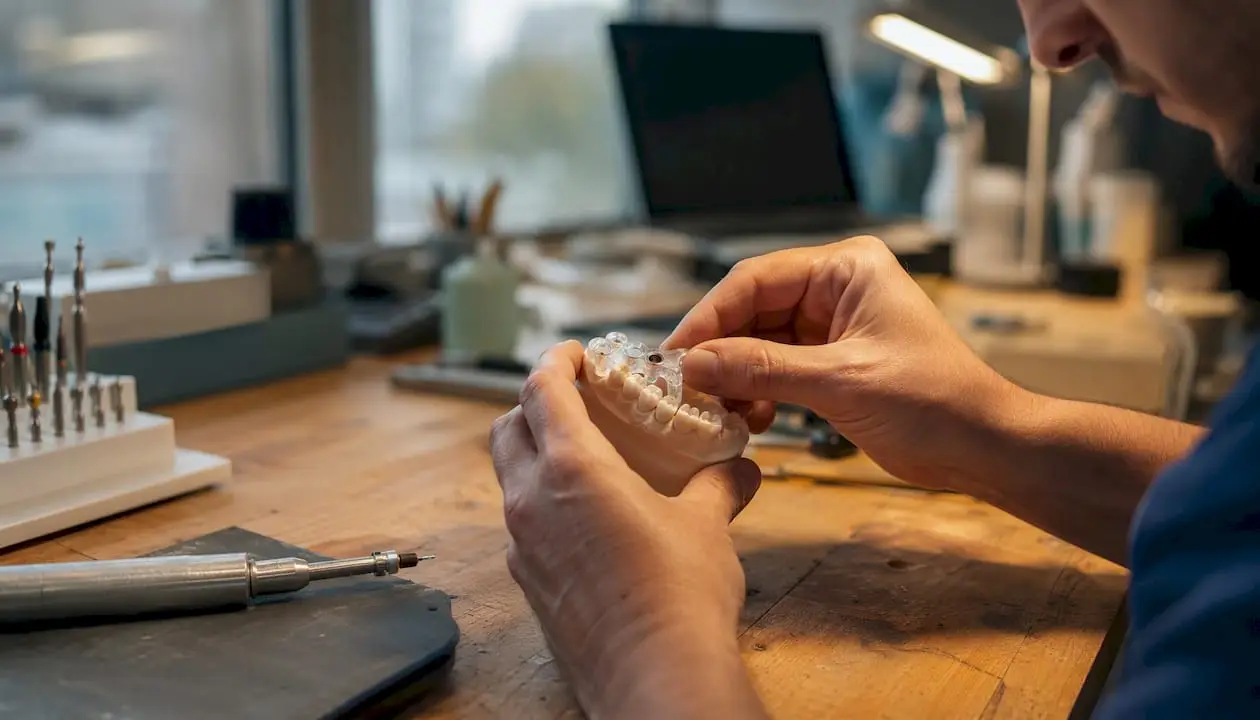
The guide that arrives in your operatory is only as accurate as the printing process that made it. Layer thickness, resin chemistry, and post-processing all affect dimensional stability.
Printing technology comparison:
| Technology |
Typical Layer Thickness |
Dimensional Stability |
Practical Notes |
| SLA (Stereolithography) |
25–50 µm |
High |
Established accuracy; longer build times; requires wash and cure |
| DLP (Digital Light Processing) |
25–100 µm |
High |
Faster than SLA; uniform layer curing reduces internal stress |
| LCD (MSLA) |
35–100 µm |
Moderate to High |
Lower equipment cost; suitable for in-office guide production |
Material selection:
- Use only Class IIa or Class III biocompatible resins cleared for intraoral surgical use
- Confirm the resin is compatible with your sterilization method; most guide resins tolerate steam autoclave at 134°C for a single cycle, but repeated cycles degrade dimensional accuracy
- Metal sleeves pressed into printed guides provide better wear resistance than printed-integral sleeve channels during drilling
Post-processing checklist:
- Wash in isopropyl alcohol (IPA) per manufacturer protocol; under-washing leaves uncured resin that affects biocompatibility
- Post-cure under calibrated UV light for the manufacturer-specified duration; under-curing reduces hardness and increases dimensional creep
- Press-fit metal sleeves before final inspection
- Measure sleeve inner diameter with a calibrated gauge; tolerance should be within ±0.05 mm of specification
- Inspect for print artifacts: layer lines, voids, or warping at the sleeve interface
In-office printing shortens the turnaround to 24–48 hours and keeps the workflow entirely under your control. Lab-produced guides add 3–5 business days but may offer tighter quality control if your in-office printer lacks a calibrated post-cure station.
What surgical protocols should you follow for guided implant placement?
Three levels of guidance exist, and choosing the right one for a given case affects both accuracy and intraoperative flexibility.
Guidance levels:
- Pilot-guided: only the initial pilot drill is guided; subsequent drills are freehand. Lowest accuracy benefit, but useful for cases where the guide cannot accommodate the full drill sequence.
- Partially guided: the guide controls direction through the osteotomy sequence but not final depth. Appropriate when depth control is managed by a stop on the handpiece.
- Fully guided: every drill in the sequence runs through the guide with depth stops. Highest accuracy; requires a compatible guided drill kit and adequate mouth opening.
Intraoperative checklist:
- Seat the guide and verify it is fully passive before any drilling; rocking or resistance indicates a fit problem
- Confirm fixation pins are seated (mucosa-supported cases) before the first drill
- Irrigate continuously; guided drilling restricts coolant flow, so use internal irrigation drills where available
- Follow the drill sequence in the plan exactly; skipping a diameter step increases lateral force and guide wear
- Use depth stops calibrated to the planned depth; confirm stop engagement before each drill pass
- Take a verification radiograph after the pilot drill if the case is adjacent to critical anatomy
Dynamic navigation: when using a real-time navigation system, registration accuracy checks before the first drill are non-negotiable. Well-calibrated dynamic navigation systems can achieve registration spreads under 0.5 mm and angular deviations near 0.5°, but those numbers assume a verified registration. If the system flags registration error above threshold, re-register before proceeding.
Pro Tip: If the guide does not seat passively after two attempts, stop. Do not force it. Take a periapical radiograph to check for tissue interposition, then decide whether to proceed freehand with the virtual plan open on screen or reschedule after a new guide is fabricated. Forcing a poorly seated guide is the single most common cause of significant angular deviation.
What does the clinical evidence show about guided surgery accuracy?
The accuracy numbers in the literature are more nuanced than most vendor marketing suggests, and understanding the spread matters for setting realistic safety margins.
The RCT comparing fully digital and partially digital workflows provides the most granular published data currently available:
| Metric |
Fully Digital Workflow |
Partially Digital Workflow |
| Mean entry-point deviation |
0.44 mm |
0.85 mm |
| Mean apex deviation |
1.03 mm |
0.44 mm |
| Angular deviation |
2.12° |
2.48° |
| Depth deviation |
0.44 mm |
0.85 mm |
Accuracy signal: The fully digital workflow produced a mean entry-point deviation of 0.44 mm versus 0.85 mm for the partially digital workflow, a difference that is clinically meaningful when working within 1.5 mm of the inferior alveolar nerve.
Freehand placement consistently produces larger deviations than either guided approach in the literature, with apex deviations frequently exceeding 2 mm in systematic reviews. The 2026 meta-analysis confirmed implant survival above 98% for both digital and conventional methods, which means survival alone is not the differentiating metric. The differentiator is positional accuracy and the downstream restorative outcome.
Interpreting the numbers clinically: a mean apex deviation of 1.03 mm with a fully guided protocol means your safety margin to the inferior alveolar nerve should be at least 2 mm, not 1 mm, to account for the realistic spread around that mean. Plan conservatively. The literature reports means; your patient experiences the tail of the distribution.
Common error sources include guide flex during drilling, incomplete seating, soft-tissue changes between scan and surgery, and drill-to-sleeve clearance tolerances. Each adds to the cumulative deviation.
How do you select cases and manage risk in guided implant surgery?
Not every case benefits equally from a fully guided protocol, and some cases actively require a different approach.
Decision framework:
- Static guide, fully guided: single-tooth or short-span cases with adequate mouth opening (>35 mm), stable guide support, and standard angulation. Best accuracy-to-cost ratio for most practices.
- Dynamic navigation: complex angulation, immediate placement in fresh sockets where guide seating is unreliable, or cases requiring intraoperative position adjustment. Higher upfront cost and learning curve.
- Hybrid or freehand with virtual reference: heavy metal scatter that prevents reliable CBCT merge, extreme angulation beyond the drill kit’s offset range, or unstable guide seating.
Common contraindications and risk flags:
- Metal scatter from multiple adjacent crowns or a fixed partial denture that obscures the planned site in CBCT
- Mouth opening below 35 mm, which prevents guide seating and drill engagement
- Severe ridge undercuts that prevent passive guide seating without surgical exposure
Risk-management actions:
- Document safety margins in the plan and include them in the surgical consent
- Print a backup surgical stent (non-guided) for cases where guide fit is uncertain
- Prepare a conversion protocol: if the guide fails intraoperatively, have the virtual plan visible on a second screen and proceed with the pilot osteotomy using the plan as a reference
Pro Tip: Before the day of surgery, seat the guide on a printed model of the patient’s arch. This mock seating takes five minutes and catches fit problems before the patient is in the chair. It also lets you rehearse the drill sequence and confirm depth stop positions.
What is your pre-op QA checklist for guided implant surgery?
Running a structured pre-op check the morning of surgery catches the errors that cause guided cases to go wrong. Most guided-surgery complications trace back to a step that was skipped, not a step that was done incorrectly.
Pre-op QA checklist (numbered for sequence):
- Confirm the guide is the correct version for this patient and this implant system
- Seat the guide on the printed model; verify passive fit with no rocking
- Check sleeve inner diameter with a calibrated gauge; confirm it matches the guided drill kit
- Verify guide sterility: autoclave cycle completed within 24 hours, packaging intact
- Confirm all guided drills are present, in sequence, with correct depth stops attached
- Open the virtual plan on the planning software and review safety margins one final time
- Confirm the implant system, diameter, and length match the plan exactly
- Brief the surgical assistant on the drill sequence, irrigation protocol, and what to do if the guide does not seat
Common causes of guided-surgery error and quick fixes:
- Guide does not seat: check for tissue tags, blood clot, or bone spur at the surgical site; do not force
- Drill binds in sleeve: confirm drill diameter matches sleeve; check for resin debris in the sleeve channel
- Depth stop engages too early: verify stop position against the plan; a stop set 1 mm short produces a shallow implant
- Angular deviation visible on verification radiograph: pause, assess deviation magnitude, decide whether to continue guided or convert to freehand with the virtual plan as reference
Pro Tip: When handing off a digital plan from the planning clinician to the operating surgeon, include a one-page surgical brief: implant system, diameter, length, planned depth, safety margins, and a screenshot of the plan from three views. This takes ten minutes to prepare and eliminates the most common intraoperative communication errors.
What training and competency do you need before independent guided cases?
Guided surgery is not self-teaching. The software makes the plan look straightforward, but the gap between a well-designed virtual plan and a well-executed guided case is filled by hands-on experience.
Minimum competency checklist before independent guided cases:
- Independently interpret a CBCT: identify the inferior alveolar nerve, mental foramen, sinus floor, and cortical boundaries
- Capture a complete intraoral scan with scan bodies and verify registration accuracy
- Merge DICOM and STL datasets and identify registration errors above threshold
- Approve a virtual plan with documented safety margins
- Perform in-lab guide QA: sleeve diameter check, passive fit on model, sterilization protocol
- Complete at least one supervised guided case (co-surgeon or mentored) before independent placement
Why hands-on training matters: reading about drill sequences and watching videos builds conceptual understanding. It does not build the tactile feedback recognition that tells you a guide is floating versus seated, or that a drill is binding versus cutting cleanly. Cadaver and live-patient courses compress the learning curve because you encounter the real variables: tissue resistance, guide flex, irrigation management, and intraoperative decision-making.
What to look for in a course:
- Small group size (ideally under 10 participants per instructor)
- Live surgery observation or participation, not just model work
- Mentorship follow-up after the course for case consultation
- CE credits recognized by the ADA CERP or AGD PACE systems
- Curriculum that covers both planning software and intraoperative execution, not just one
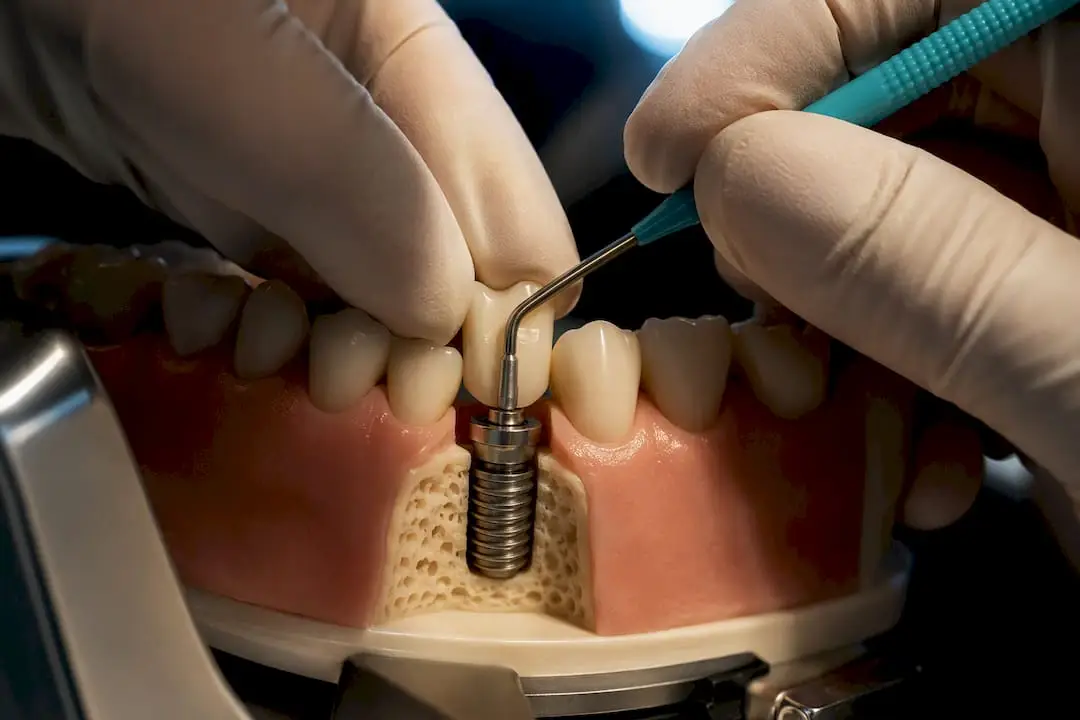
Hands-on implant training that pairs online theory modules with live surgery observation and mentored cases maps directly to these requirements. Onewd’s tiered learning paths let you build from CBCT interpretation and scan-body capture through to fully guided live cases, with mentorship available between sessions.
Pro Tip: Build a supervised transition plan before your first independent guided case. Start with a co-surgeon present for the first three to five cases, run in-office simulations on printed models, and document each case with pre- and post-op radiographs. That documentation becomes your competency record and your quality improvement baseline.
What would a staged digital planning rollout look like in your practice?
Six to twelve months is a realistic timeline for a US dental practice to move from zero digital workflow to confident, independent guided cases. The sequence matters more than the speed.
Months 1–3: foundation. Partner with an external lab for CBCT interpretation and guide fabrication on your first three to five cases. This keeps your upfront equipment cost near zero while you learn the planning software and build case experience. Use this period to complete an online theory course covering CBCT interpretation, scan-body protocols, and guide design principles. Run every guide on a printed model before surgery.
Months 4–6: equipment decision. After five to eight lab-partnered cases, you have enough data to decide whether in-office guide printing makes financial sense for your volume. A desktop DLP or SLA printer with a calibrated post-cure station runs $5,000–$15,000 for the hardware; the break-even point against lab fees depends on your case volume. If you are placing fewer than two guided cases per month, lab partnership likely remains more cost-effective.
Months 7–12: independent workflow and QA. Transition to independent planning with a defined QA protocol: pre-op model seating check, surgical brief, intraoperative verification radiograph for posterior cases, and post-op deviation documentation. Assign a team member to manage scan-body inventory, guide sterilization, and software updates. Patient communication at this stage should include a brief explanation of the digital planning process, what the guide does, and why the pre-op scan appointment is necessary.
On the patient communication side: most patients respond well to a simple framing. The digital plan means the implant position is designed around your final tooth before any drilling begins. The guide is a physical template that holds the drill on the planned path. That two-sentence explanation, delivered with a screenshot of the virtual plan, addresses the most common patient questions and supports informed consent documentation.
Onewd’s hands-on implant training maps directly to this workflow
Clinicians who want to move from digital planning theory to confident guided surgery need more than a software tutorial. Onewd’s implant and surgery courses are structured around exactly the competency milestones this article outlines: CBCT interpretation, scan-body capture, prosthetically driven planning, guide QA, and live guided surgery execution.

Course formats include on-demand online modules for theory and CBCT fundamentals, live in-person sessions with hands-on cadaver or live-patient components, and mentorship follow-up for case consultation after you return to practice. Groups are kept small so every participant gets direct time with the instructor. CE credits are available through recognized accreditation, and the tiered learning paths let you enter at your current skill level rather than starting from scratch.
Browse upcoming course dates and enrollment or review the full hands-on implant training options to find the format that fits your schedule and practice goals.
Recommended