Level 1 • Implants & Surgery
Immediate vs Delayed Implant Placement – Online Lecture Series
Online lecture series comparing immediate and delayed implant placement protocols.
- Self-Paced
- 3–4 CE Credits
- Self-Paced
- On-Demand
Coming SoonView Course

Implant Dentistry • Clinical Guide
Clinician-first, evidence-linked protocol for immediate implant provisionalization. Learn the 30 N·cm torque rule, prosthetic checklist, digital planning,...
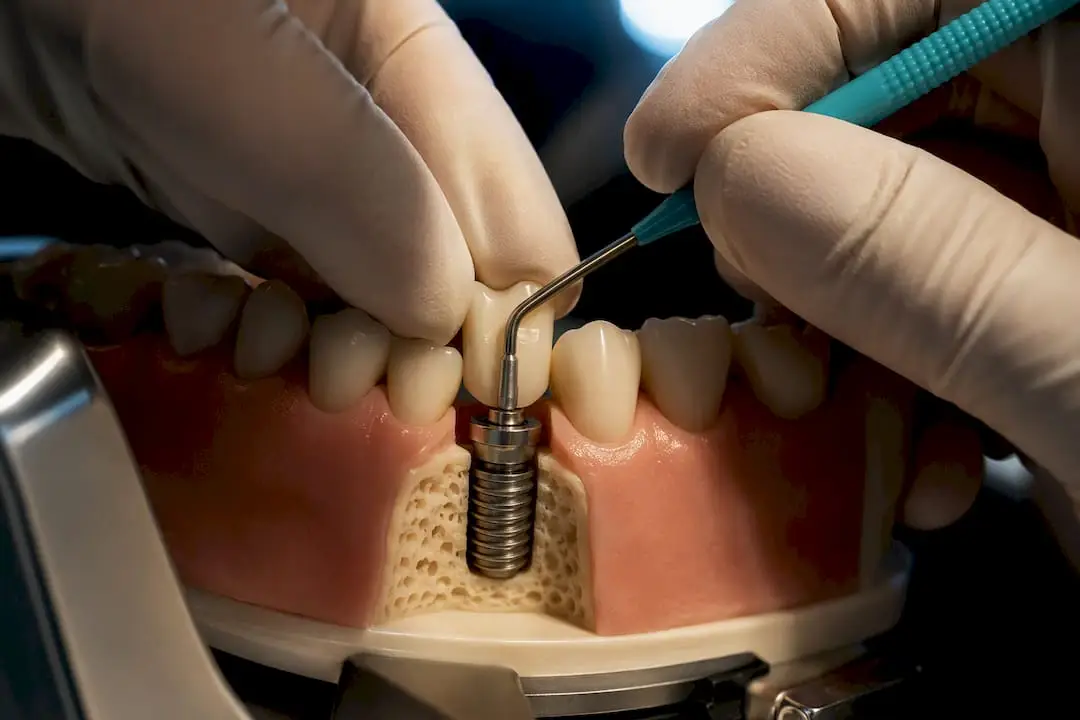
Immediate implant provisionalization works when two conditions are met: primary stability at or above 30 N·cm and prosthetically driven 3D positioning confirmed before you leave the surgical field. Miss either one, and the case belongs on a delayed timeline instead. The provisional itself has to be screw-retained, polished, and completely free of eccentric occlusal contact. That combination, backed by randomized trials, meta-analyses, and the ITI consensus statement, is what separates a predictable esthetic-zone result from a preventable complication.
Case selection happens before the patient sits in the chair, not after the extraction is done. A rushed decision at the surgical appointment is how borderline cases turn into failures.
Preoperative steps:
Intraoperative steps:
Contingency steps:
Pro Tip: Print the digital plan and torque target on a card taped to the operatory wall. In a live surgical field, nobody wants to scroll through a tablet to confirm the number they committed to preoperatively.
The order of operations matters as much as the individual steps. Rushing from extraction to provisional delivery without pausing to verify each checkpoint is where most avoidable errors creep in.
Osteotomy and 3D positioning
Position the osteotomy roughly 1 to a small buccal gap (around or above 2 mm) palatal to the anticipated facial emergence, and keeping the implant platform 3 to 4 mm apical to the future free gingival margin. Buccolingual placement should leave at least a small buccal gap (around or above 2 mm) of buccal bone or graft material between the implant and the outer cortical plate. Mesiodistal position needs 1.5 to a small buccal gap (around or above 2 mm) of clearance from adjacent roots to protect the interproximal papilla.
Buccal malposition is the single most common driver of esthetic failure in immediate implant cases. A review of complications tied to immediate placement identifies overly facial implant position as the recurring cause behind soft-tissue recession and visible gray shine-through, problems that often require secondary grafting or, in severe cases, implant removal and a restart on a delayed timeline. Get the osteotomy angle right the first time. There is no prosthetic fix for an implant placed too far buccal.
Abutment selection and screw torque
Choose a titanium or PEEK temporary abutment sized to support the emergence profile you’ve planned digitally, not simply whatever ships with the implant kit. The “one abutment, one time” principle applies here with real consequence: every time you remove and reseat the provisional abutment, you disrupt the mucosal seal that’s forming around it. Clinical guidance on provisional shaping recommends building emergence contour with composite increments directly on the seated abutment rather than removing it repeatedly to adjust off the mouth.
Torque the abutment screw to the manufacturer’s specified value, typically in the 15 to 25 N·cm range depending on the system, and record it in the chart. If you need to reline the provisional chairside, protect the screw access channel with cotton and PTFE tape before flowing composite, and reverify occlusion after the material sets. A provisional that looks occlusion-free on the bench can still pick up a light contact once cement or composite build-up shifts contour by even half a millimeter.
Immediate postoperative protocol
The following sequence covers the first two weeks after surgery:
Document torque values, positioning measurements, and occlusal checks at every visit. If a case ever needs review or becomes a teaching example, that record is what tells you exactly what happened and when.
Not every extraction socket is a candidate for immediate provisionalization, and treating it as a default protocol rather than a selected one is how complication rates climb. The ITI’s Straightforward, Advanced, Complex (SAC) classification and formal Esthetic Risk Assessment tools give you a structured way to sort cases before committing to a same-day workflow.
Local factors that favor immediate provisionalization:
Local factors that push toward delay:
Systemic factors that modify the plan:
Smoking measurably impairs soft-tissue healing and early osseointegration, and heavy smokers are frequently better candidates for delayed loading even when local anatomy looks favorable. Uncontrolled diabetes carries similar caution, since impaired microvascular healing raises the risk of early implant failure regardless of how clean the surgical technique is. Patients on antiresorptive medication, particularly IV bisphosphonates or denosumab, need a broader risk conversation that goes beyond the immediate versus delayed decision entirely.
The practical rule: when two or more local risk factors stack up, or a single systemic factor is significant, stage the case. Place the implant, graft as needed, and provisionalize after a healing interval instead of forcing immediacy on anatomy that doesn’t support it. An esthetic-zone failure is far more expensive in trust and chair time than the extra two to three months a staged approach costs.
Merging a CBCT with an intraoral scan before surgery turns implant placement from an educated guess into a rehearsed procedure. Overlaying the two data sets lets you build a virtual mock-up of the definitive crown and work backward to the ideal implant position, then design a surgical guide around that prosthetic target rather than around whatever bone happens to be easiest to drill into.
A well-designed guide needs to satisfy several requirements simultaneously, and this is where digital plans often fall apart in execution:
Digital workflows combining CBCT and intraoral scanning have been shown in prospective case series to shorten chairside adjustment time and improve the predictability of prosthetically driven placement compared with freehand approaches. That translates directly to less chair time spent relining a provisional that doesn’t fit the planned emergence profile.
CAD/CAM provisional shells, milled or printed from the same digital plan used to design the surgical guide, cut down significantly on chairside modification. Clinicians who invest in structured digital planning upfront typically spend less time at the chair reshaping a provisional and more time verifying occlusion and margins. Clear communication with the lab on emergence profile targets before surgery day prevents the common scenario where a beautifully planned guide meets a provisional that was fabricated without knowing exactly where the implant platform would land.
The provisional crown does more than fill space while healing happens. It’s the tool that actively shapes the soft-tissue architecture around the implant, and how you contour it determines whether the papilla and facial gingiva end up looking natural or collapsed.
Three zones matter for contour design:
That subcritical concavity principle is worth internalizing: slightly under-contouring the provisional in the first few millimeters below the margin, rather than pushing an aggressive convex profile, gives soft tissue room to thicken and mature naturally rather than being mechanically displaced.
Full-contour versus sub-contoured provisionals depend heavily on the case. In an ideal phenotype with thick tissue and an intact socket, a full-contour provisional placed at surgery maintains papilla height and prevents tissue collapse into the extraction space. When grafting is involved, a sub-contoured provisional gives the graft room to consolidate and vascularize before you ask the tissue to support a fuller emergence profile. Decision-making frameworks for provisional timing describe staged transitions from sub-contoured to full-contour design over roughly two months or longer in grafted cases, adjusting contour incrementally as tissue volume stabilizes rather than making one dramatic change.
Occlusion rules stay constant across every phenotype: no contact in maximum intercuspation, and no contact in any lateral or protrusive excursion. Verify this with articulating paper at every single visit, not just at delivery, because tissue remodeling and minor provisional wear can introduce contact that wasn’t there two weeks earlier.
Pro Tip: Mark the provisional with a small notch or dot before the first adjustment so you can track exactly how much material you’ve removed over successive visits. It’s easy to lose track of cumulative contour changes across three or four appointments, and that drift is often what causes an unplanned occlusal contact to appear later.
Minimize abutment disconnections throughout this process. Every removal disrupts the epithelial attachment that’s trying to mature around the abutment, and repeated disconnection cycles are associated with more tissue recession than a single, carefully managed provisional that stays in place.
Gap grafting and soft-tissue augmentation aren’t complications to work around. In many esthetic-zone cases, they’re part of the plan from the start, and they change what the provisional needs to do.
Hard-tissue gap grafting
When the buccal gap between implant and socket wall exceeds roughly a small buccal gap (around or above 2 mm), particulate bone graft material, typically a slow-resorbing xenograft or allograft, fills that space to prevent tissue collapse during healing. The graft needs to be protected from pressure, which is a direct argument for a sub-contoured or entirely non-functional provisional in these cases rather than a full-contour design that risks mechanically disturbing the graft before it stabilizes.
Soft-tissue augmentation
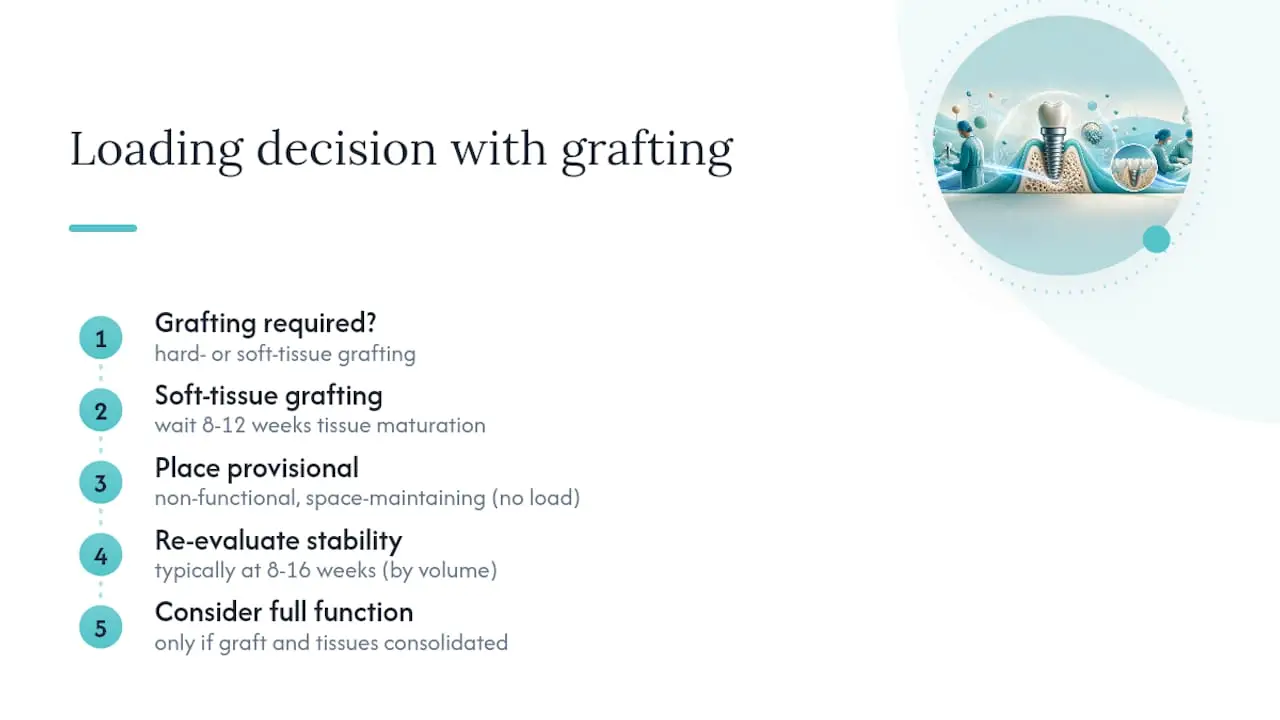
A connective tissue graft, harvested from the palate or a subepithelial donor site, thickens a phenotype that’s too thin to safely support immediate loading on its own. This is a case where staging often makes more sense than forcing immediacy: graft first, allow eight to twelve weeks of tissue maturation, then place the implant with a properly supported provisional. Evidence on connective tissue grafting around implants supports this sequencing for thin-phenotype cases where the alternative is accepting a higher recession risk just to avoid a second procedure.
How grafting changes the loading decision
Any time significant grafting is required, functional loading of the provisional should wait. A non-functional, space-maintaining provisional protects the graft site without transmitting occlusal force into a bone and tissue complex that hasn’t consolidated yet. Only after re-evaluating stability, typically at eight to sixteen weeks depending on graft volume, should you consider transitioning toward full function. Rushing this timeline is one of the more common ways a technically sound graft still ends up compromised by premature loading.
Recognizing a problem early and having a predetermined response is what separates a manageable complication from a failed case.
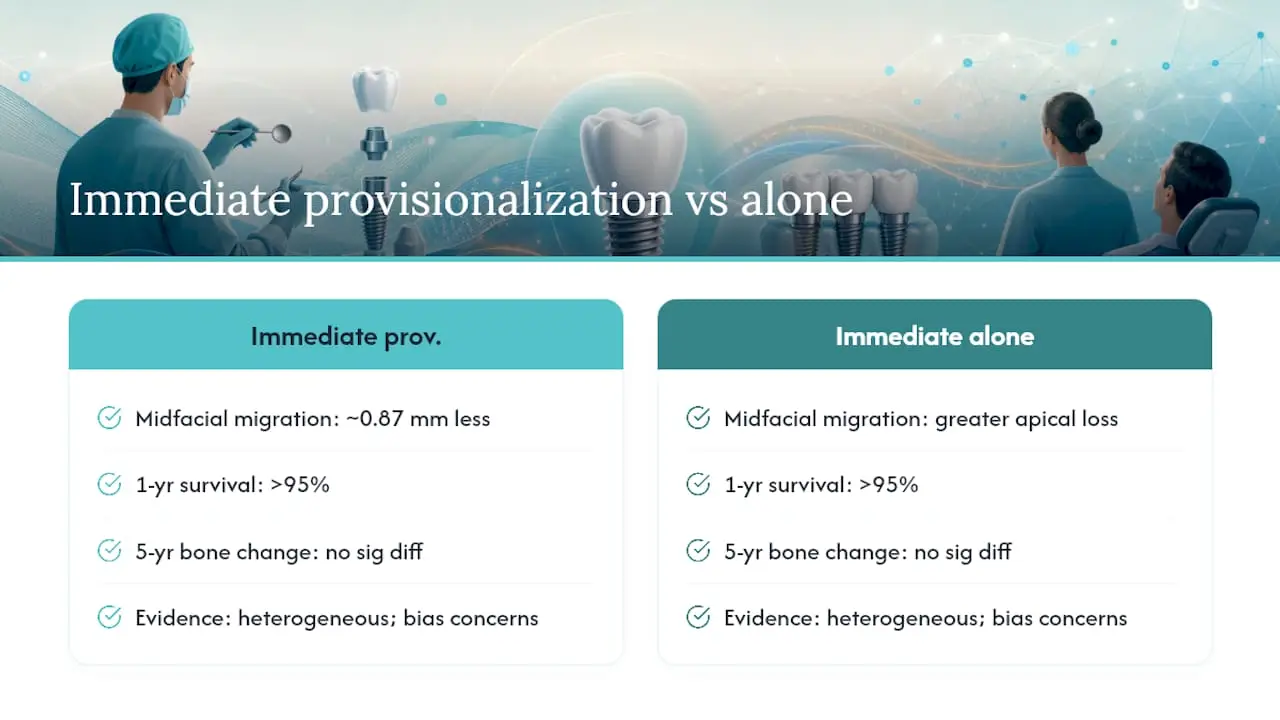
A meta-analysis of immediate implant placement with immediate provisionalization found roughly 0.87 mm less apical migration of the midfacial soft tissue compared with immediate placement without provisionalization in intact sockets, alongside implant survival rates commonly exceeding 95% at one-year follow-up.
That soft-tissue advantage is the clearest, most reproducible benefit immediate provisionalization offers over immediate placement alone. The provisional is doing real biological work, holding the facial contour that would otherwise recede during healing.
Longer-term data adds useful nuance. A 5-year comparative study found no significant difference in marginal bone level changes between immediate and delayed provisionalization when both were performed on well-selected implants, with high survival in both groups. In other words, immediate provisionalization delivers its biggest advantage in the early soft-tissue healing window. By five years, a well-executed delayed protocol can land in a comparable place.
That said, the evidence base isn’t without gaps. Systematic reviews on immediate provisionalization flag heterogeneity across study designs and risk-of-bias concerns in several included trials, and call for longer-term, higher-quality randomized data. Treat the numbers above as a strong directional signal from selected cohorts, not a guarantee for every case. Careful patient selection still does more work than any protocol on paper.
Reading the protocol is one thing. Executing Type 1A immediate placement and loading under live conditions, with a patient, a lab on standby, and a torque wrench that just came in under target, is another. The ITI itself classifies this combination as a complex procedure best reserved for experienced clinicians working within a coordinated team, and prefabricated guides and provisional shells are recommended precisely because they remove variables from an already technique-sensitive moment.
If you’re building toward this skill set, start with the prerequisites before the advanced protocol. Assessing your readiness to place implants is a useful gut check before attempting immediacy cases solo. One World Dental structures its implant curriculum in tiers, from foundational placement through live-surgery mentorship, so clinicians build judgment alongside technique rather than skipping straight to the hardest cases in the specialty.
Rehearse the digital plan with your lab and surgical assistant before the patient is in the chair. Everyone should know their role: who hands instruments, who manages suction, who preps the provisional bench-side. A backup non-functional provisional should already exist before you extract, not get improvised after a disappointing torque reading.
Consent conversations need to be honest about technique sensitivity. Patients hear “same-day tooth” and assume it’s guaranteed. Tell them plainly that conversion to a delayed protocol is a real possibility if stability or position doesn’t meet target, and that this is a sign of good judgment, not failure. A clean, professional presentation in how you frame that conversation, and in how your practice presents itself generally, builds the trust that makes patients comfortable with either outcome.
— Jake
Reading protocols gets you halfway there. Torquing an implant to 32 N·cm in a live esthetic-zone case with a nervous patient and a provisional waiting on the bench is a different skill entirely, and it’s the gap most CE courses never actually close. The implant curriculum is designed to address that gap.

Courses run through tiered pathways: foundational placement, digital planning, and dedicated hands-on programs where you work through immediacy protocols under mentorship rather than reading about them afterward. Live surgery modules give you the chance to see torque decisions, gap grafting, and provisional delivery handled in real time, with CE credit attached. If you’re ready to move past theory, browse the hands-on dental implant training programs built for clinicians developing surgical and prosthetic immediacy skills, or check the full training course catalog to find the tier that matches where you are right now.
Educational disclaimer: Content is provided for professional education and is not a substitute for a clinician's independent judgment, applicable standards, manufacturer instructions, or relevant laws and regulations.
Related Training
Level 1 • Implants & Surgery
Online lecture series comparing immediate and delayed implant placement protocols.
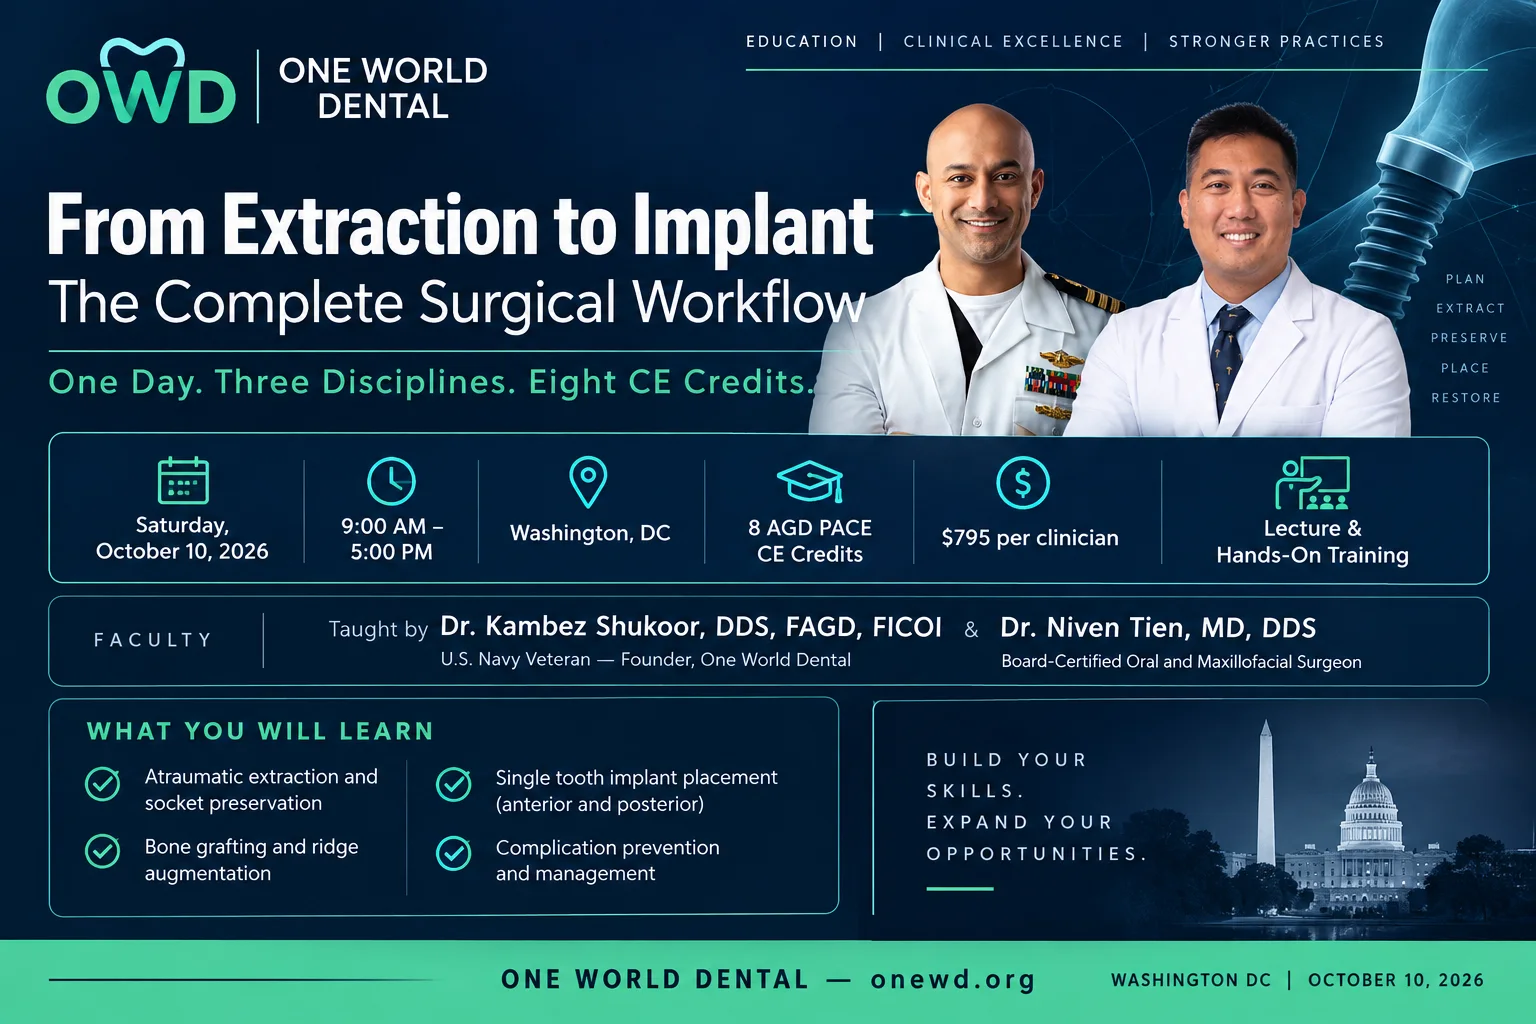
Level 1 • Implants & Surgery
Full-day lecture and hands-on training covering extraction, socket preservation, grafting materials and implant placement in one structured workflow.
Implants • Clinical Guide
Evidence-based walkthrough for dentists on immediate implant placement: CBCT planning, intraoperative go/no-go checks, complication risks, follow-up...
11 min read · Updated September 25, 2026
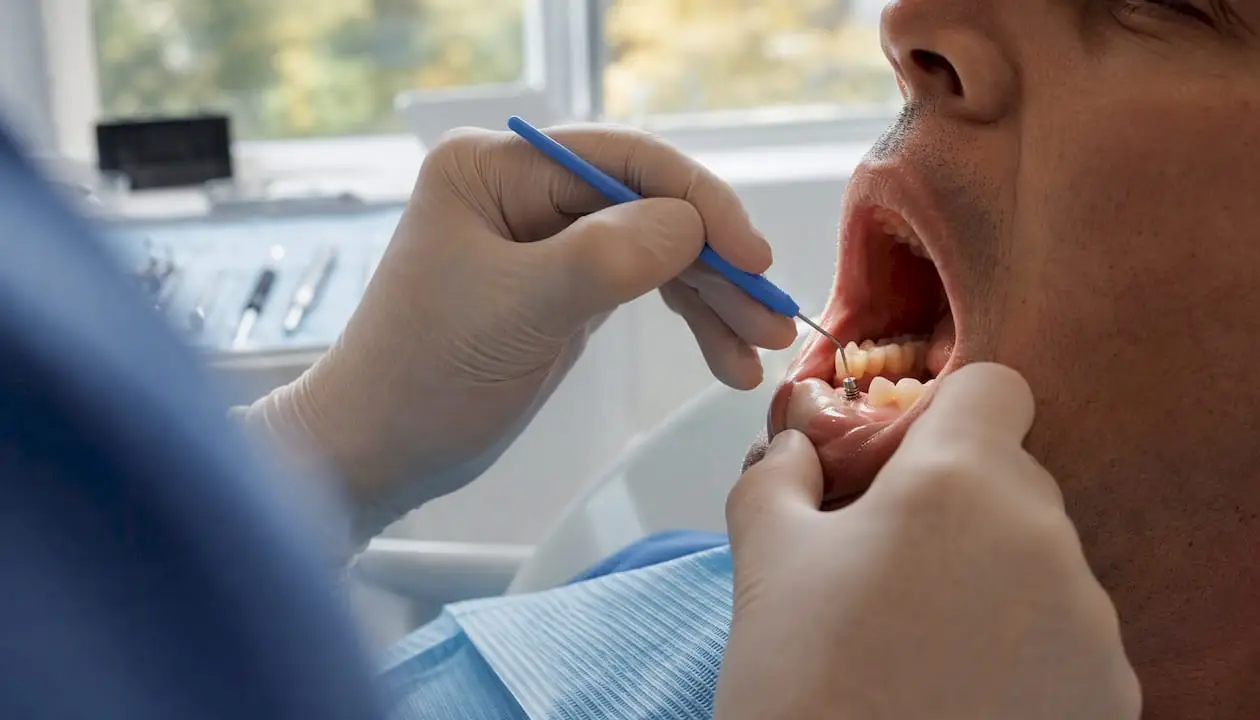
Implants • Clinical Guide
Clinic ready, evidence first workflow for dentists to manage implant complications. EFP S3 aligned steps, 3 month recheck, plus surgical and maintenance tips.
15 min read · Updated August 29, 2026
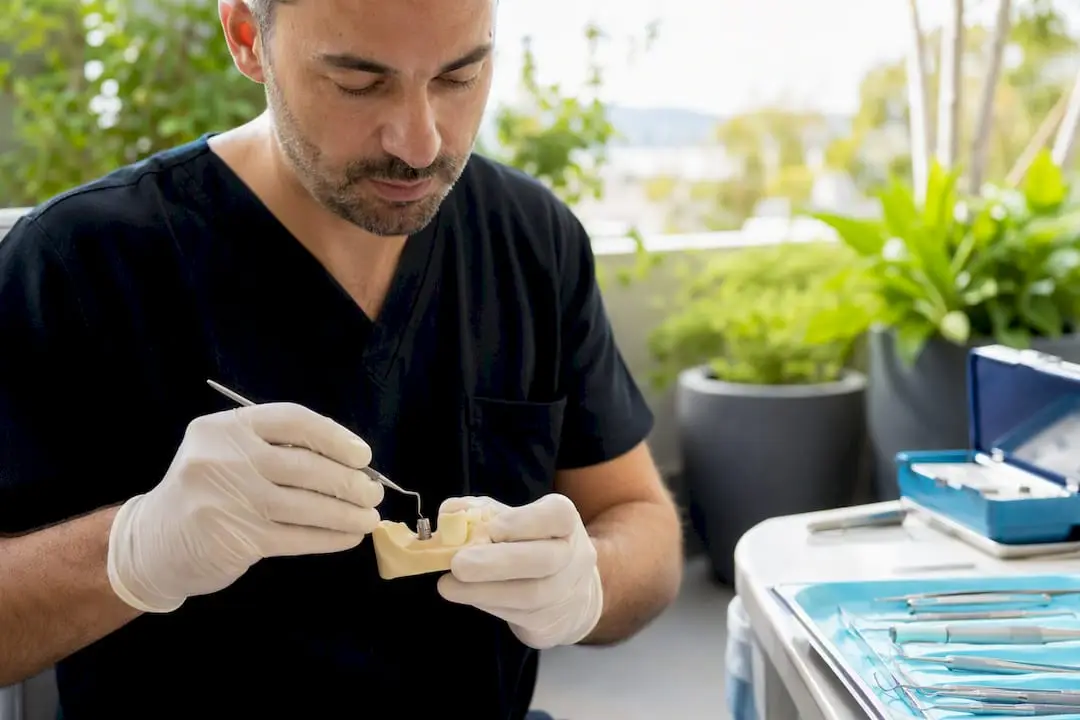
Implants • Professional Education
Discover effective implant maintenance protocols to ensure patient safety and optimal outcomes. Learn actionable recall workflows for clinics.
11 min read · Updated August 22, 2026