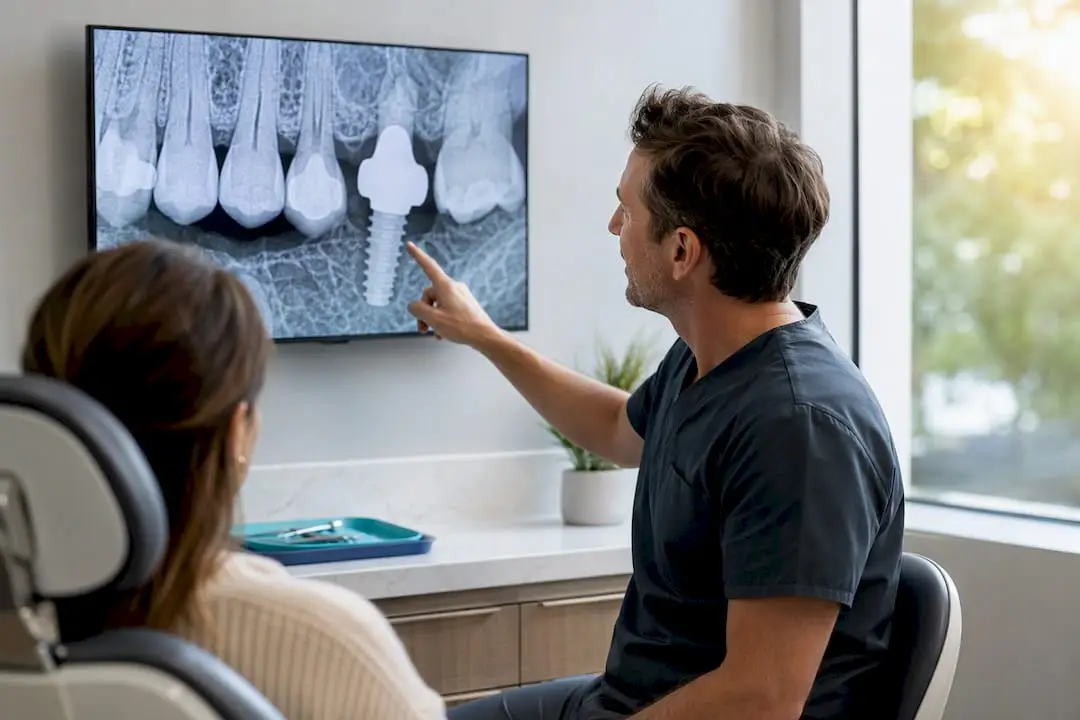
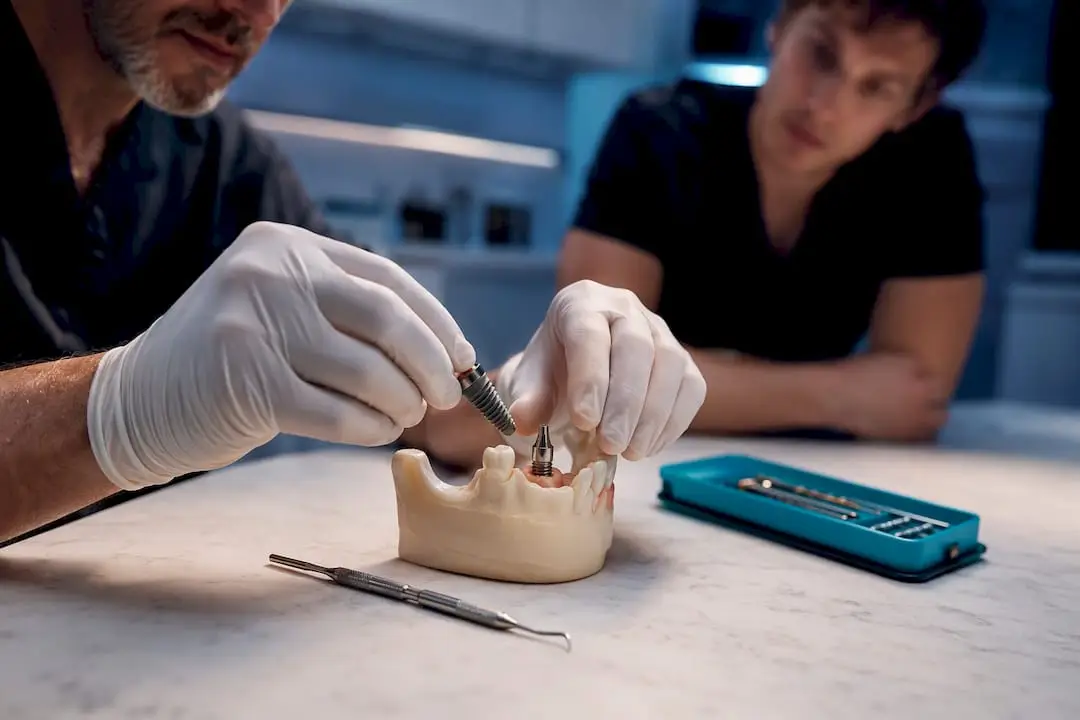
You can start placing implants once four things are in place: a prosthetic-driven treatment plan built on CBCT and a diagnostic wax-up, working knowledge of basic surgical technique, an office equipped for sterile surgery, and a mentor who reviews your early cases. Skip any one of these and you’re gambling with a procedure that carries real complication risk, not just a learning curve.
The evidence-based case for this is straightforward. Prosthetic-driven planning with a wax-up and CBCT is the standard recommended approach for a first implant case, because it lets you confirm the final restoration before you ever pick up a drill. Structured mentorship, meanwhile, shortens the learning curve during the highest-risk stretch of a new operator’s career. Neither replaces the other.
Your next move isn’t a textbook. It’s a decision:
- Book a hands-on course with live-patient exposure and direct faculty feedback.
- Line up a mentor who will review your first 20 to 30 cases, even remotely.
- Confirm your office has CBCT access (in-house or via a partner lab) before you schedule case one.
- Select your first patient using conservative site criteria, not whatever walks through the door next.
Key Takeaways
Starting implant placement safely requires prosthetic-driven planning, conservative first-case selection, and mentor-supervised repetition through roughly 20 to 30 cases before working fully independently.
| Point |
Details |
| Choose forgiving first cases |
Pick single bounded premolar or molar sites with adequate bone and healthy keratinized tissue. |
| Plan the crown before the drill |
Use a wax-up, intraoral scan, and CBCT to lock implant position before any osteotomy. |
| Control heat and torque |
Drill incrementally with continuous irrigation to keep bone below 47°C and stay within torque limits. |
| Log supervised cases |
Document mentor-reviewed cases through the 20 to 30 case range to catch selection and technique errors early. |
| Use a tiered pathway |
Onewd’s foundational-to-mentorship course structure maps directly onto these readiness benchmarks. |
Case Selection and Clinical Readiness: Which Patients and Sites to Start With
Your first implant case should be boring. Not “boring” as in unimportant, but boring in the sense that nothing about it should surprise you mid-surgery. That means a single, bounded edentulous site, ideally a premolar or first molar, flanked by natural teeth on both sides, with generous bone and healthy keratinized tissue.
The British Dental Journal’s clinician guidance recommends the single bounded premolar site as the ideal starting point for exactly this reason: it’s forgiving. A reliable rule of thumb is to look for sites that can accommodate a 10mm implant with at least 7mm of bucco-palatal width and 7mm of interproximal space. Below that, you’re flirting with the need for grafting, and grafting is not a beginner’s procedure.
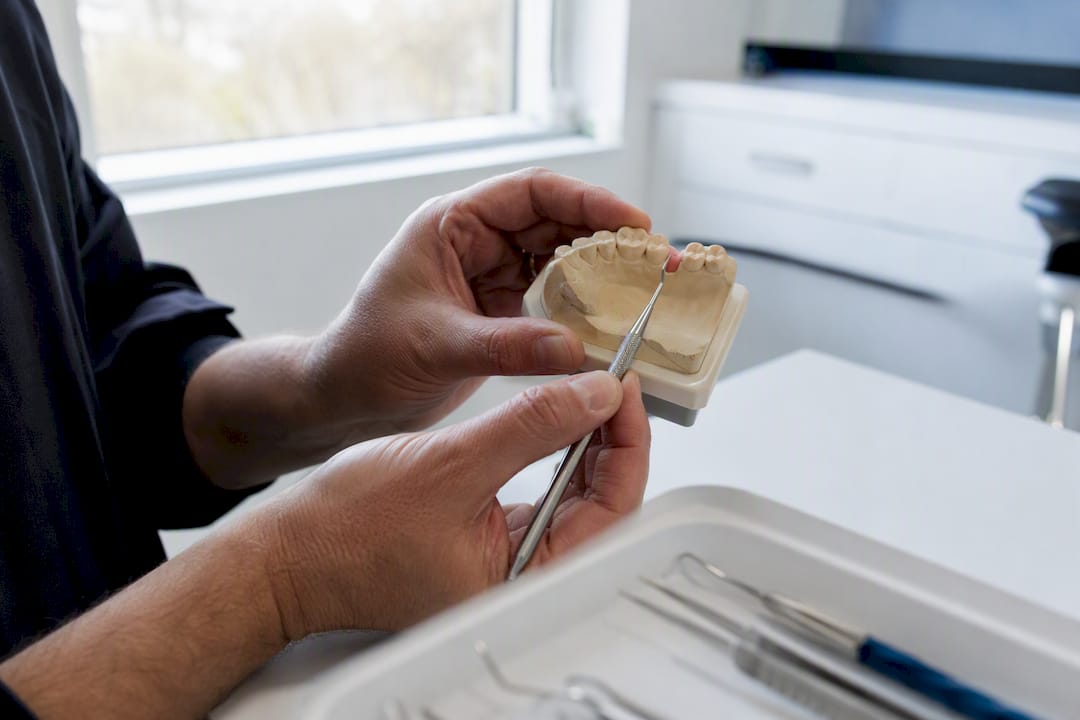
Patient factors matter just as much as the site. You want someone medically stable: controlled diabetes if present, no active periodontal disease, and either a non-smoker or a smoker who has been counseled on the higher failure risk and still wants to proceed. Bruxism should be mild or managed, not severe and unaddressed, since occlusal overload on a new implant in inexperienced hands is a common early failure point.
Certain findings should send the case elsewhere, at least for now:
- Any site requiring sinus lift or significant vertical/horizontal grafting.
- Proximity to the inferior alveolar nerve canal with less than 2mm of safety margin on CBCT.
- Uncontrolled bruxism or parafunction without a management plan.
- Moderate to severe periodontal disease anywhere in the arch.
- Immunocompromised patients or those on IV bisphosphonates.
Pro Tip: Keep a running list of “referred out” cases during your first year. Reviewing why you referred each one, three months later, teaches you more about case selection than any lecture will.
Training and Mentorship: How Many Supervised Cases Do You Actually Need?
Training for implant placement comes in layers, and confusing one layer for another is where a lot of new operators get into trouble. Online didactic coursework teaches you the biology, the classifications, and the treatment planning logic. A hands-on lab, usually on models or cadavers, teaches your hands the motion. Live-surgery observation shows you what a real case looks like when something doesn’t go exactly per plan. None of these, alone, makes you ready to operate independently.
Mentor-supervised clinical cases are the layer that actually builds competence. Research on general dentists’ implant outcomes points to a familiar pattern: complications trace back less to the procedure itself and more to insufficient training and weak case selection. A mentor catches the errors that don’t show up until you’re mid-surgery: a flap that’s compromising the papilla, a drill angle that’s drifting off the guide, a torque value that suggests you’ve overcompressed the bone.
Many experienced clinicians recommend mentor involvement through the first 20 to 30 cases, specifically because that’s the window where case-selection mistakes and technique errors are most likely to slip through unnoticed. After that range, most operators have internalized enough pattern recognition to self-correct.
How you document this pathway matters for your own development and, frankly, for your credentialing file. A reasonable structure looks like:
- Complete a foundational or Level 1 course covering diagnosis, planning, and basic surgical protocol.
- Log a minimum number of hands-on lab repetitions before touching a live patient.
- Perform your first 5 to 10 cases under direct mentor observation, using a checklist covering case selection, flap design, osteotomy sequence, and torque readings.
- Continue submitting case documentation, radiographs, and outcomes through case 20 to 30, even if observation becomes remote rather than chairside.
- Track CE credits earned at each stage, since many boards and credentialing bodies require documented hours specific to implant surgery.
The Implants & Surgery course category at Onewd organizes exactly this kind of tiered progression, moving from didactic foundations through hands-on labs and into mentor-guided live cases.
Prosthetic-Driven Planning: Wax-Ups, CBCT, and Surgical Guides
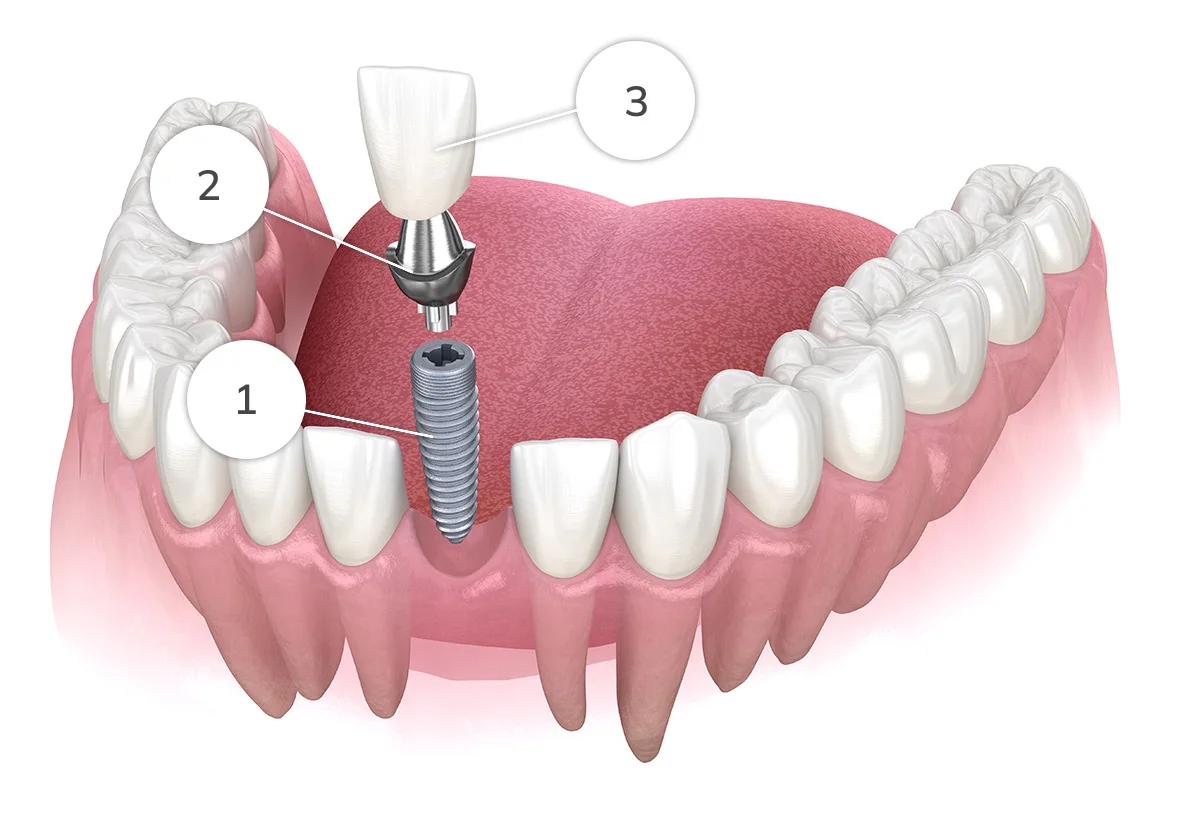
Implant position should be decided by the crown, not the other way around. That’s the entire logic of prosthetic-driven planning, and it’s the single habit that separates predictable first cases from ones where the restorative dentist is stuck apologizing for a screw-access hole in the middle of a central incisor.
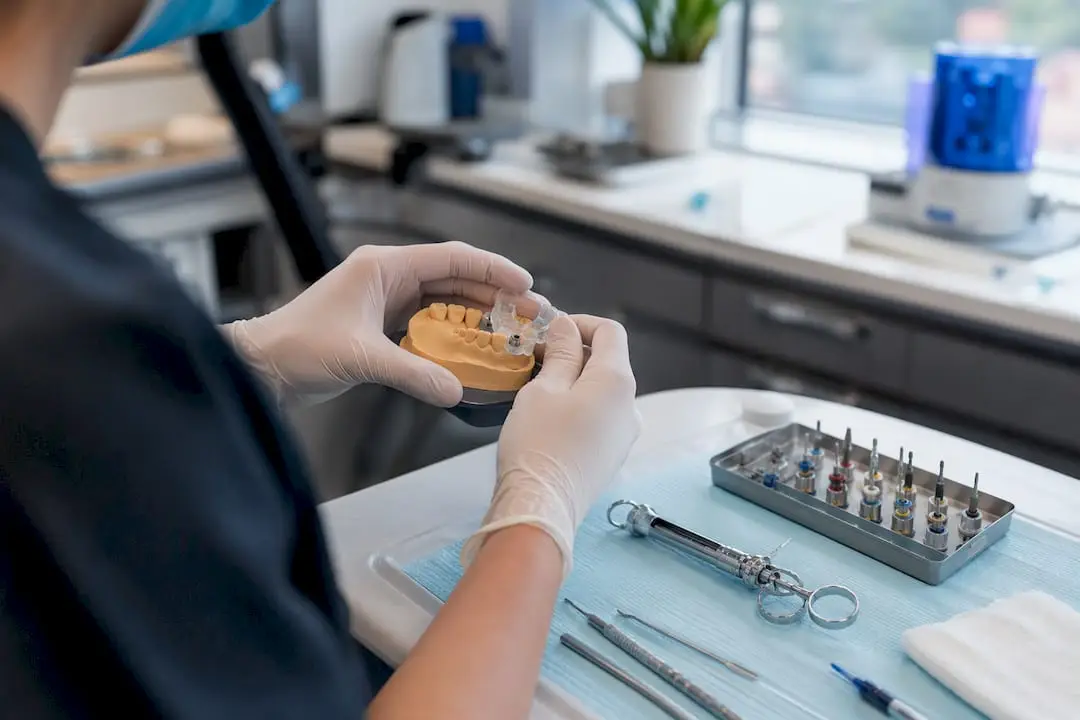
The workflow starts with a diagnostic wax-up or a digital mock-up of the final tooth. From there, an intraoral scan captures the existing arch, and a CBCT scan maps the bone volume, density, and critical anatomy like the inferior alveolar nerve canal and sinus floor. Virtual planning software overlays all three so you can place a virtual implant that satisfies both the biology and the future crown before you ever touch a patient.
Once that virtual plan is locked, it gets converted into a physical surgical guide. For early-career operators, this conversion step is where you have real choices:
- Fully guided surgery uses a guide that controls drill depth, angle, and often the final implant seating. This is the safest starting point for new operators.
- Pilot-guided surgery uses a guide only for the initial osteotomy, leaving later steps freehand. Reasonable once you’ve built confidence with fully guided cases.
- Freehand placement relies entirely on clinical judgment and anatomical landmarks. Reserve this for after you’ve logged real guided-case experience.
The NCBI’s surgical protocols overview backs fully guided approaches for formative placements precisely because they reduce the risk of malposition and preserve a proper emergence profile, the contour where the crown exits the gum tissue. Get that wrong and even a perfectly integrated implant can produce a restoration that’s impossible to clean or aesthetically off. A structured digital workflow, like the one outlined in Onewd’s guide to digital implant planning, removes most of the guesswork from this stage.
Surgical Technique and In-Office Setup: What You Actually Need on the Day
Osteotomy technique is where physics meets biology, and the physics doesn’t forgive sloppiness. Drilling generates heat, and bone temperature above roughly 47°C risks thermal necrosis, which can silently doom osseointegration even when everything looks fine on the day of surgery. The fix is unglamorous: incremental drilling with progressively larger burs, continuous and copious saline irrigation, and drills that are sharp, not the third or fourth reuse from the sterilization tray.
Torque control matters just as much. Most implant systems specify an insertion torque range, and exceeding it to force primary stability can compress bone enough to compromise blood supply at the osteotomy walls. An implant motor with reliable torque readout isn’t optional equipment for a beginner. It’s the single instrument most likely to save you from your own overconfidence on a tight site.
Your minimum equipment list before your first independent case should include:
- An implant motor with torque control and depth-stop capability.
- A complete, sterilized surgical kit matched to your implant system, with backup sterile drills on hand.
- Sterile saline irrigation, ideally with an external irrigation line rather than relying on handpiece-only cooling.
- CBCT access, either in-house or through a reliable partner radiology lab.
- Surgical suction, hemostatic agents, and a stocked implant/component inventory covering common diameters and lengths.
Your team needs to know their roles before the patient sits down, not while you’re mid-procedure. That means an assistant trained specifically in implant tray setup and sequencing, a clear protocol for who monitors the patient if sedation is used, and an emergency kit that’s actually been checked this quarter, not just stocked once and forgotten.
Pro Tip: Run a dry rehearsal of your first case, full instrument tray, guide, drill sequence, with your assistant before the patient is ever scheduled. Fifteen minutes of rehearsal catches problems that would otherwise surface at the worst possible moment.
Managing the Patient Journey: Consent, Recovery, and Recall
Informed consent for implant surgery needs to cover more ground than most general procedures. Patients should leave that conversation understanding the alternatives (bridge, partial denture, or no treatment), the realistic risks (nerve injury, sinus perforation, infection, implant failure), the expected timeline to final restoration, the ongoing maintenance commitment, and the full cost picture including the restorative phase.
Post-operative management follows a predictable pattern for straightforward single-tooth cases:
- Prescribe appropriate analgesics and, when clinically indicated, a short antibiotic course.
- Tell patients plainly what’s normal: some swelling and mild to moderate discomfort for 48 to 72 hours, minor oozing the first day.
- Give clear thresholds for what’s not normal: fever, spreading swelling, purulent discharge, or pain that worsens rather than improves after day three.
- Schedule a suture check or soft-tissue review within the first two weeks.
- Set the 3-month integration check, and if that looks stable, move toward restorative handoff and a 12-month radiograph to establish a peri-implant baseline.
That baseline radiograph matters more than it seems. Without it, you have no reference point to detect early bone loss at the next recall visit. Onewd’s breakdown of the site development timeline is a useful reference for mapping this entire sequence against your own scheduling calendar.
How Long Does a Straightforward Case Actually Take?
Chair time for a single implant placement usually runs 1 to 2 hours. The bulk of the timeline isn’t surgery, though. It’s biology waiting to catch up: most straightforward cases run several months from placement to final crown, and cases requiring grafting or more complex healing can take longer.
Loading protocol changes that math. Immediate loading, placing a temporary crown the same day as surgery, is sometimes appropriate in cases with excellent primary stability, but it’s a technique new operators should generally avoid until they’ve built a track record with conventional delayed loading. The surgical protocol literature treats loading choice as dependent on stability, site, and restorative demands, not operator preference, and beginners rarely have the torque-reading experience to judge stability correctly on the fly.
Build scheduling contingency into every early case:
- Block extra chair time beyond your estimate for the first ten cases.
- Coordinate the restorative handoff date with your lab before surgery, not after.
- Warn patients up front that grafted or borderline sites may extend the timeline past the typical range.
Common Complications: Prevention and What to Do When Something Goes Wrong
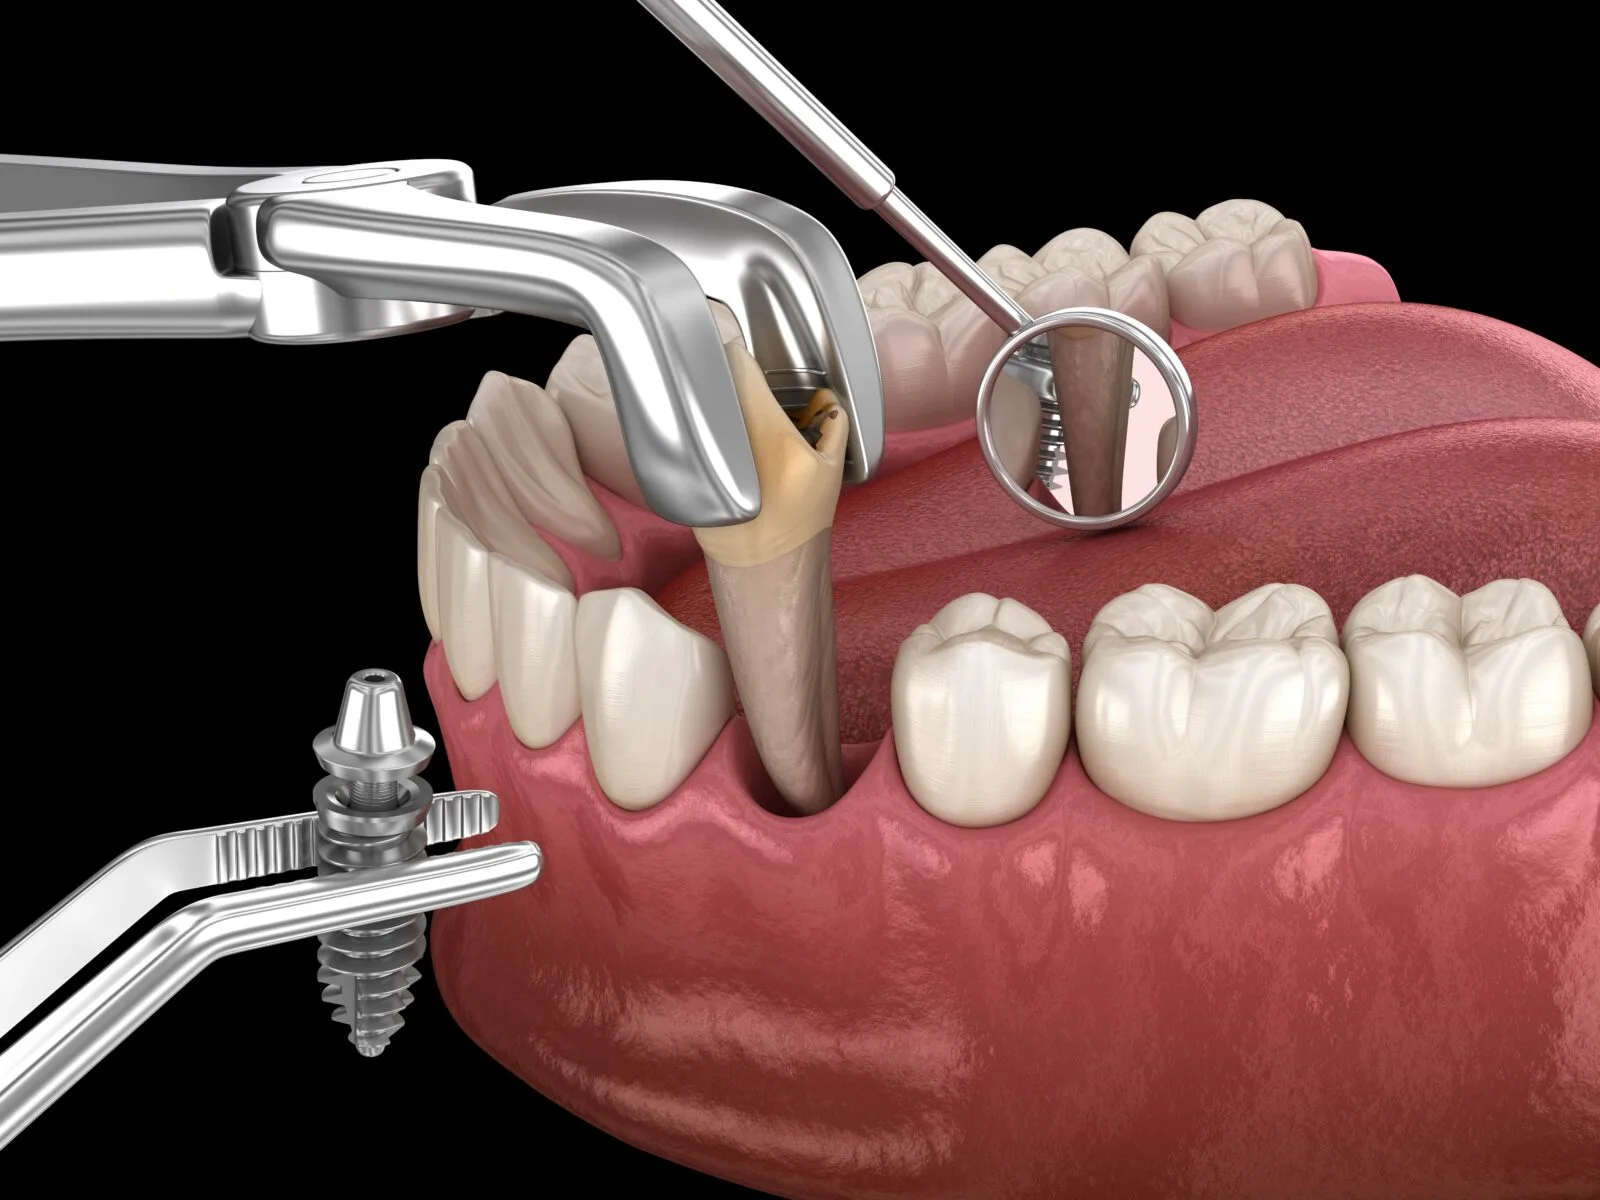
Complications in implant dentistry split into two clocks: the immediate surgical window and the years-long biological one. Intraoperative bleeding is usually manageable with pressure and hemostatic agents, but persistent or pulsatile bleeding warrants immediate reassessment of your osteotomy trajectory. Suspected nerve involvement, numbness or altered sensation the patient reports either in surgery or during recovery, needs prompt evaluation and, in most cases, specialist consultation rather than watchful waiting. Sinus perforation during a maxillary posterior placement is manageable in minor cases with membrane repair techniques, but anything beyond a pinpoint perforation belongs with a specialist.
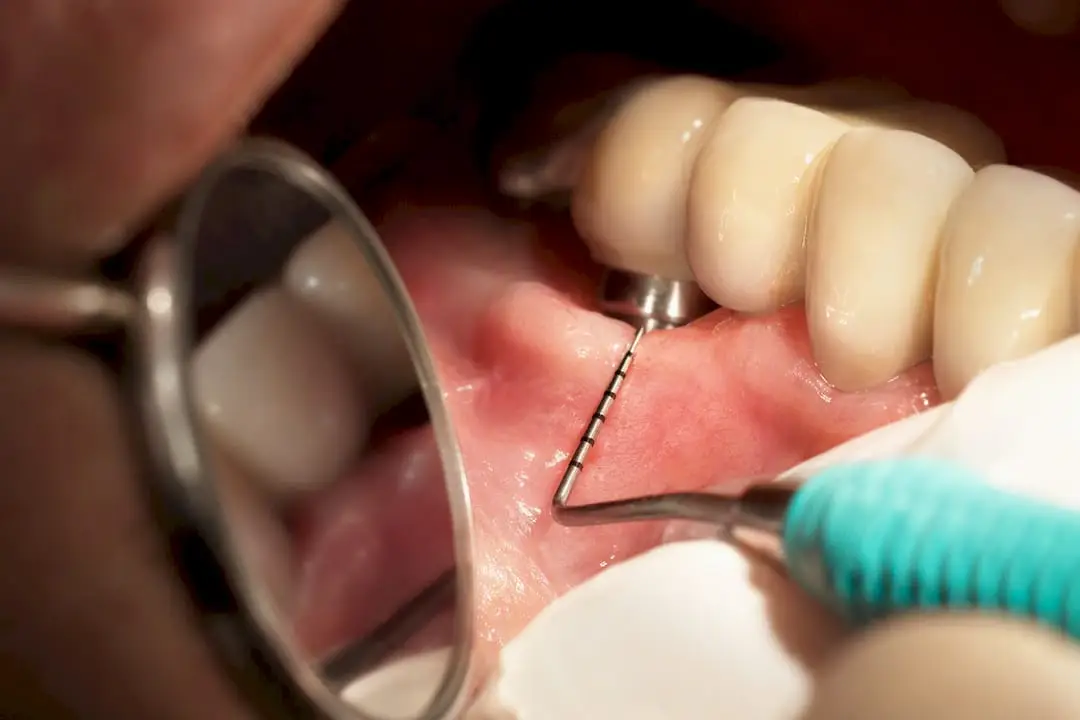
The longer-term risk is peri-implantitis, an inflammatory condition around the implant that can progress to bone loss if untreated. Reviews of implant complications note good long-term survival rates overall, but consistently flag peri-implantitis and mechanical issues like screw loosening as the recurring failure modes, tied closely to patient hygiene and maintenance compliance.
Prevention here is mostly about habits, not heroics:
- Reinforce oral hygiene technique specific to implant-supported crowns at every recall visit.
- Screen for early signs of peri-implant mucositis (bleeding on probing, tissue redness) before it progresses to bone involvement.
- Check screw torque and occlusion at each maintenance visit, since loosening often precedes more serious mechanical failure.
- Refer for removal or specialist management if you see progressive bone loss, mobility, or persistent infection that doesn’t resolve with non-surgical therapy.
Knowing when to refer isn’t a failure of competence. It’s the clearest sign of it.
Your First-Case Readiness Checklist
Run through this sequence before your first independent placement:
- Confirm medical history, CBCT findings, and prosthetic plan all agree on implant position and site suitability.
- Verify informed consent covers alternatives, risks, timeline, and cost.
- Check your surgical kit, backup drills, and guide against the treatment plan the morning of surgery.
- Follow your planned drill sequence with continuous irrigation and confirm torque values at seating.
- Complete discharge instructions, book the two-week and three-month follow-ups, and document everything in the chart before the patient leaves.
How Onewd’s Tiered Pathway Builds Toward Independent Placement
A structured pathway removes the guesswork about when you’re actually ready, rather than just when you feel ready. Onewd’s model moves clinicians through four stages: foundational didactic coursework, hands-on lab training on models, live-surgery observation with faculty narrating decisions in real time, and finally mentor-supervised clinical cases on your own patients.
Each stage has a defined outcome. Foundational courses build the diagnostic and planning vocabulary you need before touching a patient. Hands-on labs build the muscle memory for osteotomy sequencing and instrument handling. Live-surgery sessions, recorded and reviewed with faculty, expose you to the judgment calls that don’t appear in any textbook. Mentorship-driven cases close the loop with direct feedback on your own patients, the stage that research consistently ties to reduced complication rates.
The gap between finishing a course and placing your first independent implant isn’t knowledge. It’s supervised repetition, and that’s the stage most training programs skip entirely.
Depending on where you are now, the next resource to review differs:
One habit that changes your outcomes more than any technique
Early in a new operator’s implant career, most mistakes trace back to the same root cause: starting the osteotomy before the prosthetic plan is fully locked. It’s tempting to treat planning as a formality once the CBCT looks clean. It isn’t. The habit worth building is simple: never pick up a drill until the wax-up, the guide, and the restorative dentist all agree on the final tooth position. Competence in implant surgery doesn’t arrive as a single moment of confidence. It builds case by case, under supervision, until the checklist becomes instinct rather than a document you’re reading during surgery.
— Jake
Where to Start Your Implant Training at Onewd
If you’ve made it this far, you already know the gap isn’t information, it’s supervised repetition on real cases. That’s the specific piece most CE providers don’t offer, and it’s the piece Onewd built its pathway around.

For clinicians still building foundational knowledge, the Dental Implant Courses for Dentists guide breaks down which course level matches your current stage. If you’re past the didactic stage and ready for repetition under supervision, the hands-on dental implant training program puts you in front of live cases with direct faculty feedback rather than another set of slides. Both paths lead toward mentor-documented cases, CE credit you can log toward licensing requirements, and direct access to faculty who review your case selection before you’re operating solo. Check current course dates and enroll through the Onewd training courses page to lock in a seat before the next cohort fills.
Recommended