Diagnose, then treat non-surgically, then re-evaluate at six months. If probing depth still exceeds 5 mm with bleeding on probing, move to surgery. Maintain the implant on supportive peri-implant care indefinitely after that. That is the entire peri-implantitis treatment protocol in one sentence, and every clinician managing implant complications should have it memorized before the patient sits down in the chair.
The EFP S3 clinical practice guideline formalized this stepwise approach, and it has held up against newer randomized data and real-world case series published since. The endpoints that decide whether you escalate treatment are specific, not subjective:
- Probing depth ≤5 mm at re-evaluation
- No more than one bleeding site around the implant
- No progressive radiographic bone loss beyond initial remodeling
Peri-implantitis is not a cosmetic nuisance. Left untreated, it is a progressive inflammatory process that can destroy supporting bone and cost the patient the implant entirely, according to the clinical definition established in the literature. The protocol below walks through diagnosis, non-surgical therapy, surgical decision rules, adjunctive options worth knowing about, and the maintenance schedule that keeps a treated implant stable for years.
Key Takeaways
Peri-implantitis treatment succeeds when clinicians follow a stepwise sequence with fixed endpoints rather than treating indefinitely without a re-evaluation checkpoint.
| Point |
Details |
| Diagnose before treating |
Confirm bleeding, suppuration, and progressive bone loss against a documented baseline, not impression alone. |
| Start non-surgical |
Use it as both treatment and diagnostic phase; re-evaluate endpoints at six months. |
| Escalate on failed endpoints |
Move to surgery when probing depth stays above 5–6 mm with bleeding after non-surgical therapy. |
| Match defect to technique |
Use regenerative approaches for contained defects, resective or implantoplasty for non-contained ones. |
| Maintain indefinitely |
Recall every six months or sooner, with probing and prosthetic review at each visit. |
| Build surgical skill deliberately |
Onewd’s hands-on implant and mentorship courses help clinicians execute this protocol’s surgical and decontamination steps with confidence. |
Peri-Implantitis Diagnostic Criteria and Staging
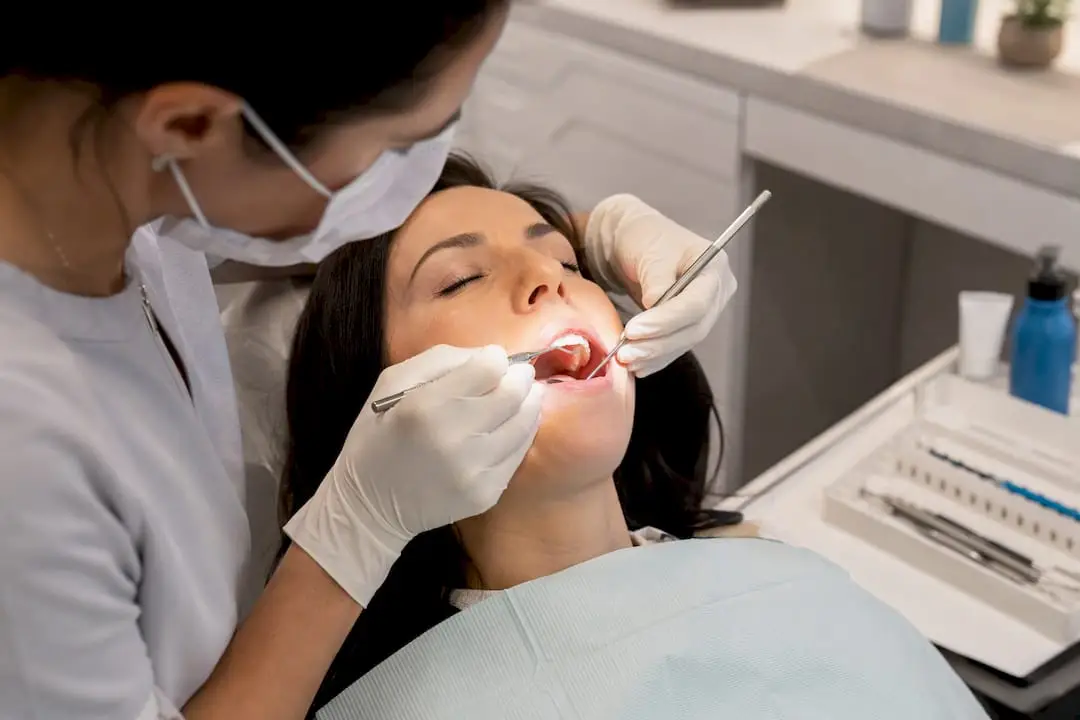
Peri-implant mucositis and peri-implantitis get confused constantly in practice, and the distinction changes everything about your treatment plan. Mucositis is bleeding on probing with no bone loss beyond the expected initial remodeling. Peri-implantitis adds progressive radiographic bone loss to that picture, often with suppuration and probing depths that have increased compared to a documented baseline exam. Without a prior radiograph, you are guessing at “progressive,” which is why baseline records matter so much for every implant you place.
A proper diagnostic workup at the first suspicious visit should include:
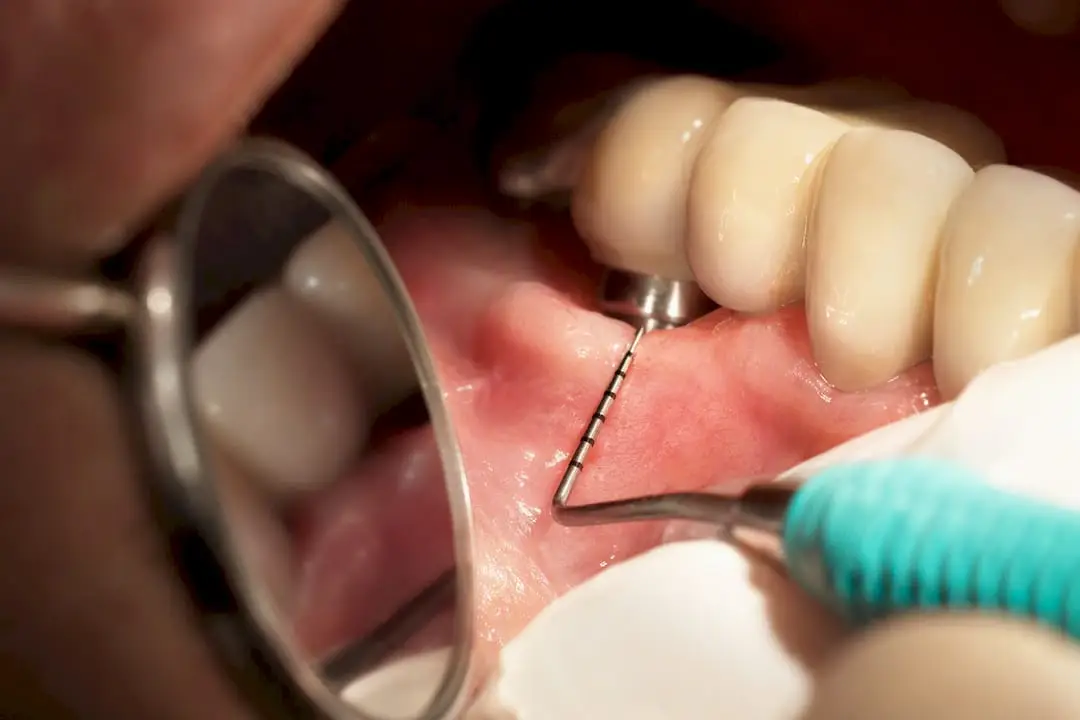
- A full six-point probing chart around the implant, recorded in millimeters, not just “deep” or “shallow”
- Bleeding on probing and suppuration status at each site
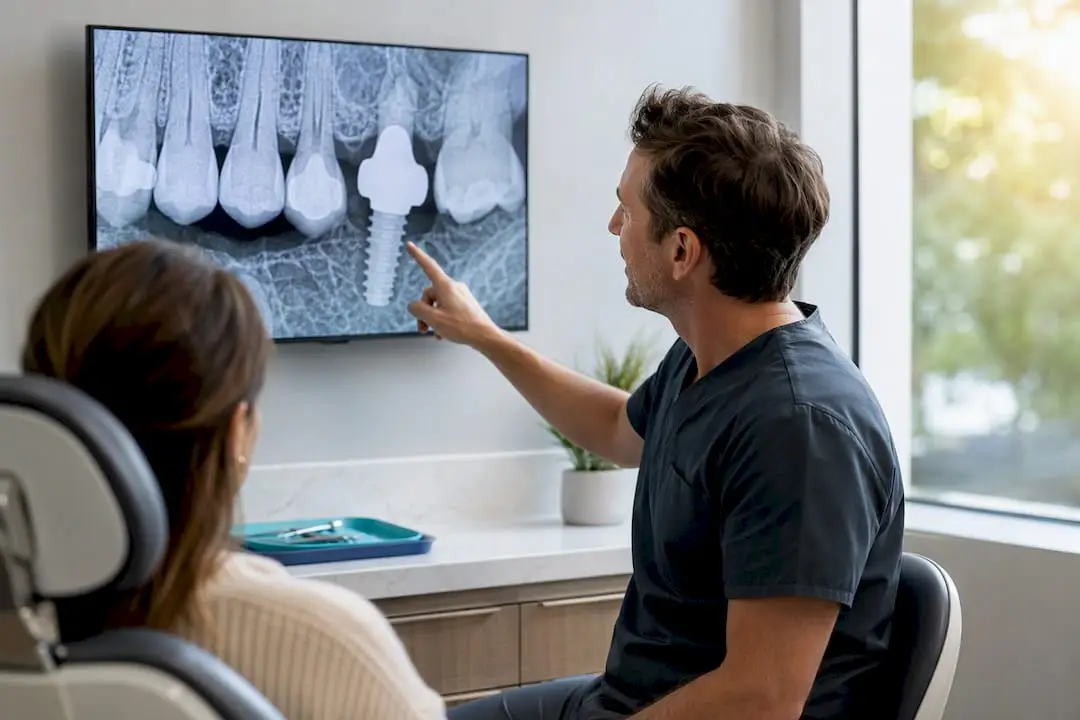
- Current periapical radiograph compared against the post-restoration baseline film
- CBCT imaging when buccal or lingual bone loss is suspected but not visible on a two-dimensional film
- A prosthetic assessment, including whether the restoration can be removed for full access
That last point trips up more clinicians than anything else on this list. You cannot adequately clean or stage a defect around an implant crown you have not evaluated for removability, and a cement-retained restoration with residual subgingival cement is one of the most common preventable causes of the disease you are trying to treat, a point narrative reviews of the condition emphasize repeatedly.
Once you confirm peri-implantitis, defect morphology drives the next decision. A contained, three-wall intrabony defect behaves very differently than a horizontal, supracrestal bone loss pattern with buccal dehiscence:
- Circumferential, three or four-wall defects generally respond best to regenerative approaches
- Non-contained, one or two-wall horizontal defects usually call for resective or implantoplasty techniques
- Combination defects need a judgment call intraoperatively, after flap reflection gives you a real view of the bone architecture
What Is the Non-Surgical Protocol for Peri-Implantitis?
Non-surgical therapy is not a watered-down version of treatment. Think of it as a diagnostic phase that also happens to treat mild-to-moderate disease outright. It tells you how the tissue responds before you commit to a scalpel, and for many early-stage cases, it resolves the problem on its own.
Start with oral hygiene reinforcement specific to the implant’s emergence profile, since standard flossing technique often fails around wide platform-switched restorations. Address risk factors in the same visit: smoking cessation counseling, glycemic control for diabetic patients, and a frank conversation about the difference between a screw-retained restoration you can remove for cleaning and a cemented one you cannot.
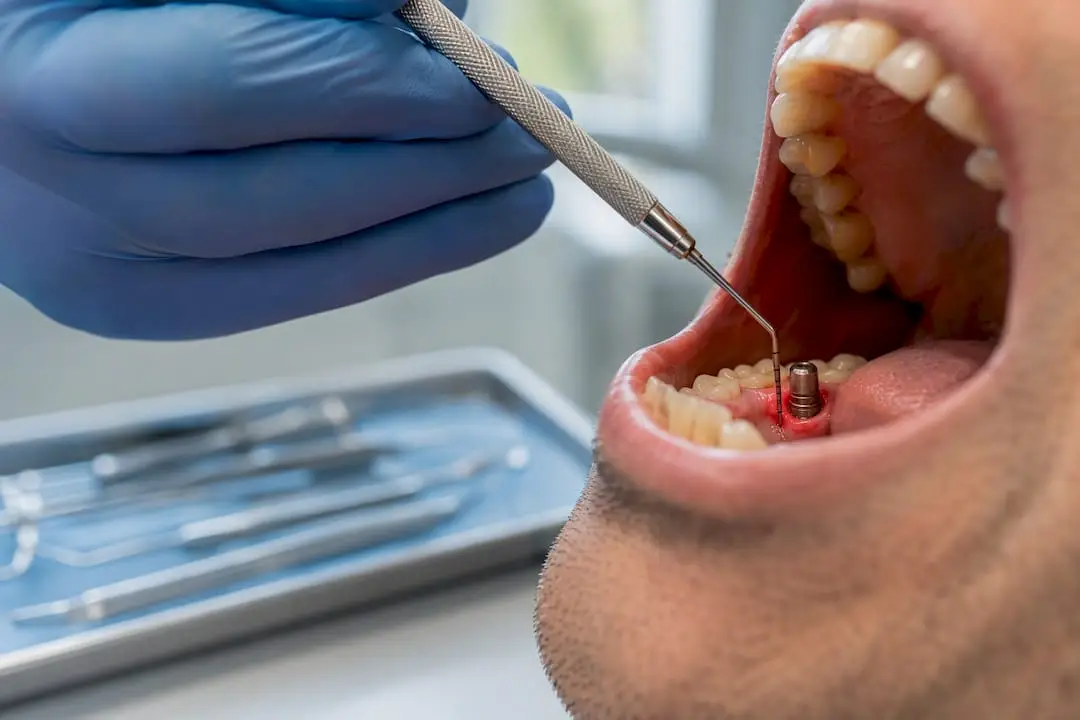
Mechanical instrumentation follows. Use instruments that will not gouge the titanium or zirconia surface, meaning titanium curettes, carbon fiber curettes, or ultrasonic tips with plastic or PEEK sleeves designed for implant surfaces. Steel curettes and metal ultrasonic tips scratch implant surfaces and create micro-grooves that harbor biofilm more aggressively than the surface you started with. Instrument both supragingivally and submarginally, and if the prosthesis allows removal, take it off. You will see and clean surfaces you would otherwise miss entirely.
Chemical adjuncts have a real but limited role. Short-term chlorhexidine irrigation around the time of instrumentation can help manage the acute inflammatory load, but no rinse substitutes for mechanical debridement. As one expert perspective on host-response factors puts it, there is no single antimicrobial rinse that resolves peri-implantitis on its own. Local antimicrobial microspheres or gels (minocycline-based products are the most studied) can supplement instrumentation in isolated pockets, particularly sites that remain inflamed after initial debridement.
Pro Tip: Photograph the peri-implant tissue and record your probing chart before you touch the site with an instrument. That baseline is what lets you objectively judge improvement at six months instead of relying on memory or impression.
Systemic antibiotics are not a routine part of this phase. Guideline-aligned practice reserves them for cases with clear signs of spreading infection or when culture and sensitivity data justify a specific agent. Prescribing amoxicillin or metronidazole by default, without an indication, does nothing for the biofilm sitting directly on the implant surface and contributes to unnecessary antibiotic exposure.
Non-surgical therapy typically produces bleeding-on-probing reductions in the range of 20% to 50%, with pocket depth reductions of roughly 1 mm or less. That is meaningful for mild disease and often insufficient for moderate-to-advanced defects, which is exactly why the re-evaluation step exists. Set a firm re-evaluation date around six months out, document the same measurements you took at baseline, and compare them side by side rather than relying on a general impression that “things look better.”
Surgical Treatment Options for Peri-Implantitis
Surgery becomes the right call when non-surgical therapy fails to hit its endpoints: probing depth still above 5 to 6 mm, bleeding or suppuration persisting, and radiographic bone loss that has continued rather than stabilized. Waiting longer than six months to make this call rarely helps the patient and often costs additional bone.
The access flap itself is straightforward in concept and demanding in execution. Reflect a full-thickness flap for complete visualization, remove all granulation tissue thoroughly, and get the implant surface fully exposed before deciding on resective versus regenerative treatment. This is not a five-minute procedure; inadequate degranulation is one of the most common reasons surgical therapy underperforms.
Once the defect is visible, match the technique to the morphology:
- Resective surgery or implantoplasty for non-contained, horizontal defects, particularly on buccal or supracrestal surfaces where regeneration is unlikely to succeed. Implantoplasty smooths exposed threads to reduce future plaque retention but sacrifices some implant surface area, so reserve it for non-esthetic zones.
- Regenerative surgery for contained, three-wall intrabony defects using bone grafts and, in select cases, barrier membranes. These defects have the best documented potential for bone fill, though outcomes are still less predictable than regenerative therapy around natural teeth.
- Combination approaches when a single defect shows both a contained component and an exposed threaded surface elsewhere on the implant.
Surface decontamination is where technique choice actually moves outcomes. Titanium brushes provide effective mechanical cleaning without the surface damage that steel instruments cause. Chemical agents (citric acid, hydrogen peroxide) are common adjuncts but carry inconsistent evidence on their own. Er:YAG lasers have some support for surface decontamination, though the evidence base remains mixed enough that guideline-aligned reviews stop short of recommending them as a routine, standalone requirement, per the systematic evidence summarized in the EFP guideline.
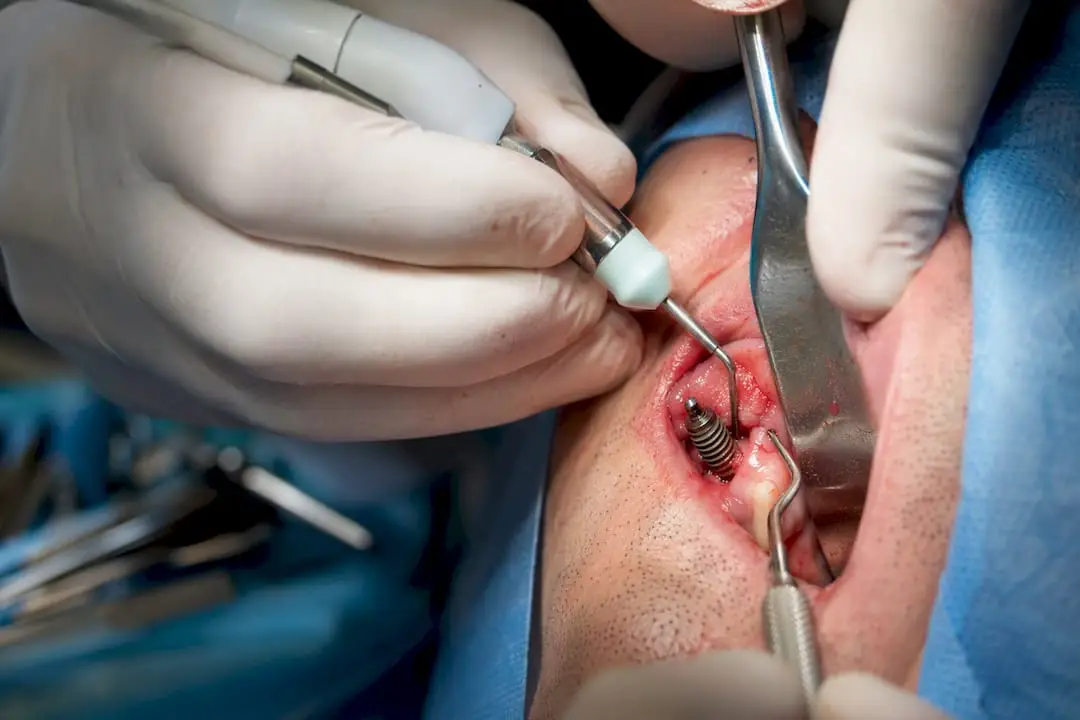
Electrolytic cleaning, marketed as GalvoSurge, has emerged as a genuinely different mechanism: a low-voltage current combined with buffered irrigation generates hydrogen bubbles that lift biofilm off the implant surface in situ, reaching threads and undercuts that instruments physically cannot access. Real-world clinical series report a mean probing depth reduction around 3.6 mm when it is incorporated into surgical protocols, along with meaningful increases in the proportion of implants with no bleeding on probing at follow-up. It is not a replacement for degranulation and flap access. It is a decontamination adjunct within that surgical sequence.
Adjunctive and Emerging Therapies Worth Knowing
Most adjuncts you will hear about at conferences have thinner evidence than their marketing suggests. Antimicrobial photodynamic therapy and oral probiotics fall into this category: guideline reviewers generally do not recommend either as a standard part of routine care, based on the systematic evidence underpinning the EFP guideline. That does not mean they are worthless, only that they should not replace mechanical debridement or risk-factor control in your treatment sequence.
- Local antimicrobial delivery (minocycline microspheres, chlorhexidine chips) remains a reasonable adjunct for isolated persistent pockets after mechanical therapy
- Systemic antibiotics stay reserved for documented spreading infection, not routine use
- Lasers and air polishing have mixed support as submarginal instrumentation adjuncts, useful in specific hands but not a guideline mandate
- Probiotics and photodynamic therapy currently sit in the “insufficient evidence for routine use” category
Electrolytic cleaning deserves a second look here because it is the adjunct with the most compelling real-world trajectory. Its mechanism, in-situ hydrogen bubble detachment, sidesteps a longstanding problem: implant macro-design (threads, micro-texturing) that makes mechanical access nearly impossible in certain geometries. Combined with surgical access, it is producing outcomes that older mechanical-only decontamination struggled to match.
The most interesting new data comes from precision medicine. A multicenter evaluation of AI-guided, minocycline-loaded nanoparticles delivered as an adjunct to mechanical debridement reported considerably larger gains than mechanical therapy alone: probing depth reduction of 2.8 mm versus 1.4 mm, bleeding-on-probing resolution of 84.5% versus 48.2%, and radiographic bone gain of 0.88 mm versus 0.16 mm at six months. That is a striking signal, but it comes from early multicenter work, not decades of confirmatory trials. Treat it as promising research to watch, not a standard of care to adopt tomorrow.
Pro Tip: When a patient asks about a laser or “the newest technology” for their implant infection, walk them through what mechanical debridement and prosthesis cleansability actually accomplish first. Adjuncts amplify a sound foundation. They don’t substitute for one.
When Should an Implant Be Removed Instead of Treated?
Not every peri-implantitis case is salvageable, and pretending otherwise wastes chair time and patient trust. Weigh these factors before committing to another round of surgery:
- Systemic risk profile, including uncontrolled diabetes, heavy smoking, or a history of failed regenerative attempts at the same site
- Whether the prosthesis can realistically be made cleansable going forward, or whether its design guarantees recurrence
- Defect morphology and remaining bone support around the implant
Document three things before proceeding: (1) the specific reason regeneration is predictable or not at this defect, (2) informed consent covering both retention and removal pathways, and (3) a clear prognosis statement the patient has actually seen and understood. When bone loss exceeds half the implant length, or the defect is non-contained with minimal remaining support, referral for removal and site redevelopment is often the more honest recommendation than a third surgical attempt.
Supportive Peri-Implant Care After Treatment
Treatment success is temporary without a maintenance system behind it. Recall intervals of six months or shorter are the general standard, tightened for patients with a history of peri-implantitis, poor plaque control, or uncontrolled systemic risk factors, consistent with maintenance recommendations from the consensus literature.
Each supportive visit should include full probing around every implant, bleeding-on-probing documentation, targeted debridement of any site showing early signs of recurrence, and a prosthetic review to confirm the restoration is still cleansable and intact. Radiographs at planned intervals catch bone changes before they become clinically obvious.
Pro Tip: Set the maintenance schedule with the patient before they leave the surgical consult, not after healing. Buy-in at the point of treatment planning predicts compliance far better than a reminder call six months later.
Any return of bleeding, suppuration, or measurable bone loss at a maintenance visit is a trigger to re-enter active treatment, not to “watch it” for another cycle.
How Long Does It Take to See Results After Treatment?
Non-surgical success looks like probing depth at or under 5 mm, no more than one bleeding site, and stable bone on radiographs, checked at the six-month re-evaluation. Surgical success uses the same clinical thresholds, confirmed radiographically at 12 months to allow bone fill to mature.
- Compare radiographs to the immediate post-surgical baseline, not the pre-treatment film, to isolate actual bone gain
- A 0.2 mm radiographic change is measurement noise; changes exceeding roughly 0.5 mm to 1 mm reflect genuine bone remodeling worth acting on
- Outcomes at these checkpoints determine whether the patient moves to standard supportive care or needs tightened recall and possible re-intervention
A clinician’s practical take on where this protocol breaks down
The guideline is solid. Where cases actually fail is execution: clinicians skip prosthesis removal because it is inconvenient, reach for antibiotics out of habit rather than indication, or document a probing chart so sparse that six-month comparison is meaningless. None of that is a flaw in the protocol itself.
If there is one honest gap, it is comfort with the surgical and decontamination side. Reading about implantoplasty and electrolytic cleaning is not the same as executing them confidently under real bleeding and limited access. Hands-on mentorship closes that gap faster than any journal article will.
Build Confidence in Peri-Implantitis Surgery Through Hands-On Training
Reading a protocol and executing it under real surgical conditions are two different skill sets. Onewd’s implant training pathway is built around that gap specifically: tiered courses that take clinicians from foundational debridement technique through advanced regenerative and decontamination workflows, with live-surgery modules and direct mentorship rather than lecture-only formats.

You will not find a substitute for standing next to an experienced surgeon during flap reflection on a real defect, watching how much granulation tissue actually needs removal, or getting corrected in real time on titanium brush technique. That kind of feedback loop is difficult to replicate solo, no matter how many guidelines you have read. Onewd’s training courses cover implant surgery, regenerative technique, and advanced decontamination approaches including the newer electrolytic and precision-delivery methods discussed above. If you are ready to move from protocol knowledge to confident execution, browse the current course schedule and find a module that matches where your skills currently stand.
Recommended