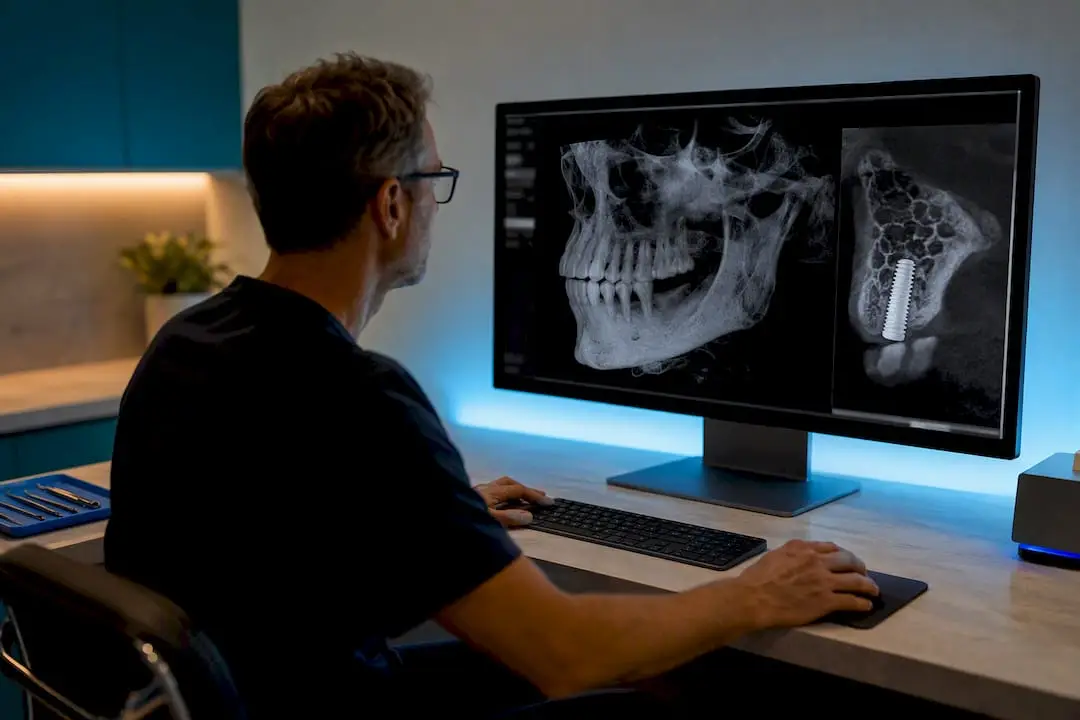
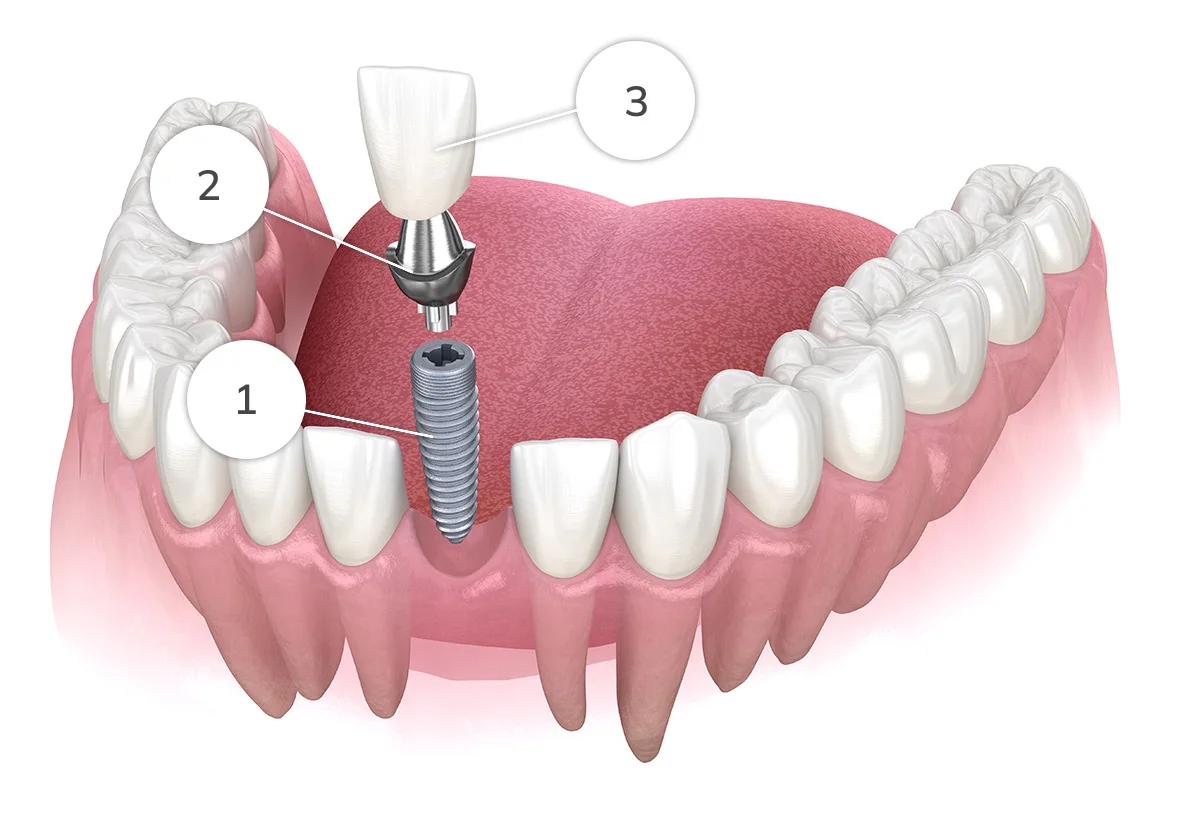
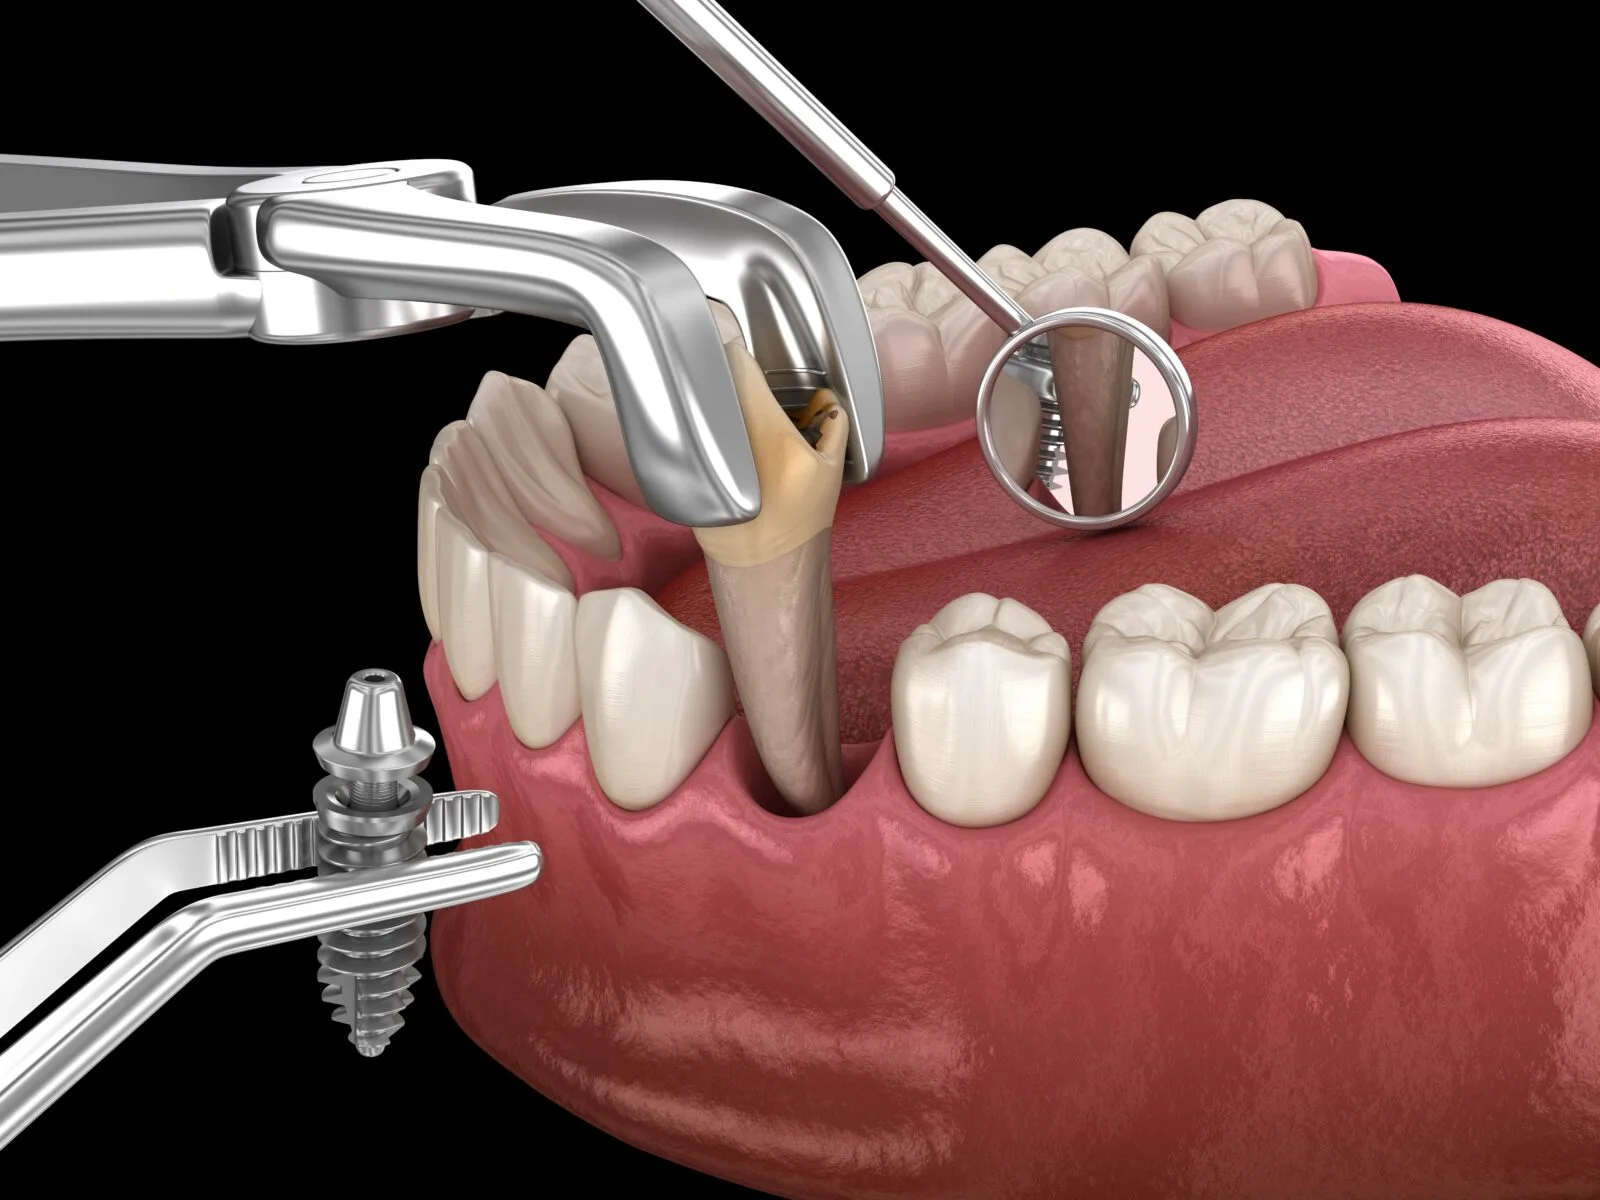
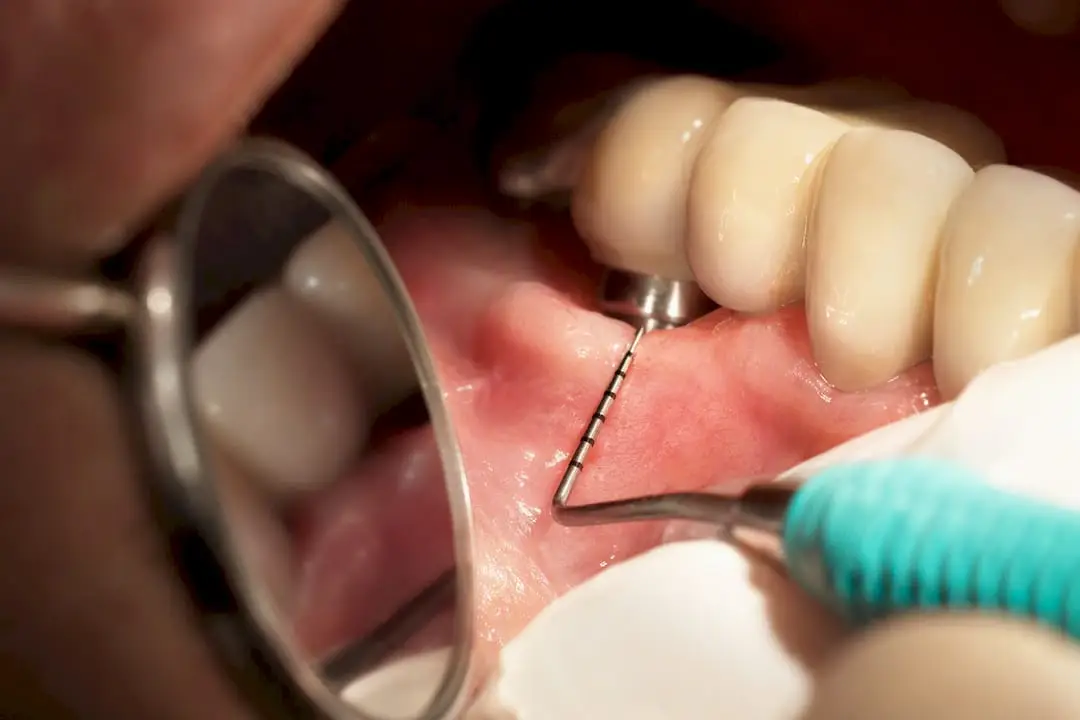
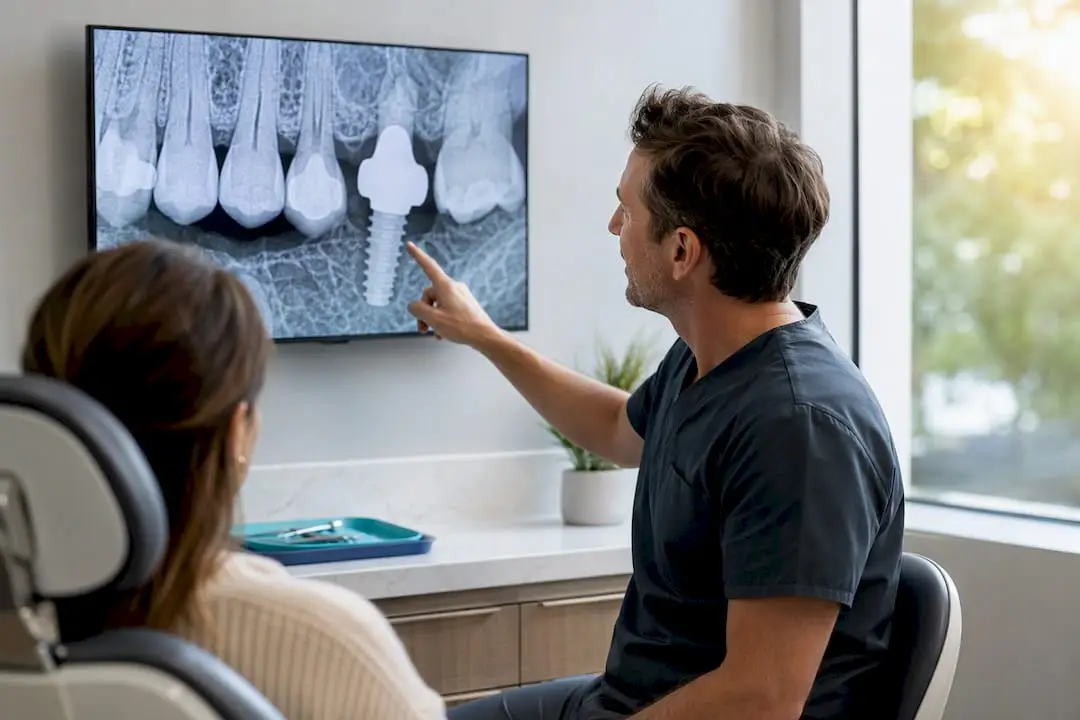
Bone density strongly shapes primary implant stability, and the number on a CBCT report should directly change your implant design, osteotomy technique, and loading timeline. CBCT gray values are pseudo-Hounsfield units, not calibrated CT numbers, so pair them with cortical thickness and confirm the real picture with insertion torque or ISQ at the osteotomy. Low-density sites generally call for modified drilling, a graft or staged approach, and a more conservative loading schedule.
Why Bone Density Matters for Implant Success
Primary stability is the mechanical grip an implant achieves the moment it’s seated, before any biological healing has occurred. Clinicians measure it two ways: insertion torque (Ncm), read directly off the handpiece or torque wrench, and implant stability quotient (ISQ), derived from resonance frequency analysis. Both numbers are proxies for the same underlying variable, which is how much bone, and what kind, is actually gripping the fixture.
A retrospective CBCT analysis of 118 implants found the pattern clearly: successful implants averaged 678 HU with 36 Ncm of insertion torque, while failed implants averaged just 459 HU and 28 Ncm. That’s not a subtle gap. Lower local density correlates with lower torque, and lower torque leaves less margin for error during early healing, before osseointegration has had time to lock the implant in mechanically.
Here’s the part that surprises a lot of clinicians: systemic bone disease doesn’t move the needle nearly as much as local site quality does. A pooled analysis covering studies from 2014 through 2024 found no significant difference in implant survival between osteoporotic and non-osteoporotic patients, with a risk ratio essentially at 1.00. Osteoporosis alone isn’t a reliable predictor of implant failure. What happens at the osteotomy site is.
That reframes the whole planning conversation. Instead of asking “does this patient have osteoporosis,” the more useful question is:
- What does the local bone at this specific site actually measure on imaging?
- What is the cortical thickness at the crest and along the osteotomy walls?
- What torque or ISQ value do I actually get chairside, regardless of what the CBCT predicted?
- Does the implant design, thread pattern, and taper match what this bone can support?
Treat the systemic diagnosis as background context, and treat the local density number, confirmed with your own hands at surgery, as the decision-maker.
How to Assess Bone Density Before Surgery
CBCT gray values look like Hounsfield units on your screen, but they aren’t calibrated the same way medical CT is. A true HU scale is anchored to water (0) and air (negative 1,000) on a fixed reference. CBCT gray values shift with exposure settings, field of view, voxel size, and even which machine model you’re using, which is why reviews of CBCT bone-quality protocols warn against treating a gray-value number as an absolute HU figure. Two scans of the same jaw on two different units can produce meaningfully different numbers.
That doesn’t make CBCT useless. It makes it a relative tool that needs a consistent protocol to be trustworthy. Here’s a practical sequence for using it well:
- Standardize your protocol. Use the same exposure settings, FOV, and voxel size across patients whenever your machine allows it, so gray values become comparable within your own practice.
- Measure cortical thickness directly, not just trabecular gray value. Cortical thickness at the implant neck is frequently a stronger predictor of insertion torque than overall trabecular density, and it’s visible on cross-sectional CBCT slices.
- Cross-check with a second index where available, such as a panoramic cortical index or a prior CT if the patient has one, especially for borderline cases.
- Confirm intraoperatively. Insertion torque and ISQ at the osteotomy are your ground truth. CBCT informs the plan; the drill and the torque wrench confirm it.
- Refer out when systemic bone disease is suspected but undocumented. A patient on long-term antiresorptive therapy or with unexplained fragility fractures warrants a DXA scan or a medical consult before you finalize a surgical plan.
Pro Tip: Keep a simple internal log of your own CBCT gray-value readings against actual insertion torque for a run of cases. Within a few dozen implants, you’ll have a practice-specific calibration curve that’s more useful than any published HU cutoff.
Bone Density Values and Insertion Torque by Jaw Region
Reported density figures vary by study and by CBCT calibration, but the regional pattern holds up across the literature: anterior mandible tends to run densest, posterior maxilla tends to run softest, and torque numbers track that gradient closely.
| Region |
Typical density pattern |
Reported mean torque/ISQ |
Clinical note |
| Anterior mandible |
Dense cortical, denser trabecular |
Higher insertion torque, often well above 35 Ncm |
Standard drilling protocols usually apply |
| Posterior mandible |
Moderate cortical, variable trabecular |
Moderate torque |
Watch for thinner crestal cortex near the mental foramen |
| Anterior maxilla |
Thinner cortical, moderate trabecular |
Moderate to lower torque |
Undersized osteotomy often improves initial fixation |
| Posterior maxilla |
Thin cortical, low-density trabecular (D3/D4) |
Lowest torque values, sinus proximity a factor |
Most likely site to need grafting or staged placement |
The 118-implant CBCT study cited above found a mean site density around 620 HU across the full sample, with a clear split between successful implants (678 HU, 36 Ncm) and failures (459 HU, 28 Ncm). That roughly 220-HU and 8-Ncm gap between success and failure groups is one of the more concrete numeric signals in the implant literature tying preoperative imaging directly to a clinical outcome. Treat any single HU reading as a relative signal within your own protocol, not an absolute cutoff transferable from someone else’s machine.
Bone Classifications and What They Mean Clinically
The Lekholm and Zarb system, first described for edentulous jaw assessment, remains the shorthand most implant clinicians use chairside, even though it predates CBCT. It splits bone into four types:
- D1: Dense, almost entirely compact bone. Rare outside the anterior mandible. High torque, but can be prone to overheating during drilling if you’re not careful with irrigation.
- D2: Thick cortical shell around dense trabecular core. Considered close to ideal for most implant protocols.
- D3: Thin cortical shell around lower-density trabecular bone. Common in the maxilla. Torque is usually adequate but less forgiving of drilling errors.
- D4: Very thin cortex, sparse trabecular bone. Classically the posterior maxilla. Primary stability is the main clinical challenge.
Multiple clinical series confirm that D2 and D3 bone generally produce the most predictable primary stability, while D4 sites consistently show lower insertion torque and demand technique changes rather than a standard drilling sequence.
Later revisions of the classification split some of these categories into subtypes to improve reproducibility between examiners, since the original four-category system left a lot of room for subjective judgment on a panoramic film. Don’t lean on the radiographic classification alone. Use it to set your expectations going in, then let tactile feedback during osteotomy and your actual torque or ISQ reading make the final call on technique.
What to Do Surgically When Bone Density Is Low
Low density doesn’t mean skip the implant. It means change the plan. Here’s a working order of operations for D3/D4 sites:
- Decide staged versus simultaneous grafting first. Simultaneous graft and implant placement works when you can still achieve reasonable primary stability apical to the deficient area. When density is poor throughout the site, staged grafting, typically healing 4 to 6 months before implant placement, gives more predictable volume and mechanical quality at re-entry.
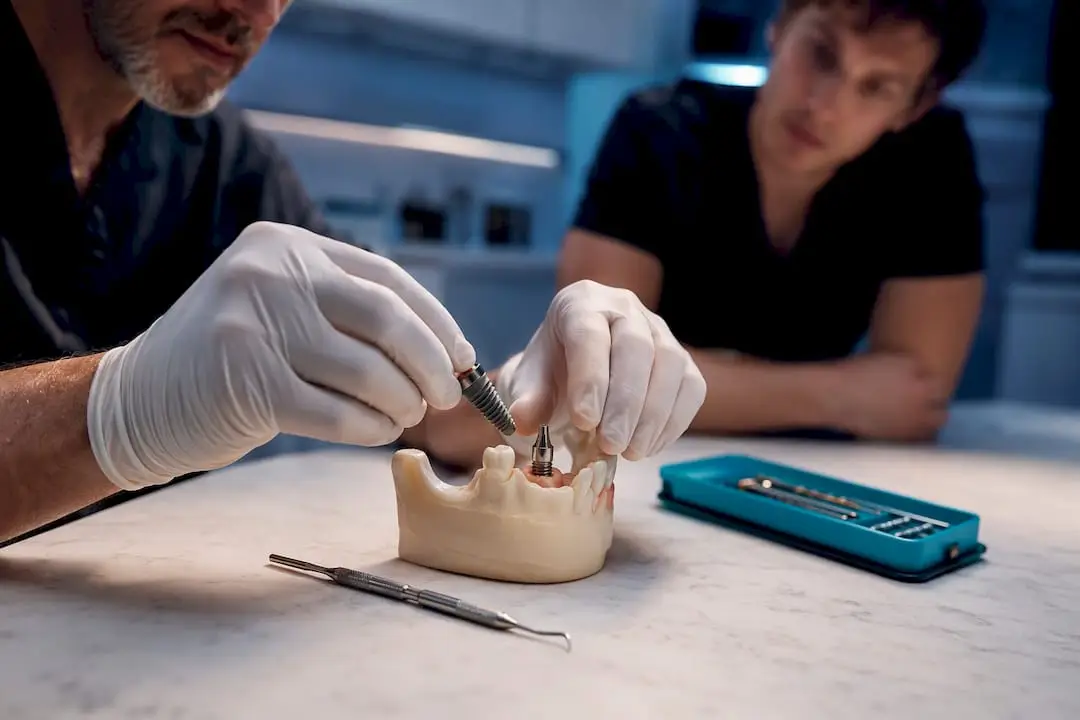
- Modify the osteotomy, not just the graft. Undersized drilling, leaving the osteotomy slightly narrower than the implant diameter, is the simplest adjustment. Osteotome-based condensation techniques push trabecular bone laterally rather than removing it, which can meaningfully improve local density right at the site.
- Choose implant geometry deliberately. Tapered, progressive-thread designs tend to generate more torque in soft bone than parallel-walled implants, since they compress bone as they seat rather than simply cutting through it. Onewd’s overview of implant design choices walks through how thread pattern and taper interact with bone quality at the point of insertion.
- Set your loading protocol by torque, not by calendar. Immediate loading generally requires torque in the 35 Ncm range or higher along with strong ISQ; anything below that threshold usually warrants delayed loading, giving the site more healing time before it bears functional force.
- Know when to consider alternatives. Short implants, and in select maxillary cases zygomatic or pterygoid approaches, exist for genuinely deficient sites, though evidence for biologic adjuncts like growth factors remains mixed and shouldn’t be oversold to patients as a guaranteed fix.
Pro Tip: When torque comes in lower than expected mid-surgery, don’t force it. Converting to a staged protocol chairside, closing over a graft, and returning in months, produces better long-term outcomes than pushing an underqualified implant to immediate function.
Staged site development also tends to produce better mechanical conditions at re-entry than trying to compensate purely through implant design, particularly where cortical deficiency, not just trabecular softness, is the underlying problem. Onewd’s clinical site development guide covers realistic healing windows for these staged cases.
Osteoporosis, Antiresorptive Drugs, and Other Risk Modifiers
The pooled evidence is clear on one point: a diagnosis of osteoporosis by itself shouldn’t be treated as a reason to decline implant treatment, since survival rates track closely with non-osteoporotic patients. What changes the calculation is medication history, not the diagnosis alone.
Patients on bisphosphonates or denosumab, especially at oncologic doses or after extended duration, carry a documented risk of medication-related osteonecrosis of the jaw (MRONJ). Reviews recommend individualized planning with medical consultation for long-term antiresorptive users before any surgical intervention, along with informed consent language that specifically addresses this risk.
Other factors worth folding into the same conversation:
- Smoking measurably reduces osseointegration success independent of bone density.
- Uncontrolled diabetes slows healing and can compound an already compromised local site.
- Long-term corticosteroid use affects bone turnover in ways that mirror some antiresorptive concerns.
Onewd’s guide to implant contraindications breaks down how to weigh these systemic factors against local bone findings during treatment planning.
A Pre-Op and Intra-Op Checklist for Low-Density Cases
- Before surgery: run a standardized CBCT protocol, measure cortical thickness at the planned site, and document full medication history, including any antiresorptive drugs.
- Consent conversation: explicitly mention the possibility of staged treatment or delayed loading if intraoperative findings differ from imaging predictions.
- At the osteotomy: set a torque threshold in advance, commonly around 35 Ncm for proceeding with standard loading, and know your fallback plan if you land below it.
- ISQ monitoring: take a baseline reading at placement, then reassess before considering restoration, particularly for any case that started below your torque threshold.
- Before loading: confirm adequate healing time has passed, generally longer in D3/D4 sites than in dense D1/D2 bone, before delivering the final prosthesis.
The gap between successful implants at 36 Ncm and failures at 28 Ncm is a useful mental benchmark to keep in mind at every one of these checkpoints.
The Judgment Call No Textbook Teaches
Every number in this article, HU values, torque thresholds, ISQ cutoffs, gives you a range to work within. None of them tell you what it actually feels like when a drill bites into unexpectedly soft bone, or when a graft needs re-shaping mid-procedure because the site development didn’t go as planned. That tactile judgment only comes from doing the procedure, ideally with someone experienced watching and correcting in real time.
Text-based learning gets you the framework. It doesn’t teach you when to abandon a plan and stage the case instead. Onewd’s hands-on implant training programs build that judgment through live surgery observation and mentorship, specifically around graft selection and site development decisions. If low-density cases make up a meaningful part of your practice, structured hands-on repetition closes a gap that no CBCT report or journal article can.
— Jake
Build Real Competence in Bone-Density Case Management
Reading the research gets you halfway. Closing the gap between knowing the torque thresholds and actually reacting correctly when a drill hits soft bone takes repetition under supervision, and that’s the piece most CE options skip. Onewd’s hands-on dental implant training puts you in live surgical settings where site development, graft selection, and osteotomy modification for low-density cases are taught directly, not just described.

Clinicians earlier in their implant journey often start with the foundational on-demand implant course to build a solid baseline before moving into live surgical training. For a full view of where each course fits your current skill level, the 2026 dental implant course guide breaks down tiered learning paths from foundational to advanced. Check current dates and enroll directly through the hands-on training page to get your next case on stronger footing.
Recommended