Level 3 • Implants & Surgery
Soft Tissue Grafting: Principles & Techniques
Advanced course on soft tissue grafting principles and techniques around teeth and implants.
- Self-Paced
- 5–6 CE Credits
- 6–8 Hours
- On-Demand
$449View Course

Implant Dentistry • Clinical Guide
A phenotype-first, evidence-backed workflow for implant dentists: when to graft at the 2 mm KMW/MT threshold, how to choose technique, and provisional...
Phenotype modification, building adequate keratinized mucosa and mucosal thickness around an implant, is indicated whenever keratinized mucosa width (KMW) sits under roughly 2 mm or mucosal thickness (MT) falls below about 2 mm, particularly in the esthetic zone. Target KMW with an apically positioned flap plus free gingival graft (APF+FGG); target MT with a bilaminar connective tissue graft (CTG) approach. Favor simultaneous augmentation in high-esthetic immediate placements and stage the graft separately in complex, high-risk, or periodontally compromised sites.
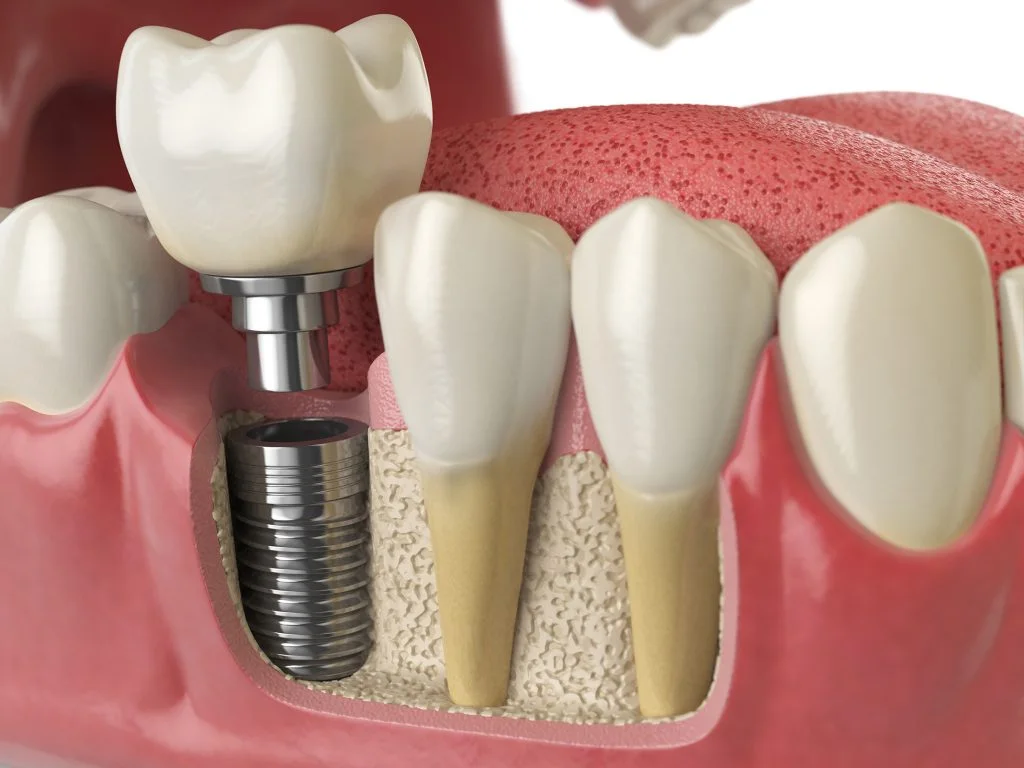
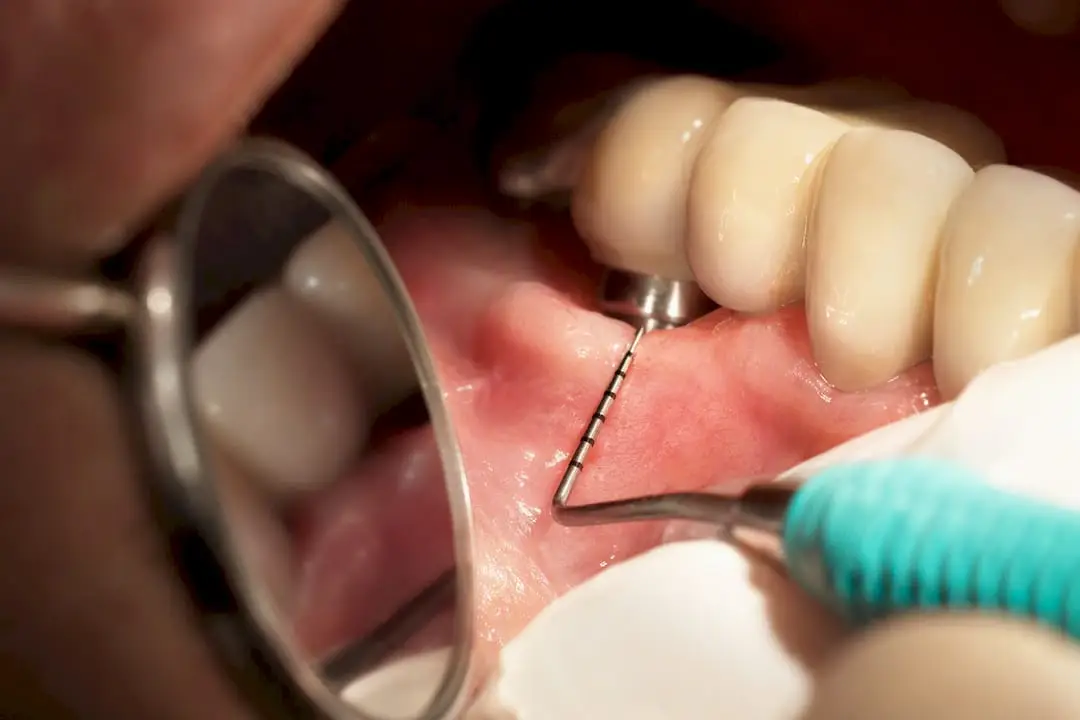
Peri-implant soft tissue phenotype (PSP) is the combination of three measurable traits: keratinized mucosa width (KMW, sometimes called keratinized tissue width or KTW), mucosal thickness (MT), and supracrestal tissue height (STH), the vertical dimension of mucosa coronal to the crestal bone. None of these get eyeballed reliably. KMW is measured with a periodontal probe from the mucogingival junction to the gingival margin at the mid-buccal aspect. MT is typically assessed by transgingival probing under local anesthesia, or noninvasively with ultrasound or cone-beam imaging where available. STH matters most at flap elevation and second-stage surgery, since it dictates how much room exists for a shallow versus deep sulcus.
The consensus threshold that keeps showing up in the literature is more than 2 mm of keratinized mucosa. A vote at the Cairo Opinion Consensus Conference found 25 of 29 experts agreed that keratinized/attached mucosa width influences long term peri-implant soft tissue stability, tying it directly to plaque control and mucosal resilience. This is not a universal cutoff etched in stone. It is a working target grounded in observational and interventional data, and individual risk factors (smoking, hygiene compliance, prosthetic design) shift how strictly you should enforce it.
Why do the numbers matter clinically, and not just academically? Thin phenotype tissue has a weaker biologic seal against the implant surface, tears more easily during hygiene, and shows less resistance to recession under mechanical loading from a poorly contoured restoration. Thicker, keratinized tissue tolerates the friction of a toothbrush and the mechanical stress of an ill-fitting provisional far better than thin, mobile mucosa ever will.
For measurement tools, accuracy varies more than most clinicians assume:
A practice that pairs a probe exam with periodic digital scans, using a workflow like the one outlined in digital implant planning, builds a far more defensible pre and post op record than probing alone.
Not every implant needs a graft. The decision hinges on phenotype, esthetic demand, and the patient sitting in the chair.
Augmentation is generally indicated when you see any combination of the following: a thin biotype visible through the periodontal probe (the “see through” test with a probe against the buccal tissue), a high smile line that will expose the implant collar and any margin discrepancy, less than 2 mm of keratinized mucosa, mobile or nonattached mucosa around the site, or a site where hygiene access is compromised by anatomy or restoration design.
The decision logic splits along a fairly clean line once you know what you’re solving for:
Documentation before you touch a blade should include standardized photo angles (retracted frontal, close-up buccal, occlusal), a full periodontal probing chart of the site and adjacent teeth, a digital scan or physical impression for baseline volumetric comparison, a written provisional restoration plan, an assessment of adjacent papilla height and shape, and a measurement of vestibular depth to confirm adequate flap mobility.
Pro Tip: Take your baseline photo and scan before administering anesthesia. Vasoconstrictor-induced blanching changes tissue color and apparent thickness enough to throw off your before/after comparison later.
Red flags that should slow you down or change your plan entirely: active smoking (which measurably impairs graft vascularization and increases necrosis risk), uncontrolled periodontal disease anywhere in the mouth, poorly controlled diabetes, and a patient history of radiation to the surgical field. None of these are absolute contraindications on their own, but each one shifts the risk-benefit calculation toward staged, more conservative interventions rather than an ambitious simultaneous procedure.
Soft tissue management can happen at five distinct points in the implant workflow, and picking the wrong one is a common source of avoidable rescue surgery.
The five windows are: pre-implant (ridge preservation or phenotype modification before placement), simultaneous with implant placement (immediate augmentation at the same surgical visit), second-stage or abutment connection (when uncovering a submerged implant), during the healing interval before final restoration delivery, and post-restoration as a rescue procedure once recession or thin tissue has already become a visible problem.
Immediate, simultaneous augmentation has real evidence behind it for esthetic zone cases. Pooled analyses summarized by the EAO working group show that soft tissue augmentation performed with immediate implant placement measurably reduces midfacial mucosal recession and increases midfacial thickness compared with no augmentation at all. That is the strongest argument for grafting at the time of surgery rather than waiting: you are working with intact papillae and undisturbed vascularity, conditions that get progressively harder to recreate once a case goes sideways.
Staged augmentation still wins out in complex or high-risk sites. Grafting into a site with active infection, insufficient keratinized tissue to anchor sutures, or unpredictable flap mobility invites necrosis and graft failure. Splitting the procedure, dealing with the deficiency first and placing or restoring the implant afterward, trades a longer timeline for a more predictable result.
A few practical notes worth internalizing:
Technique choice is not a matter of preference. Each approach produces a different tissue outcome, and the evidence base is specific enough now that guessing is no longer defensible.
The apically positioned flap with free gingival graft remains the workhorse for widening keratinized tissue. You elevate a split or full-thickness flap, position it apically to expose periosteum, and secure a free gingival graft harvested from the palate over the recipient bed. Network meta-analysis data identifies APF+FGG as the most effective combination specifically for KMW gain, outperforming other technique combinations on that single metric.
Donor site morbidity is the main drawback. Palatal harvest sites bleed, hurt for a week to ten days, and occasionally need a hemostatic dressing or stent for patient comfort. This technique earns its keep in posterior sites and hygiene-driven cases where you need a durable band of keratinized tissue and color match to the palate is not a concern, since FGG tissue often looks visibly different from surrounding mucosa.
For thickness, the bilaminar CTG technique is the better tool. You harvest a subepithelial connective tissue graft, typically from the palate using a trap-door or single-incision technique, and tunnel or pouch it beneath a partial-thickness flap over the implant site. The same network meta-analysis found bilaminar techniques using CTG deliver the largest mucosal thickness gains of any studied approach, making this the default choice when midfacial margin camouflage is the clinical goal.
Stabilization matters as much as graft selection. Sling sutures or a combination of horizontal mattress and simple interrupted sutures keep the graft compressed against the recipient bed without strangling its blood supply. Watch the graft color in the first 48 hours: healthy pink to slightly pale is normal, but a white, blanched graft under visible tension usually means you tied your sutures too tight and cut off perfusion.
Pedicle flaps and roll techniques reposition existing tissue rather than importing a graft, which makes them useful for localized ridge deficiencies or a single papilla that needs volume without a full donor-site procedure. A roll flap, rotating a strip of palatal tissue into a buccal defect, works well for isolated pontic sites or single-tooth ridge concavities where color match to adjacent tissue is a priority.
Tunnel techniques minimize flap reflection and preserve blood supply to the papillae, which lowers postoperative discomfort and speeds healing. The trade-off is technical difficulty: working through a closed tunnel with a graft or pin-retained collagen matrix demands more instrumentation skill than an open flap approach, and visibility during graft placement is limited.
A short list of details that matter more in practice than in any textbook description:
Pro Tip: Photograph every graft at suture removal, not just at final healing. That early image is the most useful diagnostic record you will have if the case does not heal the way you expected, and it teaches you more about your own technique than the final result ever will.
Refining suturing patterns for these procedures is worth deliberate practice time outside of live surgery; a structured review of suturing techniques for oral and implant surgery gives you a reference for pattern selection before you are standing over a patient.
The efficacy-versus-morbidity trade-off between autogenous tissue and manufactured substitutes is the single most consequential material decision in this field, and the evidence is fairly consistent across studies.
Autogenous CTG and FGG generally produce larger volumetric and KMW gains than substitutes across systematic reviews. A randomized comparison further found CTG placed before prosthetic treatment outperformed a xenogeneic collagen matrix for improving peri-implant soft tissue thickness. If maximum tissue gain is the clinical priority and the patient can tolerate a second surgical site, autogenous tissue remains the stronger performer on volume alone.
Soft tissue substitutes, acellular dermal matrix (ADM), xenogeneic collagen matrix (XCM), and platelet-rich fibrin (PRF) among them, close part of that gap while eliminating the palatal donor site entirely. Patients report less postoperative pain and faster return to normal function with substitutes, and several trials show measurably better patient-reported outcome measures (PROMs) even when the raw millimeter gain trails autogenous tissue.
A quick framework for the material decision:
Handling technique differs meaningfully between materials. Collagen matrices need adequate hydration before placement (follow the manufacturer’s soak time, usually several minutes in sterile saline) and benefit from trimming to slightly oversize the recipient bed since most matrices contract during healing. Fixation with resorbable tacks or sling sutures prevents micromovement during the critical first week, when early vascularization determines whether the material integrates or sloughs. A deeper comparison of these options and the operative steps for each lives in this clinical guide to soft tissue grafting.
Surgery gets the tissue in the right place. The provisional restoration decides whether it stays there and what shape it takes at the gingival margin.
A screw-retained provisional restoration, contoured with a slight concave or straight emergence profile below the margin, guides soft tissue into a stable, scalloped architecture without depending on a temporary cement that risks residue and inflammation near the graft. Expect a small amount of tissue blanching immediately after provisional placement if the contour is applying appropriate, controlled pressure; persistent blanching after a week, however, signals overcontouring, not successful conditioning.
Contour adjustments over successive visits gradually push tissue into position around the emergence profile, building papilla height and a natural-looking zenith position before the case ever reaches the lab for a definitive restoration. This staged conditioning process typically runs 6 to 12 weeks depending on how much shaping is needed and how the tissue responds at each adjustment visit.
Getting that shape transferred accurately to the final restoration requires deliberate lab communication. A custom impression coping, built by injecting flowable composite around a stock coping while it is seated in the mouth, captures the exact provisional contour and reproduces it in the working cast. Digital workflows accomplish the same goal by scanning the provisional in place and exporting that geometry directly to the lab, cutting a manual step out of the transfer process and reducing the chance of contour distortion between clinic and lab bench.
A few practical points worth flagging for any team managing this phase:
Cut through the volume of published literature on this topic and a handful of clear, quantifiable conclusions hold up across multiple independent analyses.
APF combined with FGG is the strongest performer specifically for keratinized mucosa width gain. Bilaminar techniques using CTG deliver the largest mucosal thickness gains of any studied combination, a finding consistent across the network meta-analysis by Tavelli and colleagues. Soft tissue augmentation performed alongside immediate implant placement measurably reduces midfacial recession and increases midfacial thickness relative to no augmentation.
What the evidence does not support is equally important to state plainly. Adding soft tissue augmentation does not consistently move the needle on marginal bone level outcomes when compared with hard tissue grafting alone, and long-term protection against peri-implantitis remains an open, unresolved question rather than a settled benefit of soft tissue procedures. Treat phenotype modification as an esthetic and soft-tissue-stability intervention first, not a guaranteed shield against bone loss around the implant.
| Outcome measure | Best-performing technique | Reported effect |
|---|---|---|
| Keratinized mucosa width (KMW) gain | APF + FGG | Largest KMW increase among compared techniques |
| Mucosal thickness (MT) gain | Bilaminar CTG | Largest MT increase among compared techniques |
| Midfacial recession, immediate placement | Augmentation vs. no augmentation | Reduced recession in pooled analyses |
| Midfacial thickness, immediate placement | Augmentation vs. no augmentation | Increased thickness in pooled analyses |
| Marginal bone level | Soft tissue + hard tissue vs. hard tissue alone | No consistent additional benefit |
Translate those millimeter figures into what they mean chairside: a third of a millimeter less recession does not sound dramatic until you have watched a thin midfacial margin recede exactly that much over eighteen months, exposing a gray implant shoulder that no shade of porcelain can hide. The PROM data tends to favor whichever technique involved less surgical trauma, meaning substitutes and tunnel approaches consistently score better on comfort even when autogenous grafts win on raw volume.
Reading the network meta-analyses tells you which technique wins on paper. Building the hand skill to execute a tension-free CTG tunnel or a clean palatal FGG harvest is a different kind of learning, and it does not transfer from a journal article.
Flap tension management is the detail that separates predictable grafts from necrotic ones, and it is nearly impossible to teach through text. Periosteal releasing incisions, suture spacing, and knowing exactly how much a flap can advance before blanching begins are things you feel with your hands after repetition, ideally with a mentor watching over your shoulder correcting technique in real time.
Before ever touching a live patient, practicing tissue manipulation on suture pads and simulation models builds the muscle memory for knot tension and needle angle that keeps grafts alive.
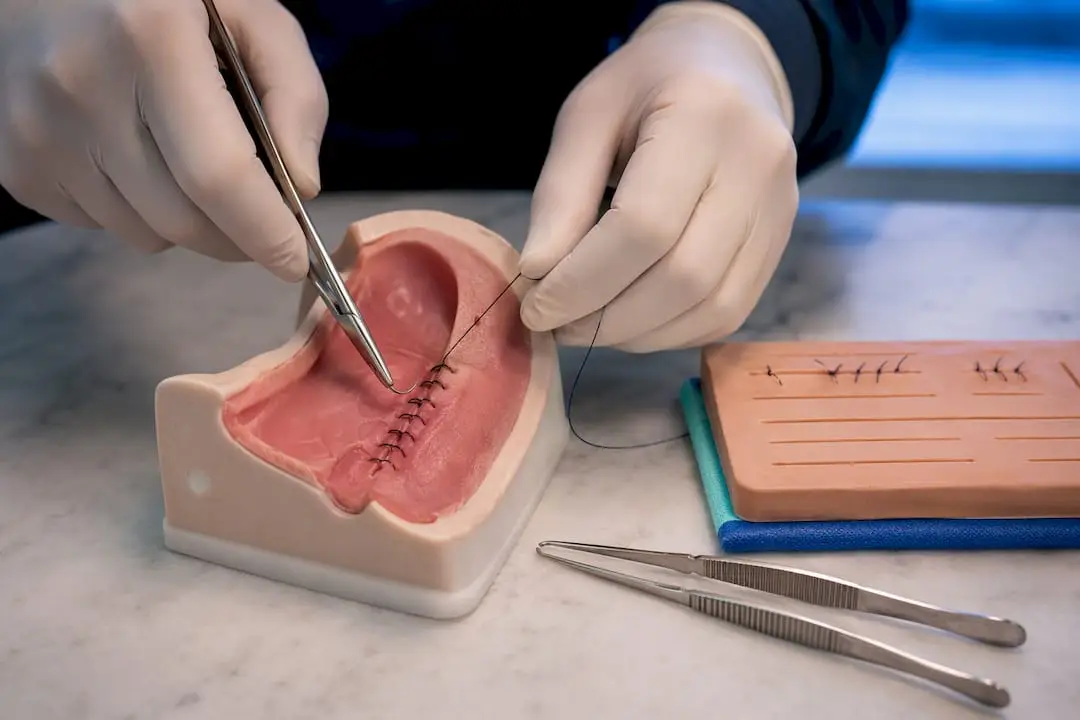
For clinicians serious about mastering this skill set specifically, targeted instruction in graft material selection and handling, suturing patterns for oral surgery, and structured site development sequencing builds the operative confidence that a journal article alone cannot provide.
Soft tissue phenotype deserves the same standing in implant planning as bone volume already has, evaluated and documented before the first incision, not patched after recession appears. What the field genuinely lacks are standardized PROMs and longer RCTs comparing substitutes against autogenous grafts over five or more years, not three-year snapshots. Volumetric digital imaging is the quality-improvement tool most practices already own and most still underuse for tracking these outcomes.
— Jake
Reading the evidence on APF+FGG versus bilaminar CTG tells you which technique wins on paper. Executing a tension-free graft on a real patient is a different skill entirely, one that live surgery mentorship builds faster than any journal review can. A tiered training model that pairs online lecture content with hands-on, mentor-guided live surgery allows practice of tissue-handling judgment before applying it in difficult cases.

Clinicians who want to master graft selection and handling can start with the Grafting Materials: Biology, Selection, Handling & Clinical Application course, which covers the autogenous-versus-substitute decision in operative depth. Those focused on the surgical workflow end-to-end, from extraction through final implant placement, will find the From Extraction to Implant: The Complete Surgical Workflow course builds the site development and grafting sequence into a single mentored program. Browse the full training courses catalog to map a path from your current skill level to where you want to be operating next year.
Educational disclaimer: Content is provided for professional education and is not a substitute for a clinician's independent judgment, applicable standards, manufacturer instructions, or relevant laws and regulations.
Related Training
Level 3 • Implants & Surgery
Advanced course on soft tissue grafting principles and techniques around teeth and implants.
Level 1 • Implants & Surgery
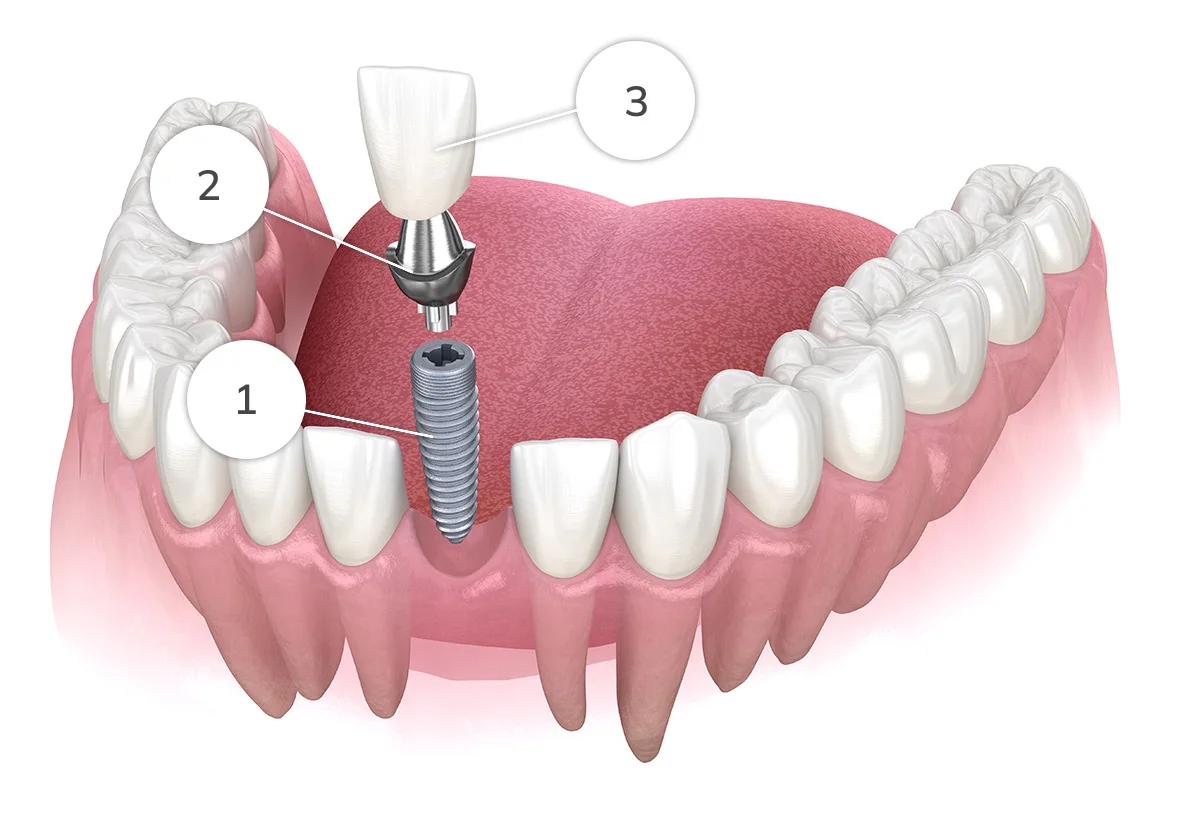
Self-paced online lecture series on simple single-tooth implant placement in the anterior and posterior.
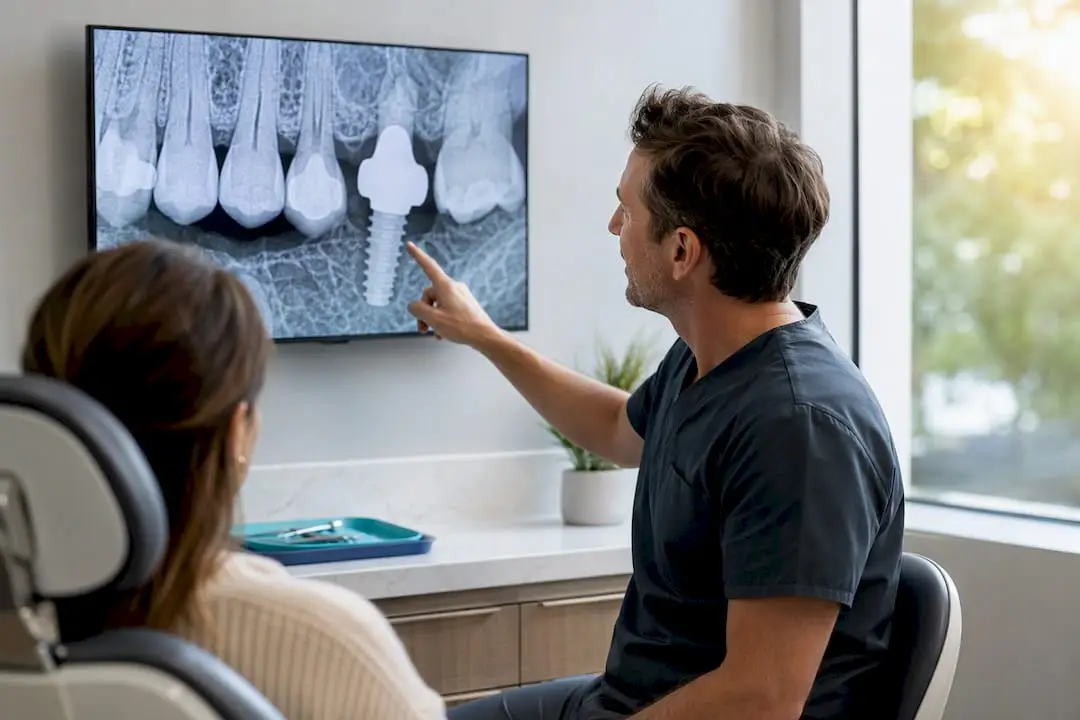
Implants • Clinical Guide
Clinic-ready playbook for dentists: concrete consultation scripts, teach-back plus a 48–72 hour follow-up, a one page patient checklist, and honest visual...
8 min read · Updated September 17, 2026
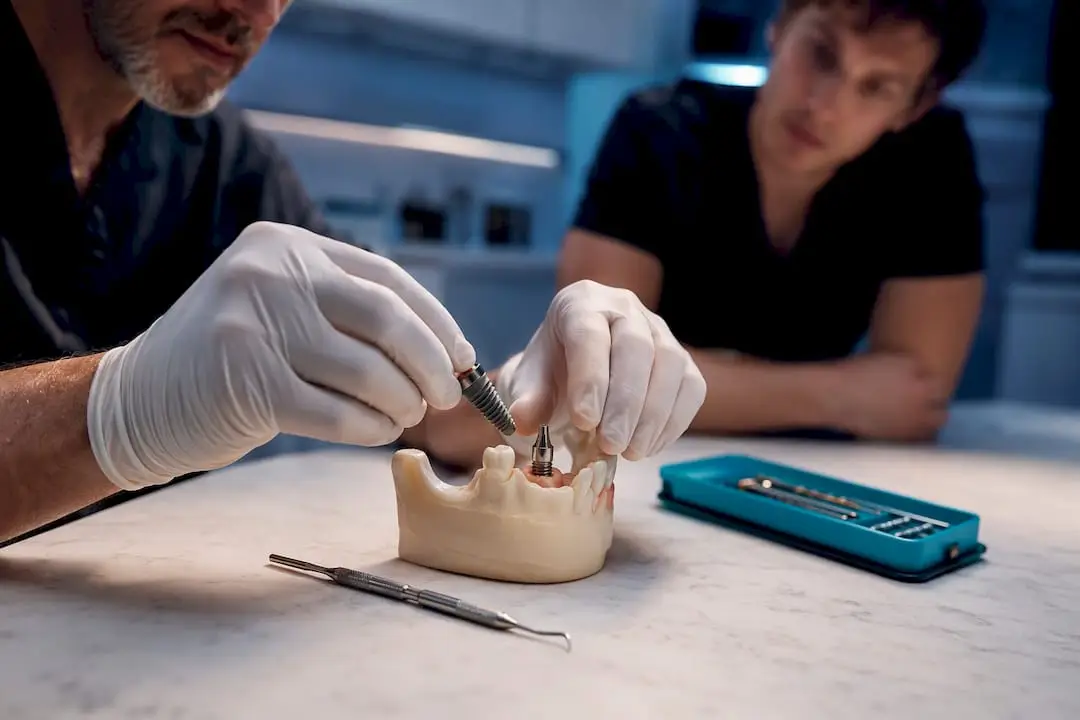
Implants • Clinical Guide
Clinic-ready 30–90 day playbook for general dentists to add implants safely. Includes operational checklists, credentialing steps, pricing models, and...
11 min read · Updated September 9, 2026
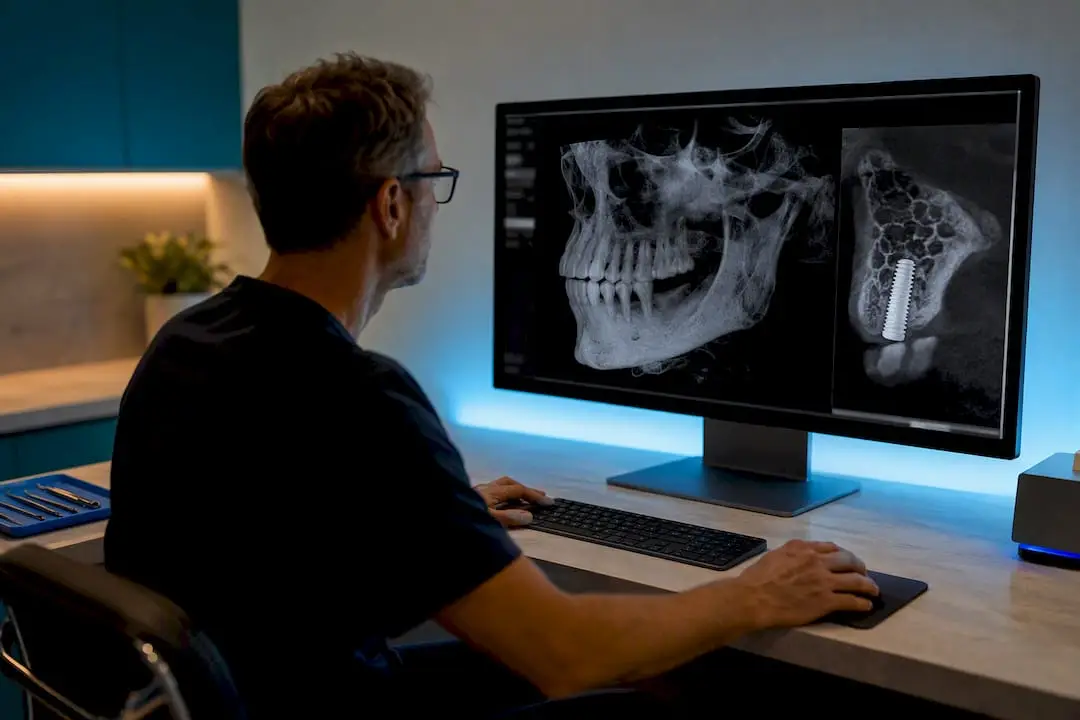
Implants • Clinical Guide
How to read CBCT gray values and use cortical thickness and torque (~35 Ncm) to decide grafting, staging, and loading for dental implants.
10 min read · Updated August 31, 2026