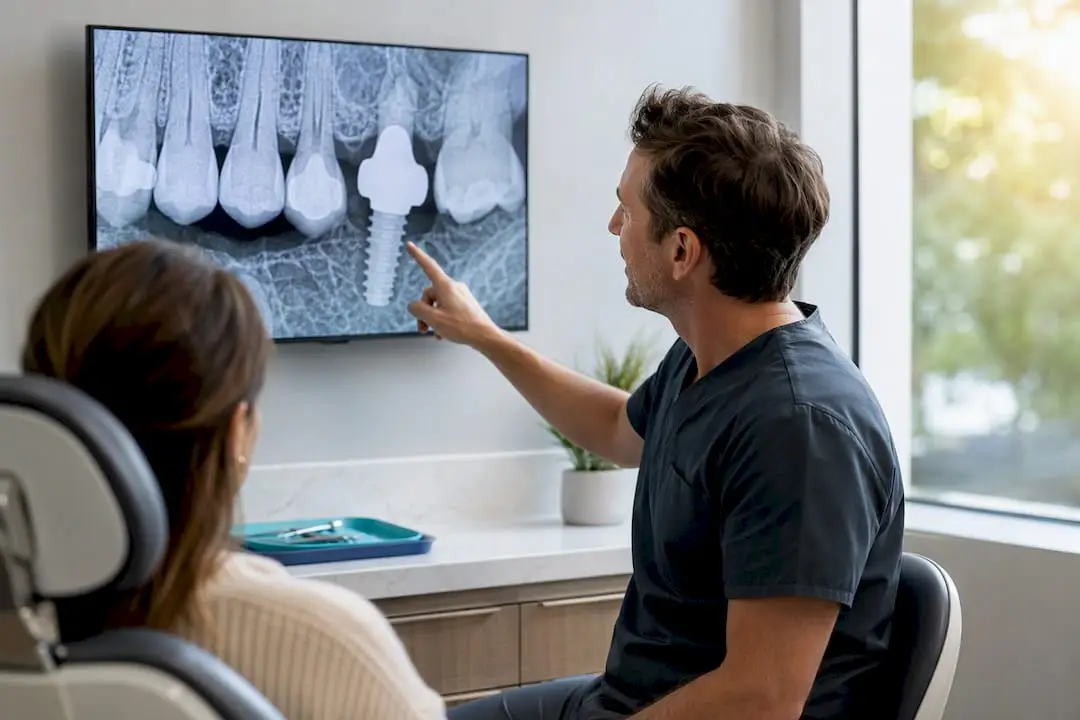
A licensed general dentist can add implant services responsibly within about 90 days by combining structured, hands-on training with a staged case-start plan. Begin with two or three low-complexity case types, co-manage anything outside that range, and expand as documented outcomes accumulate. The clinical upside is real revenue growth and stronger case acceptance; the risk sits entirely in skipping the training sequence.
Your 30-90 Day Plan to Add Implants to Practice
Adding implant services isn’t a weekend decision. It’s a sequence, and skipping steps is where new placers get into trouble. Here’s the order that actually works for a general practice starting from zero.
- Days 1 to 30: Enroll and plan. Sign up for a mentored, hands-on continuing education program and start logging participatory hours right away. Set a target of two starter case archetypes you’ll offer first (more on those below), and assign staff roles now, not later.
- Days 15 to 45: Fill equipment gaps. Decide what you’ll own versus outsource. Most practices can start without buying a CBCT unit by partnering with a local imaging center or a guided-surgery lab for planning.
- Days 30 to 60: Build your consent and referral framework. Draft an implant-specific informed consent form, a co-management agreement template for cases you’ll refer out, and a simple treatment-planning checklist your team can follow every time.
- Days 45 to 90: Take supervised or mentored cases. Place your first cases under mentorship or with a proctor reviewing your plan before surgery. Document everything. This case log becomes the backbone of your credentialing file later.
Pro Tip: Co-manage instead of placing solo whenever a case involves significant bone loss, complex sinus anatomy, or a medically compromised patient. There’s no reputational or financial upside to being the surgeon on a case you’re not yet ready for. Refer it, assist, and learn from the outcome.
The readiness checklist for new implant placers walks through how to judge whether a specific case belongs on your table or on someone else’s.
What Training and Credentials Actually Matter?
Nobody hands a general dentist an implant license overnight, and no single certificate makes you competent. What matters is the sequence and the hours behind it.
The American Academy of Implant Dentistry frames credentialing around a mix of didactic science and genuine participatory hours, not lecture attendance alone. Frameworks built around a substantial number of education hours combining science with hands-on experience is a common benchmark in the field. That distinction between watching and doing is the whole point: fellowship-track requirements from the AAID specifically require documented clinical cases with prostheses that have been in function for at least a year before an exam candidate can even sit for review.
The learning sequence that produces competent, safe placers generally runs in this order:
- Observation of live cases with an experienced mentor
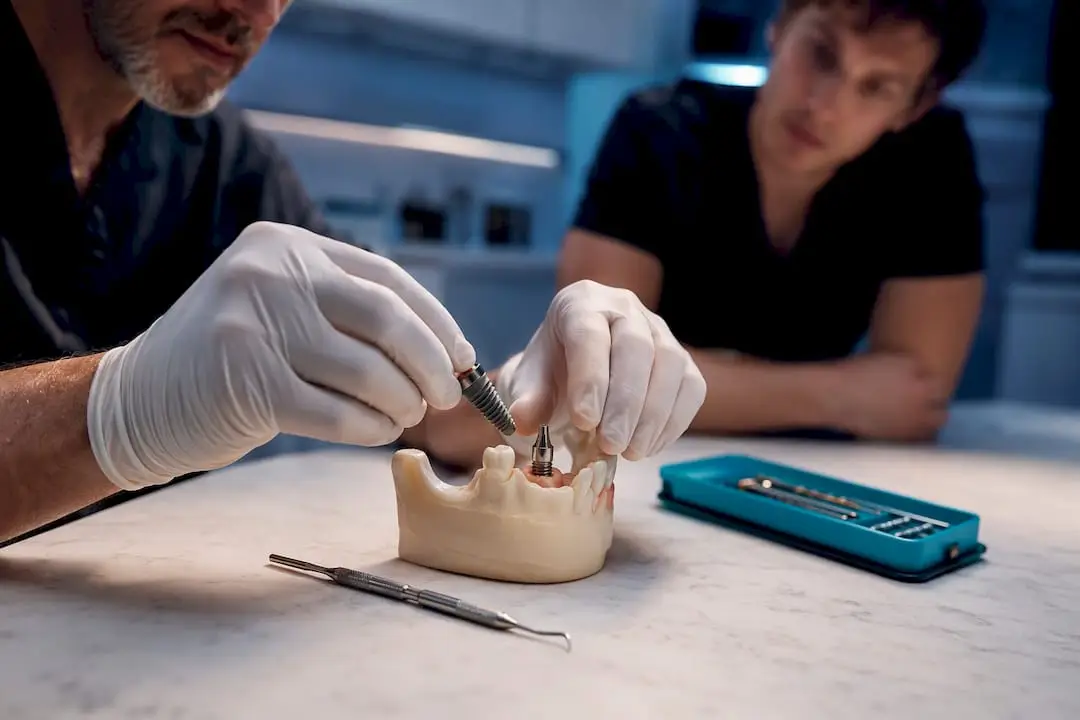
- Mentored hands-on courses where you place implants under direct supervision
- Proctored or co-managed independent cases with a specialist reviewing your plan
- Fully independent cases once your case log and outcomes support it
When you’re vetting a CE provider, ask whether the course includes live surgeries (not simulation only), a named mentor who reviews your specific cases, a formal case-logging system, and CE credits that qualify toward the hours credentialing bodies expect. A course pathway built around tiered learning is easier to document for hospital privileging or malpractice carriers than a scattered mix of weekend seminars.
You don’t need to own everything to start placing implants well. You need reliable access to the right diagnostic and planning tools, and a clear line on what stays in-house.
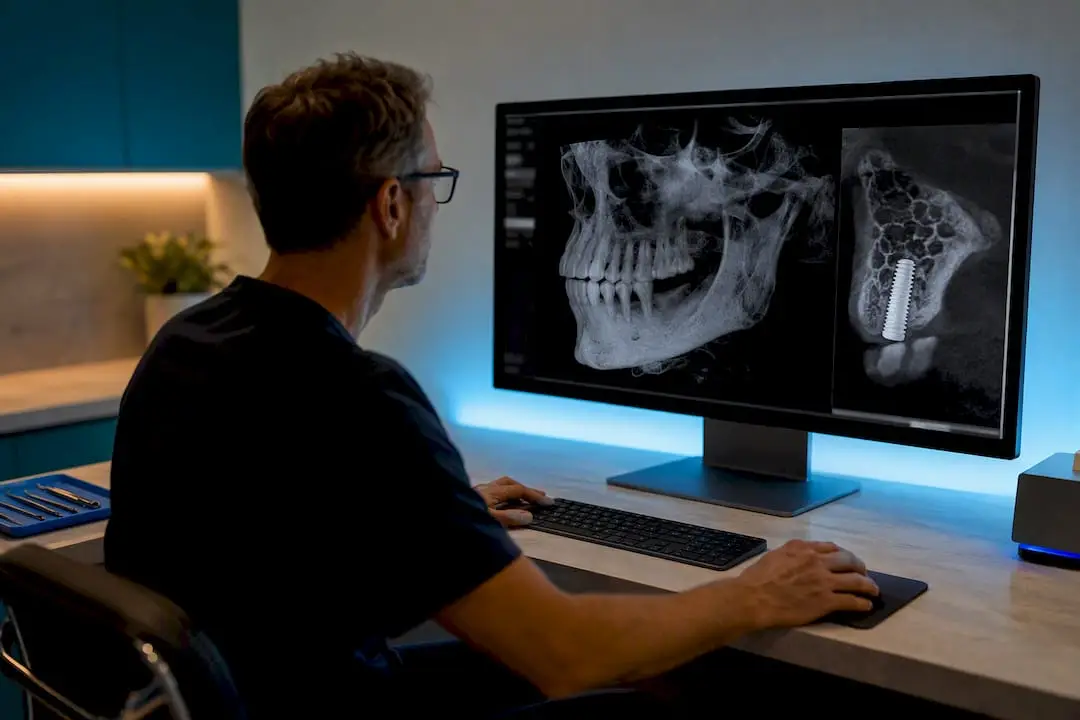
CBCT imaging is the one piece worth resolving first. Many starting practices refer patients to a local imaging center rather than buying a unit outright. An intraoral scanner becomes worth owning once you’re doing more than a handful of cases a month. It cuts turnaround time on provisional and final restorations.
- A basic surgical kit: implant motor, surgical handpiece, drill sequences matched to your chosen implant system, and a sterile field setup
- Optional grafting instruments if you plan to handle simple ridge preservation in-house
- A guided-surgery lab partnership for STL file handling, surgical guide fabrication, and provisional design
- Standard anesthesia protocols and an infection control checklist specific to implant surgery, distinct from your routine extraction protocol
Digital workflows built on CBCT combined with STL scan integration produce far more predictable outcomes than freehand placement guided by 2D imaging alone, particularly in the esthetic zone where positioning margins are tight.
Pro Tip: Before you buy anything, call your preferred guided-surgery lab and ask what file formats and scanner brands they work with best. Matching your scanner to your lab’s workflow saves more chair time than any single piece of hardware you’ll purchase.
Which Cases Should You Start With?
Case selection is where most new implant practices either build confidence or create problems. Three starter archetypes give you a safe on ramp:
- Single posterior implant with adequate bone volume. Straightforward anatomy, forgiving esthetics, and a good first case for building surgical confidence.
- Single anterior implant with sufficient bone and gingival health. Higher esthetic stakes, so this belongs second on your list, after you’ve built comfort with the posterior case type.
- Two-implant overdenture conversions. A well-defined prosthetic endpoint and strong patient satisfaction scores make this a good early case, provided the patient’s bone and systemic health are already screened.
Contraindications to screen for at consult include uncontrolled diabetes, active smoking above roughly ten cigarettes a day, insufficient bone width without grafting, and any medical history involving bisphosphonate therapy without medical clearance.
Every consult should run through the same checklist: medical history review, CBCT evaluation, periodontal status, and a documented smoking or diabetic risk assessment. From there, your planning sequence moves through a diagnostic wax-up, a decision on guided versus freehand placement, and a clear prosthetic timeline discussed with the patient before consent is signed.
How Do You Price Implant Cases and Estimate ROI?
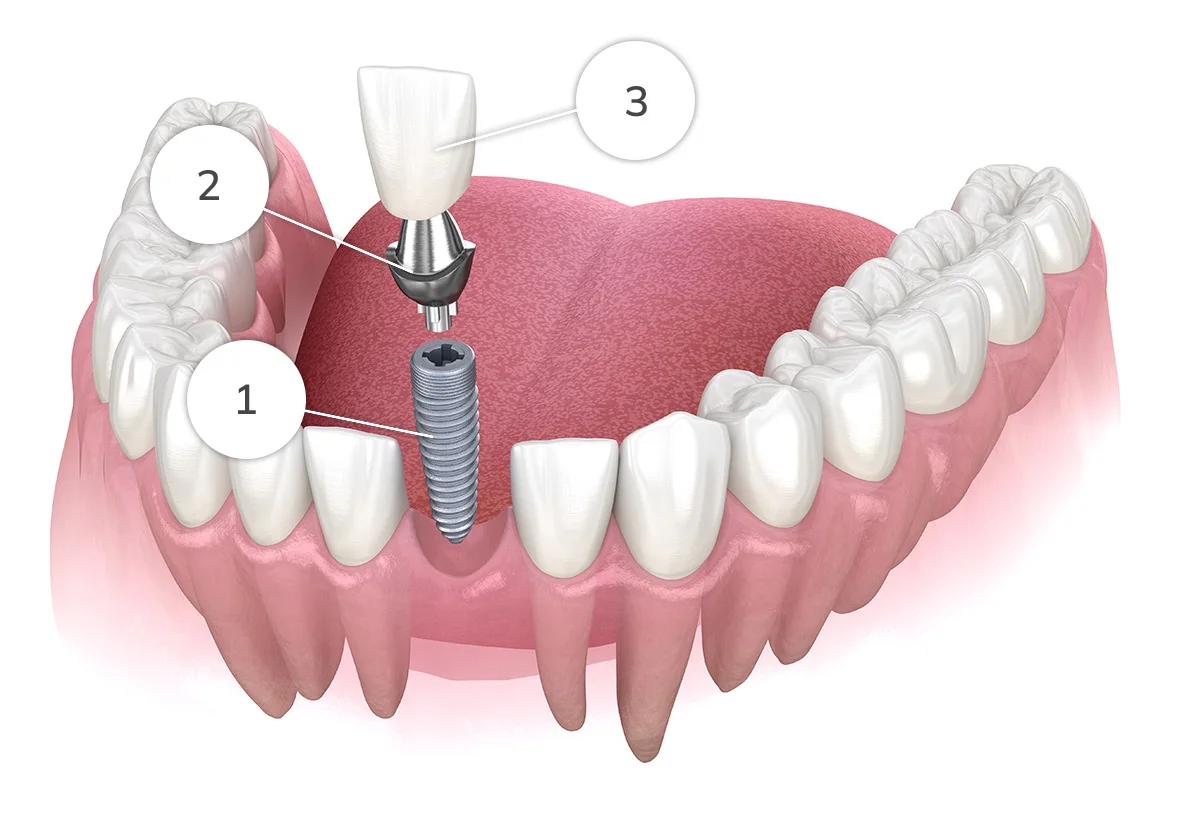
Pricing an implant case means accounting for more than the fixture itself. Your cost stack typically includes the implant fixture, abutment, lab-fabricated crown, any grafting materials, staff chair time, and diagnostic imaging.
Most practices choose between two pricing models: itemized billing, where each component (surgery, abutment, crown) is billed separately, or bundled case pricing, where the patient pays one fee covering the full treatment arc. Bundled pricing tends to increase case acceptance because patients aren’t surprised by a second or third invoice mid-treatment.
- Fixture and abutment costs (varies by implant system and case complexity)
- Lab fees for the final crown or prosthetic
- Grafting materials, when the case requires them
- Chair time for the surgical team, including hygienist or assistant support
- Diagnostic imaging, whether performed in-house or outsourced
A simple breakeven model: if your total case cost (fixture, abutment, lab crown, staff time) runs a few hundred dollars below your case fee, a practice completing even a handful of cases a month covers the cost of hands-on training within a single quarter. Offering in-house financing or third-party payment plans, paired with a transparent cost breakdown at consult, consistently improves treatment acceptance because patients aren’t guessing what the final number will be.
What’s a Realistic Timeline From Consult to Crown?
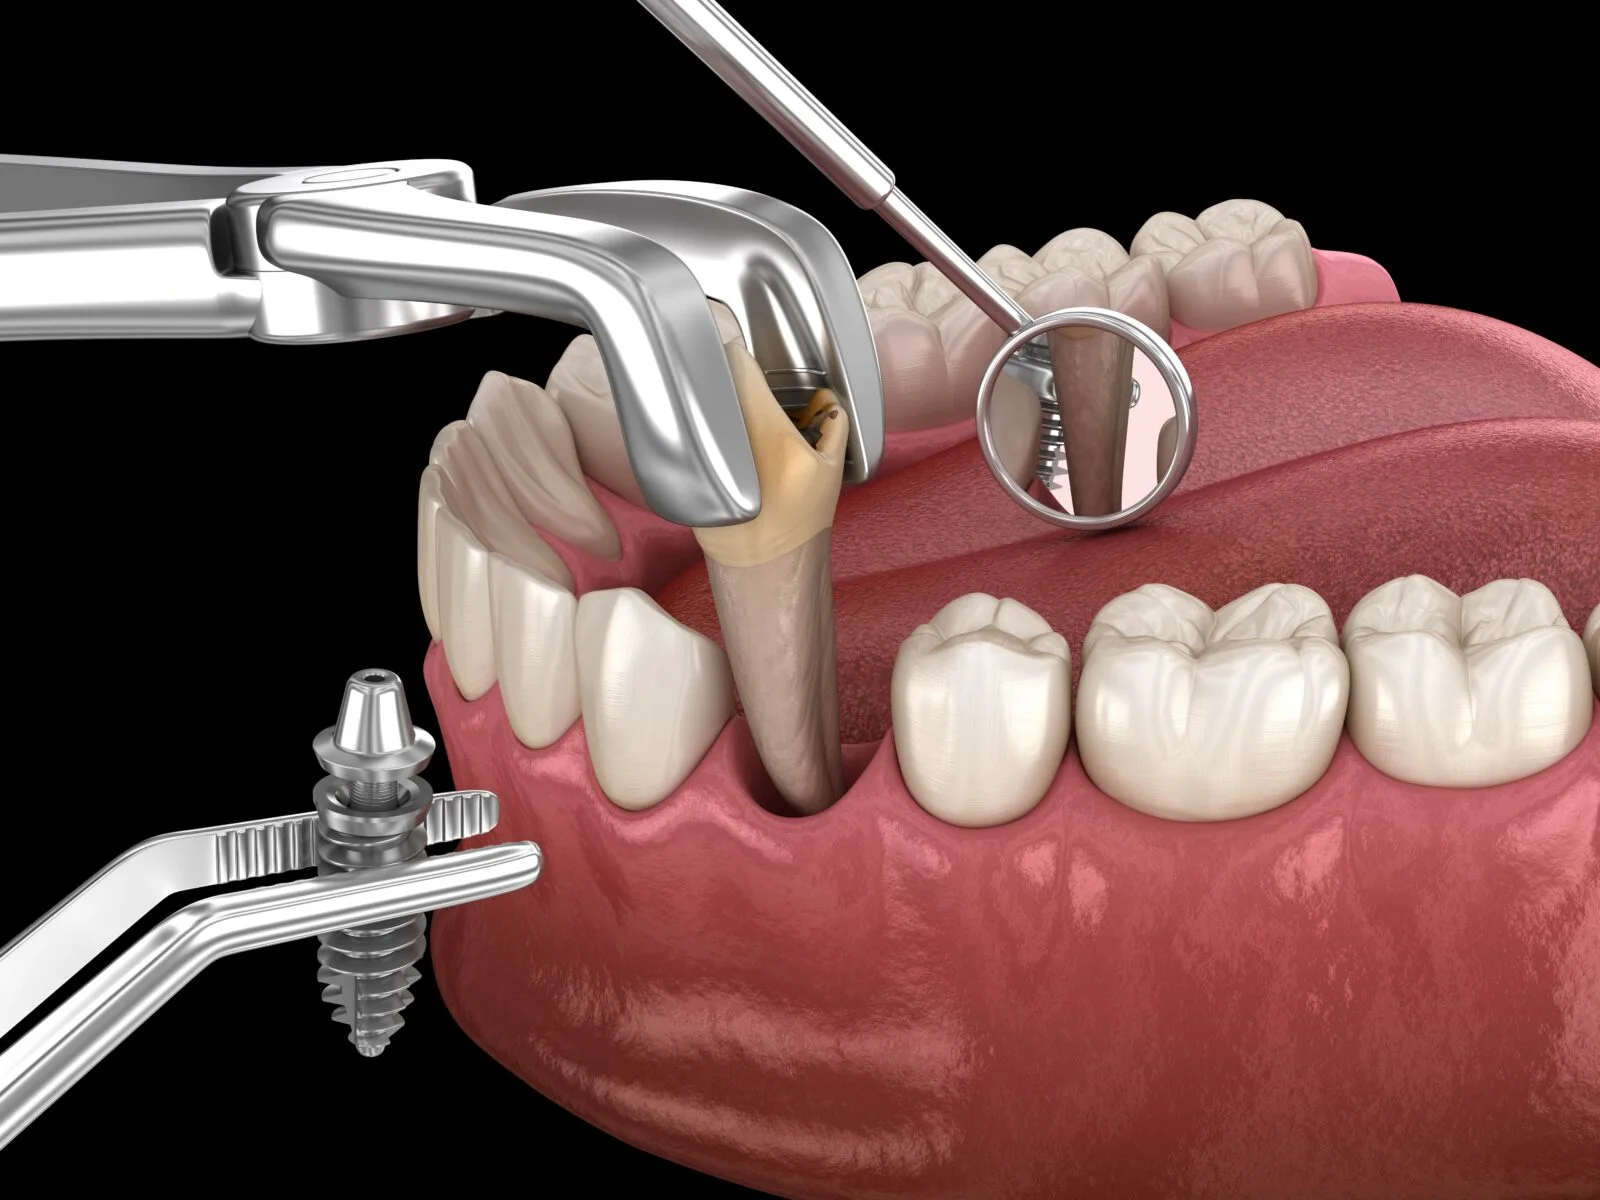
Timelines vary by case type, but general dentists new to implants should plan around three timing patterns: immediate placement (implant placed the same day as extraction, when bone quality allows), delayed placement (waiting 8 to 12 weeks for socket healing before placing), and staged grafting cases (which can add 4 to 6 months before the implant itself goes in).
- Consult and planning: week 1, including CBCT review and diagnostic wax-up.
- Surgical placement: week 2 to week 4, depending on grafting needs.
- Healing period: 8 to 16 weeks for osseointegration, longer in grafted sites.
- Prosthetic delivery: once integration is confirmed, typically 3 to 6 months from the surgical date.
- Recall schedule: first follow-up at 1 to 2 weeks post-op, then at 3 and 6 months, then annual maintenance visits.
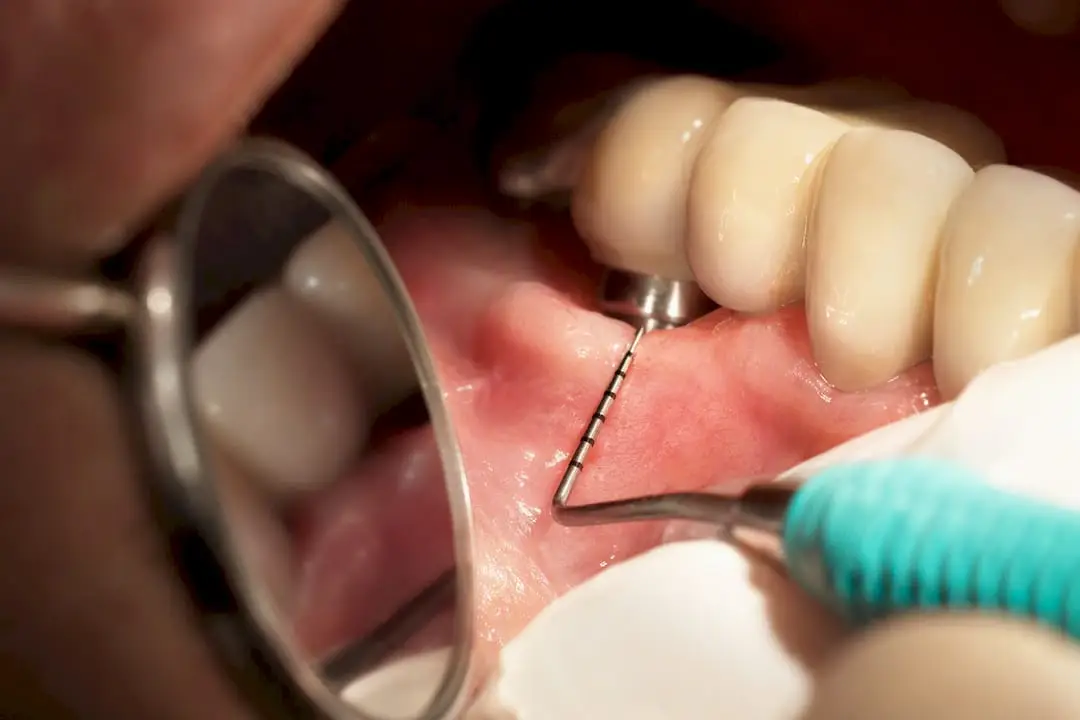
Watch for persistent pain, mobility, or radiographic bone loss at any recall visit. Any of those signs warrants an immediate re-evaluation, and possibly a referral, rather than a wait-and-see approach. Detailed site-development and grafting timelines are worth reviewing before you commit to a surgical date with a patient.
How Do You Market Implant Services Without Overpromising?
Patients considering implants usually need to see the outcome before they trust the process. Before-and-after galleries, digital wax-up previews, and a clear, itemized finance page on your website do more to move a consult toward a signed case than any generic ad.
- Build a referral pipeline with local periodontists, oral surgeons, and orthodontists for cases outside your comfort range
- Create a simple co-management agreement template so referral partners know exactly what stays with you and what gets handed off
- Track three numbers monthly: consult-to-case conversion rate, referral volume from partner specialists, and average revenue per completed case
- Avoid absolute language in marketing materials. “Permanent” and “guaranteed” outcomes claims invite both regulatory and malpractice exposure
One notable misstep worth avoiding: some practices use the “50-40-30” aesthetic guideline as though it were a billing formula. It isn’t. It’s a design tool for gum-to-tooth proportions, and presenting it with visual aids like digital smile design rather than as a technical promise keeps patient expectations grounded in what the treatment can actually deliver.
Why Mentorship-Driven Training Beats Lecture-Only CE
Didactic-only courses teach you what implants are. They don’t teach you what to do when a drill sequence feels wrong mid-surgery or when bone density surprises you on the table. That distinction is why documented participatory hours correlate with fewer early complications for clinicians just starting to place implants.
A tiered pathway, foundational science, then mentored hands-on courses, then proctored independent cases, builds a case log you can actually defend to a credentialing body, a hospital privileging committee, or your malpractice carrier. That’s the model One World Dental built its implant training pathway around: live surgeries with a named mentor watching your specific decisions, not a simulation lab and a certificate.
Documented participatory hours, hands-on courses built around real patient modules, are frequently required by credentialing bodies and strongly correlate with fewer early complications for clinicians just beginning to place implants.
When evaluating any course provider, ask these questions before you enroll:
- Does the course include live surgeries with real patients, not just models or simulators?
- Is there a named mentor reviewing your specific surgical plans?
- Does the program offer a structured case-logging system you can use later for credentialing?
- Do the CE credits count toward participatory-hour requirements, not just lecture attendance?
Coding, Billing, and Insurance Realities for Implant Cases
Implant billing runs through CDT codes that most general practices haven’t used regularly. D6010 covers surgical placement of the implant body, D6056 and D6057 cover abutment placement, and the final crown gets billed separately under prosthetic codes like D6058 or D6065, depending on material and retention type.
Insurance coverage for implants remains inconsistent across payers. Some medical and dental plans cover the surgical phase but exclude the prosthetic, others cover neither and treat implants as an elective upgrade over a bridge or denture alternative. Verify benefits before the consult, not after treatment planning, so your team can present accurate out-of-pocket estimates.
Documentation matters as much as the code itself. Insurers increasingly request pre-operative radiographs, a narrative of medical necessity, and post-operative confirmation of integration before releasing payment on the prosthetic phase. Build a standard documentation packet your front desk can assemble for every case, rather than reconstructing it after a claim gets denied.
For cases without insurance coverage, transparent itemized estimates presented at consult, broken into surgical, healing, and prosthetic phases, tend to reduce billing disputes later. Patients who understand the sequence up front are less likely to push back when the second invoice for the crown arrives months after the surgical fee.
What the Data Actually Supports (and What It Doesn’t)
The conventional advice on adding implants to a practice tends to obsess over equipment. Buy a CBCT, buy a piezo unit, buy the premium implant system, and you’re ready. That’s backwards. The equipment list matters far less than the sequence of training and the discipline of case selection in your first year.
What the credentialing frameworks from bodies like the AAID actually support is simpler than most marketing suggests: documented, mentored, hands-on hours reduce early complications more reliably than any single piece of hardware. A dentist with a proctored case log and two starter case types mastered will outperform, clinically and financially, a colleague who bought every available tool but skipped structured mentorship.
Prioritize the training sequence first. Let equipment purchases follow your actual case volume, not the other way around. The dentists who struggle most with implant integration aren’t undercapitalized. They’re undertrained relative to the complexity of the cases they’ve accepted.
— Jake
Start With the Right Course, Not the Right Equipment
One World Dental’s tiered course structure matches where you actually are, not where a sales page assumes you should be. Beginners start with foundational implant science and observation-based modules. Clinicians ready for supervised practice move into hands-on implant training with live mentorship, where a named mentor reviews your surgical decisions in real time rather than after the fact. Dentists building toward complex full-arch or grafting cases can progress into advanced tiers with documented case archives to support future credentialing.

The mentorship model matters because it closes the gap between knowing the steps and executing them under pressure, with a live-case archive behind every course level so you can review technique before you’re the one holding the handpiece. If you’re ready to build a documented case log that actually supports safe integration into your practice, browse the full course catalog and enroll in the tier that matches your current experience.
Where to Verify These Standards
Recommended