Photogrammetry is the go-to digital method for recording multi-implant coordinates in full-arch cases when maximal positional accuracy is required. It works by triangulating the exact XYZ position of each implant using coded scan bodies and a series of photographs, and peer-reviewed data shows it outperforming intraoral scanning for complete-arch cases (p < 0.0001). The catch clinicians need to know before they buy or book training: photogrammetry alone does not capture soft tissue or occlusion. You still need an intraoral scan or a conventional impression layered on top.
Three things back this up in the literature:
- Clinical thresholds of 100 μm linear and 0.4° angular deviation are the benchmark most studies use to judge acceptable misfit, and some photogrammetry systems report angular trueness near 0.28°, comfortably inside that range.
- Comparative research confirms photogrammetry’s edge grows with arch length. Errors that accumulate during image stitching in intraoral scanners simply don’t affect a photogrammetry capture the same way.
- Structured, hands-on continuing education (the kind Onewd builds its implant curriculum around) closes the gap between knowing the theory and executing a clean chairside capture on a real patient.
Key Takeaways
Photogrammetry outperforms intraoral scanning on full-arch implant accuracy but always requires a separate soft-tissue capture to complete the prosthetic workflow.
| Point |
Details |
| Full-arch accuracy advantage |
Photogrammetry showed significantly greater precision than IOS in complete-arch cases (p < 0.0001). |
| Know the thresholds |
Target 100 μm linear and 0.4° angular deviation; some systems report trueness near 0.28°. |
| Soft tissue is separate |
Always merge photogrammetry coordinates with an IOS scan or impression before lab design. |
| Device choice matters |
Accuracy varies by system; ask vendors for in vivo, full-arch data, not just benchtop numbers. |
| Training closes the gap |
Hands-on, live-case CE builds the seating and capture skills that reading alone cannot. |
What Is Photogrammetry for Dental Implants and How Does It Work?
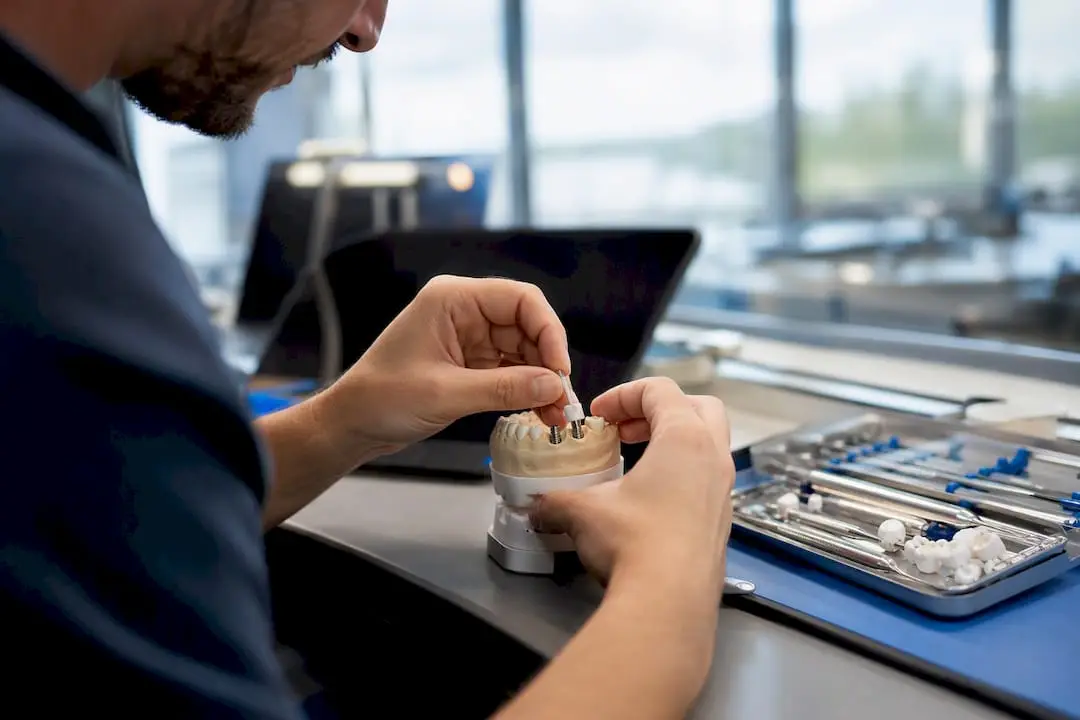
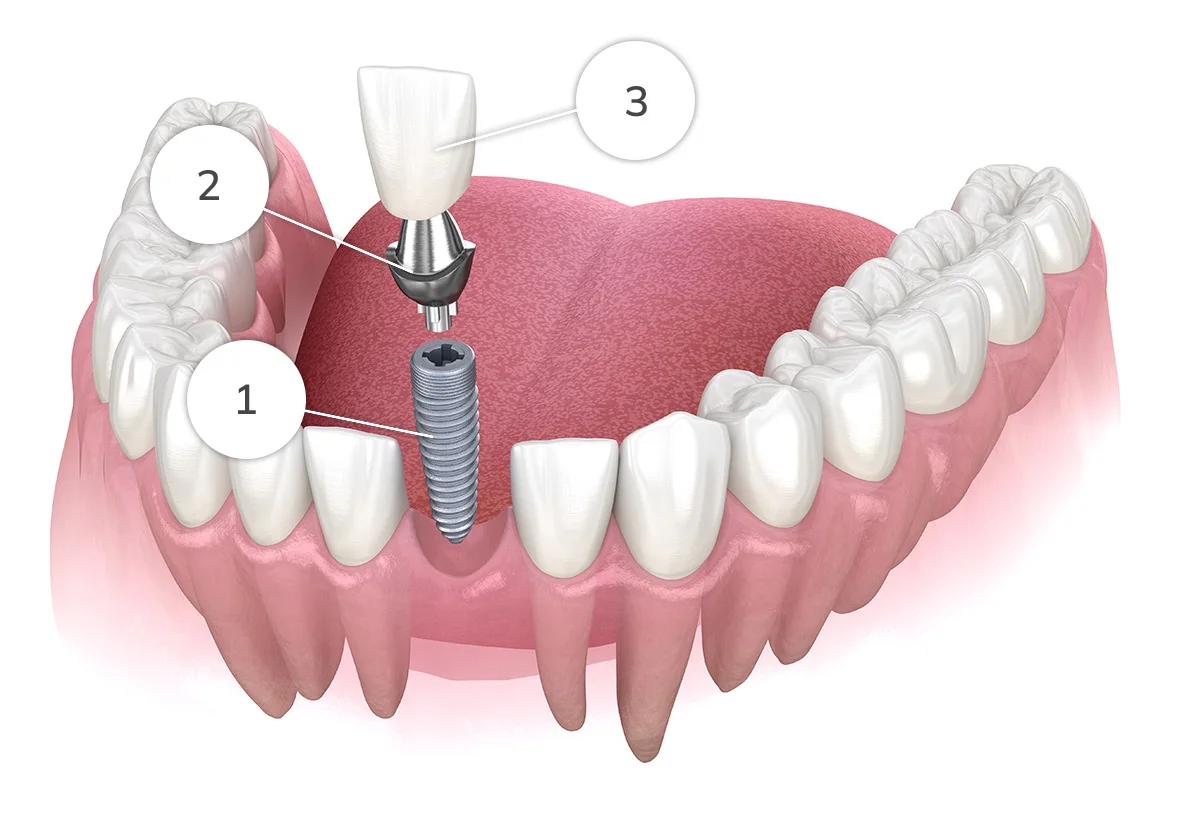
Photogrammetry for dental implants uses coded scan bodies attached to each implant, photographed from multiple angles, to calculate the three-dimensional position of every implant relative to the others. The software identifies the unique pattern on each scan body, then uses triangulation (the same math behind aerial mapping and land surveying) to resolve XYZ coordinates with sub-100-micron precision in well-executed cases. That is the entire job of the technology: positional data, nothing more.
Where the technique splits into two distinct approaches is camera placement.
- Extraoral photogrammetry uses a handheld or tripod-mounted camera positioned outside the mouth, sweeping around the arch to photograph the scan bodies from multiple vantage points. This is the older, more established approach, and it’s what systems like PICcamera and iCam4D are built around.
- Intraoral photogrammetry (IPG) integrates photogrammetric triangulation into a device that operates inside the mouth, often alongside structured-light scanning. Some IPG systems, such as SHINING 3D’s Aoralscan Elite, combine implant-position capture with soft-tissue scanning in a single intraoral pass, which manufacturer literature claims can reach single-digit-micron accuracy for All-on-X cases.
The distinction matters for your workflow planning. Extraoral systems typically require a second, separate step for soft tissue: an intraoral scan of the tissue and dentition, or a conventional impression, that gets merged with the photogrammetry file afterward. IPG systems attempt to close that gap in one device, though the literature on IPG accuracy is newer and thinner than the body of research behind established extraoral systems.
Either way, understand what the output file actually contains. A photogrammetry export is a coordinate map: implant position, angulation, and platform orientation, nothing about gingival contour, papilla height, or occlusal relationship. Clinical guides are consistent on this point: photogrammetry data has to be merged with a soft-tissue dataset before a lab can design a prosthesis. Treat the photogrammetry file as a skeleton. The IOS or impression provides the skin.
Step-by-Step Clinical Workflow for Photogrammetry Capture
Getting a clean photogrammetry capture on the first attempt comes down to preparation, not luck. Here’s the sequence that minimizes retakes and misfit risk.
- Confirm case suitability before you scan. Full-arch edentulous cases, immediate-loading protocols, and long-span multi-implant bridges are where photogrammetry earns its keep. For these cases, plan your fiducial marker placement (if your protocol uses them) before the patient leaves the chair, since maintaining stable reference points through surgery is what allows accurate alignment between pre-op and post-op datasets during immediate loading.
- Verify scan-body seating radiographically. Before capturing a single image, take a periapical or panoramic radiograph confirming each scan body is fully seated against the implant platform. A scan body sitting even slightly proud will throw off every coordinate downstream.
- Hand-torque scan bodies to manufacturer specification. Over-tightening can distort the scan body geometry; under-tightening risks micromovement during capture. Follow the torque value specified for your particular scan-body system.
- Position the camera at the manufacturer’s recommended working distance. Most extraoral systems specify a distance range (commonly 15 to 30 centimeters, depending on the device) and ask for a full rotational sweep around the arch rather than a handful of static shots from the front.
- Watch the software’s real-time capture feedback. Most platforms display a progress indicator or point cloud density map as you shoot. Keep capturing until every scan body shows full intersection coverage. Stopping the moment the software says “enough” often leaves posterior implants under-captured.
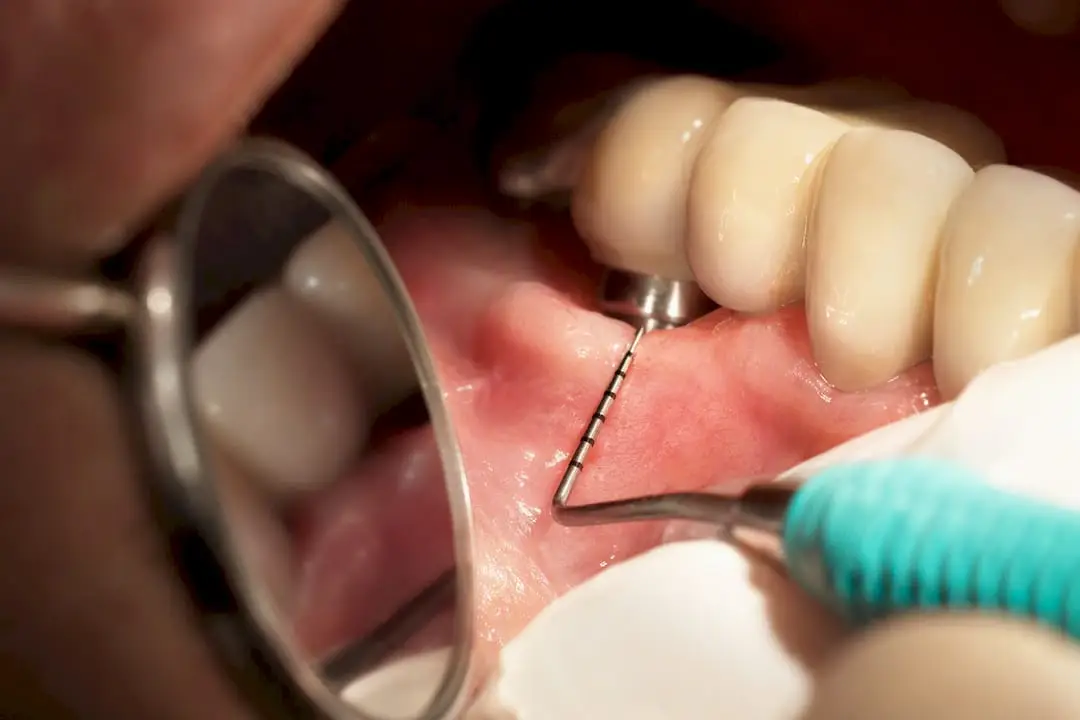
- Capture soft tissue and occlusion separately. Run your intraoral scanner over the arch, or take a conventional impression, immediately after the photogrammetry capture while the scan bodies and tissue are still in the same clinical state. This second dataset gets aligned to the photogrammetry coordinates in software, usually via matched anatomical landmarks or a shared reference geometry.
- Export and verify file formats before sending to the lab. Most systems export an STL for the merged mesh and an XML file carrying the precise implant coordinate data. Confirm your lab’s CAD software accepts both, and specify which implant library you used. A mismatched library is one of the most common causes of a design that doesn’t seat.
Pro Tip: Do not discard your raw photogrammetry file after export. If the merged model comes back from the lab with a discrepancy, having the original coordinate data lets you isolate whether the error originated in the implant capture or the soft-tissue alignment, instead of re-scanning the entire case from scratch.
For a deeper walkthrough of scan-body handling and lab communication, Onewd’s digital implant planning guide covers the CAD integration side in more detail.
Accuracy Evidence: Photogrammetry vs. Intraoral Scanning
The clinical literature is fairly consistent on one point: for full-arch cases, photogrammetry tends to outperform intraoral scanning as the number of implants and the span of the arch increase.
A 2025–2026 study found photogrammetry delivered significantly greater precision than intraoral scanning when registering implant positions in complete-arch edentulous cases, with statistical significance across spatial-fit testing, cross-arch distance measurements, and related metrics (p < 0.0001). That is not a marginal difference. It reflects a structural weakness in intraoral scanning for long spans: stitching error. IOS builds its 3D model by continuously merging thousands of overlapping frames, and small errors compound as the scan path extends across an edentulous arch. Photogrammetry doesn’t stitch. It triangulates each scan body’s coordinates independently from multiple photographic angles, so the error doesn’t accumulate the same way across a 14-implant full-arch case.
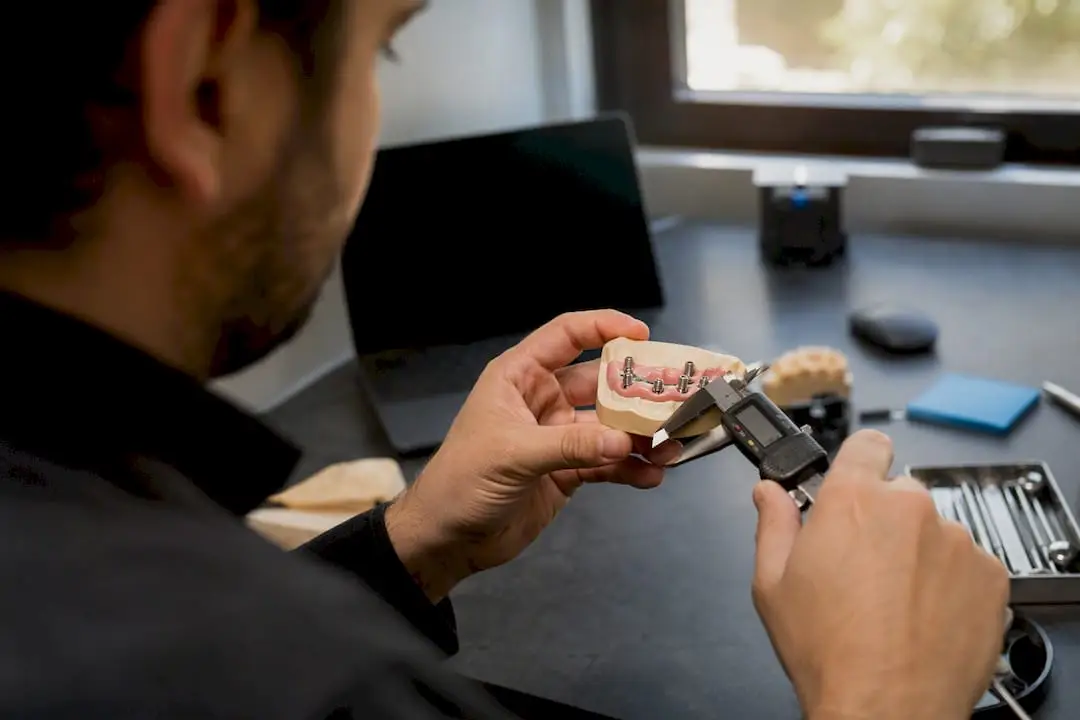
The industry-standard bar for “clinically acceptable” is 100 μm of linear deviation and 0.4° of angular deviation. Below those numbers, most clinicians agree a passive, low-stress fit is achievable. Above them, you start seeing screw loosening, framework fracture, or biological complications tied to mechanical strain on the implants. Some photogrammetry systems have reported angular trueness values near 0.28°, which sits comfortably inside that 0.4° ceiling.
That said, treat “photogrammetry” as a category, not a guarantee. Comparative research shows meaningful device-to-device variability: some photogrammetry systems and some intraoral scanners both land in the top-performing tier depending on the specific study, the number of implants, and the scanning protocol used. A few things to keep in mind when you’re reading accuracy claims from a manufacturer or a paper:
- In vitro studies use a fixed model. Lab benchtop testing removes patient movement, saliva, limited mouth opening, and soft-tissue interference, all of which degrade real-world accuracy. In vivo results tend to run wider than in vitro numbers from the same device.
- RMS (root mean square) values summarize overall deviation but can mask localized problems. A device might report a low average RMS while still showing a large deviation at one specific implant, often the most posterior one.
- Sample size and arch length change everything. A study testing four anterior implants in a short span will produce very different numbers than one testing eight implants across a full arch.
The practical takeaway: don’t accept a manufacturer’s headline accuracy number without asking what protocol produced it. In vivo, full-arch, multi-operator data is a far more honest predictor of your own results than a benchtop test run by an engineer in ideal conditions.
Where Photogrammetry Helps and Where It Falls Short
Photogrammetry earns its reputation on speed and positional precision, but it’s not a universal upgrade over every existing workflow.
What it reliably delivers:
Where it comes up short:
- Zero soft-tissue or occlusal data on its own. Every extraoral photogrammetry case needs a second scan or impression, adding a step (though not necessarily added chair time if sequenced well).
- Posterior implant capture is harder. Limited camera access and mouth-opening constraints in molar regions increase the risk of incomplete coordinate data.
- Upfront hardware cost and a genuine learning curve. Extraoral cameras and IPG devices both represent a capital investment, and technique sensitivity means your first several cases will likely run slower than your fiftieth.
For a solo practitioner doing two or three full-arch cases a year, the return on investment is a harder case to make than for a practice doing two or three a month. If your case volume and lab relationship support it, the accuracy gain on long-span work is difficult to replicate with intraoral scanning alone.
Comparing the Main Photogrammetry Systems
Three systems come up repeatedly in the clinical literature and CE curricula: PICcamera (from the PIC Dental system), iCam4D (Imetric4D), and MicronMapper (Claronav). Each takes the extraoral capture approach, though their hardware, software interface, and implant library support differ.
PICcamera uses a dedicated handheld camera and proprietary scan bodies, with a workflow built around a guided capture sequence. iCam4D pairs its camera with Imetric4D’s software suite, which has a longer track record in the European market before expanding into US clinical use. MicronMapper integrates with Claronav’s navigation and imaging ecosystem, and its clinical guide places heavy emphasis on scan-body seating verification and capture redundancy as the two most common points of failure.
Rather than chasing a single “best” system based on a spec sheet, evaluate any device against these criteria before you commit:
- Implant library breadth. Does the system support the implant systems you actually place, and how frequently does the manufacturer update the library?
- Scan-body compatibility and cost. Some systems require proprietary scan bodies at a premium price; others work with a broader range of third-party options.
- Export format compatibility. Confirm the device exports STL and XML files your specific CAD lab can import without a conversion step.
- Lab and CAD integration. Device selection should weigh technical support and lab integration as heavily as raw accuracy numbers, since a system with excellent trueness but poor lab support creates more friction than it saves.
- Training and support availability. Ask how the manufacturer supports onboarding: remote training, in-person visits, or a peer network of existing users.
Ask any vendor for their published in vivo accuracy data, not just benchtop numbers, and ask specifically how their system performs on posterior implants in full-arch cases. That’s where most devices show the widest performance spread.
Verification Steps and Common Troubleshooting Fixes
Most photogrammetry failures trace back to one of three causes: an improperly seated scan body, insufficient camera coverage, or a bad alignment between the photogrammetry file and the soft-tissue scan.
- Radiographically confirm scan-body seating before every capture, not just on your first few cases. This habit catches the single most common source of coordinate error.
- Capture with redundancy. An extra rotational pass around the arch costs seconds and gives the software more intersection points to resolve ambiguous scan-body positions.
- If posterior implants show incomplete data, don’t just retake the same angle. Widen your camera path and add overlapping sweeps from oblique angles to give the software redundant intersections for those harder-to-reach scan bodies.
- When merging photogrammetry and IOS files, use multiple stable reference points rather than a single landmark. A registration error at one point can propagate into a clinically relevant misfit by the time the prosthesis is milled.
Pro Tip: If your software’s alignment step keeps flagging a high error rate between the photogrammetry file and the IOS scan, check first whether the intraoral scan was taken with the scan bodies still in place. Merging a “clean” tissue scan against a photogrammetry file captured with scan bodies attached is one of the most common alignment failures, and it’s an easy one to miss.
When Photogrammetry Is the Right Call (and When It Isn’t)
Reach for photogrammetry when the case genuinely rewards it:
- Edentulous full-arch rehabilitations and All-on-X protocols, where implant span and count make IOS stitching error a real risk.
- Long-span, multi-implant fixed bridges where framework passivity is critical to long-term success.
- Immediate-loading cases, where you need reliable coordinate data fast enough to fabricate a provisional the same day.
Skip it for single-unit implants or short-span restorations of two to three units. A well-executed intraoral scan is accurate enough at that scale, and adding a photogrammetry step adds cost and complexity without a meaningful accuracy gain. The decision rule is simple: as arch length and implant count go up, photogrammetry’s advantage grows with it.
Building Real Competency in Photogrammetry Workflows
Reading about scan-body seating and capture angles only gets a clinician so far. The systems that actually move the needle on your accuracy are the ones you’ve practiced on live cases, with someone experienced correcting your technique in real time.
Onewd’s approach to implant education leans on that principle directly: hands-on modules, live-patient cases, and mentorship from clinicians who’ve run these workflows hundreds of times, not just lecture slides. A short CE course can get you comfortable with the terminology and the accuracy thresholds. A multi-day hands-on program is what gets you comfortable seating a scan body under time pressure, reading your software’s capture feedback correctly, and knowing when to redo a sweep instead of accepting an incomplete dataset.
- Look for courses that pair photogrammetry capture directly with CAD-lab design steps, so you see the full chain from capture to prosthesis.
- Prioritize programs with live surgical cases over simulation-only training.
- Confirm the course offers CE credits that count toward your licensing requirements.
If full-arch implant work is where you want to build depth, Onewd’s dental implant courses guide is the starting point for finding a tiered pathway suited to your current experience level, and the hands-on implant training program is built specifically around live-case mentorship rather than lecture-only formats.
What Clinicians Get Wrong About Photogrammetry
The biggest misconception floating around implant forums is that photogrammetry is a full replacement for intraoral scanning. It isn’t, and treating it that way is how clinicians end up with a beautifully accurate implant coordinate file and a prosthesis that doesn’t account for the actual soft-tissue contour underneath it. Photogrammetry does one job extremely well: implant position. That’s the whole value proposition, and the research backs it convincingly for full-arch cases.
Where conventional advice falls short is the assumption that buying the hardware solves the accuracy problem. It doesn’t. The 0.28° trueness numbers you see quoted came from controlled studies with experienced operators. Your first ten cases will not look like that data, and no amount of reading changes the fact that scan-body seating verification and capture technique are physical skills built through repetition.
If you’re evaluating photogrammetry for your practice, prioritize case volume honesty and hands-on training over spec-sheet comparisons. A device with slightly worse published accuracy that you’ve trained on extensively will outperform a “better” device you’re still learning on your fifth full-arch case.
— Jake
Recommended