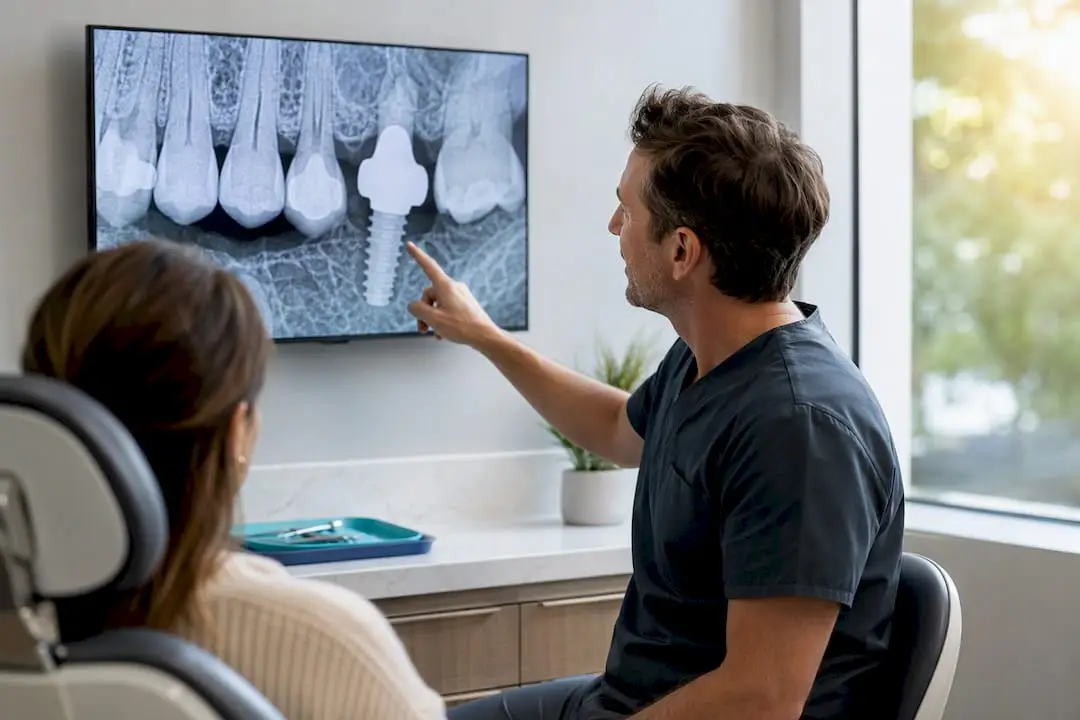
A validated, end-to-end in-office workflow — CBCT plus intraoral scan, virtual planning, SLA or DLP printing with a manufacturer-validated surgical-guide resin, strict post-processing, fit validation, and sterilization — reliably produces custom surgical guides with submillimeter clinical accuracy. That sentence is the whole answer. Everything below is the implementation detail.
Five control points determine whether your guide performs or fails:
- Data acquisition quality: Garbage in, garbage out. A poorly registered CBCT or a scan with soft-tissue artifact will propagate error through every downstream step.
- Virtual planning and guide design: Wall thickness, sleeve tolerancing, and support geometry must reflect both surgical goals and the printer’s dimensional tolerances.
- Printer technology and settings: SLA and DLP (vat photopolymerization) are the clinically validated choices. Layer thickness, print orientation, and pixel resolution all affect final fit.
- Post-processing: Washing and curing deviations are a leading cause of guide failure. Follow the material data sheet exactly, every time.
- Inspection and validation: Bench-fit tests on a printed model, sleeve concentricity checks, and postoperative CBCT comparisons are the only way to know your system is performing.
One regulatory point that many clinicians underestimate: in the U.S., producing a patient-specific surgical guide in-office means your practice or lab is the device manufacturer. FDA guidance makes clear that finished medical devices produced by additive manufacturing are subject to standard device regulations. Validated materials, device documentation, and traceability are not optional extras.
When to print in-office vs. outsource: In-office production makes sense when you have the volume to justify equipment and training costs, a validated printer-resin-workflow combination, and the regulatory comfort to maintain proper records. Low-volume practices, those without validated equipment, or those not yet comfortable with device-manufacturer responsibilities should outsource to an accredited dental lab until those conditions are met.
How does scan quality affect 3D printing surgical guides?
High-quality, well-registered CBCT and intraoral scan (IOS) data is the single most impactful input for guide accuracy. A submillimeter error at the data capture stage compounds through planning, design, and printing before the guide ever touches a patient.
CBCT acquisition
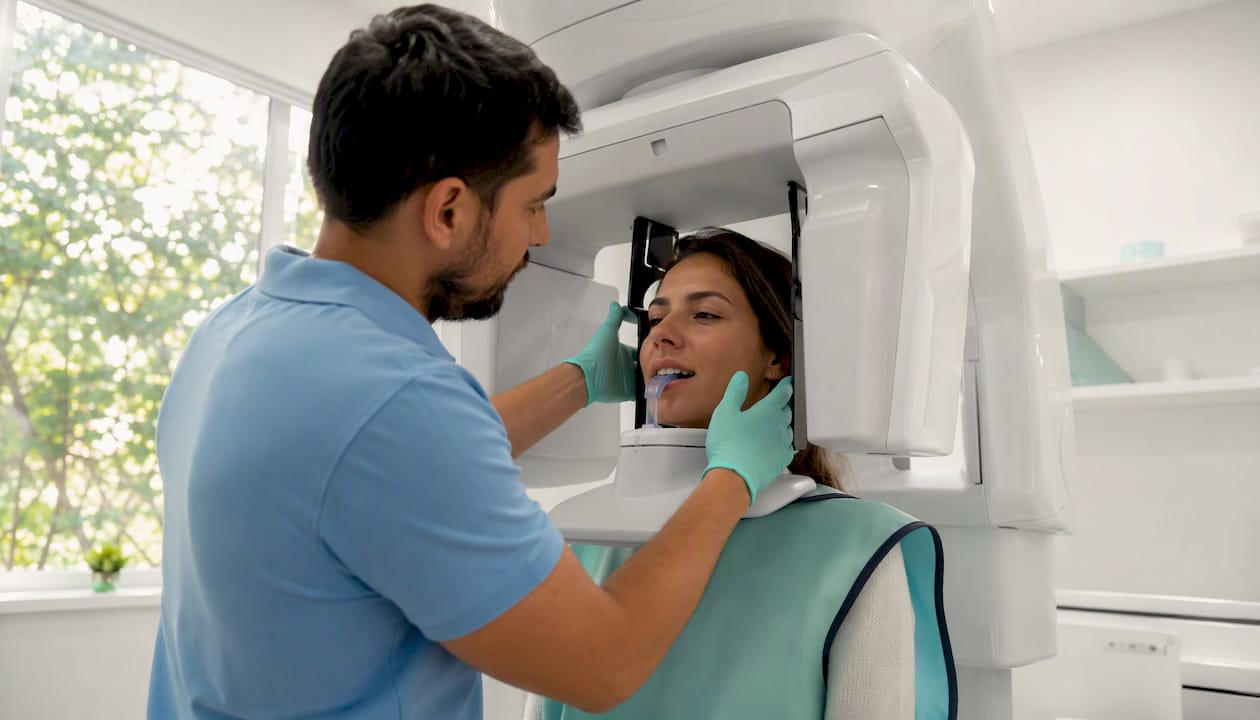
Use a field of view appropriate for the implant site — a smaller FOV concentrates resolution where it matters. Voxel sizes of 0.2 mm or smaller are generally preferred for implant planning, though the specific threshold depends on the imaging system. Minimize metal artifact by positioning the patient carefully and using artifact-reduction protocols when available. Export DICOM files and verify slice thickness and orientation before importing into planning software.
Intraoral scanning
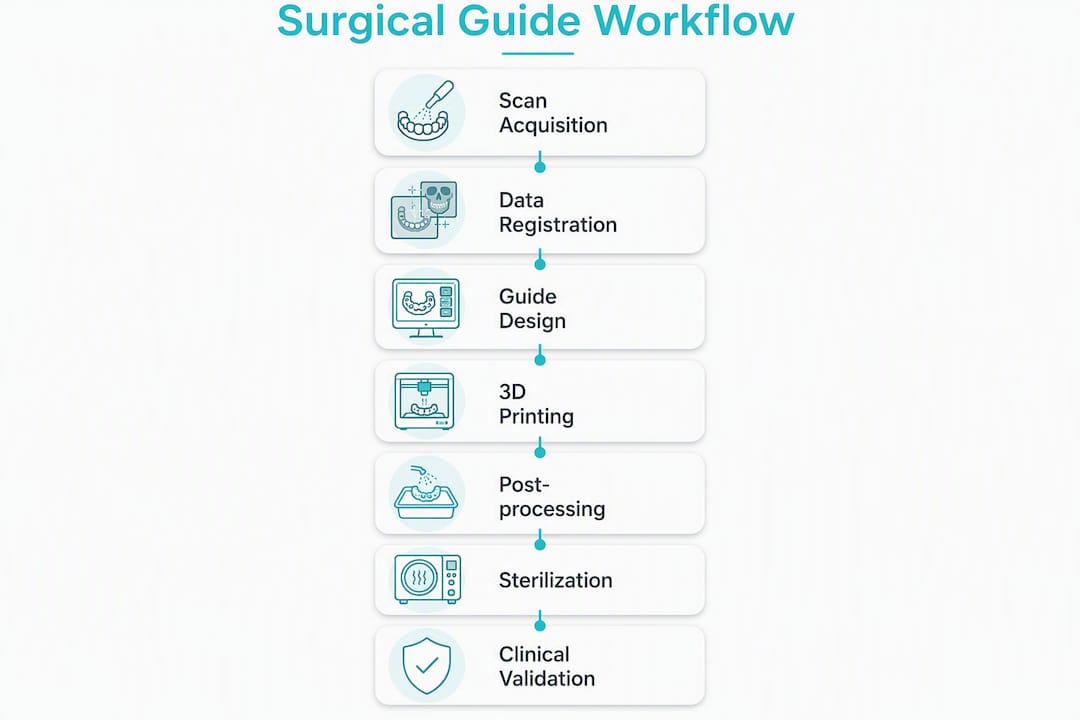
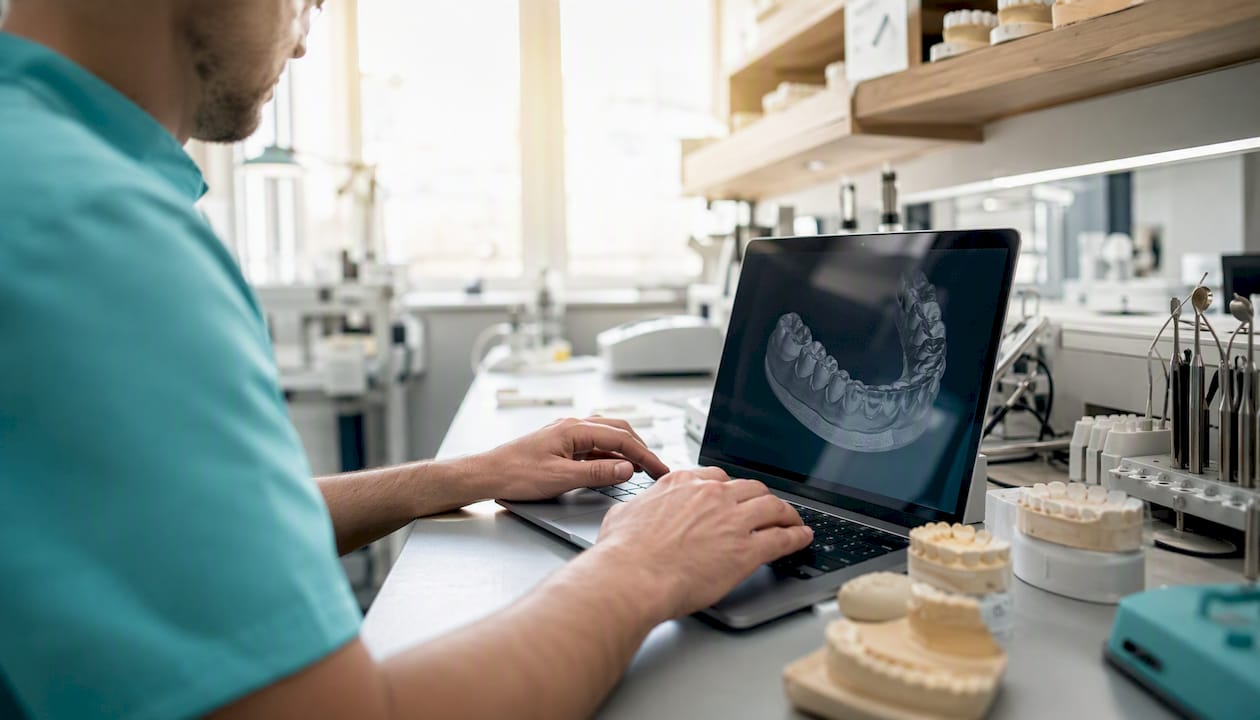
Capture the full arch, including the soft-tissue margin around the planned implant site. Soft-tissue management before scanning — retraction cord or air retraction — reduces the tissue artifact that creates mismatches between the IOS STL and the CBCT. Scan bodies placed on existing implants or fiducial markers on a radiographic stent are the most reliable registration anchors.
Data registration
Aligning the DICOM (CBCT) and STL (IOS) is where many workflows quietly fail. Surface-matching algorithms work well when there is sufficient unique tooth anatomy; fiducial markers or scan bodies are more reliable in edentulous or partially edentulous arches. After registration, measure the residual deviation at multiple landmarks. If the mismatch exceeds your software’s reported threshold, rescan rather than proceed.
Pro Tip: Small registration errors compound. Document the measured mismatch at registration and set a practice threshold — many clinicians use 0.3 mm as a maximum acceptable deviation before rescanning. Log every rescan and its reason; that record becomes part of your device traceability file.
Before exporting to planning software, confirm: DICOM voxel size and slice count are correct, STL mesh has no open edges or inverted normals, registration deviation is within threshold, and the planned implant site has adequate CBCT clarity with no obscuring artifact.
What design rules preserve accuracy in printed surgical guides?
Design decisions — supporting teeth or soft tissue, guide thickness, sleeve strategy, and offset values — must reflect both the surgical goals and the dimensional tolerances of your specific printer-resin combination. A beautifully planned implant position means nothing if the guide design introduces its own error.
Guide types and when to use them
Fully guided guides control both angulation and depth through the sleeve system. They are the right choice when prosthetic-driven positioning is the priority, when the site is near critical anatomy, or when you want to minimize intraoperative decision-making. Pilot-guided guides control only the initial osteotomy direction, leaving depth and final drilling to the surgeon. They are faster to design and print, and appropriate when the clinician has high anatomic confidence. Bone-anchored guides bypass soft tissue entirely and are useful in edentulous arches or when soft-tissue stability is poor. Open vs. closed window design affects visibility and irrigation access during surgery.
Design rules
Wall thickness at the guide body should be sufficient to resist deformation under surgical force — typically 2 mm or more, though your validated material data sheet will specify the minimum. Fenestrations placed over key teeth allow visual and tactile seating confirmation during surgery. Occlusal relief prevents the guide from rocking on opposing contacts. Support geometry in the CAD file must avoid the seating surfaces and sleeve bores; supports that contact critical surfaces introduce removal artifacts that affect fit. Metal sleeve tolerances must match the sleeve manufacturer’s specifications exactly — a bore that is 0.05 mm too tight will prevent sleeve seating; 0.1 mm too loose introduces angular error.
Design checklist before exporting for print
- Planned implant depth and emergence profile confirmed against prosthetic plan
- Sleeve position and type (metal sleeve vs. sleeve-free) documented
- Soft-tissue clearance verified at all contact points
- Seating verification features (fenestrations, indexing notches) included
- Anchor pin positions planned for full-arch cases
- Mesh repaired: no open edges, no Boolean artifacts
- Export format confirmed (STL or 3MF per printer software requirements)
Pro Tip: Simulate guide seating in software before exporting. Then add a dimensional allowance for post-processing shrinkage based on the validated material data sheet for your specific resin. Most surgical-guide resins have published shrinkage values; ignoring them is a reliable way to produce a guide that seats on the model but not in the mouth.
For clinicians building their implant biomechanics knowledge alongside guide design skills, understanding how implant geometry interacts with bone quality directly informs prosthetic-driven positioning decisions.
SLA, DLP, and FDM: which technology should you use for surgical guides?
SLA and DLP (vat photopolymerization) are the preferred technologies for clinical surgical guides. Comparative research found that SLA and DLP achieve comparable trueness and precision with each other, while FDM/FFF consistently ranks as the least accurate technology across multiple evaluations. A separate in vitro study matching surface scans and CBCT of 48 mandibular models confirmed that DLP guides achieved statistically significantly higher implant placement accuracy than FFF guides. FDM/FFF is not recommended for final clinical surgical guides.
| Technology |
Trueness/Precision |
Print Speed |
Validated Clinical Materials |
Per-Guide Cost (consumables) |
Post-Processing Complexity |
| SLA (laser vat) |
High; comparable to DLP |
Moderate (point-by-point cure) |
Yes — multiple FDA-cleared resins available (e.g., Formlabs Surgical Guide Resin, SprintRay SG Resin) |
Low to moderate |
Wash + cure required; moderate |
| DLP (projector vat) |
High; comparable to SLA |
Fast (full-layer cure) |
Yes — validated resins available (e.g., NextDent SG, RapidShape-compatible resins) |
Low to moderate |
Wash + cure required; moderate |
| FDM/FFF |
Low; least accurate in comparative testing |
Fast |
Limited validated surgical-guide materials; not recommended for final guides |
Low |
Minimal; support removal only |
| Other AM (binder jetting, etc.) |
Variable; limited clinical data |
Variable |
Very limited for surgical guides |
High |
High |
Validated system-material combinations
The four printer platforms most commonly referenced in U.S. clinical workflows are SprintRay, Formlabs, NextDent, and RapidShape. Each offers validated resin-printer-post-process recipes for surgical guides. What that validation means in practice: the manufacturer has tested the combination and can provide material data sheets showing ISO 10993 biocompatibility results, dimensional accuracy data, and recommended wash/cure parameters. Using an unvalidated resin on a validated printer, or vice versa, voids that documentation and puts the validation burden entirely on your practice.
When evaluating any resin, require: ISO 10993 biocompatibility documentation, autoclavability data if you plan to autoclave, manufacturer-stated accuracy data for surgical guide applications, and a validated post-processing protocol.
Pro Tip: Prioritize a validated printer-resin-post-process recipe over the lowest up-front equipment cost. A $500 savings on a printer that lacks a validated surgical-guide resin pathway will cost far more in failed guides, rescans, and regulatory exposure.
What post-processing steps affect guide accuracy and safety?
Correct washing and curing protocols, followed exactly as specified in the validated material data sheet, are what convert a freshly printed part into a dimensionally stable, biocompatible surgical guide. Deviations from the specified protocol are a leading cause of guide failure — warping, incomplete cure, and residual monomer that compromises biocompatibility.
Post-print sequence
- Primary wash: Immerse in the manufacturer-specified solvent (typically isopropyl alcohol or a proprietary wash solution) for the stated time. Agitation improves surface cleaning.
- Secondary rinse (if required): Some resins specify a second clean-solvent rinse to remove wash-solvent residue.
- Air dry: Allow solvent to evaporate fully before curing. Residual solvent during curing can cause surface defects.
- Final cure: Use the manufacturer-specified cure unit, time, and temperature. Under-curing leaves residual monomer; over-curing can cause warping.
- Support removal: Remove supports after curing, not before. Post-cure supports are stiffer and cleaner to remove. Use fine cutters and avoid levering against seating surfaces or sleeve bores.
Sleeves are necessary for fully guided protocols — they provide the precise bore geometry that drill kits require. Press-fit sleeves into the cured guide bore using the tolerances specified by the sleeve manufacturer. Verify concentricity visually and with a test drill before proceeding. If bonding is required, use a material compatible with the guide resin and document the bonding agent in your device record.
Inspection checklist
- Visual check: no voids, cracks, or incomplete cure on any surface
- Tactile check: seating surfaces smooth, no support-removal artifacts
- Seating test on printed model: guide seats fully with no rocking
- Gap measurement at seating surfaces (calipers or feeler gauge)
- Sleeve concentricity confirmed with test drill
- Dimensional check of critical features against CAD nominal values
- Documentation: batch number, resin lot, print date, operator, inspection result
Pro Tip: Log post-processing time per guide during your first 20 cases. Operator time — washing, curing, support removal, inspection — is consistently the largest hidden cost in in-office production, and knowing your actual time per guide is the only way to make an honest cost comparison with outsourcing.
How should you sterilize 3D printed surgical guides?
Follow manufacturer-validated sterilization instructions. If none exist for your specific resin, use single-use protocols or validated low-temperature sterilization and document your decision rationale in the device record.
Most surgical-guide resins are not autoclave-compatible. Steam autoclaving at 134°C will warp or degrade most photopolymer guides. Low-temperature options include ethylene oxide (EtO) gas sterilization and hydrogen peroxide gas plasma (e.g., Sterrad systems), both of which are compatible with many resins — but compatibility must be confirmed on the material data sheet for your specific resin, not assumed from general resin category.
Chemical sterilants (glutaraldehyde, ortho-phthalaldehyde) are an option for heat-sensitive materials, but contact time, concentration, and rinsing requirements must be followed precisely, and the resin must be confirmed compatible.
Single-use guides are the simplest compliance path. Label the guide clearly as single-use, document the sterilization method used before delivery to the surgical field, and retain the sterilization record.
For clinical assembly: perform a final seating check in the patient’s mouth before surgery begins. The guide should seat fully without pressure, with no rocking. Confirm sleeve seating and fixation. Mark depth stops on drill extensions before the guide goes in.
Pro Tip: If you plan to autoclave, confirm autoclavability on the material data sheet before you print a single guide. Not after. Some resins marketed for surgical guides are explicitly not autoclave-compatible, and that information is on page two of the data sheet, not the product homepage.
How do you measure and validate surgical guide accuracy?
Perform a combination of bench and clinical fit checks: measure guide seating on a printed model, use postoperative CBCT comparisons when possible, and document deviation metrics against planned implant positions. Research confirms that accuracy is multifactorial — printer type alone does not determine outcome.
Validation methods
Bench-fit test: The guide seats on a printed stone or resin model of the patient’s arch. Measure the gap at seating surfaces with a feeler gauge or digital calipers. A guide that rocks or shows a gap greater than your acceptance threshold fails.
Silicone fit-gap measurement: Inject light-body silicone between the guide and model, allow to set, remove, and measure thickness at multiple points. This gives a spatial map of seating discrepancy.
Scan-to-CAD surface comparison: Scan the printed guide with a desktop optical scanner and compare the resulting mesh to the original CAD file using deviation-mapping software. This catches dimensional drift from printing or post-processing.
Postoperative CBCT deviation analysis: After implant placement, compare the actual implant position (from postoperative CBCT) to the planned position. Measure angular deviation and linear deviation at the implant platform and apex. This is the gold-standard clinical validation.
Peer-reviewed studies report angular deviations for guided implant placement typically in the range of 1–4 degrees and linear deviations of less than 1–2 mm at the apex, though exact values vary by study design, guide type, and operator experience. Use published ranges as benchmarks, not guarantees.
| QC Check |
Purpose |
Method |
Documentation Required |
| Bench seating test |
Confirm guide seats fully on model |
Visual + tactile; feeler gauge for gap |
Pass/fail record, gap measurement |
| Silicone fit-gap map |
Spatial seating discrepancy |
Light-body silicone impression |
Measurements at 4+ points |
| Scan-to-CAD comparison |
Dimensional drift from print/post-process |
Desktop optical scan + deviation software |
Deviation map, max deviation value |
| Sleeve concentricity |
Drill bore alignment |
Test drill insertion, visual check |
Pass/fail per sleeve |
| Postoperative CBCT |
Clinical accuracy vs. plan |
CBCT overlay with planning file |
Angular and linear deviation values |
- Sampling frequency: validate every guide for the first 20 cases; move to batch sampling (1 in 5) once your system is proven.
- Measurement tools: digital calipers (0.01 mm resolution), desktop optical scanner, planning software with deviation analysis.
- Record-keeping: retain one representative scanned guide per production batch for retrospective analysis.
Pro Tip: Build a simple one-page pass/fail scoring sheet with your acceptance thresholds pre-filled. Operators who have to remember thresholds from memory will drift. Operators with a printed checklist in front of them will not.
When are 3D printed surgical guides clinically indicated?
Fully guided implant surgery is the right choice when prosthetic-driven positioning, anatomic risk mitigation, or reduced chair time is the priority. Complex anatomic situations or cases with severely limited mouth opening may favor alternative approaches.
Strong indications:
- Single-tooth anterior or posterior implants where emergence profile is prosthetically critical
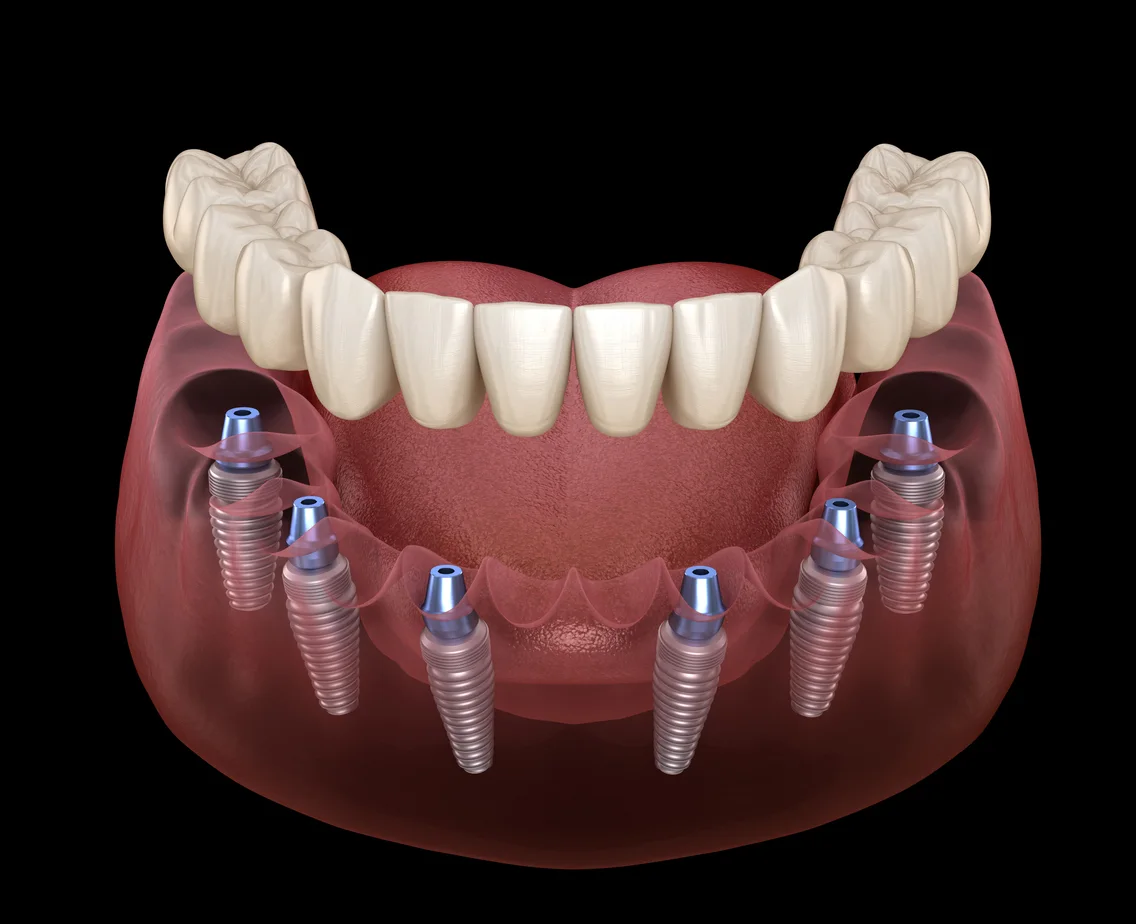
- Full-arch cases with anchor pins, where multiple implants must be placed in a coordinated spatial relationship
- Sites near the inferior alveolar nerve, maxillary sinus, or adjacent root apices where angulation control is essential
- Cases requiring high prosthetic predictability, including immediate loading protocols
Contraindications and limitations:
- Severely limited interocclusal space (less than approximately 8–9 mm) that prevents drill-kit clearance through the guide sleeve
- Unstable soft tissue (uncontrolled periodontal disease, recent grafting) that will shift between scan and surgery
- Poor CBCT quality due to metal artifact that prevents reliable virtual planning
- Cases where significant intraoperative adjustments are anticipated based on bone quality findings
Case selection checklist: Confirm adequate mouth opening for the drill kit, stable opposing dentition for guide support, CBCT clarity at the planned site, a finalized restorative plan, and soft-tissue stability at the time of scanning.
Pro Tip: Start with single-tooth posterior cases. The anatomy is forgiving, the guide is small, and the prosthetic tolerance is wider than anterior esthetics cases. Build your system validation on these before moving to full-arch or high-stakes anterior cases.
What are the U.S. regulatory responsibilities for in-office guide production?
U.S. clinicians or labs producing patient-specific surgical guides are considered device manufacturers and must follow FDA expectations for device validation, registration and listing where applicable, and appropriate record-keeping. This is not a gray area. The FDA’s guidance on additive manufacturing of medical devices, reinforced by the FDA’s technical considerations guidance, makes clear that finished devices produced by 3D printing are subject to standard device regulations regardless of where they are manufactured.
A regulatory primer for dental additive manufacturing emphasizes that materials cleared in one context may not be cleared for a different device type, and that quality management system expectations apply to in-house production.
What to document
- Validated printer + resin + post-process recipe (the specific combination, not just the printer model)
- Material data sheets with ISO 10993 biocompatibility results for each resin used
- Batch records: resin lot number, print date, operator, post-processing parameters, inspection result
- Sterilization logs: method, cycle parameters, date, operator
- Device labeling: single-use or reusable designation, lot/batch number, date of manufacture
- Corrective action records for any guide that fails inspection or causes a clinical complication
Manufacturer vs. clinician responsibilities
Using an FDA-cleared system (printer + resin + software validated by the manufacturer) shifts a significant portion of the validation burden to the manufacturer. Producing guides with an uncleared resin or an unvalidated workflow means your practice owns the full validation responsibility. When in doubt, consult regulatory counsel before starting in-office production.
Compliance checklist for U.S. clinics:
- Confirm the printer-resin-software combination has FDA clearance or manufacturer validation documentation
- Establish a device master record for your surgical guide production process
- Implement production lot traceability (batch records linking each guide to its materials and process parameters)
- Define acceptance criteria and a pass/fail inspection protocol
- Document sterilization method and confirm material compatibility
- Establish a corrective action process for failures
- Determine whether your production volume and device classification require FDA registration and listing
| Point |
Details |
| Device manufacturer status |
In-office guide production makes your practice the device manufacturer under FDA rules. |
| Material documentation |
ISO 10993 data sheets and validated resin-printer combos are required records, not optional. |
| Batch traceability |
Every guide needs a batch record linking it to its resin lot, print date, and inspection result. |
| Sterilization records |
Log method, cycle parameters, and material compatibility confirmation for every guide. |
What does the evidence say about surgical guide accuracy?
Peer-reviewed studies and clinical experts consistently show that vat photopolymerization (SLA/DLP) guides produce better trueness and precision than FDM/FFF guides, and that accuracy is multifactorial. Research published in a peer-reviewed journal confirms that even high-resolution printers produce inaccurate guides when upstream scanning or post-processing steps are compromised.
Key findings from the comparative literature:
- SLA and DLP achieve comparable trueness and precision to each other; FDM/FFF is consistently the least accurate technology in multi-technology evaluations.
- Small-extent (single-site) guides are more accurate than full-arch guides regardless of technology, likely due to reduced lever-arm effects and less accumulated registration error.
- Fully guided implant placement reduces placement deviations compared to freehand surgery, with the benefit most pronounced in anatomically complex sites.
- In vitro studies tend to report better accuracy than clinical studies, partly because patient movement, soft-tissue compliance, and intraoperative variables are absent from bench testing.
When reading accuracy studies, note the measurement method (scan-to-CAD vs. postoperative CBCT), sample size, guide type (tooth-supported vs. bone-anchored), and whether the study used a validated or custom workflow. Small sample sizes and in vitro designs are common limitations that affect how far findings generalize.
Practical recommendations from the evidence: prioritize validated system-material combinations, run postoperative CBCT verification on your first 10–15 cases to benchmark your system, and log internal outcomes for continuous improvement.
Pro Tip: Run a small internal study of 5–10 cases before full clinical rollout. Measure postoperative CBCT deviations, compare them to published norms, and document the results. This gives you a defensible baseline and often reveals a specific step in your workflow that needs adjustment before you scale.
Key Takeaways
A validated SLA or DLP workflow with ISO 10993-compliant resins, strict post-processing, and documented QC checks is the minimum standard for producing reliable 3D printed surgical guides in a U.S. clinical setting.
| Point |
Details |
| Technology choice |
SLA and DLP outperform FDM/FFF in trueness and precision; use vat photopolymerization for clinical guides. |
| Accuracy is multifactorial |
Scan quality, registration, design, print settings, and post-processing each contribute to final guide accuracy. |
| Regulatory responsibility |
U.S. in-office guide production makes the practice the device manufacturer; FDA documentation requirements apply. |
| Post-processing is critical |
Wash and cure deviations are a leading cause of guide failure; follow material data sheets exactly. |
| Onewd training pathway |
Onewd’s hands-on implant and guided-surgery courses provide the supervised clinical experience needed to safely adopt in-office guide workflows. |
The part of this workflow most clinicians underestimate
The clinical literature on 3D printed dental guides focuses heavily on printer technology comparisons. That framing is understandable — printers are the visible, purchasable variable. But in practice, the printer is rarely where workflows break down.
The failures I see most consistently come from three places. First, registration errors that nobody measured. The CBCT and IOS data looked fine individually, but the alignment was off by 0.4 mm, and nobody ran a deviation check before planning. The guide printed perfectly. It just didn’t fit the patient. Second, post-processing shortcuts. Washing for 8 minutes instead of 12 because the schedule was tight. Curing at room temperature instead of the specified 40°C. These deviations are invisible until the guide warps on the model or the biocompatibility data no longer applies. Third, assuming that any resin labeled “biocompatible” is validated for surgical guides. ISO 10993 biocompatibility is a category of testing, not a single clearance. A resin can pass cytotoxicity testing and still lack the dimensional stability data, autoclavability confirmation, or FDA clearance needed for a surgical guide application.
Where hands-on training accelerates safe adoption most: virtual planning and guide design workshops, where you can make design errors on a model before making them on a patient; supervised initial clinical cases, where an experienced clinician can catch seating issues before the drill goes in; and post-processing protocol training, which is almost never covered in manufacturer webinars at the depth it deserves.
For busy practices starting out: begin with single-tooth cases using a fully validated commercial system. Keep records from day one. Run postoperative CBCT on your first several cases. The data you collect in those early cases is the foundation of everything else.
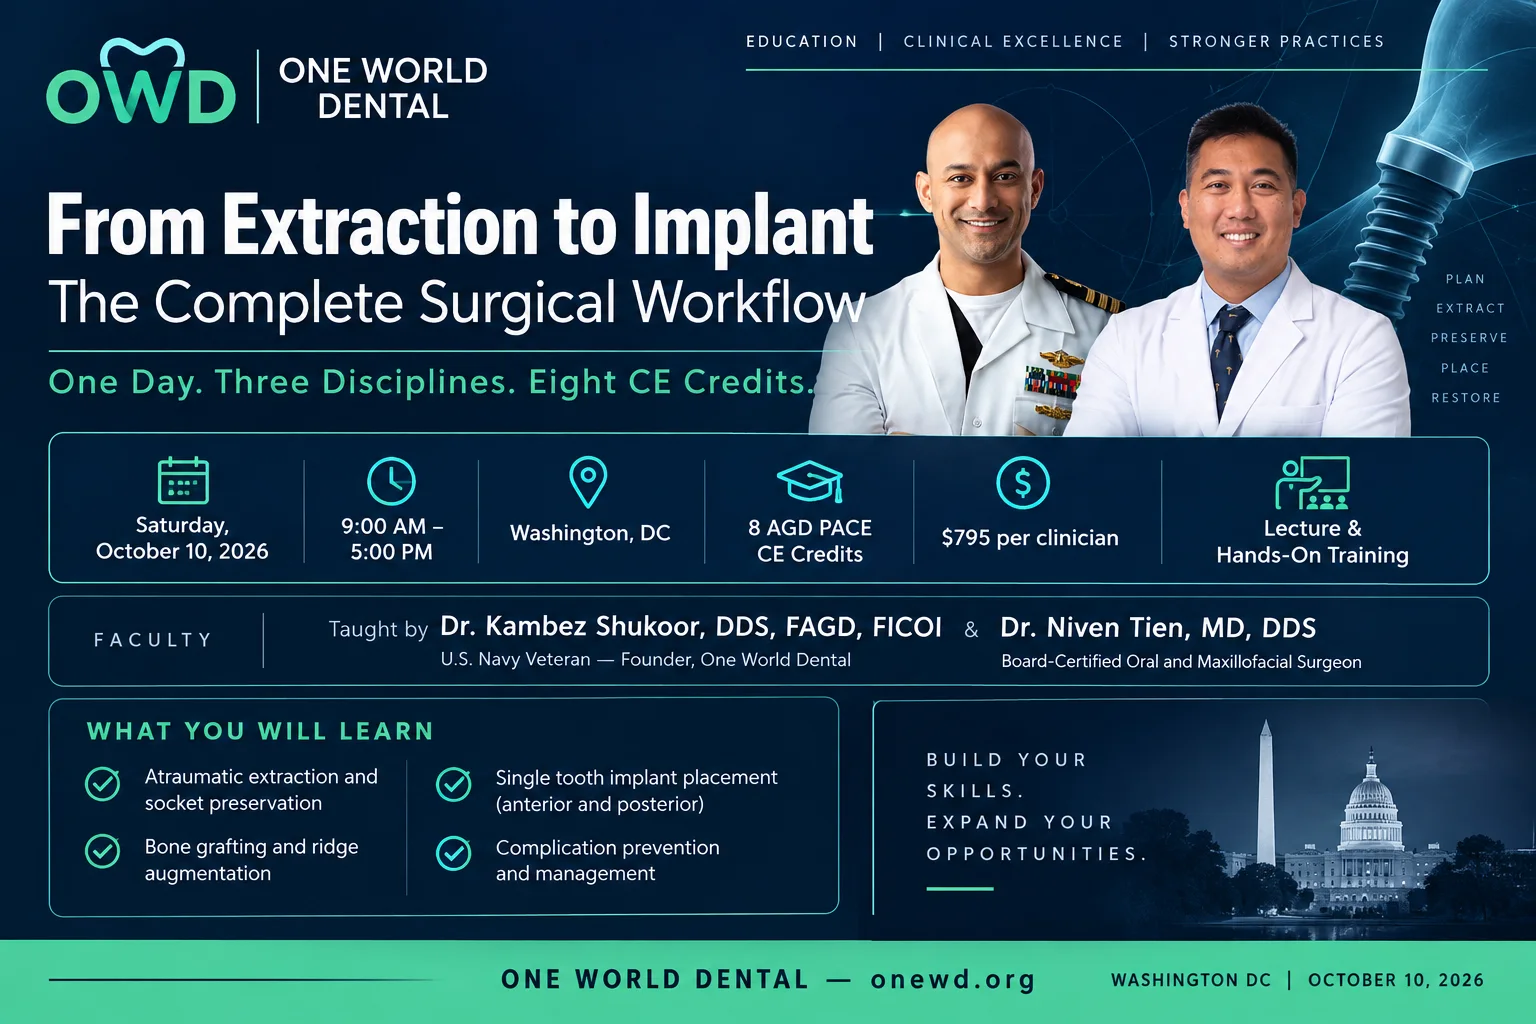
Onewd’s training courses for guided implant surgery
Clinicians who want to adopt in-office surgical guide workflows need more than a printer and a resin. The skills that matter most — reading CBCT data accurately, making prosthetically driven planning decisions, designing guides that actually seat, and managing the first guided surgical cases safely — are built through supervised practice, not self-study.

Onewd offers tiered hands-on implant training that maps directly to the workflow described in this article. Introductory courses cover single-tooth implant placement with guided protocols, giving clinicians a low-risk environment to build the scanning, planning, and surgical skills that guided surgery requires. Intermediate and advanced modules address full-arch cases, complex anatomy, and the virtual planning decisions that determine guide accuracy before a file is ever sent to a printer. Live surgery modules let you observe and participate in real cases with experienced mentors, which is where the gap between knowing the steps and executing them under pressure actually closes.
CE credits are available across the curriculum. Browse the full implants and surgery course catalog to find the level that fits where you are now, and book a current course to get started.
Useful sources
Recommended