Level 2 • Implants & Surgery
Sinus Lift (Crestal & Lateral) – Online Lecture Series
Online lecture series on crestal and lateral window sinus augmentation approaches.
- Self-Paced
- 3–4 CE Credits
- Self-Paced
- On-Demand
Coming SoonView Course

Bone Grafting & Site Development • Clinical Guide
Master the lateral sinus lift technique to enhance bone volume for implants. Learn when to choose this method over others for optimal results.
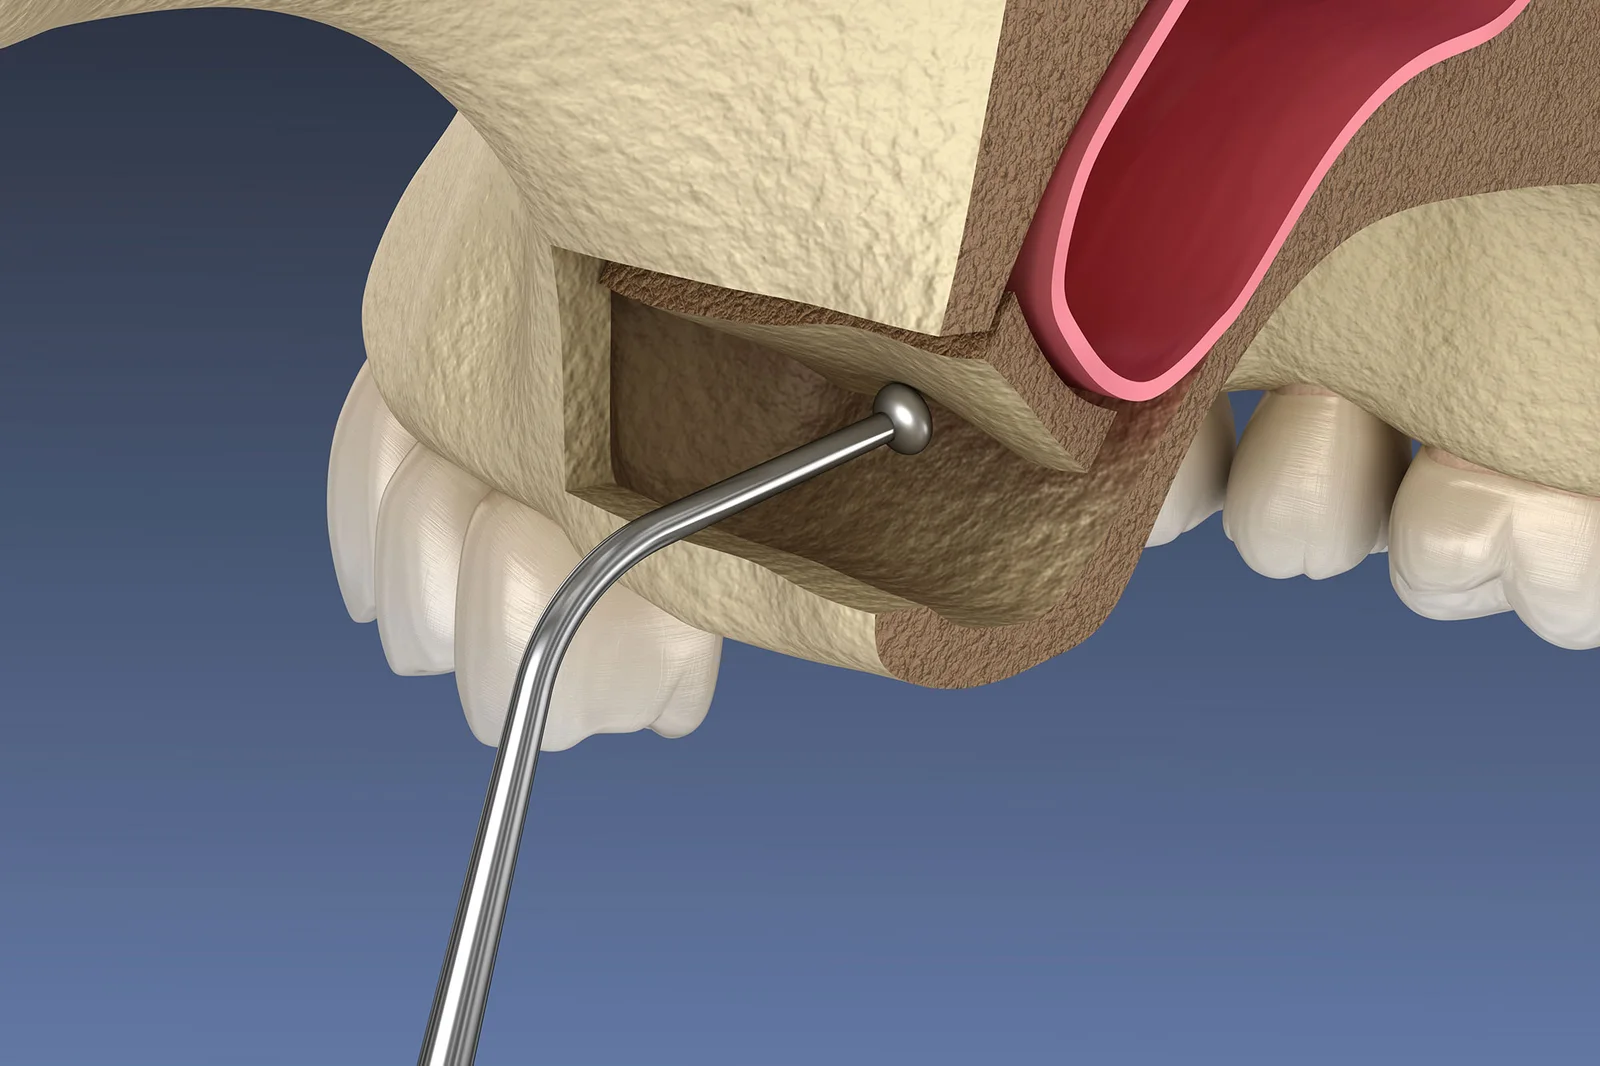
When residual vertical bone height in the posterior maxilla measures 6 mm or less, the lateral sinus lift is the procedure of choice for creating predictable bone volume for implant placement. No other augmentation technique gives you the same direct access to the Schneiderian membrane, the ability to manage septa and uneven sinus floors, or the capacity to achieve the vertical gain that standard implant lengths demand. In an RCT comparing approaches, the lateral window technique provides notably greater vertical bone gain than the crestal approach, offering clinically important additional height for implant placement. That gap matters clinically when you are starting with 3–4 mm of crestal bone.
Quick decision checklist before you schedule the case:
If all five boxes check out cleanly, you are ready to plan the case. If the sinus disease box raises a flag, get the ENT consult first.
Every complication in lateral window surgery traces back to anatomy that was either missed on CBCT or underestimated at the chair. Know these structures cold before you design the osteotomy.
Schneiderian membrane. The membrane thickness varies, and thinner membranes are associated with a higher perforation risk during elevation. Thicker membranes are more forgiving; thinner ones demand slower, more deliberate instrumentation. Membrane thickness is not reliably measurable on standard CBCT, so treat every membrane as potentially thin until you see it.
Underwood septa. Septa are a common anatomic feature present in a significant proportion of maxillary sinuses and can be primary (developmental) or secondary (post-extraction remodeling). Their location dictates window position. A septum that falls in the middle of your planned window forces you to either straddle it with a single wider osteotomy or create two separate windows, one anterior and one posterior to the septum. Elevation over a septal spine without adequate access on both sides is where membranes tear.
Lateral wall thickness and the antral alveolar artery. The posterior superior alveolar artery (PSAA) runs within or immediately adjacent to the lateral wall; its position relative to the alveolar crest is important for surgical planning. On CBCT, identify its canal position before you design the window. Placing the superior border of the osteotomy to avoid the artery canal is important to minimize intraoperative bleeding risk. When the artery runs intraosseously and cannot be avoided, preoperative CBCT identification lets you plan your hemostatic response before the bleeding starts.
Sinus floor contour and adjacent roots. A flat sinus floor is straightforward to elevate. A concave or irregular floor with sharp medial-lateral angles requires more curette manipulation in confined spaces, which increases perforation risk. Root proximity to the sinus floor matters too: roots that project into the sinus cavity can tether the membrane and create adhesion points that resist clean elevation.
CBCT anatomic checklist to complete before surgery:
Pro Tip: When reviewing CBCT slices, toggle between coronal and sagittal planes at the planned window site. Septa that appear minor in one plane often reveal their full height and orientation only in the other.
The lateral approach is indicated when residual crestal bone height is ≤6 mm, when septa or an irregular sinus floor prevent reliable transcrestal elevation, or when the planned augmentation volume exceeds what a crestal technique can deliver. It is also the right call when you need direct visualization to manage a complication during the same procedure.
Decision checklist for pre-surgical clearance:
CBCT is not optional for lateral window surgery. It is the planning document that determines window size, position, graft volume, and implant timing before you make a single incision.
Imaging parameters. Use a field of view that captures the full sinus bilaterally (typically 8×8 cm or larger), with slice thickness ≤0.3 mm for adequate resolution of the lateral wall and membrane. Include the full sinus height from floor to ostium.
| CBCT Measurement | What to Record | Clinical Use |
|---|---|---|
| Residual crestal bone height | mm at each planned implant site | Determines simultaneous vs. staged placement |
| Sinus width (bucco-palatal) | mm at planned window midpoint | Guides graft volume estimate |
| Lateral wall thickness | mm at planned osteotomy site | Selects instrument (piezo vs. rotary) |
| Septa location and height | Anterior/posterior position, mm height | Dictates window design (single vs. split) |
| PSAA canal position | mm above alveolar crest | Informs superior window border placement |
| Ostium position | Distance from floor, patency | Flags drainage risk; ENT referral threshold |
| Mucosal thickening | mm (flag if >3 mm) | Contraindication screening |
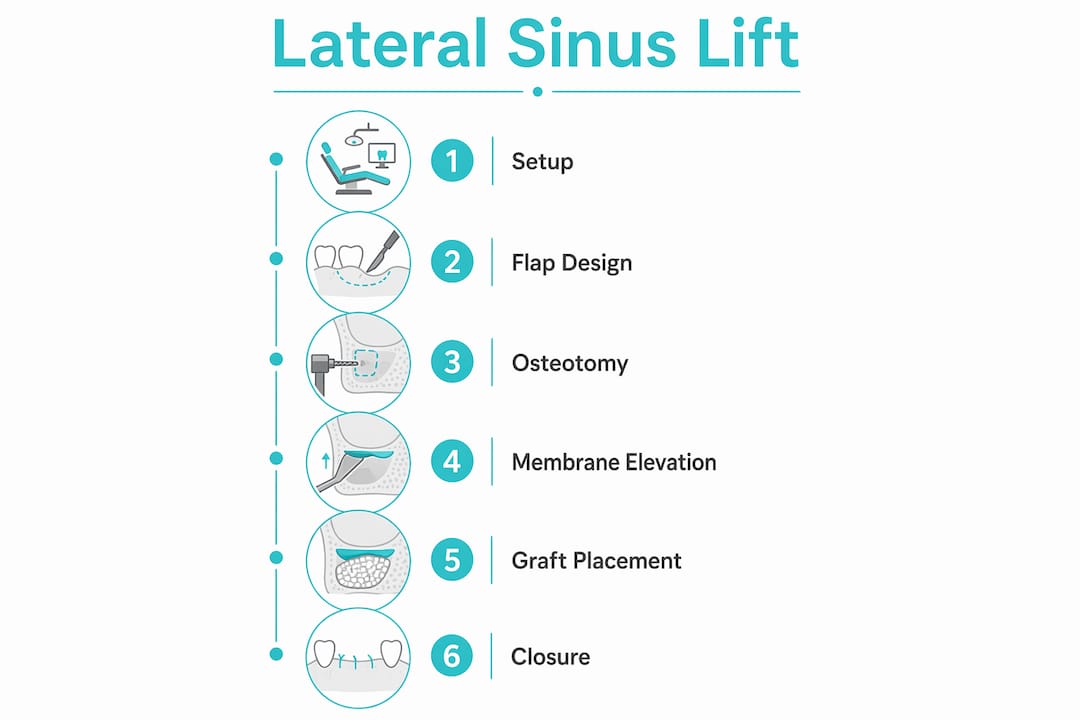
Window design from CBCT data. Place the inferior border of the osteotomy 2–3 mm coronal to the sinus floor and the anterior border 3 mm distal to the anterior sinus wall. These positions give direct visual access to the narrow anterior sinus, which is the most difficult area to instrument. Window height is driven by the augmentation volume needed: a larger planned gain requires a taller window for adequate membrane elevation and graft access.
Graft volume estimation. A practical approximation treats the augmentation space as a rough half-ellipsoid. Measure sinus width, the planned mesio-distal span, and the target augmentation height from CBCT, then apply a simple volume formula (length × width × height × 0.5). For most single-site lateral window cases, 1–2 cc of particulate graft is typical; multi-site or wide sinuses may require 2–4 cc. Always prepare slightly more than the estimate, because compaction and membrane drape reduce the effective fill.
Preoperative medical and ENT screening. Review the full medication list for antiresorptives, anticoagulants, and immunosuppressants. Confirm no active nasal or sinus symptoms in the 4 weeks before surgery. If the patient reports seasonal allergies, schedule the procedure outside peak allergy season when possible.
Position the patient semi-upright (approximately 45°). This reduces blood flow to the operative site and improves visualization, particularly if the PSAA is encountered. Local anesthesia with a vasoconstrictor (1:100,000 or 1:200,000 epinephrine) is standard; infiltrate the buccal vestibule generously and allow at least 5 minutes for full vasoconstriction before incision. IV sedation or general anesthesia is appropriate for anxious patients or complex multi-site cases.
Use a full-thickness mucoperiosteal flap with a midcrestal or slightly palatal incision to preserve keratinized tissue. Add anterior and posterior vertical releasing incisions to achieve tension-free reflection. The flap must extend superiorly enough to expose the full planned window with at least 3–4 mm of bone margin visible above the osteotomy. Inadequate flap height is one of the most common early-career errors; it forces you to work in a hole and increases the chance of tearing the membrane at the window edge.
Two strategies exist for accessing the sinus: thinning the lateral wall until the membrane is visible through the bone, then completing the antrostomy; or removing the bony window entirely as a hinged or free segment.
Thinning with piezoelectric instruments is the preferred approach when the lateral wall is thick (>2 mm). Ultrasonic erosion reduces perforation rates to as low as 4.7%, compared with up to 20.1% for rotary instruments in pooled analyses. The tactile and visual feedback of piezo thinning, specifically the subtle color change as bone becomes translucent over the membrane, lets you stop before you breach. Bone scrapers achieve similarly low perforation rates (approximately 6%) and are a useful adjunct when the wall is already thin.
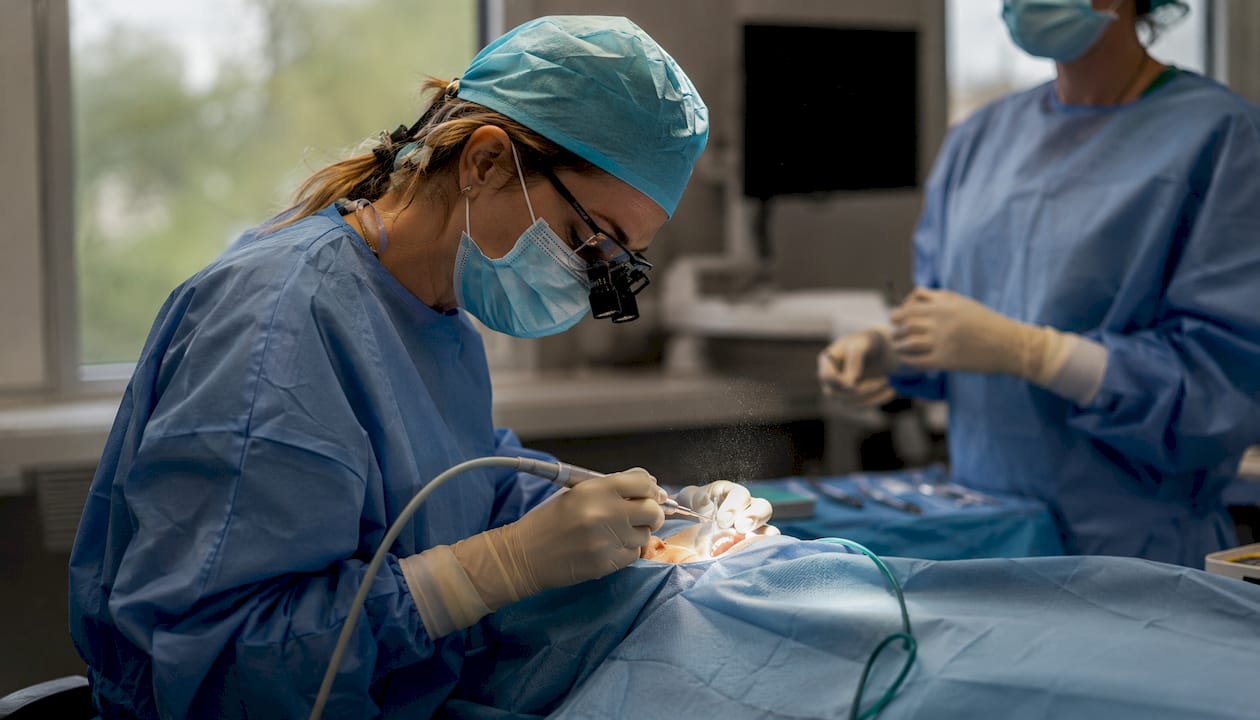
Window removal (hinged inward or free removal) is faster and appropriate when the lateral wall is thin (<1 mm) and the membrane is already visible. The freed bone segment can be stored in saline and repositioned over the graft at closure, though most surgeons cover the window with a resorbable membrane regardless.
Pro Tip: Thin the lateral wall in a circular pattern working from the center outward, not from the edges inward. Starting at the edges risks catching the membrane before you have established depth control at the center.
Begin elevation at the inferior border of the window, working from lateral to medial with blunt curettes. Sharp elevators are preferred over dull ones; a dull elevator can roll over the membrane and compress it against the medial wall, causing a tear before you realize the instrument has lost bone contact. Piezoelectric “trumpet-shaped” elevators operated at low power with cavitating water spray create a predictable 2 mm circumferential membrane separation that makes the initial detachment safer.
Elevate in sequence: inferior, then medial, then anterior, then posterior. When a septum is present, gain access on both sides before attempting to elevate over the septal spine. Moving the elevator in a lateral-to-medial direction on each side of the septum is far safer than trying to push over the spine from a single window.
Membrane integrity testing. Before placing any graft, confirm the membrane is intact. Ask the patient to breathe deeply or perform a controlled Valsalva maneuver while you observe the membrane. A visible rise and fall of the membrane with respiration confirms detachment and integrity. No movement, or visible air bubbling through the membrane, indicates a perforation.
Pack particulate graft incrementally, starting at the medial and inferior aspects of the elevated space. Avoid overpacking, which can tent the membrane and create pressure-related tears. A collagen sponge or PRF membrane placed first at the inferior aspect of the space helps contain fine particulate and prevents washout through small undetected perforations.
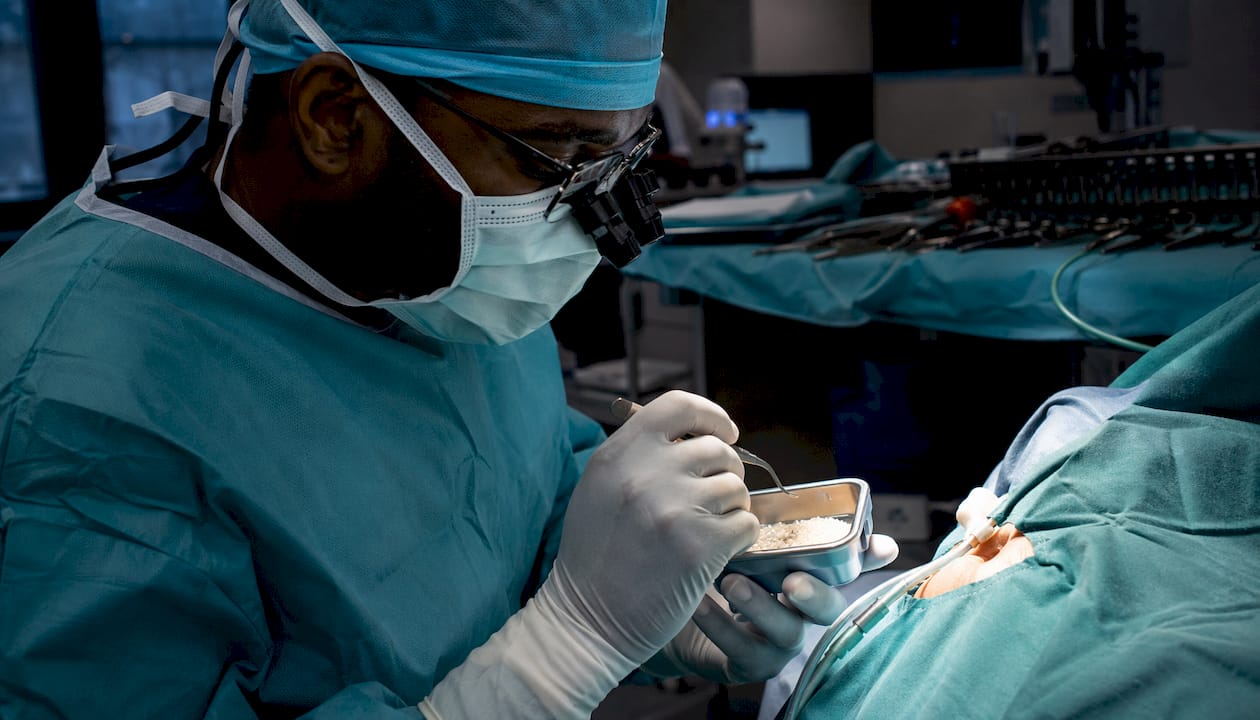
Cover the lateral window with a resorbable collagen membrane (Bio-Gide or equivalent) extending at least 3–4 mm beyond the window margins on all sides. Secure with bone tacks if the membrane tends to displace during closure. The membrane serves two functions: it contains the graft and it excludes soft tissue from the augmentation space.
Achieve primary closure without tension. Periosteal releasing incisions on the flap undersurface allow the flap to advance coronally when needed. Close with interrupted or mattress sutures; a running suture is acceptable for the crestal incision. Verify no blanching of the flap edges, which signals tension that will lead to dehiscence.
Simultaneous vs. staged implant placement. Place implants simultaneously when residual crestal bone height is ≥4 mm and primary stability of 25–35 Ncm or greater is achievable. Below 4 mm, or when bone density is poor and primary stability is uncertain, stage the implant placement at 6–9 months after augmentation.
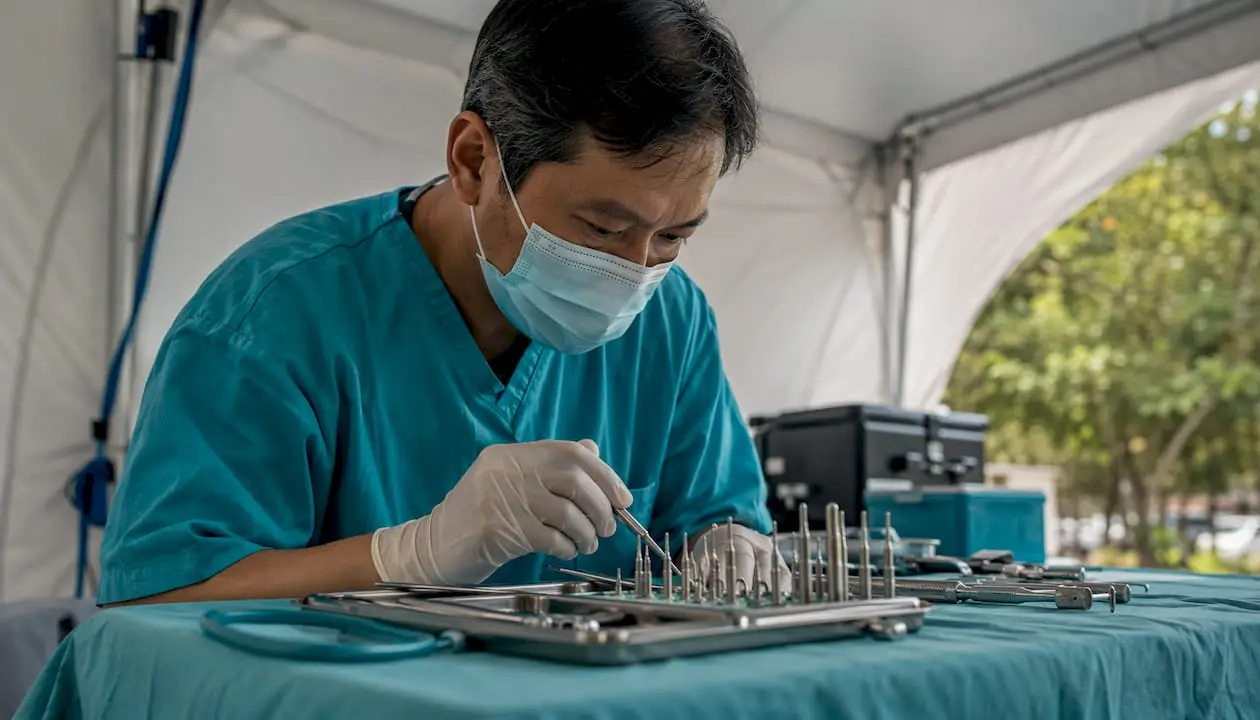
Instruments and materials tray checklist:
Membrane perforation is the most frequent intraoperative complication in lateral window surgery. Reported rates range from 0% to 60% depending on technique and surgeon experience, with pooled estimates around 15.7% across reviewed studies. The single most effective prevention strategy is instrument selection: piezoelectric thinning reduces perforation incidence to approximately 4.7% versus up to 20.1% with rotary instruments.
Repair algorithm by perforation size:
Key principle: Even large membrane perforations do not automatically compromise long-term implant survival when repaired correctly and graft containment is ensured. The repair algorithm matters more than the perforation itself. A well-managed perforation is a recoverable event; an unrecognized one is not.
If the PSAA is transected, apply immediate pressure with gauze. Bone wax applied directly to the canal opening is effective for intraosseous bleeding. Bipolar electrocautery controls soft-tissue vessel bleeding without thermal spread to the membrane. Converting the patient to a more upright position reduces blood flow and improves visualization. Preoperative CBCT identification of the artery canal position is the most reliable prevention.
Infection and sinusitis. Postoperative infection occurs at a low rate, typically a small minority of cases. Standard antibiotic prophylaxis (amoxicillin 500 mg three times daily for 7 days, or clindamycin 300 mg three times daily for penicillin-allergic patients) covers the most common pathogens. Add a nasal decongestant (oxymetazoline or saline rinse) to support ostium drainage. If purulent nasal discharge persists beyond 2 weeks or the patient develops fever and facial pain, obtain a CBCT and refer to ENT.
Graft exposure. Early flap dehiscence with graft exposure requires immediate irrigation, chlorhexidine rinse, and close monitoring. Small exposures often re-epithelialize; larger exposures may require partial graft removal and secondary closure.
ENT referral criteria: refractory sinus symptoms beyond 3 weeks, suspected oroantral fistula (fluid passing between oral cavity and nose), persistent purulent drainage, or radiographic evidence of sinus opacification at the 3-month follow-up.
Pro Tip: Prescribe a nasal saline rinse starting the day after surgery and continuing for 4 weeks. It costs nothing, reduces mucosal edema around the ostium, and is one of the most underused postoperative measures in sinus augmentation.
Xenograft (deproteinized bovine bone mineral, e.g., Bio-Oss or equivalent). The most widely used particulate for lateral window augmentation. Slow resorption rate maintains space long enough for bone ingrowth, and the material’s radiopacity makes radiographic follow-up straightforward. Handling is easy; it mixes well with blood or PRF for improved cohesion. For a deeper comparison of xenograft versus other graft types, the xenograft vs. allograft guide at Onewd covers the clinical tradeoffs in detail.
Allograft (freeze-dried bone allograft, FDBA, or demineralized FDBA). Faster remodeling than xenograft, which can be advantageous when implant placement timing is a priority. DFDBA carries osteoinductive potential from residual growth factors. Handling is similar to xenograft; mixing the two materials (composite graft) is a common strategy that balances early remodeling with long-term volume maintenance.
Autogenous bone. The historical gold standard for osteogenic potential, but harvest morbidity and limited intraoral volume have reduced its use as a sole material. Intraoral sources (tuberosity, ramus, chin) yield small volumes suitable as an additive to xenograft or allograft composites. Extraoral harvest (iliac crest) is rarely indicated for routine sinus augmentation.
Synthetic biomaterials (beta-tricalcium phosphate, hydroxyapatite). Fully resorbable options with predictable degradation timelines. Beta-TCP resorbs faster than xenograft, which suits cases where earlier implant placement is planned. Handling can be more challenging; fine particles tend to migrate if not contained.
Membrane selection:
Practical dosing and handling:
| Timepoint | Expected Status | Action |
|---|---|---|
| Day 0–3 | Swelling peaks; mild nasal discharge normal | Ice packs, head elevation, nasal saline rinse |
| Week 2 | Suture removal; swelling resolving | Clinical check; confirm no dehiscence |
| Month 3 | Early graft consolidation; CBCT optional if symptoms present | Radiographic check only if clinically indicated |
| Month 4–6 | Graft maturing; bone trabeculae forming | Periapical or CBCT to assess density |
| Month 6–9 | Full graft integration for most cases | Re-entry for implant placement (staged cases) |
The lateral window approach consistently delivers greater vertical bone gain than crestal techniques. RCT data places the average vertical gain at 6.5 ± 1.3 mm for the lateral approach and 4.2 ± 1.0 mm for the crestal approach. Actual gain in a given case depends on initial residual height, graft material choice, and membrane containment quality. Cases starting with very low residual bone (2–3 mm) tend to show proportionally larger gains because the augmentation space is larger; cases with 5–6 mm of residual bone gain less in absolute terms but still reach the target height for standard implant lengths.
Place implants simultaneously when residual crestal bone height is ≥4 mm and you can achieve primary stability of at least 25–35 Ncm. Below 4 mm, or when bone density is poor (Type IV bone), stage the implant at 6–9 months. For the extraction-to-implant timeline in combined augmentation cases, Onewd’s site development resource provides a useful protocol reference.
At re-entry, probe the graft site with a sharp explorer through a small crestal incision before committing to implant placement. Mature graft feels firm and resistant; soft or granular texture suggests incomplete consolidation and warrants a 6–8 week delay. Radiographically, look for trabecular pattern within the graft and loss of the sharp graft-native bone interface, which signals active remodeling.
Some sinus morphologies are straightforward on CBCT but present unexpected challenges intraoperatively. Recognizing them preoperatively changes your plan before the first incision.
Common variations requiring technique modification:
Red-flag CBCT findings that require ENT input before surgery:
Referral and co-management guidance. When ENT clearance is needed, provide the consulting otolaryngologist with the CBCT images and a brief clinical summary of the planned augmentation. Most ENT consultants are unfamiliar with the specific anatomic requirements of sinus augmentation; a clear request (e.g., “confirm sinus patency and treat any mucosal disease before augmentation”) produces a more useful response than a generic referral.
| Dimension | Lateral Window | Crestal (Transcrestal) |
|---|---|---|
| Residual bone height indication | ≤6 mm; preferred ≤4 mm | 5–9 mm; unreliable below 5 mm |
| Expected vertical bone gain | 6.5 ± 1.3 mm (RCT average) | 4.2 ± 1.0 mm (RCT average) |
| Operative time | ~62.2 min average | ~28.2 min average |
| Membrane perforation rate | ~15.7% pooled (piezo: ~4.7%) | Lower, but undetected perforations more common |
| Graft material choice | Full range; particulate and block | Particulate only; limited volume |
| Implant timing | Simultaneous (≥4 mm) or staged | Usually simultaneous |
| Anatomic obstacle management | Direct access; septa manageable | Limited; septa are a contraindication |
| Postoperative morbidity | Moderate swelling/bruising | Lower swelling; higher day-of pain |
The lateral approach is the clear choice when augmentation volume is large, anatomy is complex, or the surgeon needs direct visualization to manage complications during the same procedure. The crestal approach suits minimally invasive cases with adequate residual bone and no anatomic obstacles. Operative time for the lateral window averages ~62.2 minutes versus ~28.2 minutes for the crestal approach, a scheduling consideration for high-volume practices.
One practical scenario that clearly favors the lateral window: a patient with 3 mm of residual bone, a prominent septum in the mid-sinus, and two adjacent planned implant sites. The crestal approach cannot manage the septum, cannot deliver the augmentation volume needed, and cannot address both sites efficiently. The lateral window handles all three in a single procedure.
Surgeon experience is one of the strongest predictors of complication rates in lateral window surgery. Membrane perforation frequency falls as operator skill and anatomy-based patient selection improve, and formal mentorship accelerates that trajectory more reliably than independent case accumulation.
A pragmatic competency pathway moves through five stages:
Core features that separate a useful advanced course from a generic CE offering: small-group hands-on time with adequate instructor-to-participant ratios, live-surgery observation with pre-case CBCT planning discussion, a dedicated CBCT measurement and window-design workshop, and post-course mentorship access for case consultation.
Onewd’s sinus lift lecture series covers both crestal and lateral techniques with on-demand didactic content, and the broader implants and surgery course catalog includes hands-on and live-surgery formats that map directly to the supervised and independent stages of this pathway.
Recommended minimums before independent complex cases: 5 supervised lateral window procedures with documented outcomes, objective skills assessment on at least one simulated model, and sign-off from a mentor on flap design, membrane elevation, and complication management. Track your own perforation rate per case; it should trend downward as your case volume grows.
Pro Tip: Schedule your first independent lateral window cases on a day with no other complex procedures booked. The cognitive load of managing an unfamiliar complication is much lower when you are not also running behind on a full schedule.
The lateral sinus lift is the most predictable technique for posterior maxillary augmentation when residual bone height is ≤6 mm, delivering an average vertical gain of 6.5 ± 1.3 mm (lateral) vs. 4.2 ± 1.0 mm (crestal) with approximately 98.2% implant survival when patient selection and technique are sound.
| Point | Details |
|---|---|
| Indication threshold | Use the lateral window when residual crestal bone height is ≤6 mm or anatomic obstacles prevent crestal elevation. |
| Vertical bone gain | Lateral approach provides an average vertical gain of 6.5 ± 1.3 mm, notably greater than the crestal technique at 4.2 ± 1.0 mm. |
| Perforation prevention | Piezoelectric thinning reduces membrane perforation to ~4.7% versus up to 20.1% with rotary instruments. |
| Implant timing rule | Place implants simultaneously when residual bone is ≥4 mm and primary stability ≥25–35 Ncm is achievable; stage otherwise at 6–9 months. |
| Training pathway | Formal mentorship through at least 5 supervised cases accelerates safe competency; Onewd offers structured didactic and hands-on sinus lift training. |
The lateral window technique looks straightforward on paper. Flap, osteotomy, elevation, graft, close. The reality is that every one of those steps has a failure mode that is not obvious until you have seen it, and the membrane elevation step in particular rewards surgeons who have watched it done well far more than those who have only read about it.
The most common early mistakes are not dramatic errors. They are subtle ones: a window placed too high because the surgeon was nervous about the artery, leaving the inferior sinus floor inaccessible; a flap that is just barely too short, forcing the surgeon to work in a restricted field and increasing the chance of window-edge membrane trauma; underestimating a septum that looked minor on CBCT but required a split-window approach that was not planned. None of these are catastrophic in isolation, but they compound.
What actually accelerates safe adoption is not reading more papers. It is watching an experienced surgeon make the first elevator contact with the membrane and seeing how little force is required. It is understanding, from a live case, that the membrane elevation is a slow, deliberate process measured in millimeters per minute, not a quick sweep. Formal mentorship compresses the learning curve in a way that independent case accumulation simply cannot replicate.
The other habit that matters early: honest case selection. Your first independent lateral window cases should have the most favorable anatomy you can find. Adequate residual bone, no septa, a normal-thickness membrane, and a straightforward sinus floor. Save the complex anatomy for after you have built the muscle memory on simpler cases.
Surgeons who want to add the lateral sinus lift to their practice need more than a lecture series. They need structured progression from didactic foundation to supervised live cases, with mentorship available when the first independent cases raise questions.

Onewd’s dental implant course catalog includes both online on-demand modules and hands-on live formats specifically covering sinus augmentation. The on-demand sinus lift series covers CBCT planning, window design, membrane elevation technique, graft selection, and complication management with case-based examples. Hands-on formats include live-surgery observation and small-group practice with direct instructor feedback. Courses carry CE credits, and the mentorship model means you have access to case consultation after the course ends, not just during it.
If you are new to the lateral approach, the right next step is the training courses page at Onewd, where you can review current sinus lift offerings, confirm CE credit hours, and enroll in the format that fits your schedule and experience level.
Technique and indications:
Membrane handling and complication management:
Comparative trials:
Vascular management:
Recommended reading order: technique overview → complication management → comparative trials → vascular management → training resources.
Educational disclaimer: Content is provided for professional education and is not a substitute for a clinician's independent judgment, applicable standards, manufacturer instructions, or relevant laws and regulations.
Related Training
Level 2 • Implants & Surgery
Online lecture series on crestal and lateral window sinus augmentation approaches.
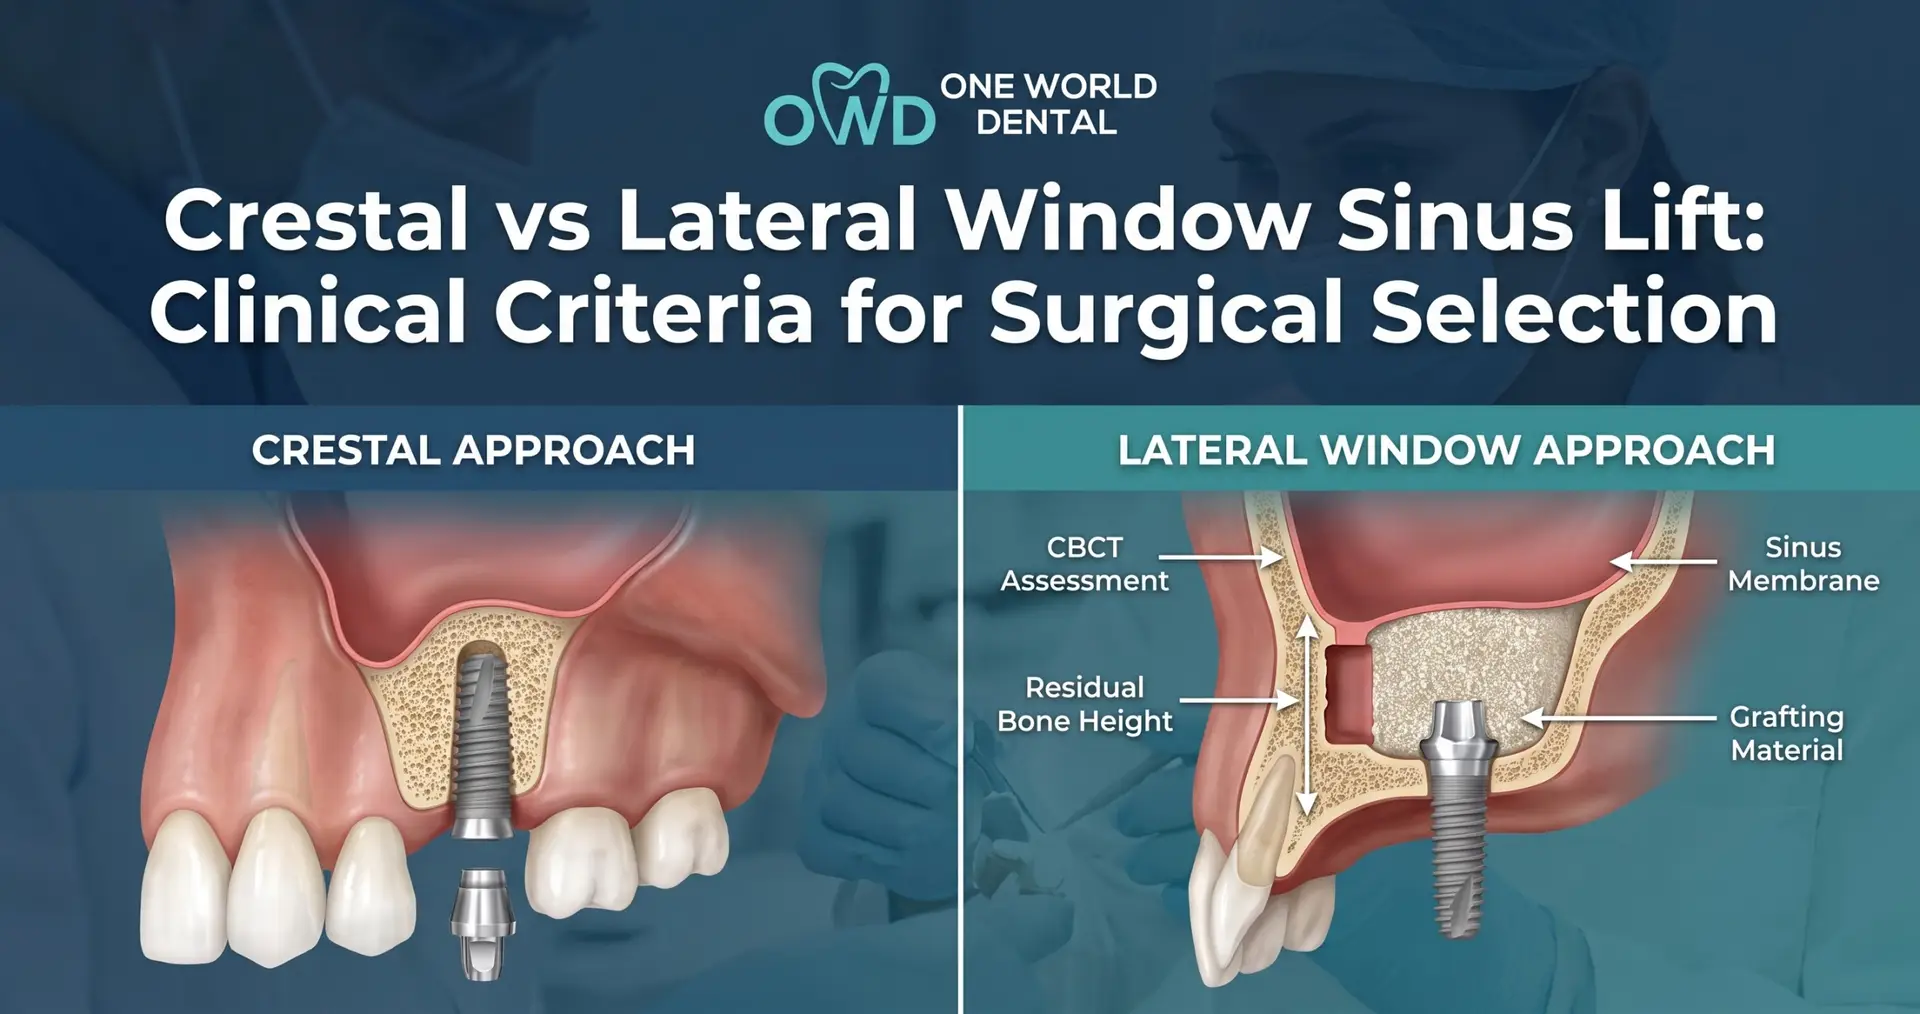
Bone Grafting • Comparison
Compare Crestal vs Lateral Window sinus lifts. Explore RBH thresholds, CBCT diagnostics, complications, and clinical criteria.
12 min read · Updated August 11, 2026
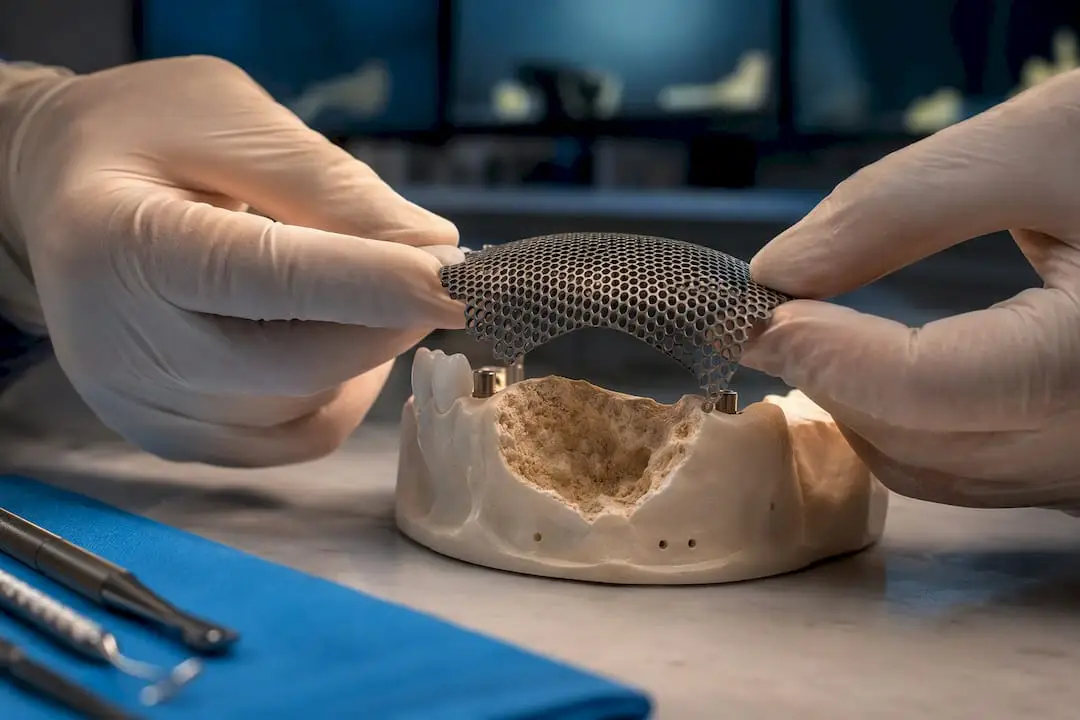
Bone Grafting • Procedure Guide
For clinicians: a defect-based ridge augmentation guide that matches technique to anatomy, explains mesh and CAD/CAM workflows, plans 4–6 month staging,...
14 min read · Updated September 5, 2026
Bone Grafting • Clinical Guide
Discover how soft tissue grafting around implants can enhance mucosal health. Learn effective techniques to improve implant outcomes.
17 min read · Updated August 27, 2026