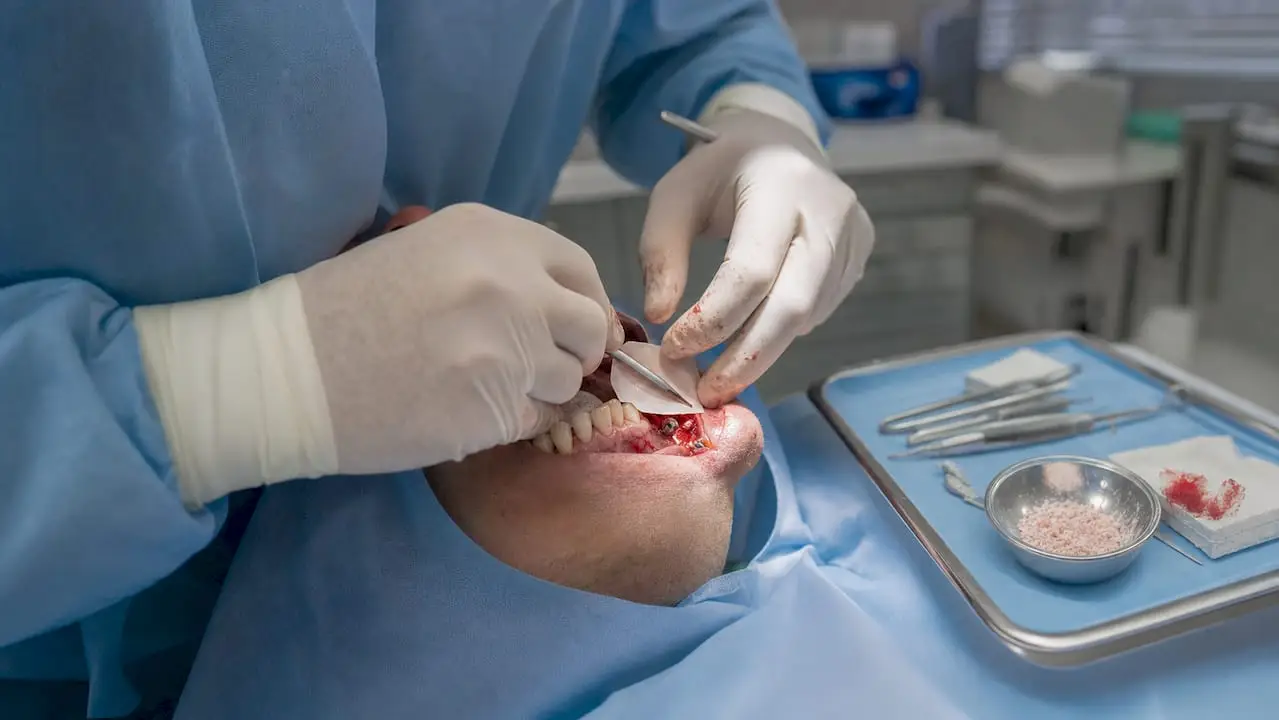
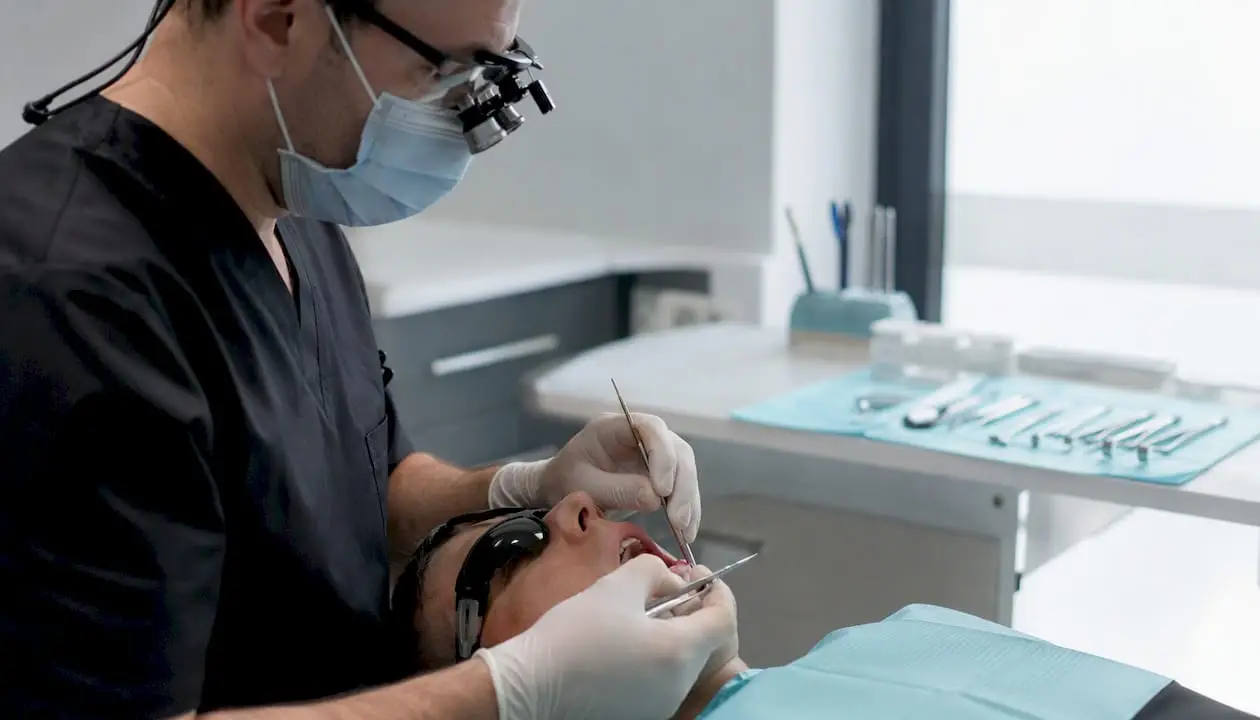
For contained horizontal defects, staged or simultaneous guided bone regeneration (GBR) is the predictable choice. Narrow crests under 6 mm often respond well to ridge split or expansion. Severe vertical loss calls for onlay/block grafting or distraction osteogenesis, and sinus involvement points toward a sinus lift, sometimes combined with lateral augmentation. The real decision hinges on defect topography, soft-tissue quality, and how comfortable the surgeon is with the technique, and it determines whether implant placement happens the same day or four to six months later.
What Is Ridge Augmentation and How Do You Classify a Defect?
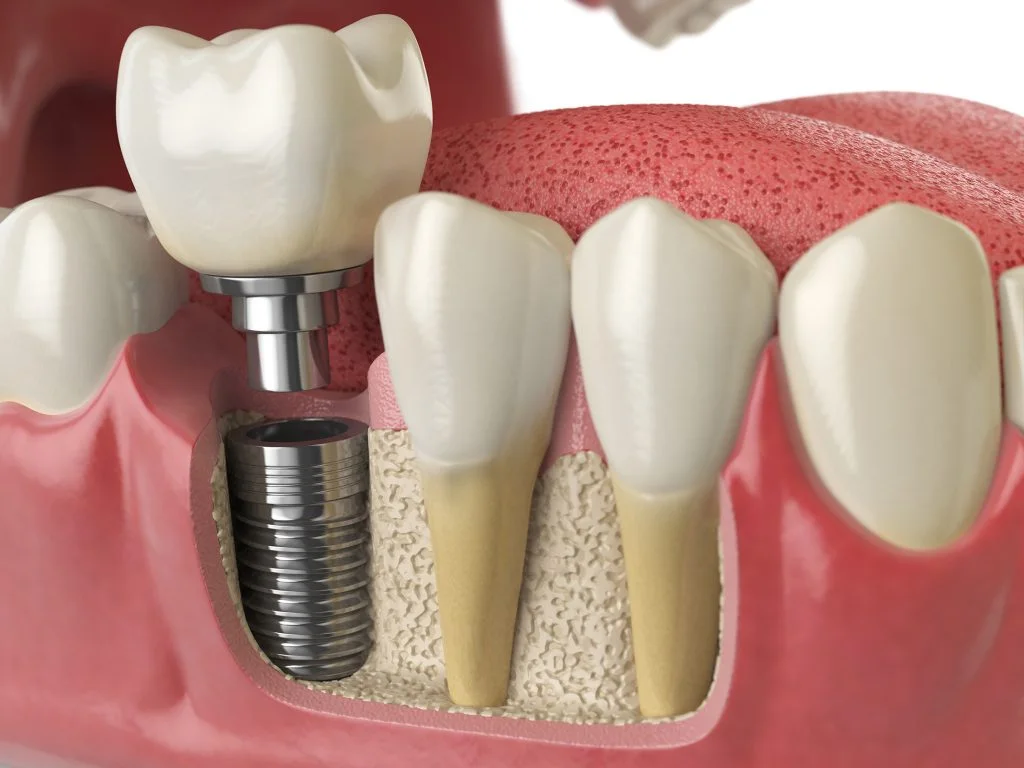
Ridge augmentation rebuilds lost alveolar bone so an implant can be placed in a position that serves the final restoration, not just wherever bone happens to remain. The goal is prosthetically driven: enough width and height, in the right three-dimensional spot, with a stable soft-tissue envelope around it.
Defects break down two ways. First, by direction: horizontal loss narrows the crest, while vertical loss shortens it. Many patients present with both. Second, by wall morphology. A one-wall defect (a dehiscence with bone missing on one side) behaves very differently under a membrane than a two- or three-wall defect, which has more native bone to stabilize the graft and support blood supply. Three-wall defects are the most forgiving for GBR because the housing itself holds the graft in place; one-wall defects need more rigid support, often a block or a mesh.
Anterior cases add a layer most posterior sites don’t need to worry about: the emergence profile and papilla support have to be right, not just adequate. A technique that gives you enough bone but leaves a flat, unaesthetic ridge contour is a technical success and a clinical disappointment.
Several patient and site variables shift the calculation before you even pick a technique:
- Smoking status, since nicotine measurably impairs soft-tissue healing and graft vascularization.
- Systemic conditions such as uncontrolled diabetes or osteoporosis therapy history.
- Mucosal thickness and keratinized tissue width at the recipient site.
- Residual bone volume and the number of remaining walls.
- Whether the case is single-tooth or a longer edentulous span, which changes flap design and closure difficulty.
A quick decision framework: classify the defect by direction and wall number first, check the soft-tissue envelope second, then match the technique. Contained defects with adequate soft tissue go to GBR. Narrow ridges with adequate height go to ridge split. Severe vertical shortfalls with poor soft tissue often need staged block grafting or ridge preservation planning done well before extraction, not after the ridge has already collapsed.
How Do the Main Ridge Augmentation Techniques Actually Work?
Each technique has its own mechanics, and picking correctly matters more than executing any single one perfectly. Reviews of hard-tissue augmentation methods consistently find that GBR, block grafts, ridge split, and distraction osteogenesis are all established, evidence-backed options, but each carries a different sensitivity to technical error.
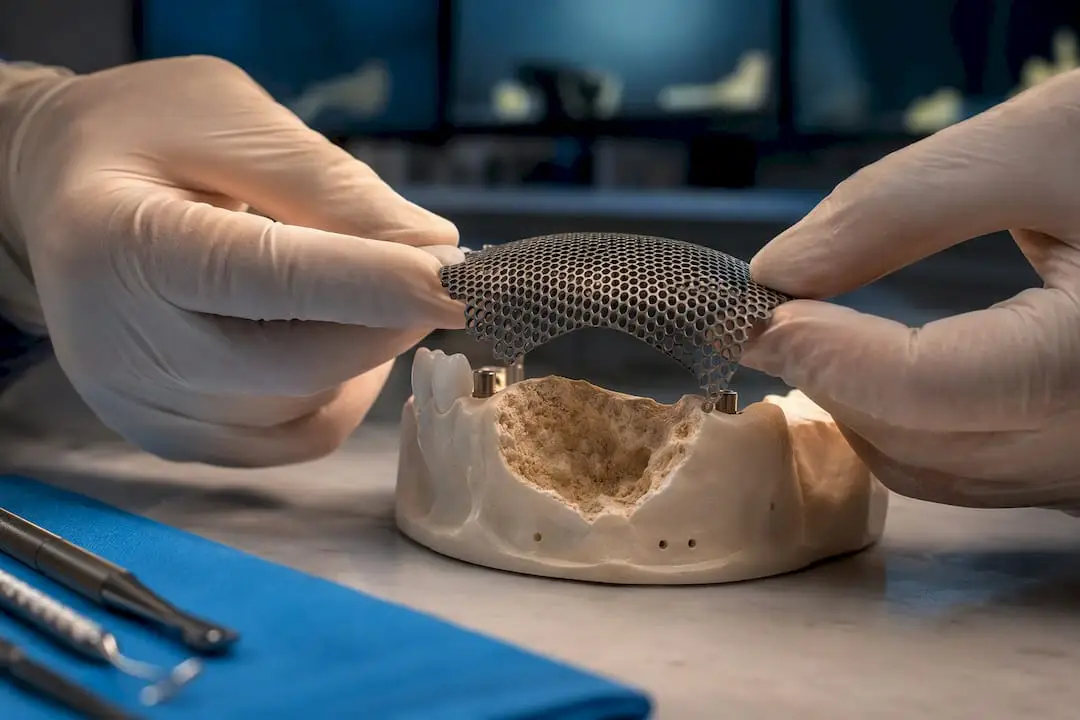
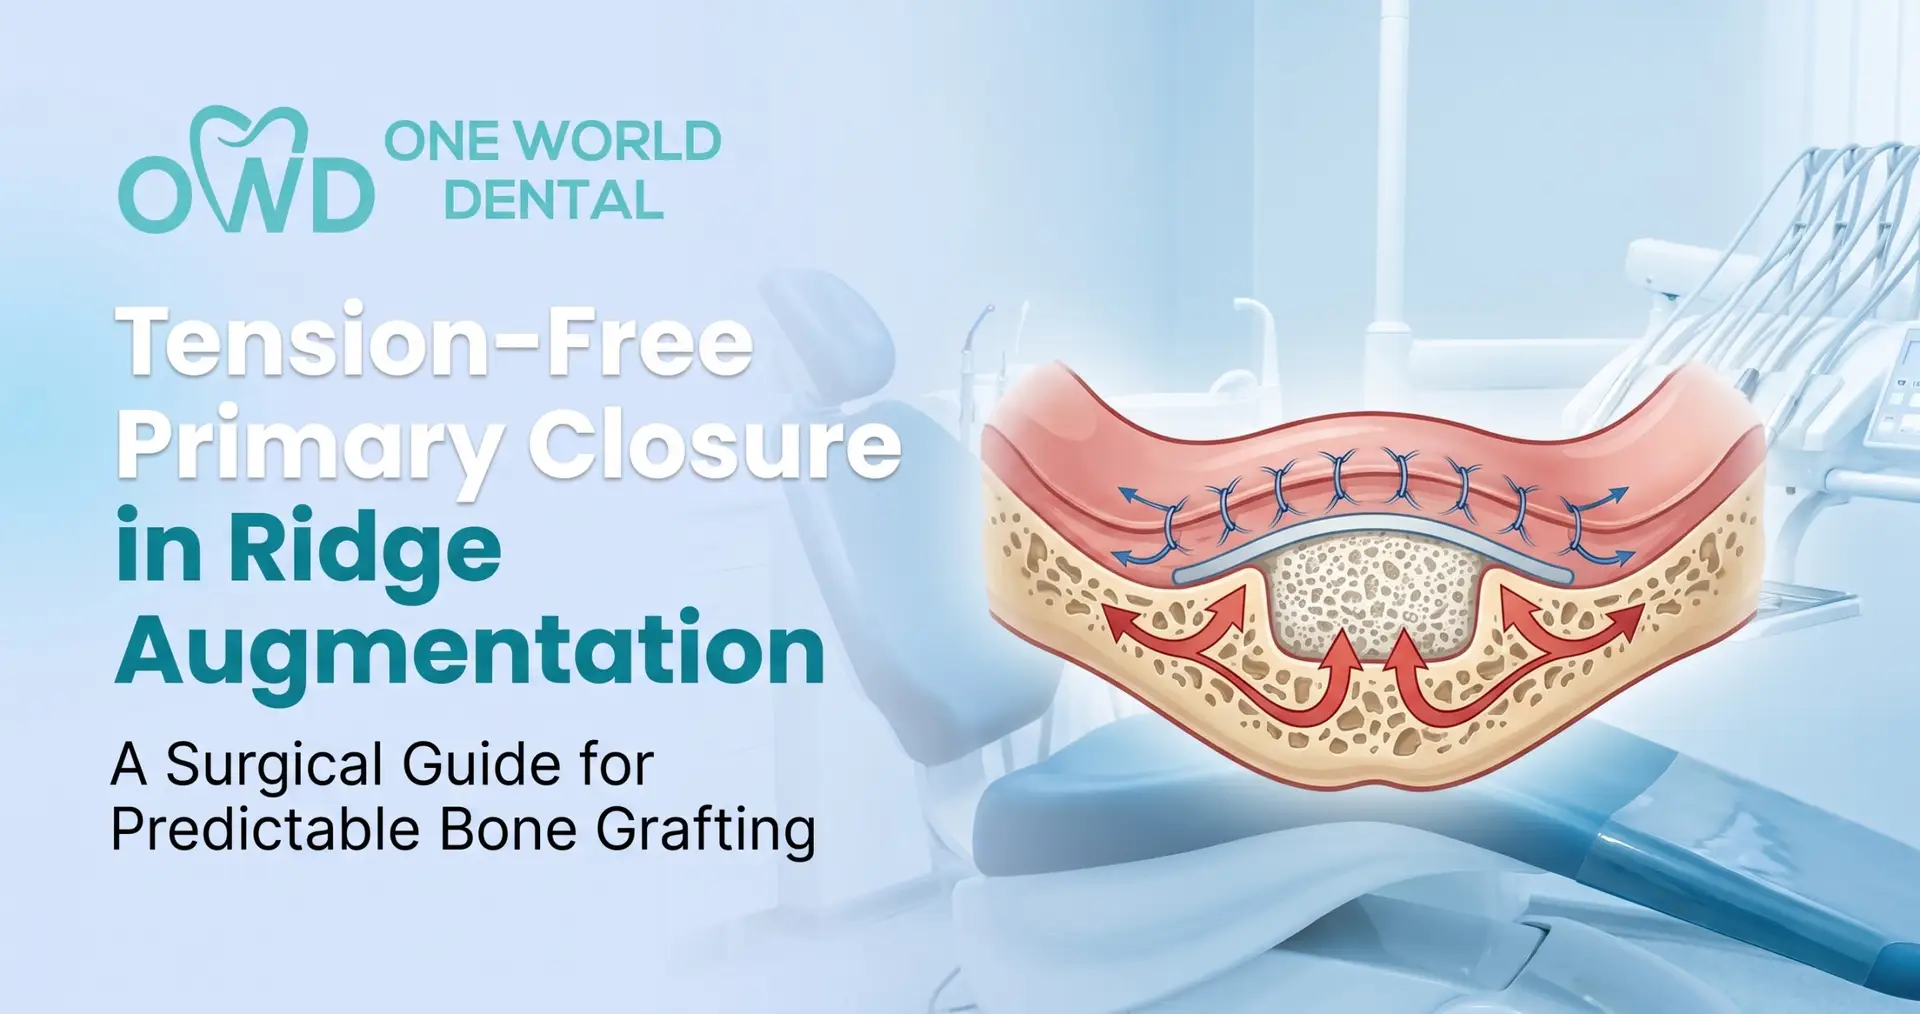
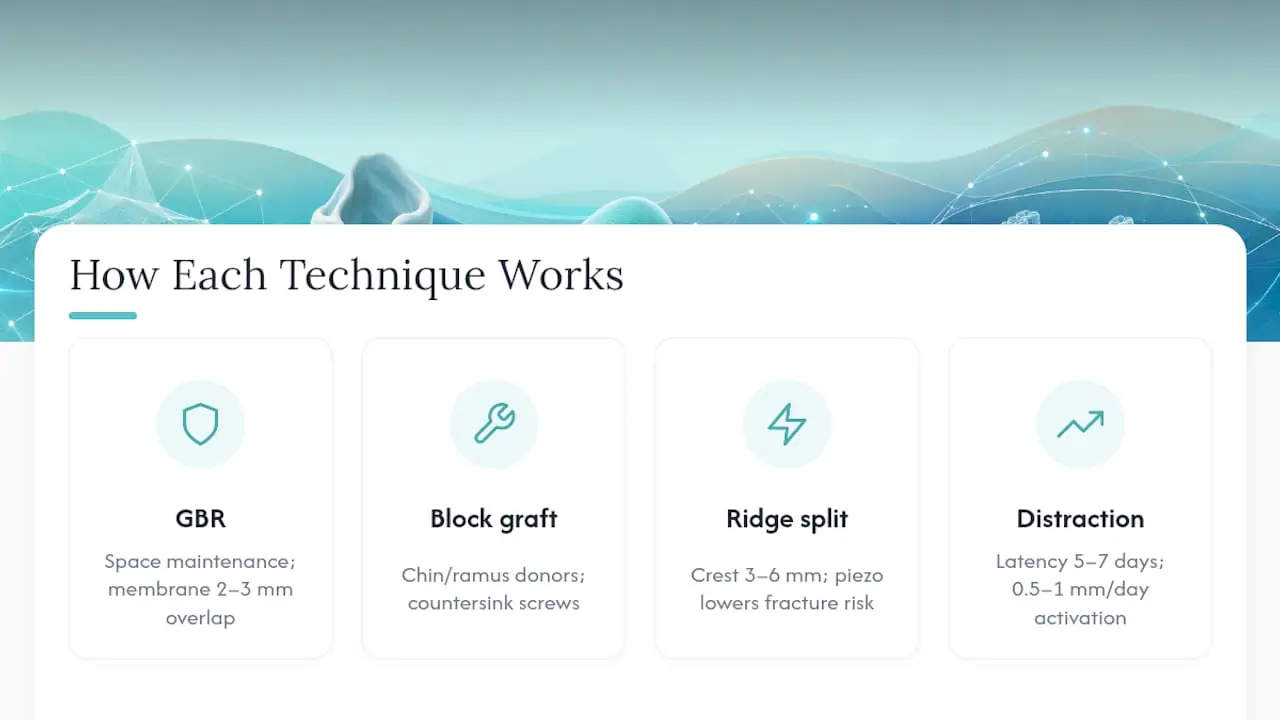
1. Guided bone regeneration. GBR relies on excluding soft tissue from a defect long enough for bone to fill the space. Space maintenance is everything: a membrane that collapses onto the graft gives you fibrous tissue, not bone. Titanium-reinforced membranes or tenting screws hold the space open in larger, non-self-supporting defects. Pack particulate graft to slight overcorrection since resorption is expected, place the membrane with 2 to 3 mm of bony overlap, and close without tension. Skip any of those steps and the technique’s biggest failure mode, membrane exposure, becomes far more likely.
2. Block and onlay grafts. For vertical or combined defects, a block gives you structural bone you can shape and fix rigidly. Chin and ramus are the standard intraoral donor sites; chin offers more volume for larger defects but carries a higher risk of altered sensation, while ramus grafts tend to be denser and better tolerated by patients postoperatively. Fixation screws should be countersunk so they don’t interfere with flap closure, and blocks are typically overbuilt by roughly the amount of remodeling expected over the healing period.
3. Ridge split and expansion. When the crest is at least 3 to 4 mm wide but under 6 mm, splitting the buccal and lingual plates and expanding them creates space without needing an external graft in many cases. This works because the crest bone is often more cancellous than it looks on a two-dimensional radiograph. Piezoelectric instrumentation reduces the risk of plate fracture compared to older osteotome techniques. Immediate implant placement into the expanded site is possible in favorable bone density, but it demands confidence in primary stability.
4. Distraction osteogenesis. For severe vertical defects, where a block graft would need an unrealistic volume, a distraction device cuts a segment of bone and gradually pulls it into position. After a latency period of roughly five to seven days, activation proceeds at about 0.5 to 1 mm per day until the target height is reached, followed by a consolidation phase before device removal. It’s effective for vertical gain, though systematic comparisons find it carries a higher complication burden in some series than GBR, largely from device-related soft-tissue irritation and the demands of patient compliance.
5. Sinus lift as a companion procedure. In the posterior maxilla, ridge height loss often means the maxillary sinus, not just the crest, is the limiting factor. Lateral window or crestal sinus lift procedures frequently run alongside lateral ridge augmentation rather than instead of it. Implant survival after sinus grafting is reported as high across a range of graft materials, which gives clinicians flexibility in material choice when combining the two procedures.
Pro Tip: Stage complex vertical cases rather than combining grafting with implant placement on the same day. A four to six month healing interval before placement consistently produces more predictable outcomes in severe vertical defects than simultaneous approaches, even though staging costs you an extra surgical visit.
Which Graft Material and Membrane Should You Choose?
Material selection is where most clinicians overthink the biology and underthink the mechanics. Autograft remains the only material with living osteogenic cells, which is why blocks harvested from the chin or ramus still outperform other materials for structural, load-bearing vertical defects. The tradeoff is donor-site morbidity: a second surgical site, temporary or occasionally lasting altered sensation, and a hard ceiling on available volume.
Allograft, xenograft, and alloplast materials avoid a second surgical site and handle well as particulate fill in contained GBR defects, but they resorb and remodel more slowly and lack the biologic drive of autogenous bone. In practice, many surgeons blend autograft chips with a slower-resorbing xenograft to get both early vascularization and long-term volume stability, a combination Onewd covers in more depth in its comparison of xenograft and allograft materials.
Membrane choice follows a similar logic:
- Resorbable collagen membranes suit small, well-contained defects where space maintenance isn’t a concern and a second removal surgery isn’t wanted.
- Non-resorbable dense PTFE membranes hold space more reliably in larger defects but require a second procedure to remove.
- Titanium-reinforced or titanium mesh options provide the strongest space maintenance for non-self-supporting vertical defects, at the cost of a stiffer learning curve and higher exposure visibility if the tissue dehisces.
Platelet-rich fibrin and other growth-factor adjuncts show up frequently in augmentation protocols, largely for their soft-tissue healing benefits rather than as a bone-forming substitute. Treat them as a supporting player, not a replacement for sound flap and fixation technique.
Why Does Soft-Tissue Closure Decide Most Complications?
Bone augmentation succeeds or fails on the soft tissue covering it more often than on the graft material itself. A clinical review of soft-tissue management in bone augmentation found that dehiscence and infection track closely with technical execution and closure quality, not graft choice, and that consistent reporting of patient-reported outcomes is still missing across much of the literature.
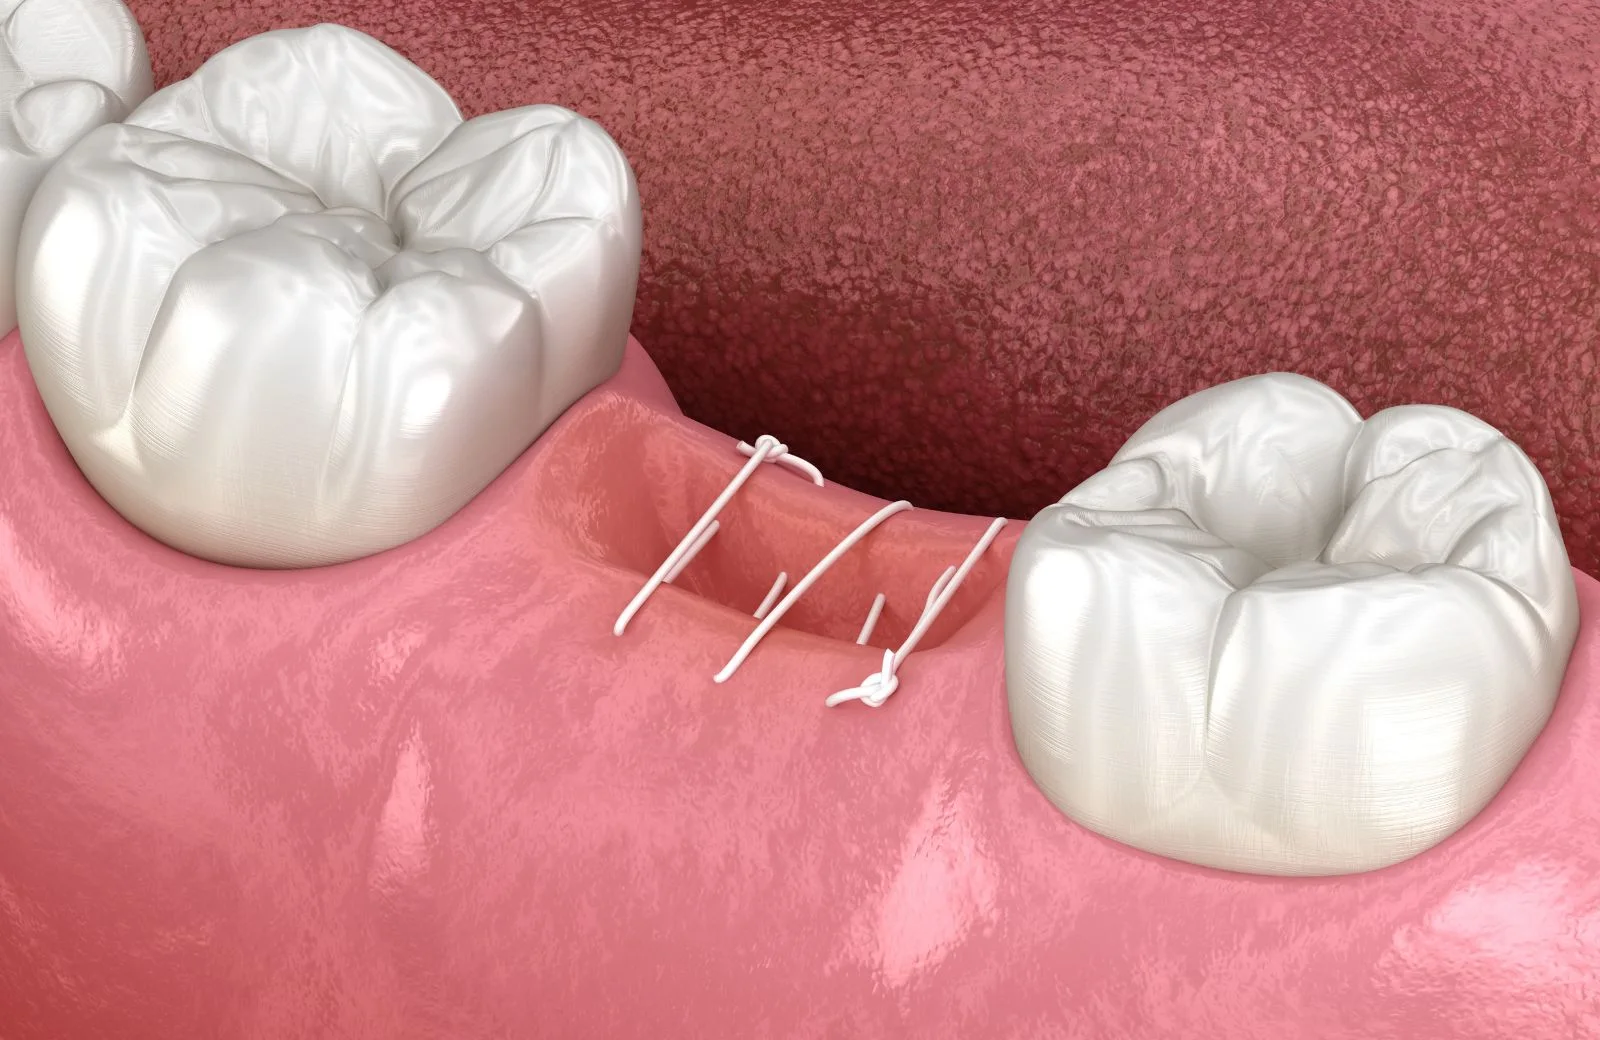
Flap design starts with a full-thickness mucoperiosteal flap and periosteal releasing incisions placed deep enough to release the flap without cutting through it. The releasing incision should score only the periosteum, leaving the mucosa intact, so the flap advances coronally without tearing.
- Advance the flap until it drapes passively over the graft or membrane with zero tension.
- Use a double-layer closure, horizontal mattress sutures deep and interrupted sutures superficial, for larger augmentations.
- Add a connective tissue graft when keratinized tissue is thin or when the site will need future soft-tissue thickening around the eventual implant.
- If early dehiscence appears within the first two weeks, clean the exposed area gently, apply chlorhexidine locally, and monitor rather than immediately re-entering surgically unless infection signs develop.
Pro Tip: A tension test before you place a single suture saves cases. Grasp the flap margins with forceps and bring them together; if you feel resistance, extend the periosteal release before closing, not after you discover exposure at the two-week follow-up.
Do Digital Workflows and Custom Meshes Improve Outcomes?
CBCT-based planning lets you design the augmentation before the patient is on the chair: measure defect volume, select mesh or membrane dimensions, and in some workflows send a CAD/CAM file for a custom titanium mesh manufactured to the defect’s exact geometry.
- Import CBCT data and design the mesh or graft envelope digitally.
- Manufacture and sterilize the custom device ahead of surgery.
- Place the pre-shaped device intraoperatively, which shortens time spent hand-contouring a stock mesh.
- Remove the mesh at re-entry, typically alongside implant placement.
A secondary analysis of a randomized clinical trial found that custom CAD/CAM titanium mesh and customized reinforced PTFE mesh performed comparably for healing complications and patient-reported outcomes in vertical ridge augmentation. The titanium workflow, however, added meaningfully more preoperative planning time and cost, with no corresponding drop in intraoperative time. That’s the tradeoff in plain terms: digital planning buys you precision and predictability in complex vertical cases, not necessarily a faster or cheaper surgery.
For straightforward horizontal defects, a hand-contoured stock mesh or standard membrane is usually the more economical choice. Reserve custom digital meshes for irregular vertical defects where a stock device would require extensive intraoperative reshaping.
What Success Rates and Complications Should You Expect?
Numbers vary by technique and defect class, but the pattern across the literature is consistent: well-executed augmentation delivers high implant survival, and most failures trace back to soft tissue or technique, not the graft material itself.
A 10-year prospective case series on lateral ridge augmentation with autogenous block grafts and GBR reported implant success of 98.1% with average graft surface resorption around 7.7% over the decade, and outcomes held up better for chin-sourced grafts than retromolar grafts. That’s a strong long-term signal for block grafting when donor site is chosen carefully.
- Membrane exposure remains the most common GBR complication and is driven primarily by flap tension and closure technique.
- Infection risk rises sharply once exposure occurs and soft tissue is left unmanaged.
- Graft resorption is expected in all techniques; the question is degree, not whether it happens at all.
- Distraction osteogenesis carries a higher reported complication rate in some comparative reviews than GBR, related mostly to device tolerance and soft-tissue irritation over the activation period.
On patient-reported outcomes, the titanium mesh versus PTFE mesh trial found no significant difference in pain or recovery experience between the two, despite the differences in planning burden. Follow-up should include clinical assessment at 2, 6, and 12 weeks, with a re-entry CBCT or periapical film before implant placement to confirm graft maturation, then standard implant-stage imaging afterward.
What’s the Practical Step-by-Step Protocol Clinicians Should Follow?
A repeatable checklist keeps complex augmentation cases from becoming case-by-case improvisation.
- Preoperative: obtain CBCT imaging, fabricate a surgical guide or model where indicated, complete informed consent covering donor-site risk if applicable, and optimize systemic factors, glucose control, smoking cessation counseling, and medication review, before scheduling surgery.
- Intraoperative: raise a full-thickness flap with adequate periosteal release, handle graft material to minimize desiccation, fix blocks rigidly with countersunk screws, place the membrane with sufficient bony overlap, and close in layers with zero-tension sutures.
- Postoperative medication: a randomized trial on cortical shell horizontal augmentation found that preemptive dexamethasone combined with diclofenac significantly lowered immediate postoperative pain compared to standard protocols, a useful evidence-based option for perioperative analgesia planning.
- Re-imaging and timing: re-evaluate clinically at two weeks, image at three to four months for particulate grafts or four to six months for block grafts, and confirm adequate bone density before implant placement.
- Red flags: persistent swelling past one week, purulent drainage, or membrane exposure beyond a small pinpoint area should prompt an earlier clinical visit rather than waiting for the scheduled follow-up.
Pro Tip: Write your fixation and closure steps into a physical checklist taped inside the surgical tray lid. Complex grafting cases fail more often from a skipped step under time pressure than from a wrong material choice.
How Do You Know Which Technique Fits This Particular Patient?
Technique selection isn’t really about which method is “best.” Decision-making frameworks in the literature consistently note that no single augmentation technique is universally superior; the right call depends on matching defect topography to patient factors and to the surgeon’s own comfort level with the procedure.
Start with three questions. How much bone is missing, and in which dimension? What does the soft-tissue envelope look like, thick and forgiving, or thin and unforgiving? And does the surgical team have the specific skill set the chosen technique demands? A surgeon skilled in ridge split but inexperienced with block fixation will often get better real-world results choosing split-and-expand over forcing a block graft, even in a case where a block might be the textbook first choice.
Patient factors matter just as much as anatomy. Smokers and patients with uncontrolled systemic disease tolerate technique-sensitive procedures like GBR with membrane exposure risk far worse than they tolerate a more forgiving ridge split. Anxious patients or those unwilling to accept a staged, multi-visit timeline may be poor candidates for block grafting or distraction osteogenesis, both of which demand patience across several months. Aesthetic zone cases add another filter: techniques that reliably restore width and height but flatten the natural ridge contour are a poor match for a single central incisor site, even if they’d work fine in a posterior molar site.
Will an Augmented Ridge Stay Stable Years After the Graft?
Long-term stability depends far more on maintenance than on the initial surgical technique. Once bone is grafted and an implant is loaded, the ridge behaves like any other periodontal or peri-implant tissue: it responds to hygiene, occlusal load, and biological upkeep.
The 10-year case series on autogenous block grafting found resorption stayed modest, around 7.7% of graft surface, over a full decade when the initial graft was well-vascularized and properly fixed. That’s a meaningful data point for setting patient expectations: augmented bone isn’t static, but it doesn’t collapse either when the biology was sound at the outset.
Peri-implantitis is the biggest long-term threat to an augmented ridge, since inflammation around the implant can erode grafted bone the same way it erodes native bone. Annual periapical imaging and consistent maintenance visits catch early bone loss before it becomes structural. Keratinized tissue width around the implant also plays a maintenance role: sites with a thin soft-tissue band are more prone to recession that exposes graft margins over time, which is one more reason connective tissue grafting during the augmentation phase pays off years later.
Occlusal overload on an implant in augmented bone can accelerate marginal bone loss faster than in native bone, particularly with block grafts where the graft interface itself is a mechanically distinct zone. Regular occlusal adjustment checks belong in the same maintenance visit as the periodontal exam, not as a separate afterthought.
What Do Ridge Augmentation Procedures Typically Cost?
Cost scales with technique complexity, not just chair time. A straightforward, small-volume GBR procedure with allograft particulate and a resorbable membrane sits at the lower end of the augmentation cost spectrum. Add a block graft with a second donor-site surgery, and cost rises from both the additional surgical time and the added healing visits required to monitor two sites instead of one.
Digital workflows shift the cost curve in a specific way. The randomized trial secondary analysis comparing custom titanium mesh to reinforced PTFE mesh found the digital titanium workflow carried higher preoperative planning costs without a corresponding reduction in surgical time, meaning the added expense buys precision in complex vertical defects, not efficiency.
Distraction osteogenesis and staged block grafting also carry indirect costs beyond the surgical fee: more follow-up visits, device costs for distraction, and a longer timeline before the implant and final restoration generate revenue for the practice. Patients weighing options should understand that a technique with a lower sticker price but a higher revision or complication rate can end up costing more across the full treatment arc than a slightly pricier but more predictable initial approach.
For practices building a service line around vertical augmentation, factoring in the training investment matters too. Surgeons proficient across GBR, block grafting, and digital mesh workflows can match technique to defect without defaulting to whichever procedure they happen to know best, which is ultimately what keeps both complication rates and total treatment cost down.
What Actually Moves the Needle in Ridge Augmentation Cases
Reading the literature side by side with actual case outcomes, three things stand out more than any technique comparison. First, defect morphology and soft-tissue quality decide more of the outcome than which named procedure you pick. Second, staged approaches keep beating simultaneous ones in the hardest cases, even though staging is less convenient for everyone involved. Third, and this gets underweighted constantly, the biggest predictor of complication rates isn’t the graft material chart. It’s whether the surgeon has done the closure and fixation steps enough times that they’re automatic under pressure. Vertical defects punish improvisation. Investing in mentored, hands-on repetition before taking on complex cases solo isn’t a nice extra. It’s the difference between a technique working on paper and working on a patient.
— Jake
Build These Skills Through Hands-On, Mentored Training
Reading a stepwise protocol is one thing. Executing tension-free closure under a live surgical microscope, with someone experienced correcting your flap design before it becomes a complication, is another. Some training models pair foundational GBR and grafting coursework with live-surgery mentorship, so clinicians move from theory to independent execution with fewer costly missteps along the way.

Course tracks cover the exact skills this guide walks through: membrane selection and space maintenance for GBR, block graft fixation, ridge preservation planning for future implant sites, and the soft-tissue closure technique that determines whether a graft survives its first two weeks. Paths may include measurable skill transfer through live patient cases, mentorship, and CE credit toward licensure requirements. If vertical and horizontal augmentation cases are part of your practice or where you want your practice to go, browse Onewd’s training courses and find the track that matches where your current skill gap actually is.
Recommended