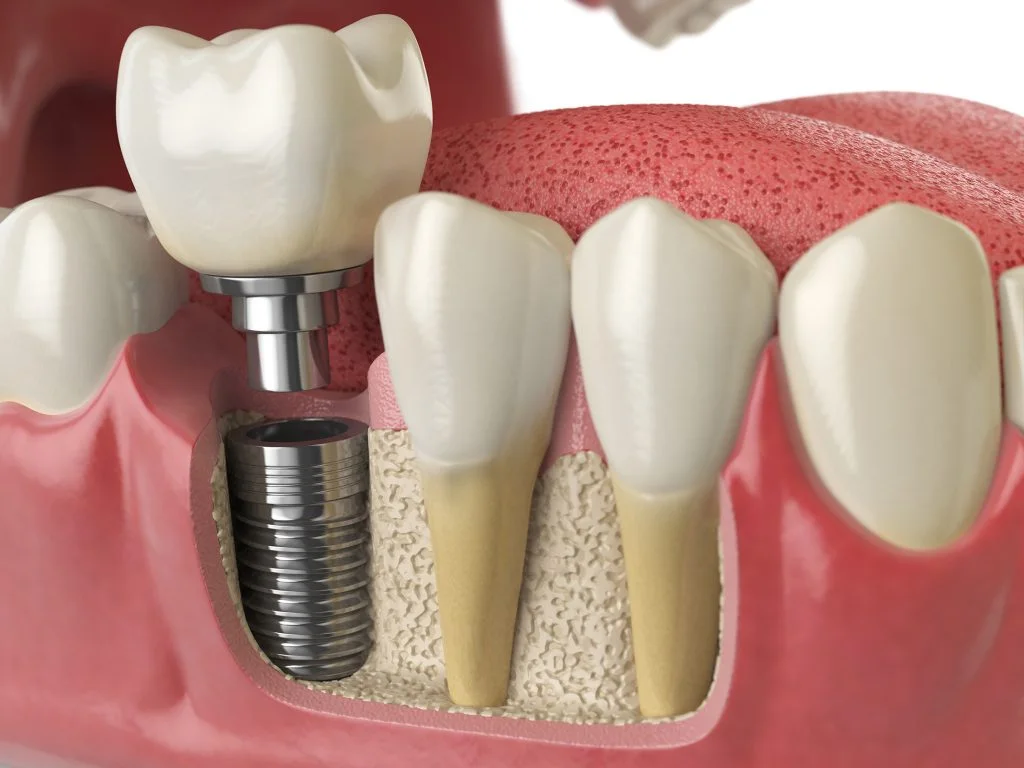
Level 3 • Implants & Surgery
Soft Tissue Grafting: Principles & Techniques
Advanced course on soft tissue grafting principles and techniques around teeth and implants.
- Self-Paced
- 5–6 CE Credits
- 6–8 Hours
- On-Demand
$449View Course

Bone Grafting & Site Development • Clinical Guide
Discover how soft tissue grafting around implants can enhance mucosal health. Learn effective techniques to improve implant outcomes.
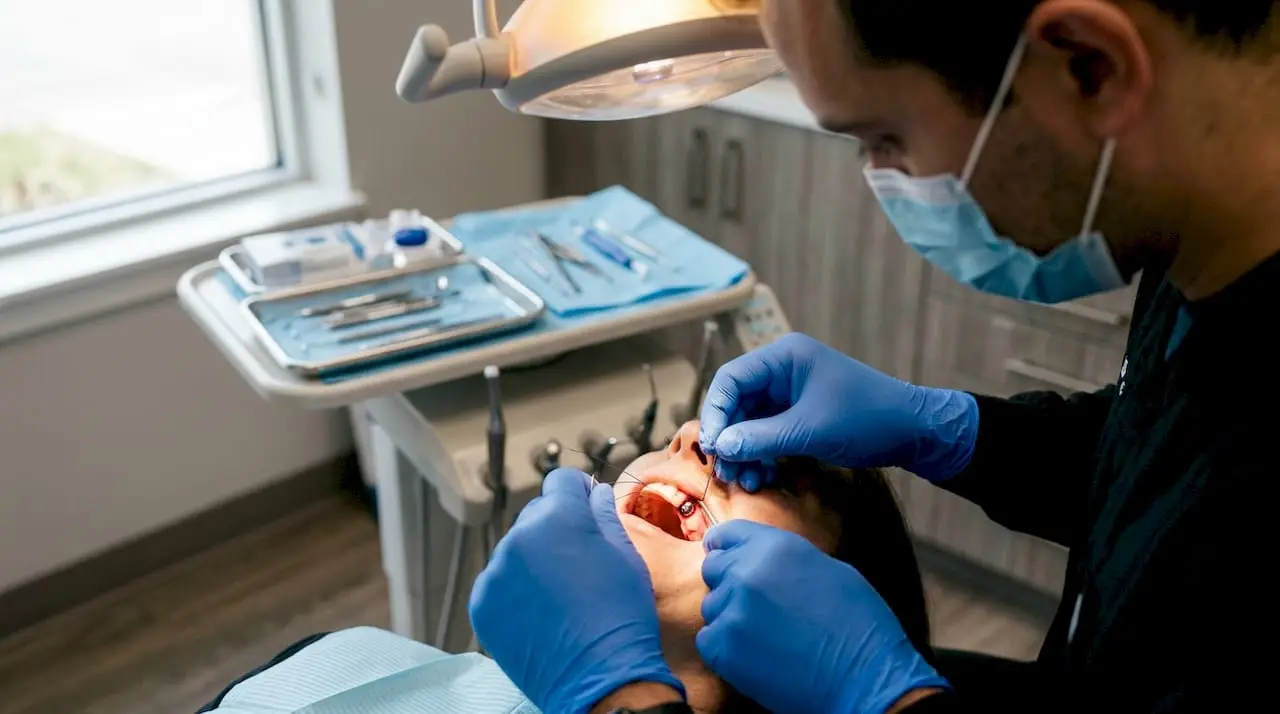
For peri-implant mucosal thickness deficiency, subepithelial connective tissue grafting (SCTG) is the go-to procedure. For inadequate keratinized tissue width (KTW), an apically positioned flap combined with a free gingival graft (APF + FGG) delivers the most reliable gain. These are not interchangeable fixes. A network meta-analysis published in 2026 found that CTG consistently outperforms other techniques for mucosal thickness (MT) gain, while APF + FGG remains the standard for KTW, and surgical timing matters far less than which technique and material you choose.
The clinical triggers for grafting are specific: KTW of 2 mm or less, thin phenotype with buccal dehiscence risk, visible implant collar show-through, and mucosa that stays inflamed no matter how well the patient brushes. Match the defect to the fix, not the other way around.
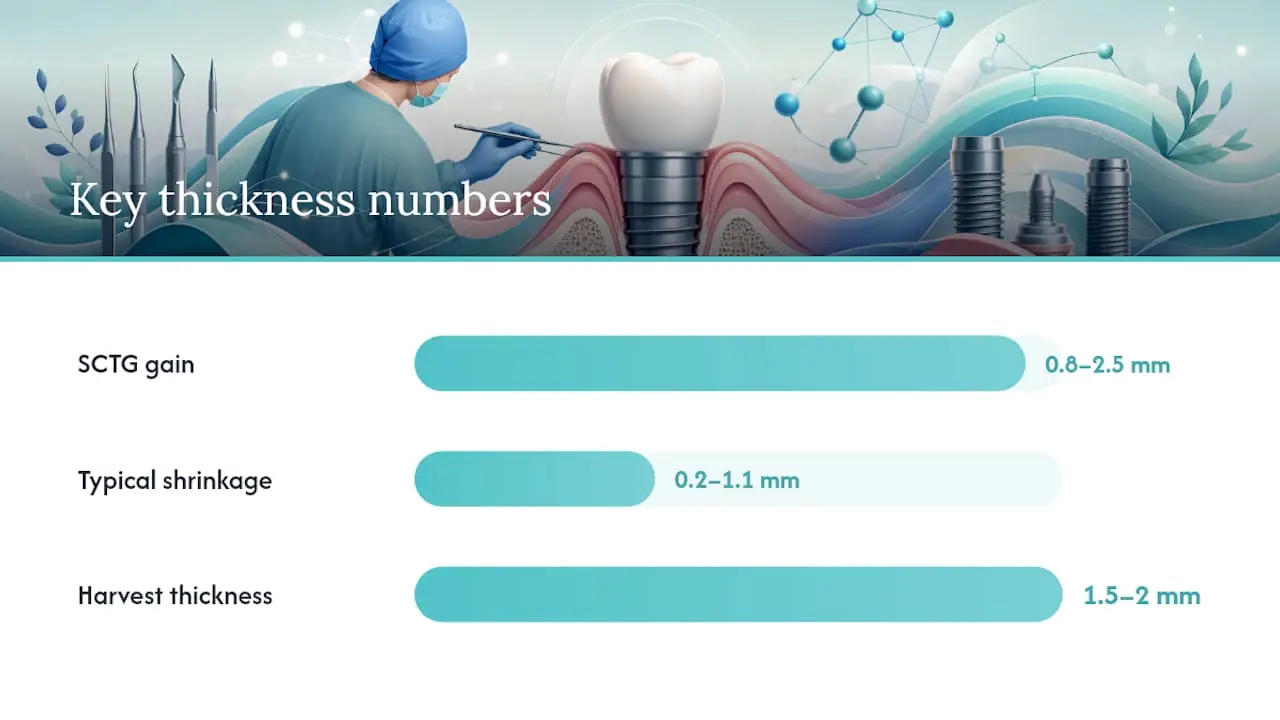
Statistic Callout: SCTG produces mucosal thickness gains of 0.8 to 2.5 mm and volumetric gains of 20 to 150 mm3 at 6 to 12 months, figures that hold up across multiple systematic reviews despite differences in surgical technique.
Soft tissue grafting success depends on matching technique to clinical goal: SCTG for thickness, APF + FGG for keratinized width, and tension-free closure with vascular bed preservation for both.
| Point | Details |
|---|---|
| Match technique to goal | Use SCTG for mucosal thickness gain and APF + FGG for keratinized tissue width gain; they are not interchangeable. |
| Expect measurable but variable gains | Plan for 0.8–2.5 mm thickness gain or roughly 2.6 mm KTW gain, with shrinkage of 0.2–1.1 mm typical for SCTG. |
| Assess phenotype before implant placement | KTW of 2 mm or less signals higher risk and should shift your treatment plan before placement, not after. |
| Preserve vascularity in flap design | Split-thickness flaps that keep periosteum intact are the strongest predictor of graft survival. |
| Substitutes trade stability for lower morbidity | ADM and XCM reduce donor-site pain but show higher contraction and less predictable long-term KTW than autogenous grafts. |
The decision to graft starts with a ruler, not a hunch. Keratinized tissue width under 2 mm around an implant correlates with higher rates of mucosal inflammation and plaque accumulation, and it’s the single most cited threshold in the literature for flagging a site as high risk. Measure it with a periodontal probe at the mid buccal aspect, transgingivally if you want a mucosal thickness read too, or with ultrasonic devices where your practice has one.
Thin phenotype is the other variable that changes your plan before you ever pick up a scalpel. A site with less than 2 mm of buccal mucosal thickness is prone to gray shadowing from the underlying titanium, progressive recession, and a higher chance of late dehiscence, even when the implant itself is perfectly positioned. Soft tissue assessment belongs in the initial treatment plan, not as an afterthought once the crown is already screwed in. Early evaluation of phenotype and KTW reduces the risk of mucosal dehiscence and inflammation down the line, which is a much easier sell to a patient than a corrective graft after their implant has already started showing through.
Watch for these clinical presentations as your cue to graft:
Patient factors modify all of this. Smokers heal slower and lose more graft volume to contraction, so you may need to plan for overcorrection or lean toward a lower-morbidity substitute if they won’t quit before surgery. Poorly controlled diabetes (HbA1c above roughly 7 to 8%) increases infection risk and delays revascularization of the graft bed. A history of peri-implantitis changes the calculus entirely. You’re not just augmenting soft tissue, you’re trying to create a biologic seal that resists future bacterial challenge, which argues for autogenous tissue over a substitute in most of those cases.
Pro Tip: Photograph the site with a periodontal probe in frame at the initial consult, not just at surgery. A documented 1.5 mm KTW measurement at treatment planning is worth more to your case notes and to informed consent than a verbal description months later.
Donor-site availability and patient tolerance for a second surgical site round out the decision. A patient with a shallow palatal vault or previous palatal surgery may not have enough donor tissue for a generous CTG, which pushes you toward a substitute even if the evidence for long-term stability is less mature.
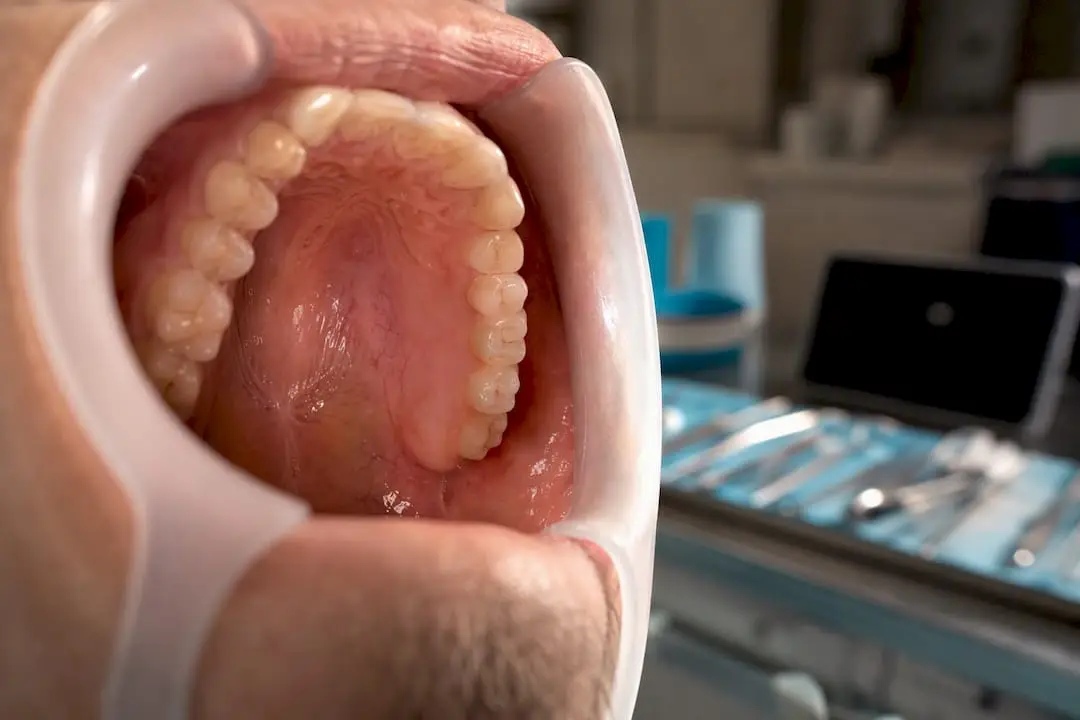
Sequencing changes outcomes almost as much as technique selection does. Three windows exist, and each has a different risk and reward profile.
Before scheduling, walk through a short checklist: Does the restorative team need to remove the crown or provisional to access the site? Will the abutment need adjustment or replacement after grafting? How long will the patient need a temporary before final impressions? Answering these upfront avoids the awkward mid-treatment conversation where the restorative dentist finds out the graft schedule just added six weeks to the timeline.
The bilaminar SCTG technique is the workhorse for thickness augmentation, and for good reason: it’s the most predictable procedure in the entire soft tissue augmentation toolkit. Here’s the operative logic.
You raise a split-thickness flap at the recipient site, preserving the periosteum on the underlying bone rather than reflecting a full-thickness flap down to bone. This split-thickness envelope creates a vascularized pocket that will feed the graft from both above (the overlying flap) and below (the periosteal bed), which is the entire reason bilaminar technique outperforms simply laying a graft on exposed bone. The connective tissue graft itself typically comes from the palate, most often the lateral aspect between the first premolar and first molar, or from the tuberosity when there’s enough thickness available there. Tuberosity grafts tend to be denser and more fibrous, which some surgeons prefer for volume stability, though the yield is smaller than a palatal harvest.
Harvest thickness matters more than most trainees realize starting out. A graft under 1 mm tends to resorb faster and gives you less predictable volumetric outcome; something in the 1.5 to 2 mm range, de-epithelialized and trimmed of excess fat and glandular tissue, integrates more reliably and holds its shape.
Tunnel technique and coronally advanced flap variants achieve similar thickness gains for certain defects without a full flap reflection, working the graft into a supraperiosteal pocket through small vertical or sulcular incisions. Evidence supports comparable outcomes to bilaminar SCTG in cases where recession coverage is the primary goal alongside thickness gain, with less visible scarring at the recipient site.
Statistic Callout: Expect mucosal thickness gains of 0.8 to 2.5 mm and volumetric increases of 20 to 150 mm3 at 6 to 12 months with SCTG, though shrinkage of 0.2 to 1.1 mm over the same window is typical and should be built into your surgical overcorrection.
Pro Tip: Overbuild your graft dimension by roughly 20 to 30% at placement to account for expected contraction. A graft that looks perfectly sized on the operating table will read as thin by the six-month recall.
KTW augmentation and thickness augmentation are not the same clinical goal, and treating them with the same technique is one of the more common planning errors. The distinction is well established in the literature: bilaminar SCTG is excellent for thickness but does not reliably widen the keratinized band, while APF combined with FGG is the technique that actually converts non-keratinized alveolar mucosa into a durable band of attached tissue.
The APF + FGG sequence apically repositions the existing flap to expose periosteum, then secures a free gingival graft harvested from the palate directly onto that periosteal bed. It works best in the posterior mandible and other nonesthetic zones where the graft’s characteristic pale, slightly stippled appearance will not clash visibly with adjacent natural gingiva. Expected KTW gain runs around 2.6 mm on a weighted mean basis across trials, alongside a documented reduction in mucosal inflammation that in some studies persisted for up to four years.
For the maxillary anterior, expert consensus recommends steering toward SFGG paired with a soft tissue substitute rather than a straight FGG, specifically because the patchy, lighter appearance of a standalone free gingival graft is a hard sell in a high smile line case. CAF + CTG is the other anterior workhorse when buccal recession, not just KTW deficiency, is the primary complaint. It repositions the flap coronally over a connective tissue graft, covering the exposed implant surface while adding thickness at the same time, essentially solving two problems with one incision design.
Building your decision matrix comes down to four questions: how much residual KTW exists, how visible is the site when the patient smiles, how much palatal donor tissue is realistically available, and how much second-surgical-site discomfort will this particular patient tolerate. A patient undergoing simultaneous full-mouth rehabilitation may balk at another donor harvest, which is a legitimate reason to lean toward a substitute even if the long-term data favors autogenous tissue.
Autogenous grafts remain the reference standard, and the comparative data explains why. CTG delivers the most consistent mucosal thickness gains of any material tested, and autogenous grafts overall are effective at increasing both thickness and keratinized tissue while improving peri-implant esthetics and stability. FGG, similarly, produces the largest and most reliable KTW gains of any graft material, autogenous or otherwise.
Xenogeneic collagen matrices (XCM) and acellular dermal matrix (ADM) trade some of that predictability for a meaningfully easier patient experience. No second surgical site means no palatal wound, no donor-site bleeding risk, and a shorter chair time. The catch is durability. Substitutes tend to show less predictable long-term KTW maintenance compared with FGG, and contraction rates for ADM often run higher than for autogenous FGG, meaning what looks adequate at suture removal may fall short of target width by the six-month mark.
Statistic Callout: Shrinkage patterns differ meaningfully by material. SCTG typically contracts 0.2 to 1.1 mm in thickness over 6 to 12 months, while xenogeneic matrices show more variable, sometimes lower, volumetric shrinkage depending on the specific product and site.
Plan for overcorrection regardless of material, and consider a surgical stent for cases where precise graft positioning affects the final esthetic outcome. When counseling patients on substitutes, be upfront that reduced morbidity comes with a trade-off in long-term stability data that simply hasn’t matured to the same degree as decades of autogenous graft follow-up. That’s a fair conversation to have chairside, not a reason to avoid substitutes altogether. A patient on anticoagulants or with limited palatal donor tissue may genuinely be better served by a matrix, even with the stability caveat attached. For a deeper look at how bone graft material selection follows similar trade-off logic, see this comparison of xenograft and allograft options.
Graft survival lives or dies on blood supply, and that starts with how you raise the flap. Split-thickness flap design that preserves the periosteal bed is one of the most consistently cited technical determinants of graft survival across surgical reviews, because it maintains a vascularized recipient bed on both sides of the graft rather than forcing the graft to survive on plasmatic diffusion from a single surface. Never place a connective tissue graft directly against denuded bone. Without a periosteal or flap interface feeding it, resorption risk climbs sharply, and you’ll see it as early graft blanching within the first 48 hours.
Pro Tip: If your flap won’t close passively after a periosteal releasing incision, the graft dimension is probably the problem, not the flap. Trim the graft rather than force a flap that’s under tension, since a slightly undersized graft with tension-free closure outperforms an oversized graft pulling against sutures.
Common mistakes worth naming directly: harvesting a graft that’s too thick for the recipient pocket, which prevents full seating and creates dead space underneath; skipping hemostasis at the donor site before suturing, which invites a hematoma that lifts your graft off its bed; and using a single continuous suture line instead of individual sutures, which means one knot failure unravels the entire closure. For a detailed walk-through of achieving tension-free closure specifically, this surgical guide on primary closure technique covers the releasing-incision sequence step by step.
| Outcome Measure | Typical Range | Technique Most Associated |
|---|---|---|
| Mucosal thickness gain | 0.8–2.5 mm | Bilaminar SCTG |
| Volumetric gain | 20–150 mm3 | Bilaminar SCTG |
| Keratinized tissue width gain | ~2.6 mm (weighted mean) | APF + FGG |
| Mucosal recession reduction | ~2 mm | CTG |
| SCTG thickness shrinkage | 0.2–1.1 mm over 6–12 months | Bilaminar SCTG |
The systematic review and network meta-analysis behind these figures draws a clean line between the two clinical goals: CTG wins for thickness, APF + FGG wins for width, and the timing of the procedure relative to implant placement barely moves the needle compared to technique and material choice. That’s a useful thing to tell a resident who’s convinced staging is the make-or-break decision. It usually isn’t. Material and technique are.
Beyond the millimeters, thicker peri-implant mucosa correlates with better esthetic scores, higher patient satisfaction, and in several studies, less marginal bone loss around the implant compared with sites left thin. That last point deserves emphasis, since it reframes soft tissue grafting as more than a cosmetic add-on. A thicker mucosal collar appears to function as a biologic buffer that protects the underlying crest.
None of this data is perfect. Most trials in this space run smaller sample sizes, follow patients for 6 to 12 months rather than years, and use inconsistent measurement protocols between centers, some probing transgingivally, others relying on ultrasonic devices or CBCT overlays. Heterogeneity like that means point estimates should be treated as reasonable planning ranges, not guarantees you promise a patient in writing. Tell patients the realistic range, not the best-case number from a single study.
Early complications need fast, decisive management, not a wait-and-see approach. A hematoma under the graft in the first 24 to 48 hours should be evacuated promptly if it’s expanding, since unresolved pressure compromises the plasmatic diffusion the graft depends on before revascularization kicks in.
Wound dehiscence at the flap margin is the complication you want to catch within the first week, while there’s still time to intervene.
Infection is uncommon with good technique but demands prompt action when it appears. Persistent swelling, warmth, or discharge beyond the expected inflammatory window warrants antibiotics and a look at whether any nonviable tissue needs debridement.
Long-term problems, like progressive recession returning at 12 or 18 months, or persistent mucositis despite an apparently successful graft, call for re-evaluation rather than assuming the original surgery simply “failed.” Check occlusal trauma, hygiene compliance, and whether the original phenotype correction was adequate before recommending another surgical intervention.
A consistent post-op protocol removes guesswork for both you and the patient. Immediately after surgery: standard analgesia (NSAIDs unless contraindicated), a chlorhexidine rinse regimen starting 24 hours post-op, a soft-food diet for the first one to two weeks, and activity restriction to avoid pressure or trauma to the surgical site. Suture removal typically falls between 10 and 14 days, depending on suture material and healing progress.
Photographic documentation should use a fixed reference (a periodontal probe or a calibrated grid) at every visit so measurements are comparable over time rather than eyeballed from inconsistent angles. Long-term maintenance comes down to reinforcing plaque control specifically around the graft margin, since this is where early peri-implant mucositis tends to show up first, well before it progresses to peri-implantitis.
Reading a systematic review tells you what mucosal thickness gain to expect. It does not teach you how to de-epithelialize a graft without shredding it, or how to judge flap tension by feel before you tie the first knot. That gap between knowing the numbers and executing the surgery is where most technical errors happen, and it’s rarely closed by more reading.
Onewd built its soft tissue grafting curriculum around that exact gap. On-demand clinical modules cover the technique rationale and step sequencing, but the hands-on and live-surgery components are where clinicians actually correct the habits that reading alone doesn’t fix, things like harvesting a graft too thick for the recipient bed, or closing a flap under tension because releasing incisions felt aggressive the first time.
Mentorship changes the error pattern specifically around flap preparation, graft harvest thickness, and suture tension, the three technical variables that show up again and again in complication case reviews. Watching an experienced surgeon judge graft thickness by feel, then doing it yourself with feedback in the same session, corrects habits faster than a decade of independent trial and error.
Clinicians ready to move from reading the evidence to executing it reliably can start with Onewd’s soft tissue grafting principles and techniques course, built specifically around the surgical sequence covered here.
The conventional wisdom overweights timing. Ask most residents whether grafting before, during, or after implant placement matters most, and they’ll usually guess timing decides the outcome. The evidence says otherwise: technique and material choice move the needle far more than staging does. That’s not a minor academic distinction. It means a clinician who’s mastered bilaminar SCTG and APF + FGG execution, but sequences things imperfectly, will likely outperform one who nails the timing but botches flap tension or graft thickness.
What’s underrated is flap vascularity. Everyone talks about graft selection, autogenous versus substitute, CTG versus FGG, but preserving the periosteal bed and closing without tension is where most preventable failures actually happen. You can pick the textbook-correct graft material and still lose it to a flap error.
My honest read: read the reviews to know what’s achievable, then go learn the hand skills somewhere with actual feedback. Millimeters on a page don’t teach you what tension feels like under a suture.
— Jake
Educational disclaimer: Content is provided for professional education and is not a substitute for a clinician's independent judgment, applicable standards, manufacturer instructions, or relevant laws and regulations.
Related Training
Level 3 • Implants & Surgery
Advanced course on soft tissue grafting principles and techniques around teeth and implants.
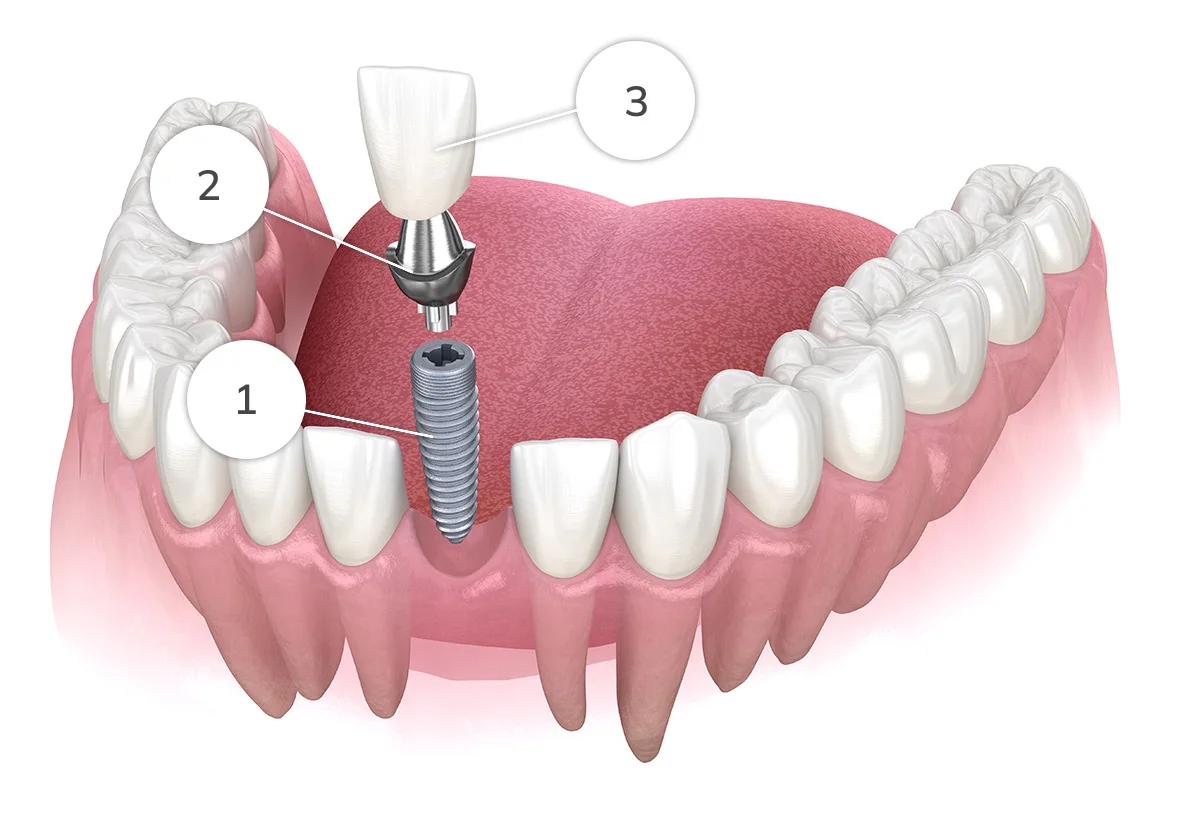
Level 1 • Implants & Surgery
Self-paced online lecture series on simple single-tooth implant placement in the anterior and posterior.
Bone Grafting • Clinical Guide
Discover effective soft tissue grafting techniques for dental implants to improve stability and aesthetics, ensuring optimal long-term results.
18 min read · Updated August 12, 2026
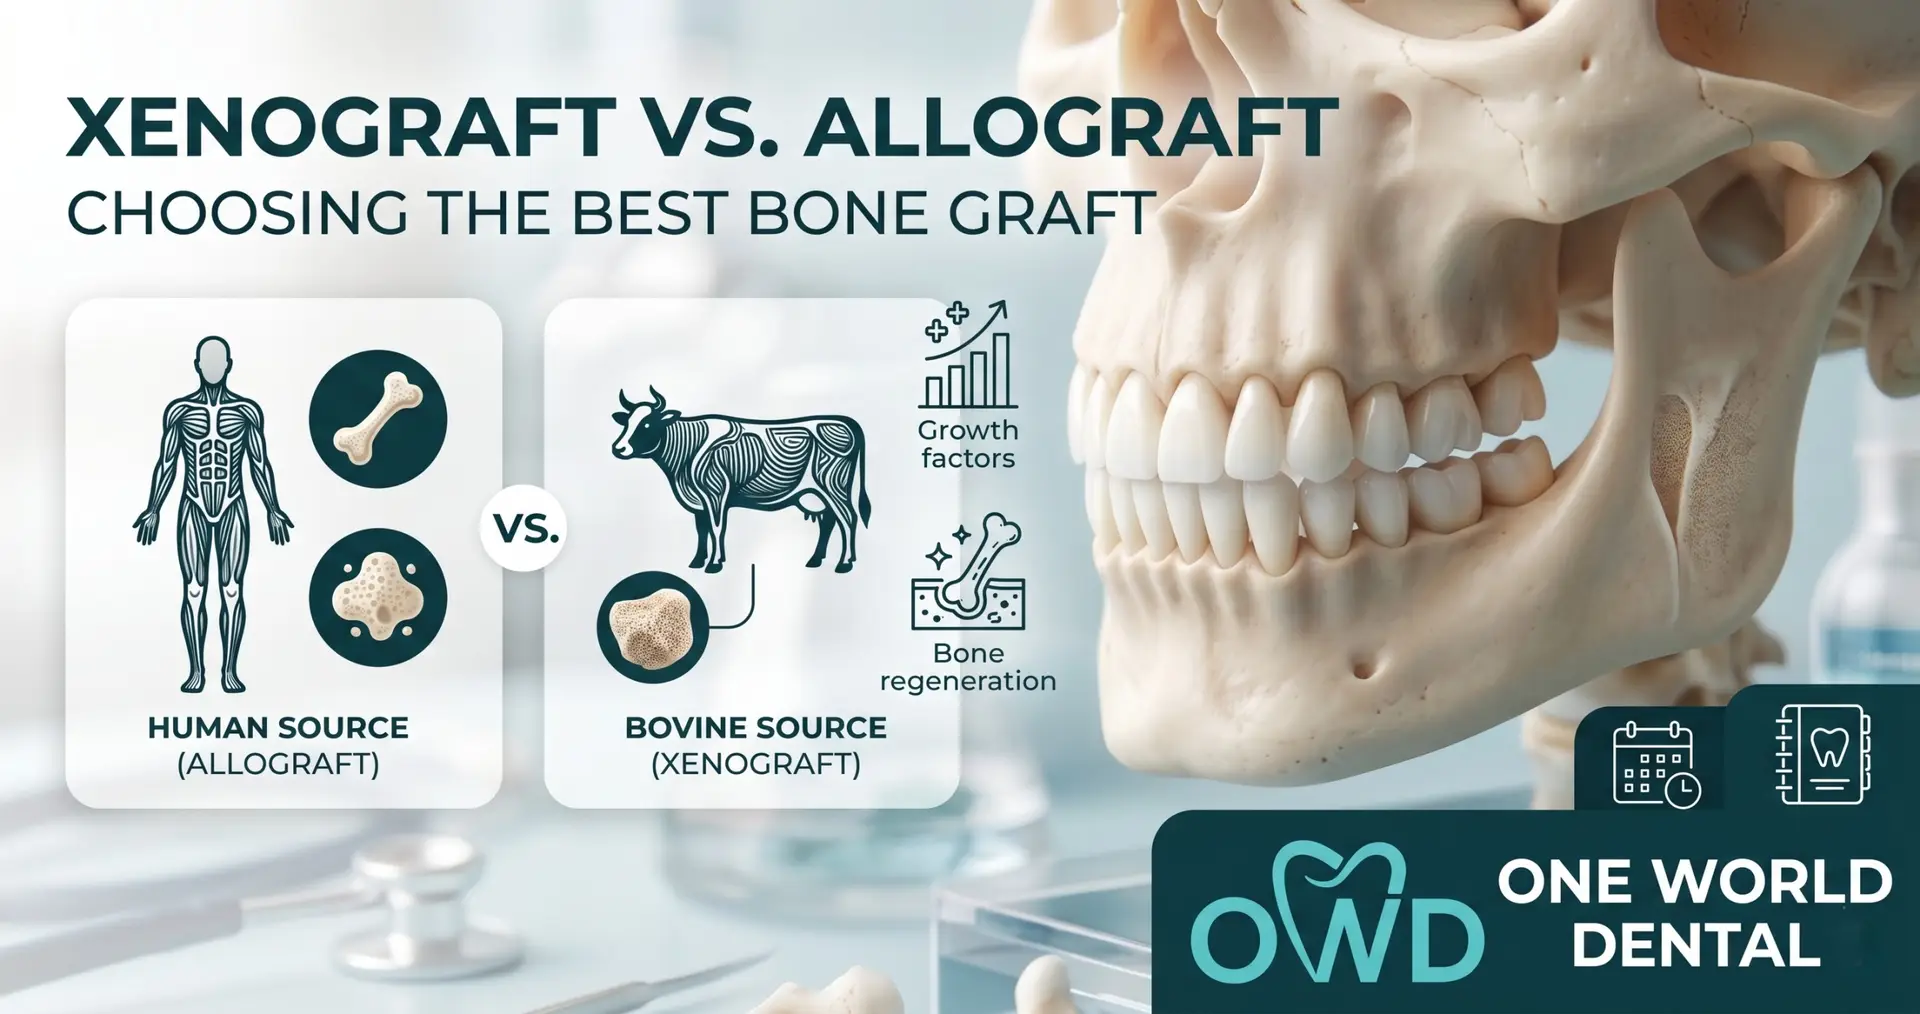
Bone Grafting • Comparison
Master bone graft selection. Contrast resorption rates, remodeling timelines, and clinical indications for allografts and xenografts.
6 min read · Updated May 19, 2026
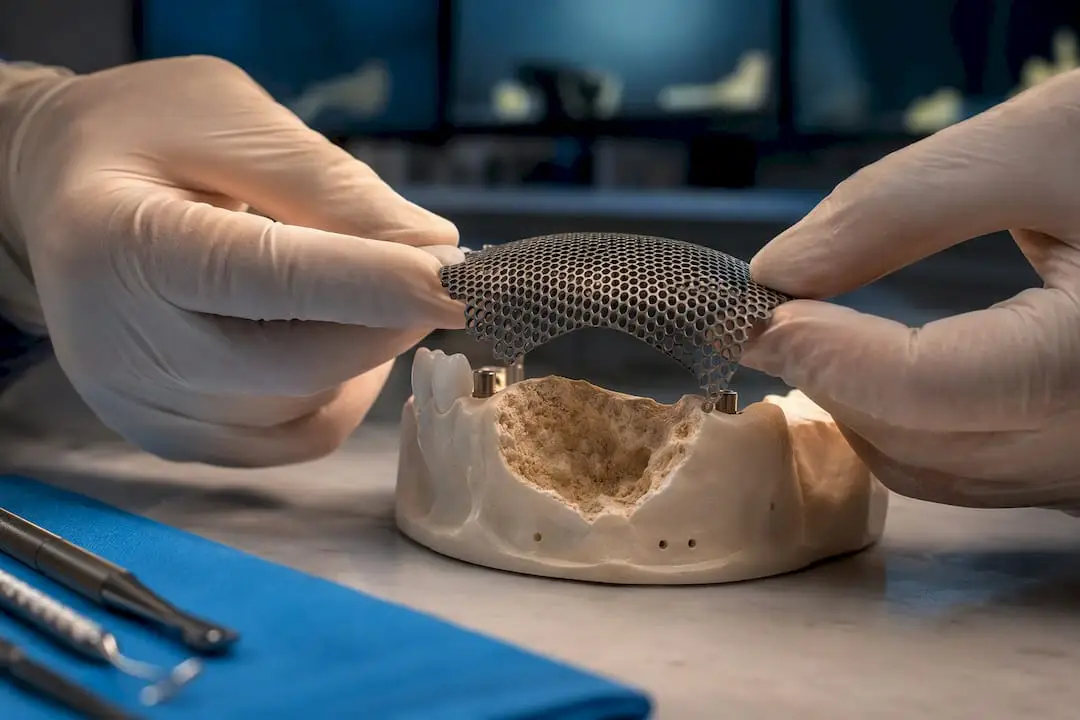
Bone Grafting • Procedure Guide
For clinicians: a defect-based ridge augmentation guide that matches technique to anatomy, explains mesh and CAD/CAM workflows, plans 4–6 month staging,...
14 min read · Updated September 5, 2026