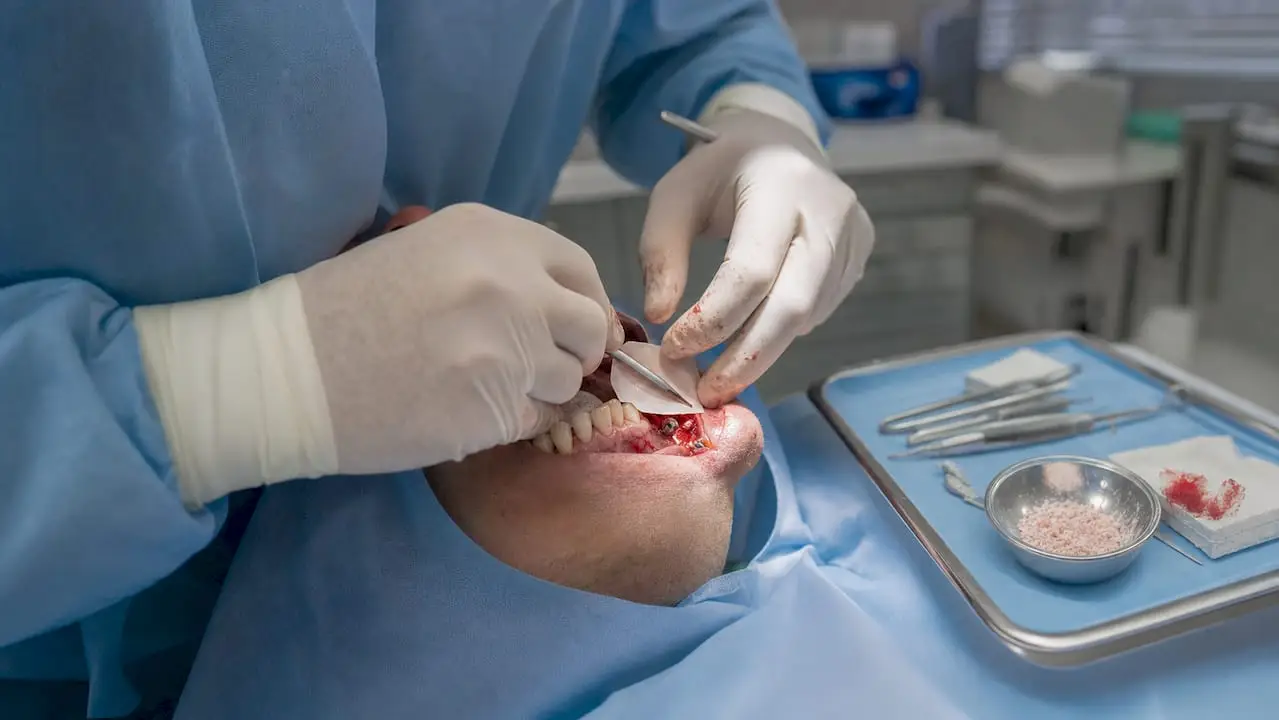
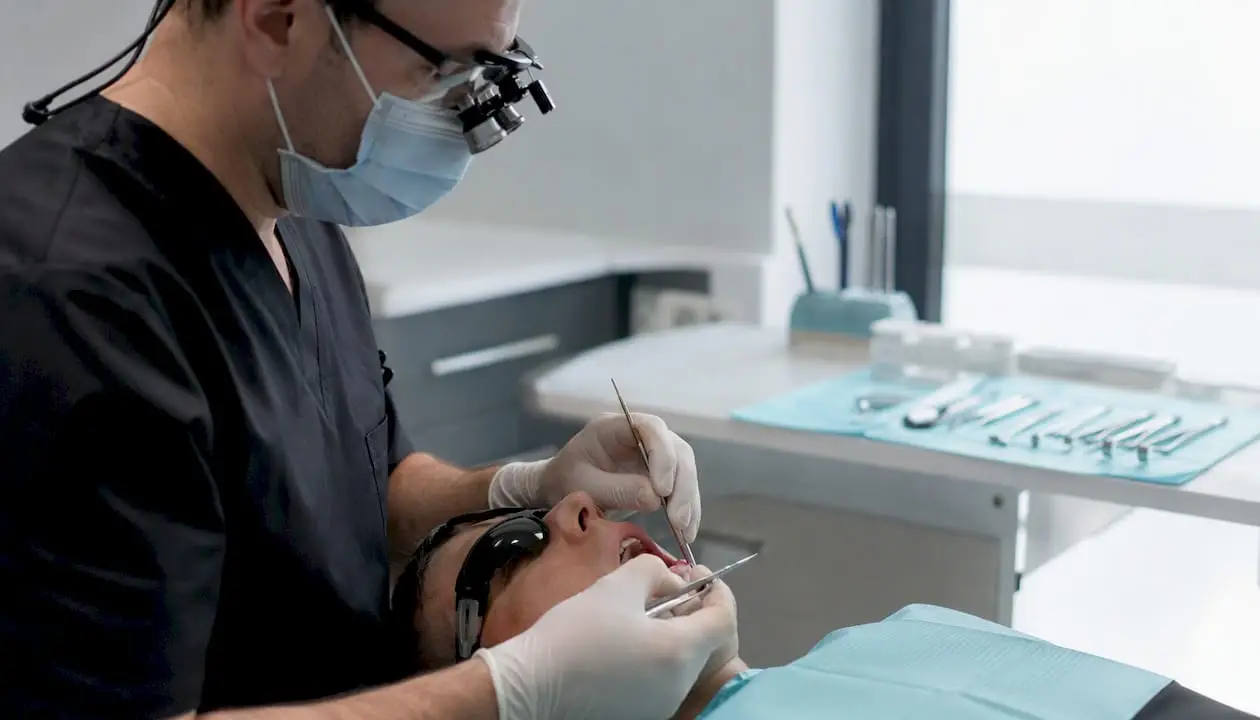
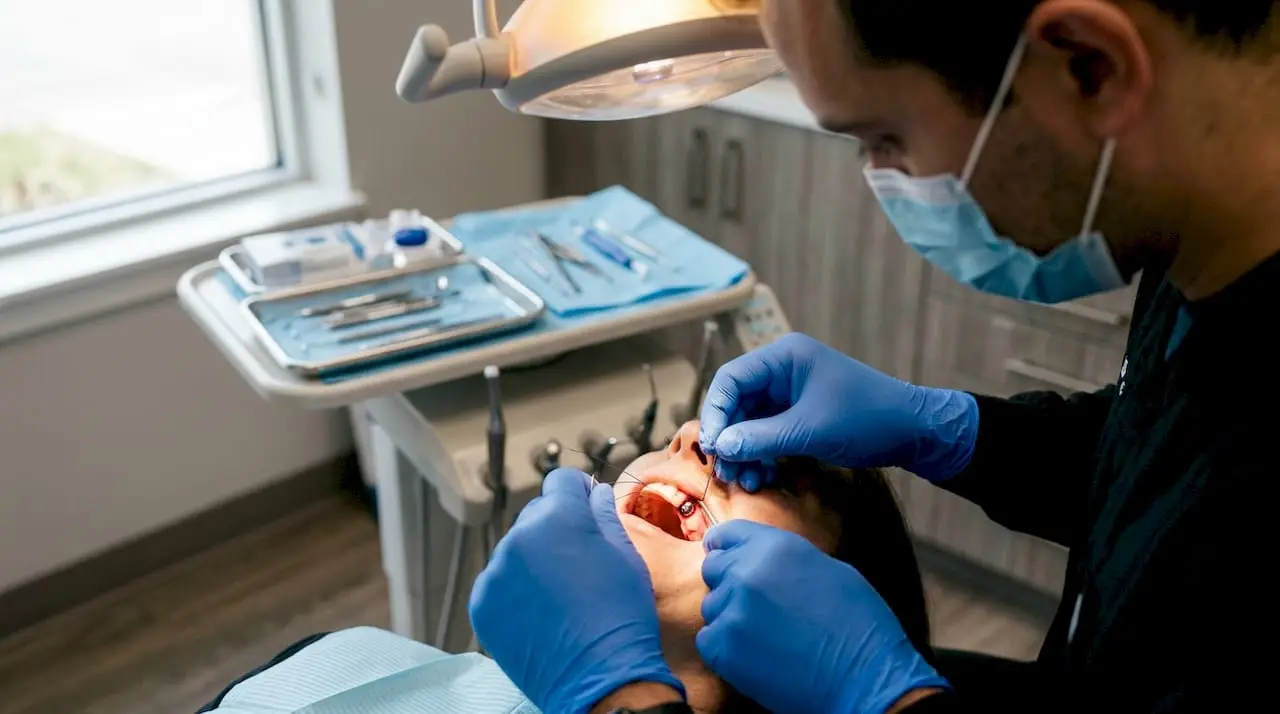
Guided bone regeneration is a membrane-based surgical technique that rebuilds deficient alveolar ridges by physically excluding fast-growing soft tissue while slower-forming bone cells fill the defect underneath. The clinical verdict is straightforward: GBR is indicated for buccal dehiscence or fenestration defects at or above 2 mm, and for horizontal or vertical ridge deficiencies that would otherwise compromise implant positioning or long-term stability. Below that 2 mm threshold, if the implant achieves good primary stability, you often don’t need it at all.
Four elements make the technique work:
- A barrier membrane that keeps epithelium and connective tissue out of the defect
- A graft material that maintains volume and gives osteoblasts a scaffold
- Space maintenance, usually from tenting screws or a rigid membrane, so the graft doesn’t collapse
- Primary, tension-free soft-tissue closure over the whole site
Survival data backs this up. A retrospective study following implants placed with simultaneous GBR reported a 97.95% cumulative survival rate over a mean follow-up of 34.8 months. That’s a strong number, but it comes with a condition: outcomes this good depend on following the technique’s core principles, not on the material brand you pick off a shelf.
As for staging, the short version: if you can get solid primary stability and the defect is limited, simultaneous placement is reasonable. If stability is in doubt or the defect is large or vertical, stage it. The rest of this guide walks through exactly how to make that call.
Key Takeaways
GBR achieves implant survival rates comparable to native bone when clinicians follow the PASS principles, match membrane rigidity to defect size, and prioritize tension-free primary closure.
| Point |
Details |
| Defect threshold for GBR |
Dehiscence or fenestration defects at or above 2 mm generally require augmentation; below that, primary stability alone may suffice. |
| Material selection |
Composite grafts (autograft plus a low-resorption substitute) balance early bone formation with long-term volume stability better than autograft alone. |
| Membrane choice |
Collagen membranes suit most horizontal cases; bioinert PTFE or titanium-reinforced membranes handle vertical and large defects. |
| Survival evidence |
A retrospective series reported 97.95% cumulative implant survival over a mean 34.8 months with simultaneous GBR. |
| Skill development |
Onewd’s tiered, mentorship-driven courses give clinicians supervised, hands-on repetition for staged and simultaneous GBR before they attempt complex vertical cases solo. |
How Does GBR Work in Dentistry?
The mechanism behind guided bone regeneration is older than most clinicians realize, and it’s simpler than the marketing around “advanced” membrane systems suggests. A barrier physically separates two tissue types that grow at different speeds. Epithelium and fibroblasts migrate into a wound within days. Osteoblasts need weeks. Without a barrier, the fast tissue wins the race and fills the defect with scar tissue instead of bone. The membrane acts like a fence around a newly seeded lawn, keeping foot traffic out long enough for the grass to actually take root.
That fence analogy isn’t just a teaching tool. It reflects the actual cell-exclusion mechanism documented in the GBR literature, and it explains why membrane selection and handling matter more than graft particle size in most failure cases.
The PASS principles
Clinicians who get consistent GBR results are usually following four principles, often without naming them explicitly:
- Primary closure — the flap must close over the graft site without tension, or the membrane will be exposed within days.
- Angiogenesis — the graft needs a blood supply reaching it, which is why decortication of the recipient bed matters more than most residents assume.
- Space maintenance — the membrane or mesh has to hold its shape against the pressure of the overlying soft tissue for the entire healing window.
- Stability — both the graft and the membrane need to stay immobile; micromovement disrupts early bone formation the same way it disrupts implant osseointegration.
Picture a simple cross-section diagram: a defect on the buccal aspect of a ridge, filled with graft particles, capped by a membrane that’s tucked 2 to 3 mm past the bony margins on all sides, held down by one or two fixation pins, with a tension-free flap draped over the top. That single image captures every PASS principle at once, and it’s worth sketching for junior team members before their first case.
Pro Tip: The single intraoperative step that most reduces early exposure risk is periosteal release. Score the periosteum at the base of the flap, not the surface, and extend the incision enough to get passive coverage. Surgeons who skip this step and rely on suture tension alone see exposure rates climb fast.
Which Bone Defects Actually Require GBR?
Not every ridge deficiency needs a membrane. The decision hinges on defect size, morphology, and whether the implant can achieve primary stability without augmentation.
Clinically, you’ll encounter four recurring defect morphologies: fenestration (an isolated window of exposed implant surface with intact bone above and below), dehiscence (a defect that extends from the exposed implant surface to the crest of the ridge), horizontal deficiency (ridge width loss with height preserved), and vertical deficiency (loss of ridge height, generally the hardest to correct predictably).
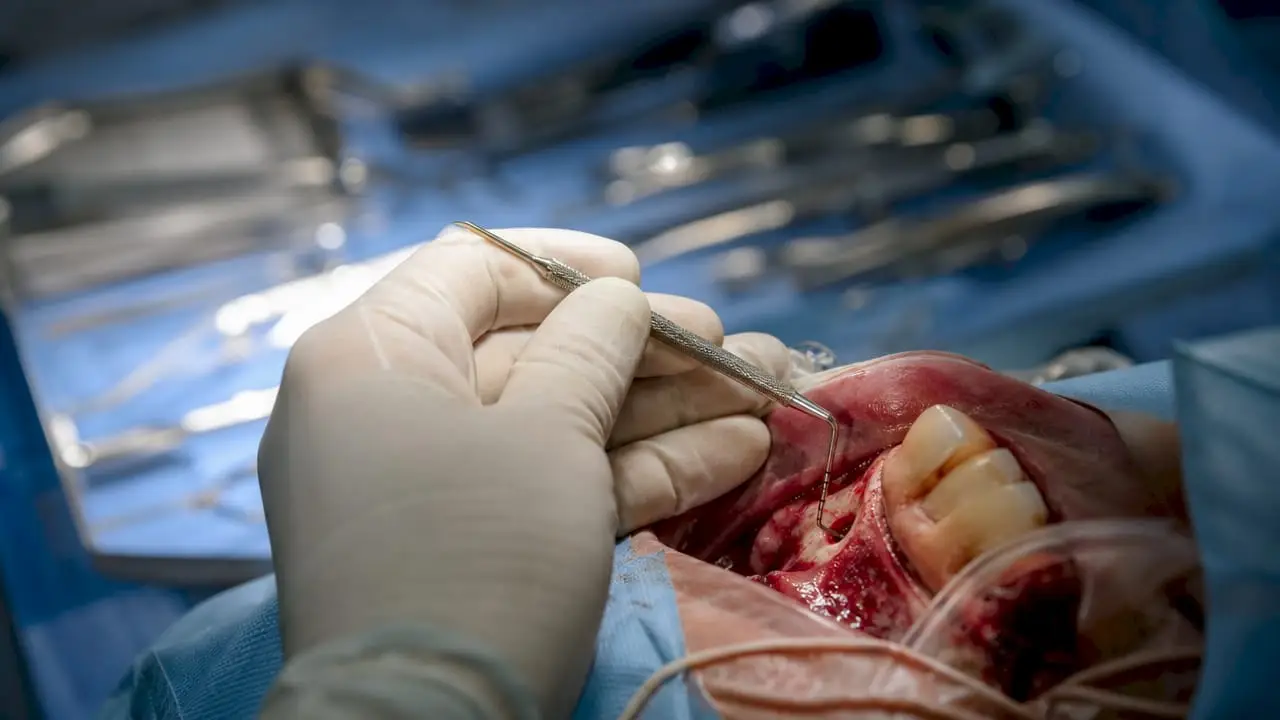
The working rule, drawn from the GBR clinical literature: a buccal dehiscence under 2 mm may not need augmentation at all if the implant is stable. At or above 2 mm, or with meaningful loss of the buccal or lingual bony wall, GBR becomes the standard of care.
Measure defects the same way every time, or your case notes become useless six months later. On CBCT, take buccal and lingual bone thickness at 1 mm, 4 mm, and 7 mm below the planned implant platform. Intraoperatively, confirm with a periodontal probe against the implant surface once it’s seated, and record the number in millimeters, not a vague “small” or “moderate.”
Pro Tip: Photograph the probe in place against a ruler before you close. Six months later, when you’re deciding whether the graft actually filled the defect, you’ll want that reference image more than you’ll want your memory of the case.
Which Graft Material Works Best for GBR?
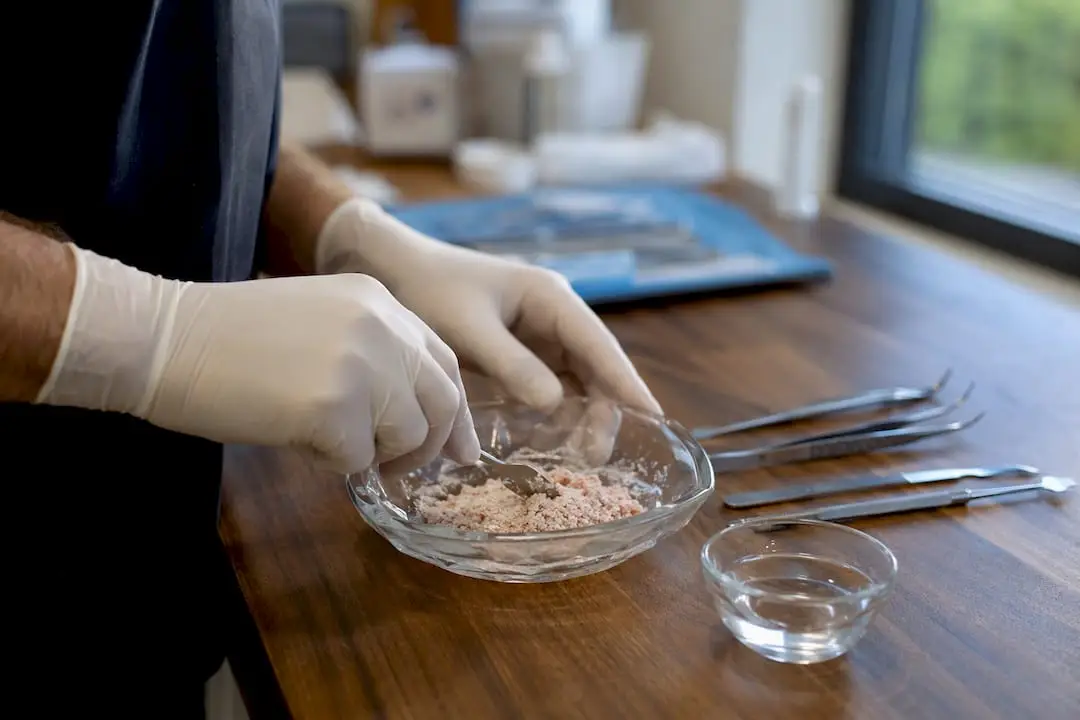
For most horizontal defects, a composite graft, autogenous bone chips mixed with a slow-resorbing substitute, gives you the best balance of early biological activity and long-term volume stability. Pure autograft resorbs faster than clinicians expect and leaves you short of volume at re-entry. Pure xenograft or alloplast alone lacks the osteogenic cells that jump-start early healing.
Four material categories cover nearly every case:
- Autograft — the only material with live osteogenic cells, osteoconductive and osteoinductive, but it resorbs quickly and carries donor-site morbidity when harvested from the ramus or chin.
- Allograft (freeze-dried or demineralized bone) — osteoconductive with some osteoinductive potential, no second surgical site, but variable resorption depending on processing.
- Xenograft (typically bovine-derived) — osteoconductive only, prized for slow resorption and long-term volume maintenance, weaker in the early healing phase.
- Alloplast (synthetic calcium phosphates) — osteoconductive, fully synthetic, predictable but generally the weakest early biological response of the four.
| Material Class |
Predictability |
Volume Stability |
Donor Morbidity |
Relative Cost |
| Autograft (block or particulate) |
High for volume, variable for retention |
Low (resorbs fast) |
Highest |
Low direct cost, high morbidity cost |
| Allograft |
Moderate to high |
Moderate |
None |
Moderate |
| Xenograft |
High for long-term shape |
High |
None |
Moderate to high |
| Composite (autograft + substitute) |
High |
High |
Reduced vs. pure autograft |
Moderate |
The evidence on mixing materials is specific and useful: combining autogenous bone with a bone substitute accelerates early bone formation and improves handling compared with sole autograft blocks, while cutting down on the donor-site morbidity that makes patients (and surgeons) dread ramus harvests. If you’re deciding between straight xenograft and a composite approach, the composite wins for most horizontal cases where you need both early fill and long-term shape. A closer look at xenograft versus allograft selection breaks down how these behave differently depending on defect anatomy.
Resorbable or Non-Resorbable: Which Membrane Fits the Case?
Resorbable collagen membranes are the right default for most horizontal augmentation cases. Non-resorbable options, expanded PTFE (ePTFE), dense PTFE (dPTFE), or titanium-reinforced membranes, earn their place in vertical augmentation and large space-maintenance cases where collagen simply can’t hold its shape long enough.
Each class has a distinct failure mode worth knowing before you pick one:
- Collagen membranes resorb on their own, need no second surgery for removal, and tolerate minor exposure reasonably well since bacterial colonization is slower on collagen than on PTFE. They lack rigidity, though, and will collapse under a large vertical defect without tenting support.
- ePTFE and dPTFE membranes hold shape far better and resist bacterial penetration at the micropore level, but exposure is a bigger problem: once contaminated, they often need early removal rather than watchful waiting.
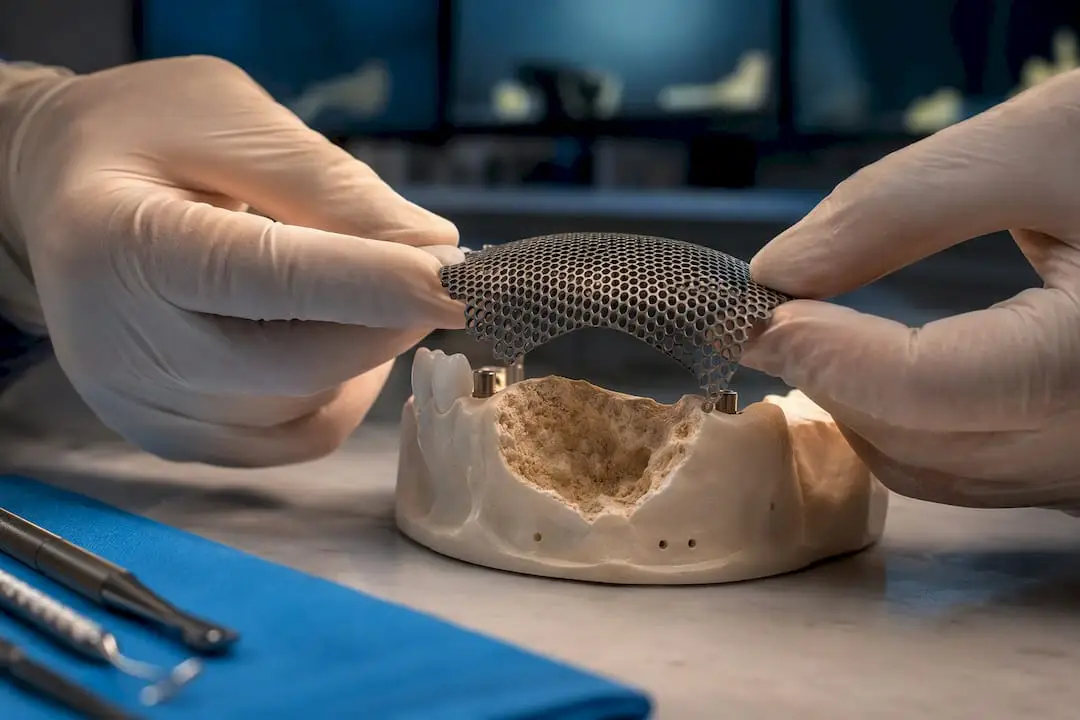
- Titanium-reinforced membranes and titanium mesh give the strongest space maintenance for large vertical or combined defects, with reliable volume maintenance but variable complication rates that depend heavily on soft-tissue management.
Handling checklist before you close: trim the membrane to overlap sound bone by 2 to 3 mm on every margin, secure it with resorbable pins or tenting screws so it can’t shift during suturing, and confirm there’s zero mobility when you gently palpate the flap.
If exposure happens anyway, the response depends on the membrane. A small collagen exposure under 3 mm often heals with just chlorhexidine rinses and close monitoring. Larger exposures, or any exposure of a non-resorbable membrane with visible suppuration, need intervention. Clinicians should closely monitor and intervene early with local cleansing and antibiotics if indicated, and an infected exposed PTFE membrane usually needs outright removal rather than a wait-and-see approach.
Pro Tip: Keep a chlorhexidine gel, not rinse, on hand for small exposures. The gel stays localized on the exposed membrane edge instead of washing over the whole surgical field every time the patient swishes.
What Is the Step-by-Step GBR Protocol?
Choose simultaneous GBR when you can achieve predictable implant primary stability and the defect is limited to a dehiscence or fenestration. Choose staged GBR when stability is uncertain, the defect is large or primarily vertical, or you’d be asking a membrane to hold shape over a gap wider than it can bridge.
Simultaneous GBR protocol
- Raise a full-thickness flap with adequate releasing incisions, keeping the papillae intact where esthetics matter.
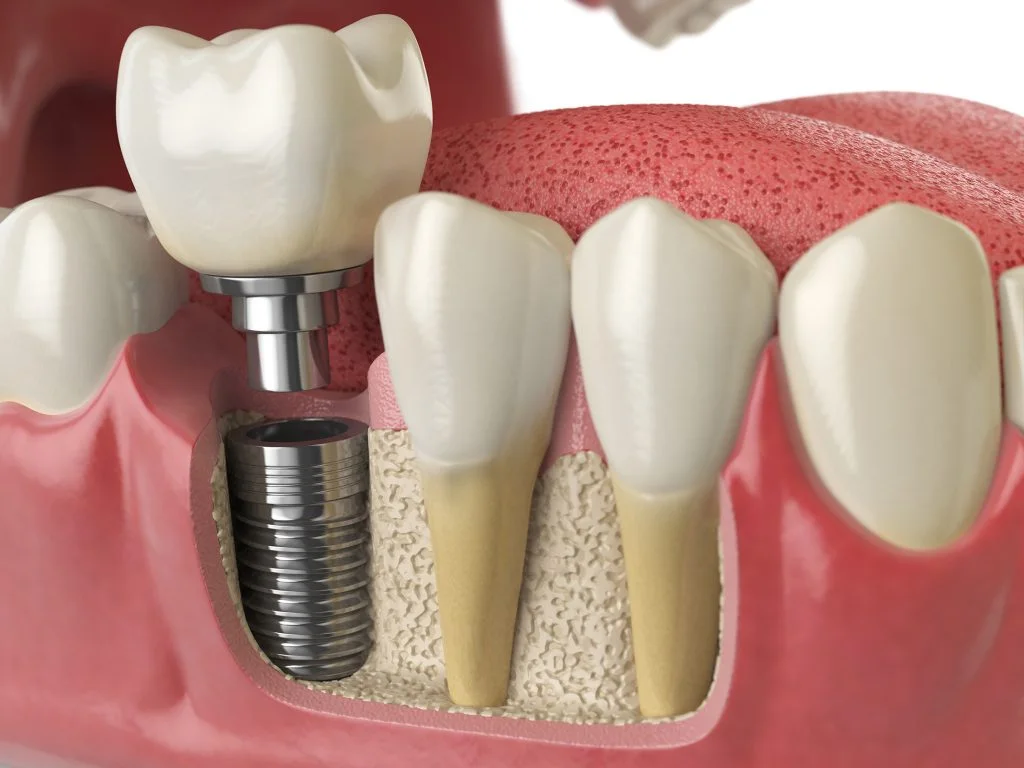
- Place the implant to the planned depth and angulation, confirming primary stability with insertion torque or resonance frequency analysis.
- Decorticate the exposed cortical bone around the defect with a small round bur to trigger bleeding and improve graft vascularization.
- Pack graft material against the exposed implant surface and defect walls, slightly overbuilding the contour since some resorption is expected.
- Place tenting screws if the defect is wide enough that the membrane would otherwise collapse onto the graft.
- Adapt and fix the membrane, overlapping sound bone margins by 2 to 3 mm.
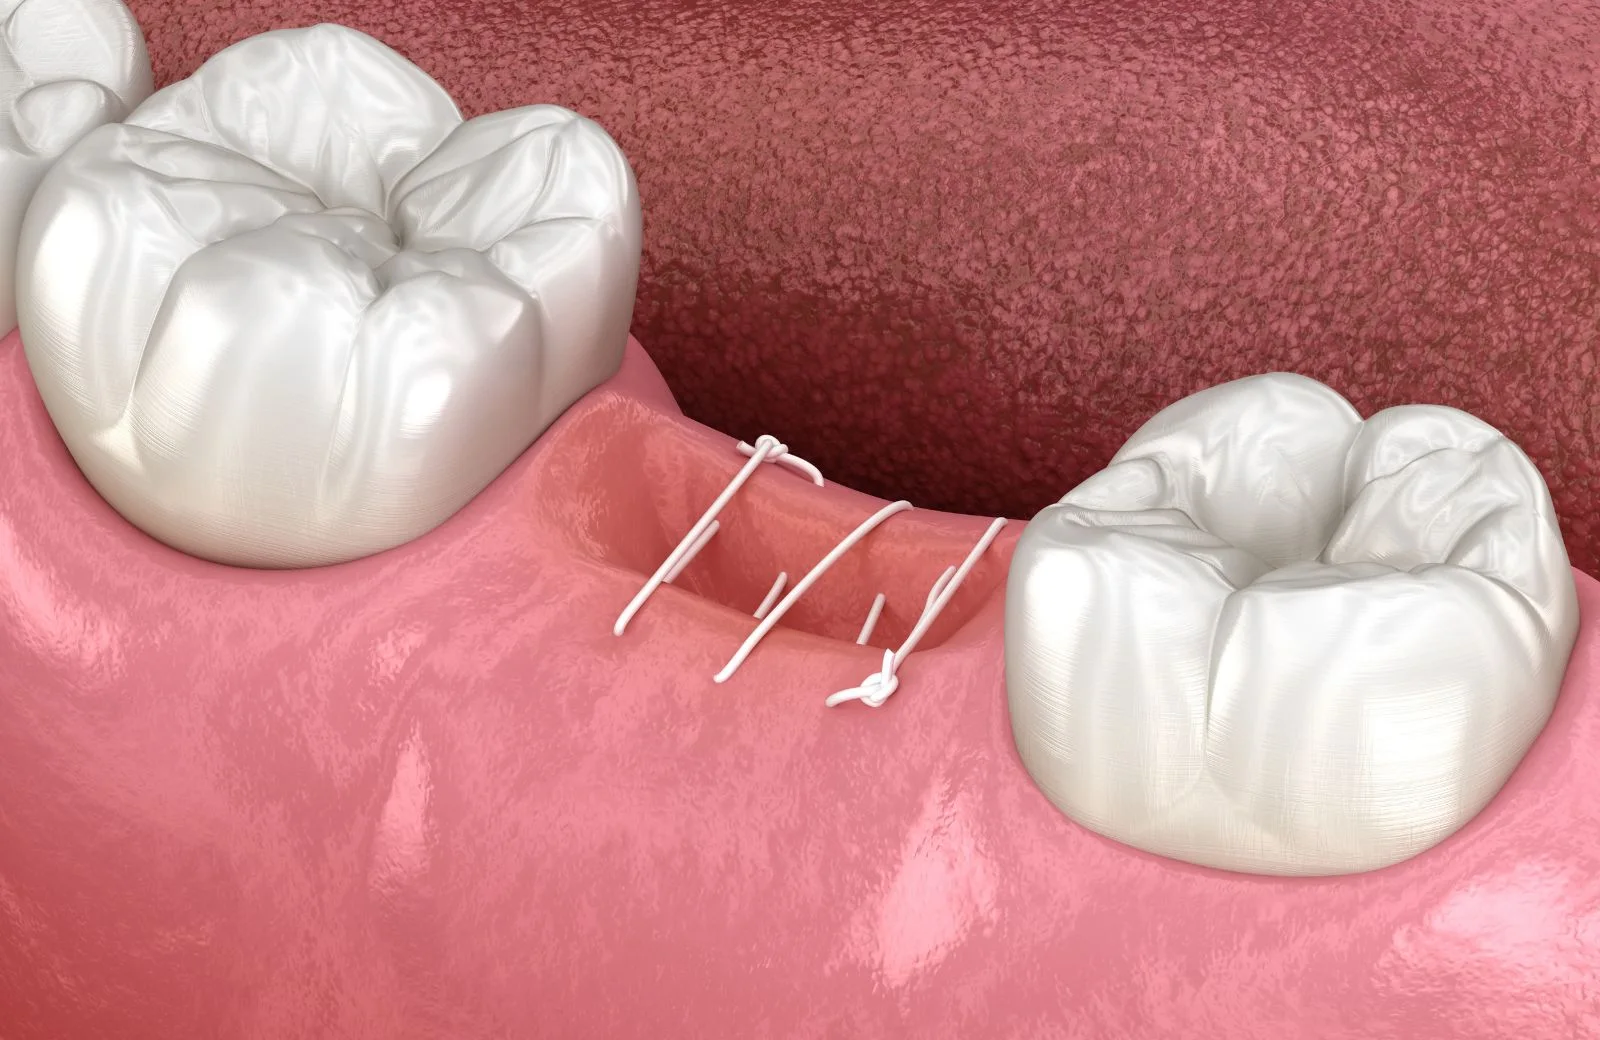
- Release the periosteum and close with a tension-free, layered suturing technique.
Staged GBR protocol
- Assess the ridge with CBCT and plan graft volume before any incision.
- Raise the flap and decorticate the recipient bed as above.
- Build the graft to slightly overcorrect the anticipated deficiency, since staged cases often need more aggressive overbuilding than simultaneous ones.
- Use a rigid space-maintaining system, titanium mesh or a titanium-reinforced membrane, when the defect is vertical or combined.
- Achieve tension-free closure and wait a minimum healing interval before re-entry and implant placement.
- At re-entry, remove the non-resorbable membrane or mesh, confirm bone quality with a probe or trephine core if needed, then place the implant.
For sinus-adjacent posterior sites, the same principles apply with one adaptation: a lateral window sinus lift often runs concurrently with buccal GBR when the alveolar crest is both short vertically and narrow buccolingually, effectively treating two dimensions of deficiency in one surgical visit.
Your instrument tray should include, at minimum: piezoelectric or rotary decortication tools, tenting screws in a couple of lengths, resorbable and non-resorbable membrane fixation pins, and titanium mesh sized for your typical defect range. Skipping the tenting screw size variety is a common rookie mistake. A 4 mm screw doesn’t help you when the defect calls for 6 mm of tenting height.
Pro Tip: Add biologic adjuncts, platelet concentrates or recombinant growth factors, when treating compromised sites: smokers, previously irradiated bone, or re-do cases after a failed graft. In straightforward first-attempt cases, the added cost rarely changes the outcome enough to justify it.
What Do Success Rates Show for GBR?
GBR produces implant survival rates comparable to implants placed in native bone, provided the operator follows the PASS principles, and matches technique to defect size. That’s the headline finding, but the supporting evidence has real texture worth understanding before you quote a number to a patient.
The clearest single data point comes from a retrospective series reporting a 97.95% cumulative implant survival rate for implants placed with simultaneous bone augmentation, tracked over a mean follow-up of 34.8 months. That’s a solid multi-year window, not a six-month snapshot, and it lines up with what most experienced GBR practitioners see in their own case files.
Broader context comes from a systematic review examining GBR against block grafting and distraction osteogenesis. The reviewers concluded that GBR is a stable and effective technique for alveolar bone augmentation, with existing randomized and prospective studies suggesting outcomes comparable to those more invasive alternatives.
A few caveats matter here, and glossing over them does patients a disservice:
- Many of the studies feeding these conclusions have small sample sizes, sometimes fewer than 50 patients per arm.
- Heterogeneity in defect classification across studies makes direct comparison difficult; one team’s “moderate horizontal defect” isn’t always another team’s.
- Follow-up periods vary widely, and long-term data past seven years remains sparser than anyone treating young patients would like.
The review authors themselves flagged the need for larger, higher-quality randomized controlled trials to refine protocols further. That’s not a knock against the technique. It’s an honest acknowledgment that GBR’s excellent track record in skilled hands hasn’t yet been matched by the depth of Level 1 evidence some other implant procedures have accumulated.
What Complications Should You Watch for With GBR?
Membrane exposure and wound dehiscence are the most frequent complications in GBR, and they’re not cosmetic problems. When exposure occurs, bone formation is markedly reduced at the affected site, which means prevention deserves more attention than most residency programs give it.
Red flags to act on immediately:
- Visible membrane through the incision line within the first two postoperative weeks
- Erythema or swelling that worsens rather than improves after day 3
- Purulent discharge, which signals infection rather than simple exposure
- Patient-reported pain that spikes rather than tapers after the first 48 to 72 hours
Prevention comes down almost entirely to closure technique. Score the periosteum for a passive, tension-free flap advancement. Avoid overpacking the graft, since an overbuilt contour puts more pressure on the overlying soft tissue than it can tolerate. Choose a membrane whose rigidity matches the defect. Undersizing a collagen membrane on a large vertical case is asking for a collapse and secondary exposure.
Pro Tip: When a graft partially fails, resist the urge to abandon the site. A staged rescue, removing necrotic or unincorporated graft material, re-decorticating the bed, and placing a fresh graft under a new membrane, often salvages sites that look hopeless at the six-week mark. Give it one more cycle before recommending an alternative like a free bone block.
How Do You Decide Between GBR and Other Augmentation Methods?
Map three variables before committing to a plan: defect morphology, patient risk factors, and esthetic demands. A small dehiscence in a healthy nonsmoker with modest esthetic expectations is a straightforward simultaneous GBR case. A large vertical defect in a smoker with high esthetic demands in the anterior maxilla is a different conversation entirely, one that might point toward staged GBR with titanium mesh, or a referral to a more experienced surgeon.
Patient factors that shift prognosis and timing:
- Smoking measurably increases exposure and graft failure rates; many clinicians require a cessation period before scheduling elective GBR.
- Uncontrolled diabetes slows angiogenesis and delays healing, pushing toward longer wait times before re-entry.
- Poor oral hygiene raises infection risk at the graft site disproportionately compared to standard implant placement.
- Previous radiation therapy compromises vascularity enough that some clinicians avoid elective GBR in irradiated fields altogether.
Picture this as a simple flowchart: defect size and morphology on one axis, patient risk factors on the other. Low risk plus small defect routes to simultaneous placement without augmentation. Low risk plus moderate defect routes to simultaneous GBR. Any combination involving high risk factors or a large vertical component routes to staged GBR, often with a referral checkpoint for less experienced operators.
| Scenario |
Recommended Approach |
| Small defect, low risk patient |
Implant alone or simultaneous GBR |
| Moderate horizontal defect, low risk |
Simultaneous GBR |
| Large vertical defect, any risk level |
Staged GBR |
| Any defect, active smoker or uncontrolled diabetes |
Staged GBR, extended healing window |
| High esthetic demand, moderate-severe defect |
Staged GBR with careful soft-tissue planning |
Your consent conversation should cover: the possibility of staging and a second surgical visit, realistic healing timelines, the risk of membrane exposure and what happens if it occurs, and the alternative of a referral for cases outside your comfort zone. Patients tolerate a longer timeline far better than they tolerate a surprise second surgery they weren’t told about upfront.
What Belongs on Your Pre-Op and Post-Op GBR Checklist?
Pre-op:
- Confirm CBCT imaging with defect measurements at multiple levels
- Review medical history for smoking status, glycemic control, and radiation history
- Select graft material and membrane type based on defect classification
- Stage instruments: decortication burs, tenting screws, fixation pins, suture selection
- Brief the patient on healing timeline and staging possibility
Intra-op:
- Flap design with adequate releasing incisions planned before the first cut
- Decortication of the recipient bed to promote bleeding
- Graft packing without overbuilding beyond planned contour
- Membrane placement with 2 to 3 mm margin overlap and secure fixation
- Tension-free, layered closure confirmed by passive flap adaptation
Post-op watchlist for the patient: avoid pressure on the surgical site from dentures or chewing, watch for and report any visible membrane or unusual swelling after day 3, and keep the follow-up appointment at the two-week mark rather than waiting for a problem to appear.
A junior team member preparing the tray needs, at minimum: decortication burs, a membrane fixation pin kit, two or three tenting screw lengths, and both collagen and titanium-reinforced membrane options on standby, since the defect assessment can change once the flap is actually raised.
What Do Experienced GBR Clinicians Wish They’d Known Earlier?
A handful of hard-won lessons show up again and again among clinicians who’ve handled high volumes of GBR cases:
- Collagen membranes handle most horizontal cases fine; save bioinert PTFE and titanium-reinforced options for vertical defects where rigidity outweighs convenience.
- Composite grafts (autogenous plus a low-resorption substitute) consistently outperform pure autograft on long-term volume retention.
- Overbuilding the graft contour by roughly 20 to 30% compensates for expected resorption, but overdoing it invites exposure.
- Tenting screws are underused relative to how often they’d prevent membrane collapse in moderate defects.
- The flap release, not the suture pattern, is what actually prevents dehiscence.
- CBCT re-evaluation at 4 to 6 months, not just clinical palpation, catches under-mineralized grafts before you place an implant into soft fill.
Pro Tip: Use tenting screws for moderate vertical gain where a collagen or standard membrane just needs help holding shape. Reach for titanium mesh when the defect is large enough that a screw and membrane combination would still risk collapse, generally beyond 4 to 5 mm of vertical deficiency.
If you’re still building confidence with vertical cases specifically, that’s exactly the skill gap that benefits from supervised, hands-on repetition rather than another journal article.
A Perspective on Learning GBR Hands-On
Reading protocol steps and executing a tension-free closure under real bleeding, real soft-tissue resistance, and real time pressure are different skills entirely. Flap release, membrane fixation, and graft handling are motor skills, and motor skills come from repetition with feedback, not from another article, however detailed.
The clinicians who avoid the worst complications in this guide, chronic exposure, graft loss, wound dehiscence, are almost always the ones who trained on complex vertical cases under direct supervision before attempting them solo. That’s not a knock on self-directed learning. It’s just an honest read of where GBR skill actually comes from.
Build Hands-On GBR Skill Through One World Dental
Reading about tension-free closure and actually achieving it under a live flap are two different skill sets, and Onewd’s training courses close that gap through mentorship and live surgical modules rather than lecture slides alone. Courses run on a tiered path, foundational modules covering membrane selection and graft handling, advancing to complex vertical augmentation and titanium mesh technique for clinicians ready for it.

Each course level includes accredited CE credit, so the hours you spend refining your GBR technique also satisfy your licensing requirements rather than competing with them for calendar space. The hands-on implant training track is built specifically for US dentists who want live-surgery exposure to staged and simultaneous GBR protocols with an instructor watching your flap design in real time, not just your final radiograph. Browse current course offerings and find the level that matches where your GBR skills stand today.
Recommended