Occlusion determines whether a cosmetic restoration lasts. Fracture, debonding, and premature wear almost always trace back to a bite that was never properly recorded, verified, or built into the design. Assess occlusion before you finalize any smile design, using objective tools like T-Scan or intraoral scanning where available, and confirm your scheme in provisionals before you commit to final materials.
How Occlusion Affects Cosmetic Dentistry Outcomes
Every cosmetic case is a load-bearing case whether the treatment plan admits it or not. Veneers, bonded composites, and full-arch smile makeovers all sit inside a functional envelope, and when that envelope gets ignored, the consequences show up as chipped incisal edges, open margins, or a restoration that debones within eighteen months.
A literature review on restoration longevity found occlusion substantially influences how long fixed, removable, and implant-supported restorations survive, with occlusal interferences acting as a direct mechanical trigger for fracture and debonding. The pathway is straightforward: an interference concentrates force on a single contact point, that point becomes the weakest link in the restoration, and repeated loading during function or parafunction eventually breaks it.
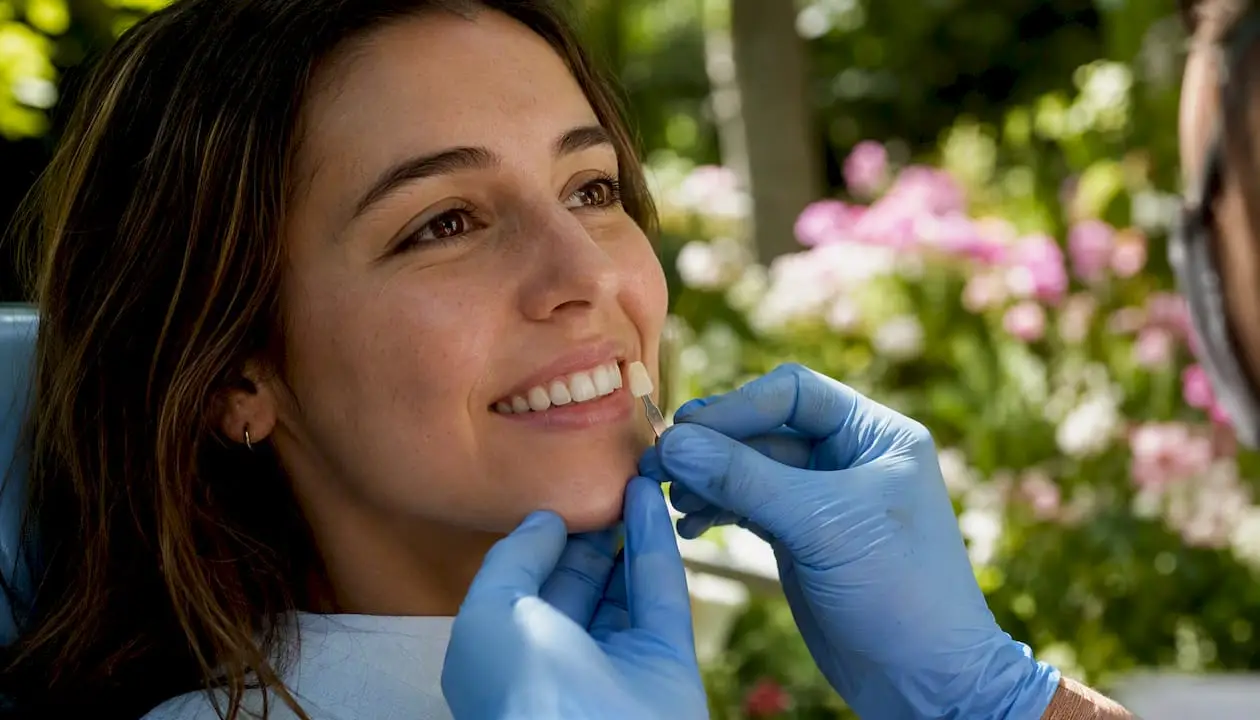
Centric relation versus intercuspal position (CR versus ICP) matters more in cosmetic dentistry than most clinicians treat it. If you record a case in a deviated ICP rather than a reproducible CR, you risk designing incisal edge position and anterior guidance around a bite that will shift once you eliminate the interference driving the deviation. That shift changes lip support, phonetics, and the smile line you spent hours designing.
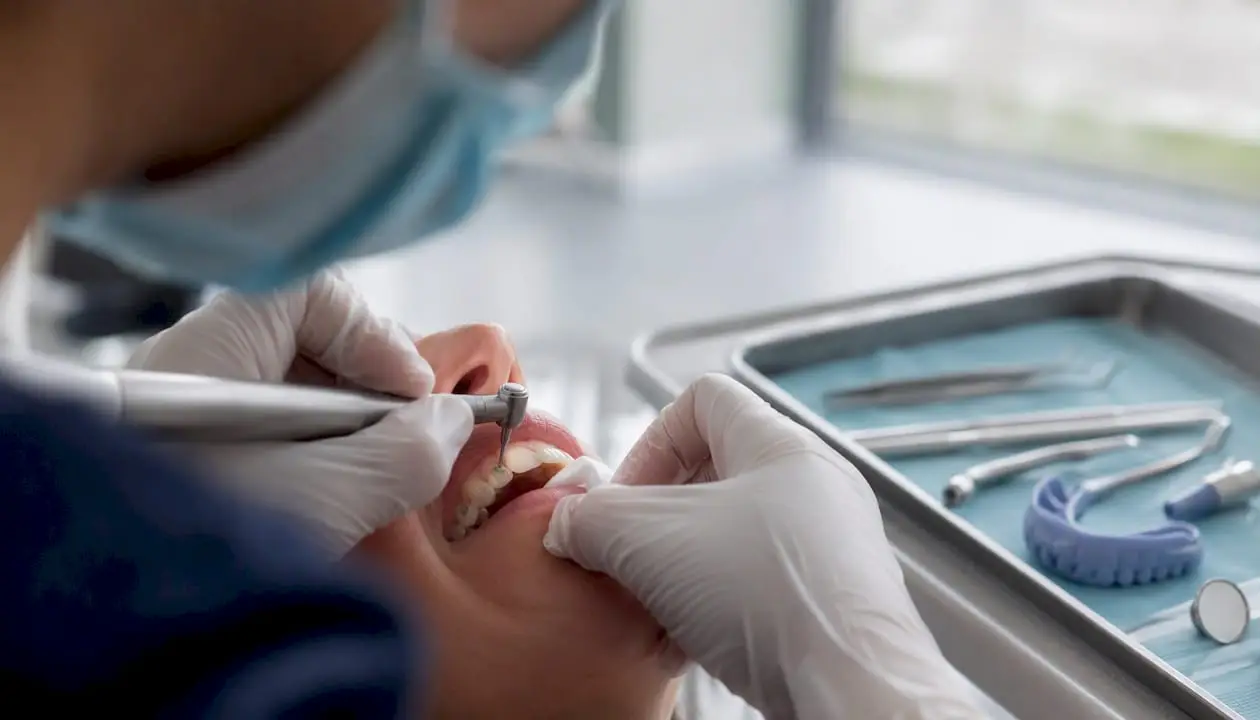
Consider a common scenario: a patient receives six maxillary veneers built to an esthetic mock-up, but nobody checks excursive movements. Within four months, the patient reports a “clicking” sound and two veneers show micro-fractures at the incisal edge. The cause wasn’t the ceramic. It was an uncorrected working-side interference that concentrated lateral force exactly where the restoration was thinnest.
What consistently predicts failure in these cases:
- Interferences in centric relation that were never disclosed in the diagnostic wax-up
- Anterior guidance steeper than the patient’s envelope of function can tolerate
- Posterior contacts left light or heavy without deliberate design
- No provisional phase used to test the occlusal scheme before finalizing
Which Occlusal Scheme Fits Your Cosmetic Case?
Choosing an occlusal scheme isn’t a preference exercise. It’s a clinical decision tied to the patient’s dentition, parafunctional history, and the restorative material you’re placing.
- Mutually protected occlusion. Anterior teeth guide excursive movements and disclude the posteriors, while posterior teeth carry the bulk of load in centric occlusion. This is the default scheme for most cosmetic cases with a healthy, unworn dentition, and it’s the scheme most veneer and bonding protocols are designed around. It’s contraindicated when the patient lacks adequate posterior support or shows advanced anterior wear that already compromises guidance.
- Group function. Multiple teeth on the working side share contact during lateral excursion. This scheme suits patients with a flatter envelope of function, reduced canine guidance, or an existing group-function pattern you don’t want to disrupt with new anterior restorations. Watch for its higher shear load on posterior restorations if you’re also placing veneers or crowns there.
- Canine guidance. A single canine contact carries the entire excursive load. It’s clean and predictable for smile design because it keeps posterior teeth free of lateral force, but it demands a canine with adequate root support and enough vertical overlap to avoid overloading that one tooth.
- Long centric. A flat area around centric occlusion gives the mandible a small range of freedom before guidance engages. Useful in patients with TMJ sensitivity or a history of centric slide, though it adds complexity to the wax-up.
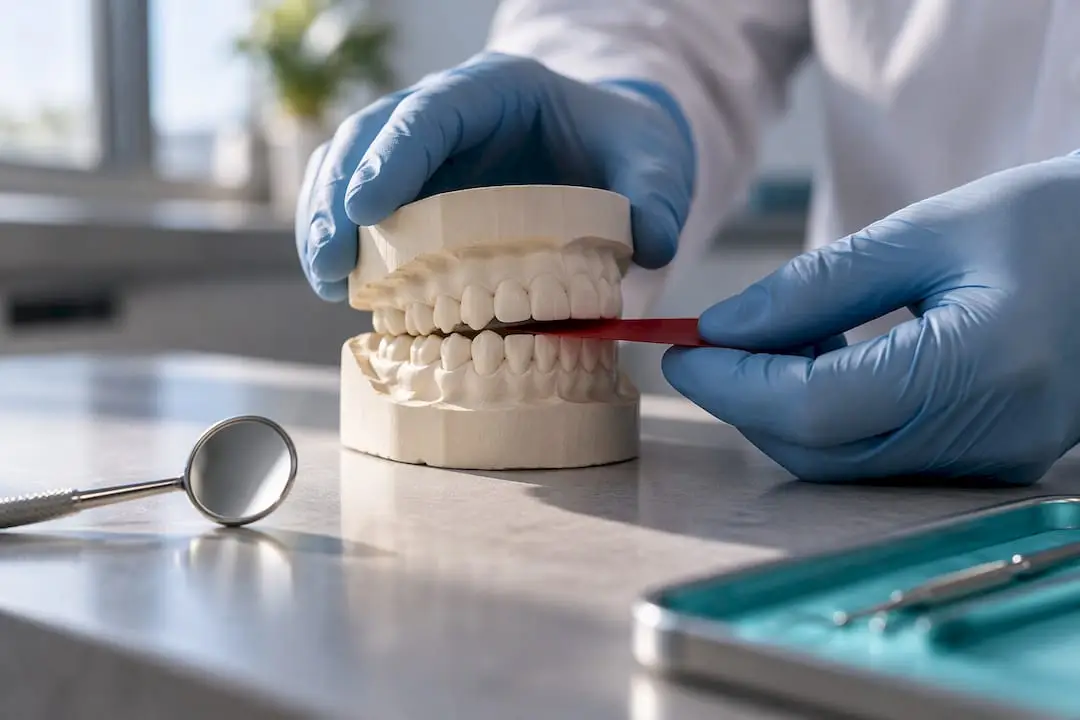
During the provisional phase, mark centric stops and excursive pathways in two colors, load-test with the patient chewing and speaking, and adjust before you send anything to the lab for final fabrication. The anterior guidance you build has to sit inside the patient’s actual envelope of function, not the idealized one from a textbook diagram. Ask the patient to move through protrusive and lateral positions naturally and watch for premature contact before your intended guiding surface engages.
Digital vs. Traditional Occlusal Analysis: Which Wins?
Articulating paper tells you where teeth touch. It does not tell you how hard, how long, or in what sequence, and that gap is exactly where cosmetic failures hide. A systematic review of digital occlusal analysis technologies found that combining qualitative markers like paper and spray with quantitative digital data produces a more complete diagnostic picture than either method used alone.
T-Scan consistently outperforms traditional methods for dynamic force assessment, according to a systematic review that evaluated multiple digital occlusal analysis systems against conventional techniques. The review, which included studies through late 2024, found that integrating T-Scan data with intraoral scanners such as Trios and Medit I600 improved diagnostic precision by pairing force timing and distribution with an accurate static contact map. OccluSense, a pressure-sensitive sensor system, offers a comparable middle ground for practices that want quantitative pressure mapping without the full T-Scan setup.
A workable clinic workflow looks like this:
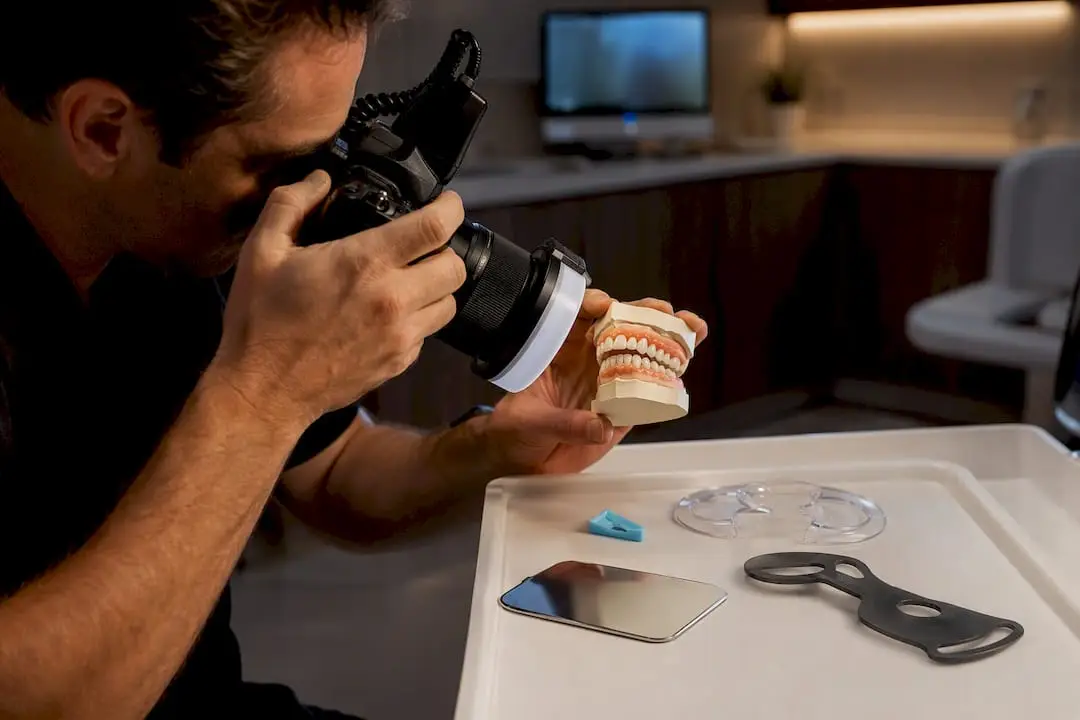
- Take full diagnostic records: photos, mounted casts with a facebow transfer, and a CR bite registration
- Scan the arches digitally with a system like Trios, Medit I600, or a CEREC Omnicam if you’re already integrated into that ecosystem
- Record dynamic occlusal force data with T-Scan or OccluSense to capture timing and sequence, not just location
- Test the proposed scheme in provisionals before finalizing anything
- Verify final delivery with a repeat digital scan against the original diagnostic baseline
Digital workflows reduce mean procedure time per case in implant-supported restorations while showing comparable clinical accuracy to conventional methods, according to a systematic review and meta-analysis of digital versus conventional prosthodontic workflows.
Calibration matters more than clinicians tend to assume. A review of digital occlusal technologies noted meaningful variability in calibration and reporting metrics across studies, which means one T-Scan reading in isolation is less useful than a pattern across repeated recordings. Recording at least three repeated dynamic force tracings per session and comparing them before making any irreversible adjustment catches noise that a single trace would mask.
Occlusion Rules for Implant-Supported Esthetic Restorations
Implants don’t have a periodontal ligament, which means they don’t have the proprioceptive feedback or the micro-mobility that protects natural teeth from overload. That single biological fact reshapes every occlusal decision you make on implant-supported cosmetic cases.
Light centric contacts are the standard for implant restorations, and working or non-working contacts on implant crowns during excursive movement should generally be avoided. A literature review on restoration longevity specifically flags implant-to-natural-tooth force transfer as a mechanism behind screw loosening, porcelain fracture, and prosthetic failure when this principle gets skipped.
In mixed arches, where implants sit alongside natural teeth, the goal is a mutually protected scheme with load distributed toward the natural dentition rather than concentrated on the implant. Design excursive guidance so natural anterior teeth disclude the posterior implants, and verify with both static bite marks and dynamic force graphs while the case is still in provisionals, when adjustment costs nothing but chair time.
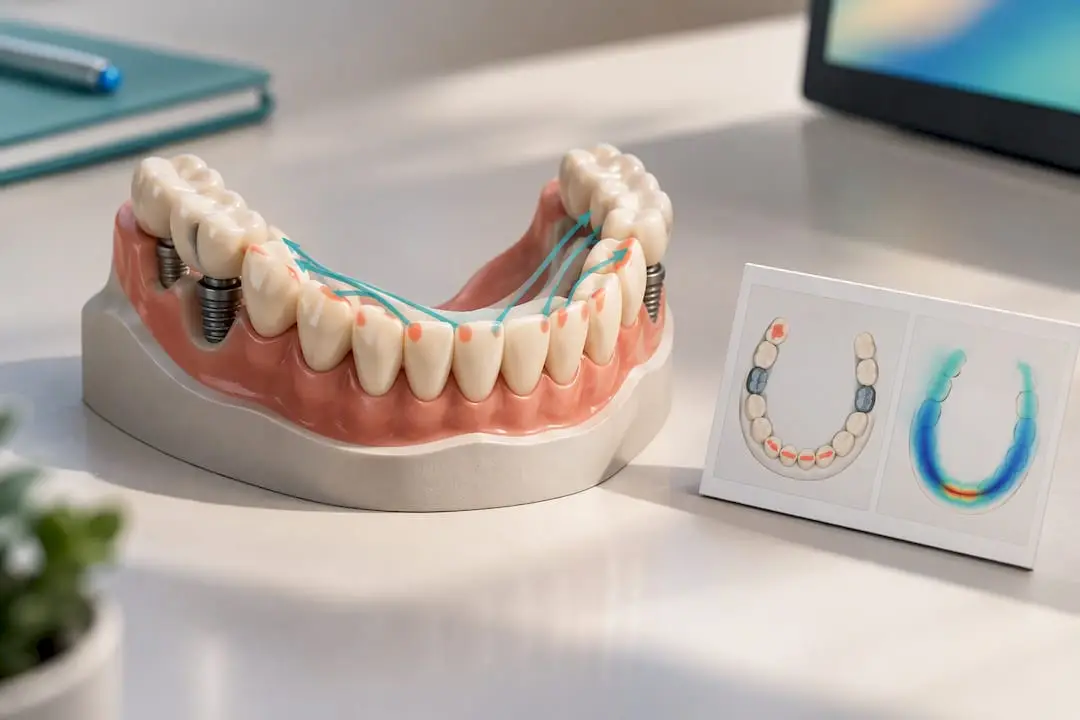
Maintenance protocols matter just as much as initial design. Clinical practice guidelines from the American College of Prosthodontists recommend clinical examinations at minimum every six months for patients with restorations, a schedule that should include occlusal re-verification for implant cases specifically, since bone remodeling and opposing tooth wear can quietly shift contact patterns over years.
A few practical guardrails for implant-supported esthetic cases:
- Confirm passive fit before any occlusal adjustment; occlusion can’t compensate for a framework that doesn’t seat
- Design for even, light centric contact across all implant units rather than a single dominant stop
- Keep excursive contacts on natural teeth wherever the arch allows it
- Re-verify occlusion at every recall visit, not just at delivery
Digital scanning has changed how this verification happens in practice. A meta-analysis comparing digital and conventional implant workflows found digital methods more time-efficient and preferred by patients, while producing restorative fit and survival rates comparable to conventional impressions and try-ins.
Screening for TMD and Bruxism Before Cosmetic Treatment
Placing veneers on a patient with active, undiagnosed bruxism is one of the more expensive mistakes in cosmetic dentistry, because the restoration you deliver today becomes the thing that fractures under a parafunctional load you already knew about but didn’t address.
Before any irreversible reduction, run through this staging sequence:
- Screen for wear facets, fremitus, masticatory muscle tenderness, and joint sounds during your initial exam.
- If parafunction or TMD signs are present, delay irreversible preparation and treat the underlying condition first, a position that aligns with expert consensus on comprehensive treatment planning from prosthodontic literature.
- Fit an occlusal splint and reassess joint comfort and muscle symptoms over several weeks before moving to definitive restorations.
- Use extended provisionals as a diagnostic splint substitute in cosmetic cases, since they let you test the final occlusal scheme under real function.
- Document findings and discuss parafunction risk with the patient in writing before proceeding, so expectations about long-term maintenance are set from day one.
Pro Tip: Treat the provisional phase as a diagnostic splint. If a patient tolerates a well-designed provisional for six to eight weeks without new symptoms, you have real evidence the occlusal scheme will hold. If symptoms appear, you just avoided finalizing a failure in porcelain.
A Practical Occlusal Protocol for Cosmetic Cases
A repeatable protocol beats improvising case by case. Run every cosmetic case through the same sequence: clinical exam and parafunction screening, full diagnostic records including photos and a facebow-mounted cast, a digital intraoral scan, dynamic occlusal force analysis, provisionalization with excursive testing, equilibration, final restoration, then scheduled recall.
- Exam and screen for TMD or bruxism before any preparation begins
- Mount diagnostic casts with a facebow and CR registration
- Scan with an intraoral system and cross-reference with static bite marks
- Run dynamic force analysis and repeat the tracing at least three times
- Test the finalized scheme in provisionals before sending case data to the lab
- Equilibrate and verify at delivery, then recall on a fixed schedule
Complex occlusal cases, particularly full-arch rehabilitations or implant-heavy smile designs, carry a steep learning curve that reading alone rarely closes. Mentorship-driven, hands-on training compresses that curve considerably faster than solo trial and error, because you’re watching decisions get made in real time rather than reconstructing them from a textbook diagram.
Why Esthetics Without Function Never Lasts
A veneer case that looks flawless at delivery and fails within a year isn’t a materials problem. It’s a planning failure. Function and esthetics were never separate disciplines. Building the occlusal workflows above into every case, and pursuing hands-on training where your own experience runs thin, is the difference between smile design and smile maintenance.
— Jake
Build Your Occlusal Workflow Through Hands-On Training
Reading about T-Scan protocols and provisional testing is one thing. Running that workflow confidently on your next full-arch case is another, and that gap is exactly what One World Dental’s training courses are built to close. Rather than passive lectures, Mentorship-driven courses combine live-surgery modules to help clinicians practice occlusal verification, provisional adjustment, and digital workflow integration under direct guidance instead of guessing alone in the operatory.

If your cosmetic cases increasingly involve implant-supported restorations, the Digital Implant Planning guide walks through the same scan-to-verification sequence covered above, applied specifically to implant treatment planning. For clinicians managing full-mouth rehabilitations where vertical dimension and occlusal scheme both need recalibrating, the dual-arch VDO management protocol offers a structured clinical approach. And if surgical-prosthetic integration is where you want direct mentorship, the From Extraction to Implant surgical workflow course offers in-person training; current prices and course dates are available on the website. Browse the full course catalog and pick the pathway that matches where your current cases are pushing you.
Recommended