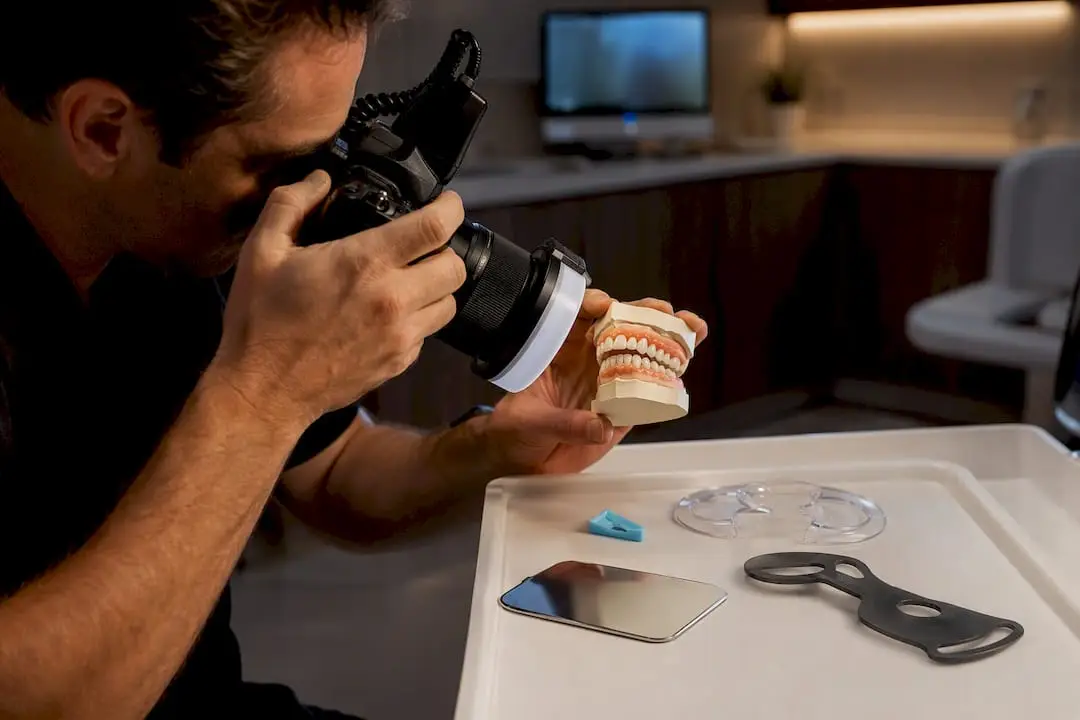
Dental photography for esthetics comes down to one habit: shoot the same standardized portfolio, at the same magnification, with the same locked-in camera and flash settings, every single time. That repeatability is what turns a photo from a nice-to-have into a diagnostic and lab-communication tool. This guide walks through the exact Essential Dental Portfolio (EDP) and Essential Portrait Portfolio (EPP) shot list, the settings to copy into your camera today, and how structured training closes the gap between reading about this and actually doing it consistently with your team.
What Views Belong in the Essential Dental Portfolio and Essential Portrait Portfolio?
Standardized portfolios exist so any two photos of the same patient, taken months apart, actually compare. The Essential Dental Portfolio (EDP) and Essential Portrait Portfolio (EPP) framework covers the shots that matter most for esthetic case planning and lab handoff.
The EDP intraoral series includes:
- Intraoral frontal view in maximum intercuspation (MI)
- Intraoral frontal with teeth separated roughly 5mm to expose incisal edges and gingival architecture
- Right and left lateral views in MI
- Upper and lower occlusal views using a front-silvered mirror
The EPP extraoral series includes:
- A 1:10 headshot for overall facial proportion
- A 1:2 frontal view with a relaxed, closed-lip smile
- A 1:2 exaggerated smile or full laughter shot to reveal gingival display
- Right and left profile shots when facial esthetics or orthodontic planning is involved
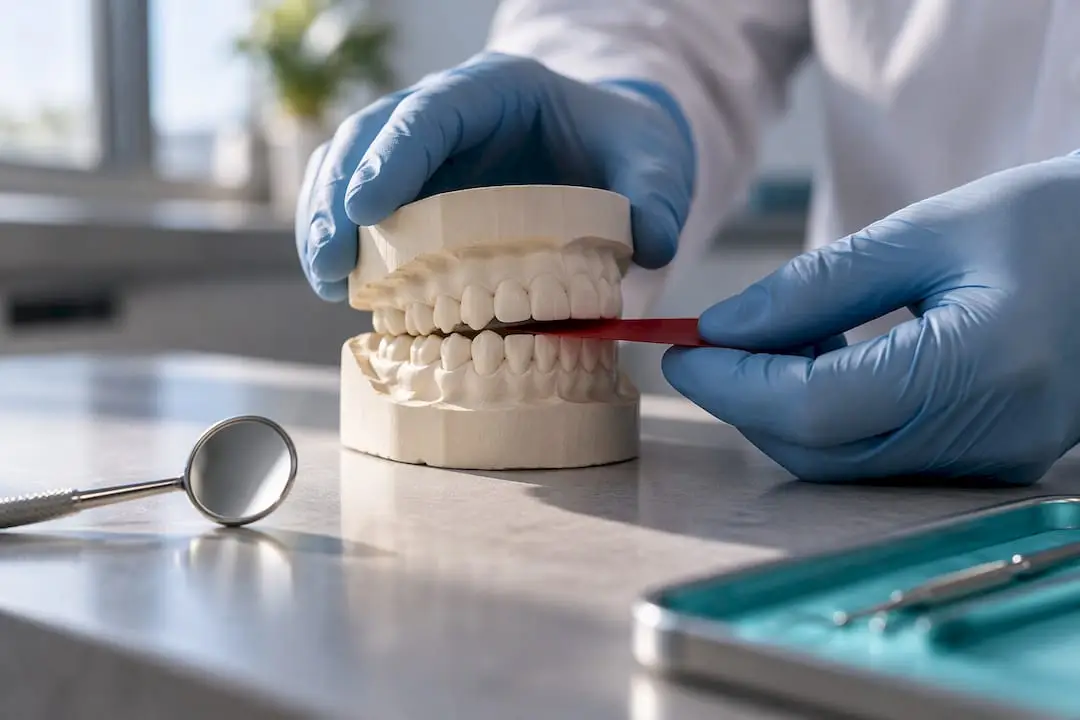
Aim for 1:1 magnification on close intraoral shots, 1:2 for smile views, and 1:10 to 1:15 for headshots, adjusting based on your sensor and lens. Complex cases warrant extra frames: photograph the diagnostic wax-up next to the current dentition, capture the provisional restoration under the same settings, and add a contraster shot when you need a clean black background for shade comparison.
Which Camera Settings Should You Use for Intraoral and Portrait Shots?
Guesswork is the enemy of reproducible photos. Lock these settings into your camera’s manual mode and stop adjusting them case by case.
- Lens: a 90 to 105mm macro lens gives you the working distance to stay out of the patient’s face while still hitting 1:1 magnification.
- Intraoral aperture: f/22 to f/32 for the depth of field these close-ups demand.
- Portrait/smile aperture: f/8 to f/16, sometimes f/11, depending on how much background blur you want.
- Shutter speed: 1/125 to 1/200s to sync cleanly with flash.
- ISO: 100 to 200 to keep noise out of shade-critical areas.
- White balance: set to Flash, not auto, and shoot RAW plus a large JPEG so you have an editable master and a ready-to-send file.
Statistic Callout: Recommended intraoral apertures run as narrow as f/22 to f/32, significantly smaller than typical portrait apertures around f/8, which is why a dedicated flash system isn’t optional here. Available light simply can’t push through an aperture that small.
Ring flash is the easier system to learn on and works fine for quick documentation, but twin-flash setups render anterior anatomy with more depth and texture, which matters when you’re documenting a veneer case for the lab. Round out your kit with autoclavable retractors, front-silvered mirrors, a mirror heater, a gray card, and a contraster for black-background shots.
How Should You Position the Patient and Control Infection Risk?
Getting the same result twice depends as much on positioning discipline as on gear.
- Seat the patient upright for most EDP and EPP shots; recline only for specific posterior access needs.
- Position yourself directly in front of the patient with the camera axis parallel to the occlusal plane, and have your assistant stand ready with retractors or the mirror.
- Ask the patient to swallow and relax their lips naturally before the relaxed-smile shot, then count to three before the exaggerated smile to capture habitual lip posture rather than a forced pose.
- Prewarm mirrors or have your assistant direct a gentle air stream across the glass immediately before the shot to prevent fogging.
- Angle the mirror at roughly 45 degrees to the occlusal plane for occlusal views, adjusting slightly until the full arch reflects without distortion.
- Sterilize mirrors between patients and use single-use or autoclaved retractors for every session, no exceptions.
How Do You Get Accurate Color for Shade Matching?
Color accuracy is where most esthetic cases quietly fall apart, usually before the lab even sees the photo. Auto white balance guesses at color temperature under mixed light, and that guess is exactly what you can’t afford when a ceramist is trying to match a shade tab to a photo. Set white balance to Flash or calibrate manually to 4800 to 5500K using a gray card instead.
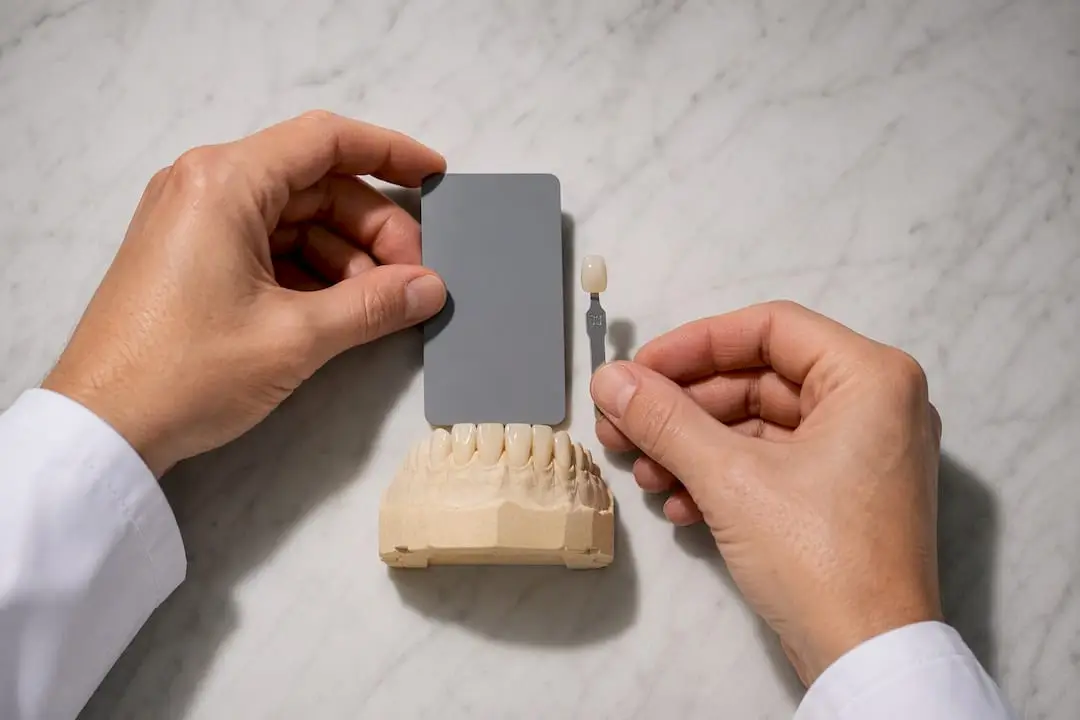
Twin-flash generally beats ring flash for shade documentation because side lighting reveals surface texture, translucency, and characterization that flat, front-on ring lighting tends to wash out. A polarizing filter cuts specular highlights when you need to see internal color rather than surface glare.
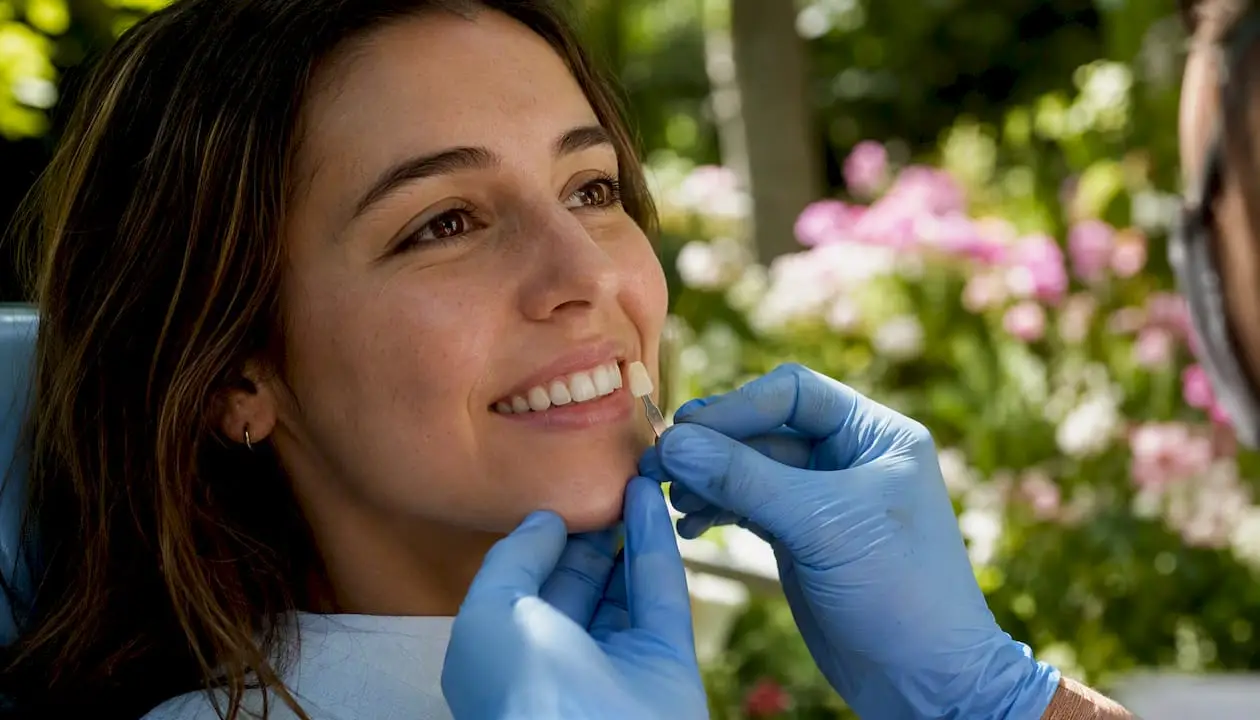
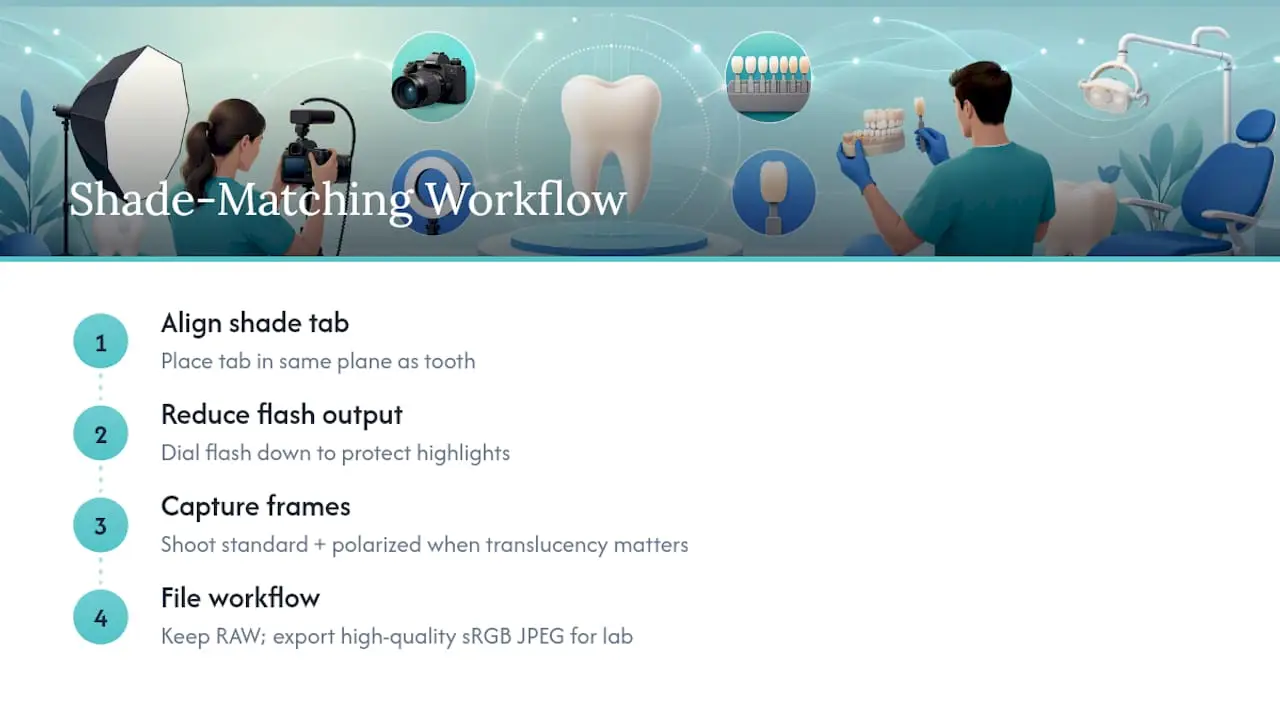
For the actual shade-match sequence: place the shade tab in the same plane as the tooth, dial the flash output down slightly to avoid blowing out highlights, and shoot a polarized frame alongside the standard one when translucency is critical. Keep the RAW file as your archive and editing master, then export a high-quality sRGB JPEG for the lab.
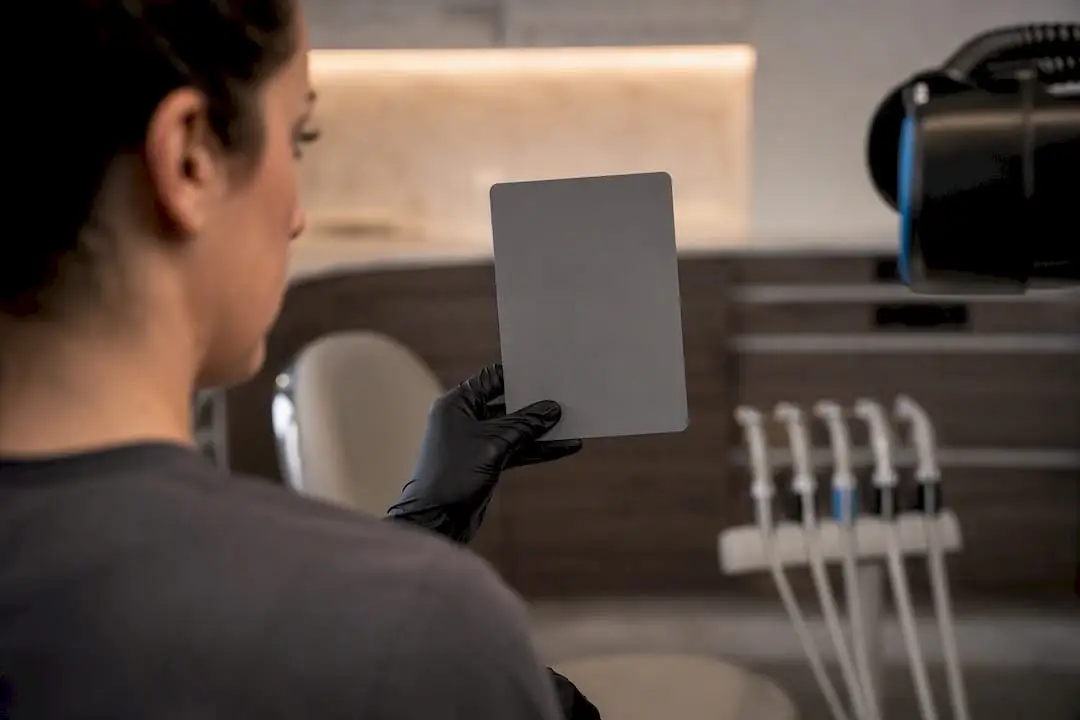
Pro Tip: Photograph the gray card once at the start of every session, in the same light you’ll use for the case. It takes ten seconds and gives you a color reference to batch-correct the whole set later if anything drifts.
What Should You Send the Lab and How Should You Label Files?
A photo set is only useful if the lab can find, read, and act on it without calling you to ask what they’re looking at.
- Send the full EDP and EPP sets, plus a dedicated shade-tab shot with the gray card in frame, diagnostic wax-up photos, and provisional photos if applicable.
- Name files with a consistent structure such as caseID_view_date_format, so a lateral view from March 2026 sorts logically next to every other file in that case.
- Note magnification and orientation directly in the written prescription, and cross-reference the photo set to any digital scan or impression you’re sending alongside it.
- Attach a brief clinical note flagging anything the photos might not fully convey, like a subtle translucency zone or a margin concern.
- Use the wax-up-versus-current-dentition comparison when presenting treatment options to the patient, and document that the patient reviewed and consented to how those images will be used.
Photography also does double duty during smile design planning, where the same EPP frames used for the lab package double as the visual reference for patient conversations about proportion and gingival display.
What’s the Fastest Fix for Common Photography Mistakes?
Most esthetic photo problems trace back to one of four things, and each has a fast fix.
- Soft focus or blur: recheck your magnification ratio, switch to single-point autofocus on the target tooth, and brace the camera against your face or a stable surface.
- Mirror fog or reflections: prewarm the mirror, have your assistant direct an air stream just before the shot, adjust the mirror angle slightly, or add a polarizing filter.
- Color casts: pull out the gray card, confirm white balance is set to Flash, and shut off any competing ambient light source, especially overhead operatory lighting.
- Flat, two-dimensional images: swap ring flash for twin-flash, or add a side fill light to bring back shadow and depth.
Pro Tip: If an image looks flat on review, don’t reshoot blind. Change one variable, flash position first, and compare the two frames side by side before you decide what actually fixed it.
Why Hands-On Training Closes the Gap Between Reading and Doing
Reading a settings chart and getting your whole team to shoot it the same way, every patient, are two different skills. Consistency breaks down fastest at the team level, not the individual one, when one associate uses ring flash and another improvises with ambient light. Structured continuing education fixes that by putting every clinician and assistant through the same drills.
Expect a solid hands-on course to cover standardized portfolio setup, twin-flash bracket configuration, live shade-matching exercises, and file-naming workflows your whole practice can adopt. Cosmetic dentistry courses that build photography into smile-design modules tend to stick better than a photography class taught in isolation, since the skill gets reinforced by the case type it actually serves. Onewd’s training course catalog includes mentorship-driven programs built around exactly this kind of repeatable, team-wide skill transfer.
Author Perspective: Standardization Changes What Labs Send Back
Cases documented with a fixed portfolio and locked settings generate fewer shade-related remakes and clearer lab questions, because the lab is working from a consistent reference instead of guessing at what the light in a random photo actually represents. That’s the practical payoff nobody mentions when they talk about “better photos”: it’s not really about the photos, it’s about how many round trips a case takes before it’s approved.
The clinics that adopt this fastest are the ones that treat photography as a protocol, not a talent. Settings get written down, taped to the wall near the camera, and followed by every hygienist and assistant, not just the associate who happens to be good with a camera.
— Jake
Turn This Protocol Into a Team Skill With One World Dental
Reading a settings chart gets you halfway there. What actually locks in a repeatable EDP and EPP workflow across your whole team is running the drills with hands, cameras, and real patients in the room, which is exactly the gap One World Dental’s cosmetic dentistry programs are built to close.

Courses range from hands-on workshops where you practice twin-flash bracket setups and shade-tab sequences under supervision, to on-demand modules you can work through between patients, to full smile-design programs that fold photography directly into case planning. Every format includes practical exercises, not just slides, so the settings from this article become muscle memory for you and your staff instead of a chart nobody opens after week one. If your scheduling needs a refresh to carve out dedicated documentation slots, tools like dental appointment scheduling software can help block that time without disrupting your day.
Browse the cosmetic dentistry course catalog and enroll in a hands-on or on-demand module that fits your schedule.
Recommended