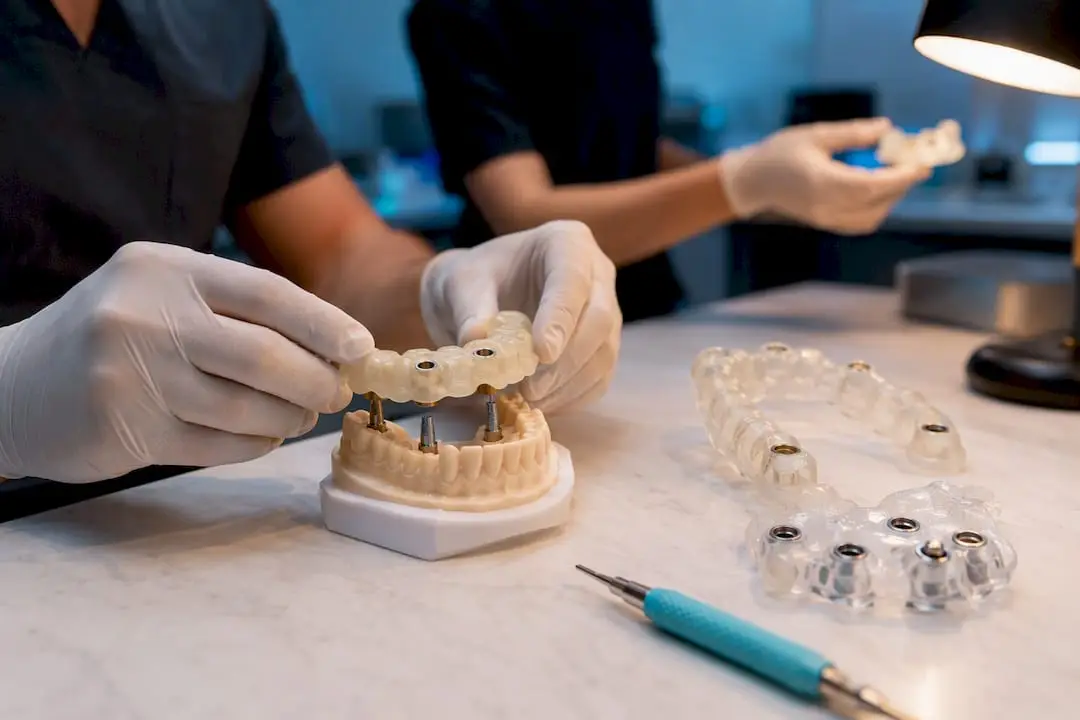
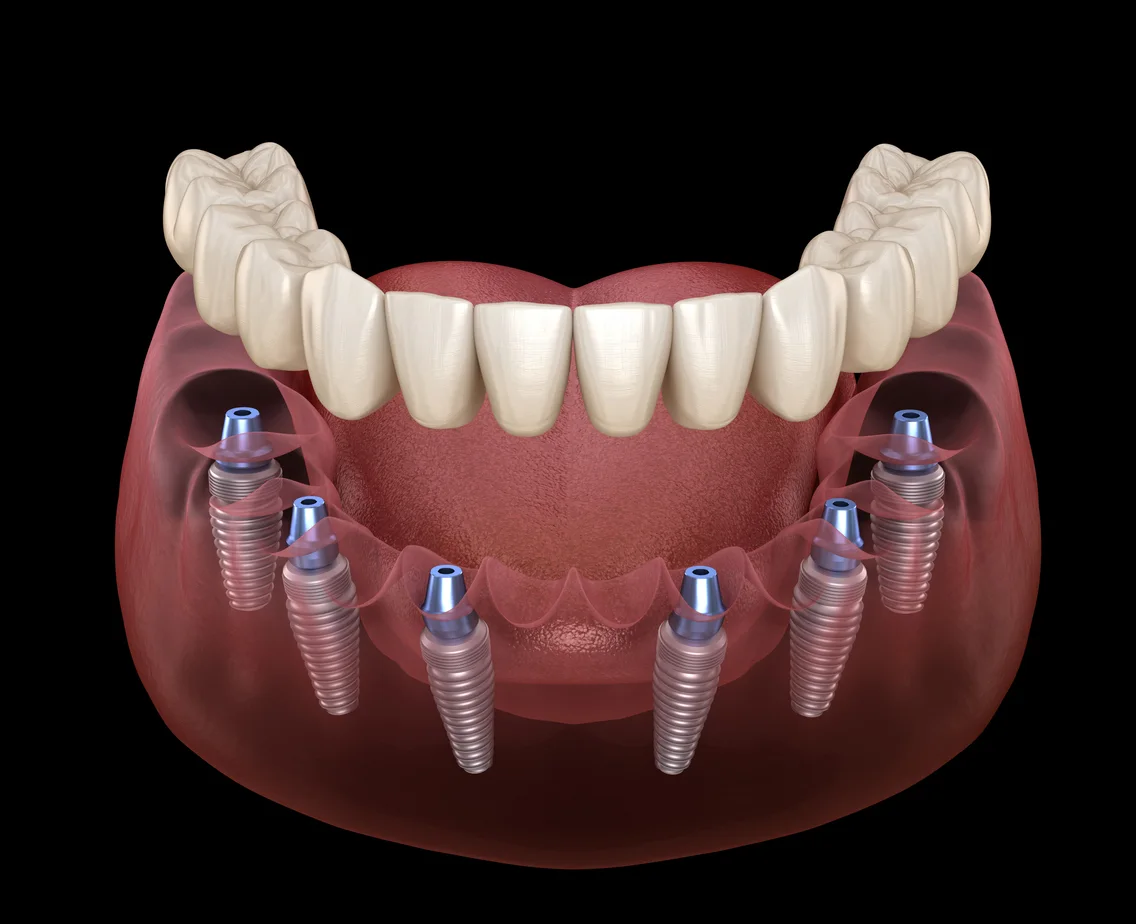
A prosthetically driven digital workflow lets you go from failing dentition to a fixed provisional the same day, using CBCT and intraoral or photogrammetry data, virtual prosthetic design, and stackable surgical guides. Definitive prostheses typically follow at six weeks, though some documented protocols compress the entire arc into three appointments when stability and soft tissue cooperate.
What Are the Stages of a Full Arch Implant Workflow?
A full arch implant workflow runs through five checkpoints, and skipping any one of them is where cases go sideways. Each stage produces a deliverable that the next team member depends on, whether that’s the surgeon, the restorative dentist, or the lab technician building the framework.
The stages break down like this:
- Diagnostic and data acquisition: CBCT, intraoral or photogrammetry scans, facial scan, and a bite registration that captures the patient’s existing occlusal scheme even when it’s failing.
- Prosthetic design (virtual patient): Tooth position, lip support, and vertical dimension get locked before anyone plans an implant position.
- Guide design and fabrication: Base, bone reduction, and implant guides get nested and milled or printed from the finalized prosthetic file.
- Surgical execution and immediate provisionalization: Implants go in per the guided plan, stability gets verified, and a provisional is either relined chairside or fabricated from a photogrammetry pickup.
- Definitive fabrication and maintenance: Framework verification, material selection, delivery, and a structured recall schedule.
The decision gate between immediate and delayed loading sits right after surgical placement. If insertion torque and bone quality don’t support immediate function, the plan shifts to a removable interim or delayed loading protocol without disrupting the rest of the digital chain. That’s the value of planning prosthetically first: even when surgery doesn’t go exactly to script, the restorative endpoint hasn’t moved.
Handoffs matter more than any single scan. The surgeon needs the prosthetic file before touching bone. The lab needs implant position data the moment guided surgery finishes, not two days later. And the restorative dentist needs sign-off from both before a provisional ever gets torqued into place. A workflow with clean digital handoffs at each of these points is what separates a same-day delivery from a scramble.
How Do You Capture Accurate Data for Full Arch Cases?
Accuracy at data acquisition determines whether everything downstream fits. CBCT gives you the volumetric map of bone quality, nerve position, and sinus anatomy that a surface scan simply can’t provide, and most full-arch protocols call for a field of view wide enough to capture both arches with a voxel size fine enough to plan implant angulation with confidence.
Full-arch intraoral scanning (IOS) has one persistent weakness: stitching error accumulates across long edentulous spans, especially once scan bodies are involved. Splinting scan bodies together with a rigid connector before scanning, and following a consistent scan path (arch form first, then a targeted pass over each scan body), keeps that cumulative drift down. Reviews of digital versus conventional impressions show equivalent clinical outcomes are achievable, but only when the scan strategy and maintenance protocols are actually validated for the case type, not assumed to work the same way they do for a single crown.
Photogrammetry solves the long-span problem differently. Instead of stitching a continuous surface, it triangulates fixed reference points directly off the implant analogs or scan bodies, which sidesteps the drift that plagues unconstrained IOS on wide edentulous arches. That’s why methodological reviews increasingly favor photogrammetry for implant-position capture on cases with four or more implants spanning a full arch. It’s not a universal replacement for IOS. Photogrammetry captures implant position beautifully but does nothing for soft tissue contour, so most full digital workflows still pair it with a soft tissue scan.
The practical registration sequence looks like this:
- CBCT first, to map bone and plan implant sites.
- IOS or photogrammetry second, to capture implant position and arch form.
- Facial scan third, to bring lip dynamics and midline into the plan.
- Smile design overlay last, merging the three datasets into one prosthetically driven model.
Pro Tip: Validate your photogrammetry device against a known reference jig at least once a quarter. Drift in the camera calibration is invisible until you’re staring at a framework that doesn’t seat, and by then it’s too late to trace the source.
Onewd’s photogrammetry guide walks through scanner-specific limitations that matter here. No scanner is accurate for everything; knowing where yours breaks down is part of the workflow, not an afterthought.
How Do You Design the Prosthesis Before Planning the Implants?
The prosthetic file comes first, not the implant positions. Every case that starts with “where can I put implants” instead of “where does the tooth need to be” ends up compromising something: emergence profile, cantilever length, or screw access.
Building the virtual patient starts with merging the facial scan, smile design, and existing dentition data into one model, then setting the definitive tooth position based on lip support, phonetics, and vertical dimension. From there, the workflow moves through these steps:
- Import and align datasets. CBCT, IOS or photogrammetry, and facial scan get registered into one coordinate system inside the planning software.
- Set the 2D-to-3D smile design. A digital smile design overlay establishes incisal edge position and gingival display, then gets projected onto the 3D model as the target tooth position.
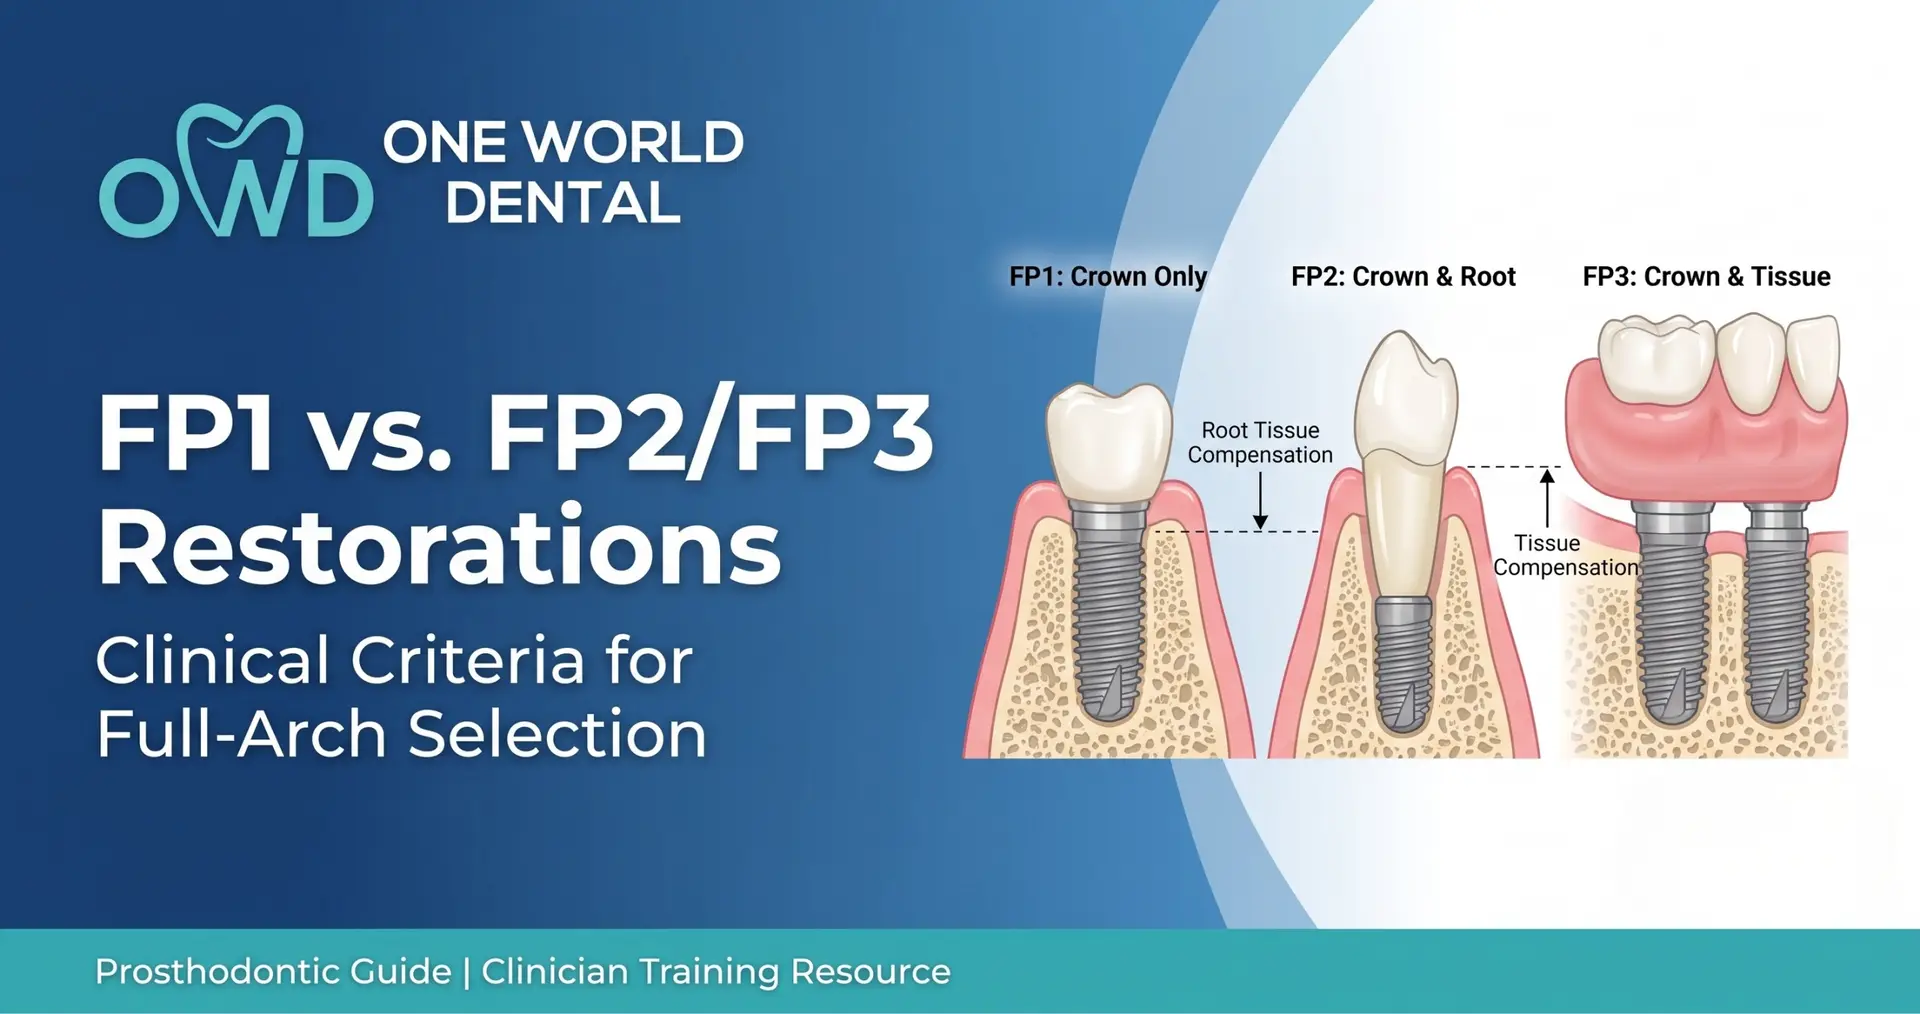
- Choose the prosthetic classification. FP1 (tooth-form, no visible pink) demands minimal bone reduction and precise implant angulation to hide the transition. FP2 (partial pink) allows some ridge lap. FP3 (full pink, hybrid design) tolerates more bone loss and gives more flexibility in implant number and position, since the prosthesis flange covers the ridge deficit. This decision drives everything that follows, including how many implants the case needs and where they can angle. Onewd’s FP1 versus FP2/FP3 selection guide breaks down the clinical criteria in more depth.
- Measure prosthetic space. The vertical distance between the planned incisal edge and the ridge crest determines how much bone reduction is needed to leave room for a structurally sound framework, typically 12 to 15 millimeters for a hybrid design with the intaglio surface, framework, and denture teeth all accounted for.
- Plan bone reduction virtually. The software overlays a reduction guide onto the CBCT model, letting the surgeon see exactly how much ridge needs to come down before implants ever get placed.
- Route implant positions around the prosthetic file. Only now does the planner drop implant positions, angling each one to exit through a location the final prosthesis can mechanically manage without buccal cantilevering.
- Route implant positions around the prosthetic file. Only now does the planner drop implant positions, angling each one to exit through a location the final prosthesis can mechanically manage without buccal cantilevering.
That last step is worth repeating because it is the one clinicians skip under time pressure: implant position gets dictated by the prosthesis, never the reverse. A structured 10-step digital protocol for terminal dentition cases frames this exact sequence, and it’s become something close to a standard for prosthetically driven planning.
Sign-off checkpoints belong at two points: once when the prosthetic design and FP classification are locked, and again once implant positions and guide design are finalized. Skipping the second checkpoint is how a lab discovers, mid-milling, that an implant angle won’t allow a screw-retained connection.
Onewd’s digital planning walkthrough covers this stage-by-stage if you want the extended version with screenshots from actual planning sessions.
What Guide Systems Support Guided Full Arch Surgery?
Stackable guides solve a problem that single-guide systems can’t: full-arch cases need bone reduction, implant osteotomy, and prosthetic reference all done in the same surgical field, and each step changes the anatomy the next step relies on.
The sequence works in three layers. The base guide anchors to unprepared bone or teeth before any reduction happens, using pins to lock its position. The bone reduction guide stacks onto the base guide, giving the surgeon a fixed depth reference for leveling the ridge. Once reduction is done, the implant guide stacks onto the same base, now referencing the newly flattened ridge for osteotomy and implant placement. A prosthetic guide can stack on last, verifying that implant trajectory matches the planned tooth positions before the case closes.
A case series using exactly this stacked sequence reported procedure times under 2.5 hours with no passive-fit issues in the reported cohort, which tells you the sequence is efficient when the guide fits precisely, not just in theory.
Fixation deserves its own attention:
- Anchor pins through the base guide into cortical bone give the most reliable stability but require careful angulation so they don’t interfere with implant osteotomy sites.
- Osseous support (resting the guide directly on remaining teeth or bone) works when enough stable anatomy remains, but shifts if soft tissue swells mid-procedure.
- Magnetic attachments simplify guide changes between stacked layers but add a failure point if the case runs long and tissue retraction changes.
A base guide that isn’t properly secured is one of the more common sources of positional error in stackable systems, since every layer that stacks on top inherits whatever drift the base introduced. There’s no recovering from a loose base pin at the implant-placement stage.
Pro Tip: Dry-fit every guide layer on the model before the day of surgery, not just the final nested assembly. A guide that seats perfectly alone can bind against its neighbor once stacked, and you don’t want to discover that with the patient already draped.
When a guide doesn’t seat cleanly intraoperatively, don’t force it. Check for unanticipated bone density variation or soft tissue interference first, and have a static, non-guided contingency plan for at least the most critical implant positions. Systematic comparisons of guided versus free-hand placement show similar survival rates between the two, so falling back to freehand for one problematic site doesn’t sink the case.
Immediate loading depends on primary stability, not surgeon confidence. Clinical protocols generally reference insertion torque values above 30 to 35 N·cm as the threshold that supports same-day loading, alongside qualitative bone density and lack of intraoperative mobility.
The intraoperative sequence runs as follows:
- Complete osteotomy per the guided plan, checking depth and angulation against the stackable implant guide.
- Place implants and record insertion torque for every position, since even one low-torque site changes the loading decision for the whole arch.
- Verify primary stability manually by testing for any rotational movement before committing to immediate function.
- Select and seat multi-unit abutments angled to correct for any divergence between implant trajectory and the planned prosthetic path.
- Capture the final position either with a photogrammetry pickup referencing the multi-unit abutments, or by relining a pre-fabricated provisional shell chairside.
- Torque and deliver the provisional, verifying occlusion is light or out of contact in maximum intercuspation to protect healing implants from off-axis load.
Chairside conversion is faster when the provisional shell was designed and printed before surgery, based on the virtual prosthetic file. That turns “build a denture in the chair” into “reline a pre-shaped shell,” cutting real time off the appointment. Onewd’s protocol on the 30 N·cm threshold goes deeper into the specific stability criteria that justify same-day loading versus when to hold off.
If even one implant comes in below threshold or shows any mobility, the safer move is converting the whole arch to a removable interim rather than loading a fixed prosthesis on a mixed-stability foundation. A removable option protects the compromised site while still giving the patient function and esthetics during healing.
How Is the Definitive Full Arch Prosthesis Fabricated?
Material choice for the definitive prosthesis comes down to a tradeoff between esthetics, repairability, and mechanical forgiveness. Full-contour monolithic zirconia offers the best wear resistance and the cleanest hygiene profile, but a chip or fracture generally means sending the whole prosthesis back to the lab. Metal-ceramic frameworks with layered porcelain give better esthetic control at the margins but carry a higher chipping risk under heavy occlusal load. Cobalt-chromium frameworks with milled or 3D-printed composite or acrylic teeth cost less and repair chairside more easily, at the expense of longer-term wear resistance.
Lab workflows now split along two paths. Photogrammetry-driven fabrication uses the surgical pickup data directly, skipping a separate verification scan and shortening the timeline. The alternative uses a scan taken through multi-unit abutments at a follow-up visit, which some labs still prefer because it gives a chance to catch soft tissue changes since surgery. Either way, reverse-engineering the metal or zirconia framework from the finalized prosthetic design, rather than building it directly off a raw abutment-level scan, tends to produce a more predictable passive fit, since the framework geometry follows the tooth position rather than the other way around.
Before delivery, the lab and clinician should confirm:
- Framework fit passes a single-screw test with no rock or lift at any other position.
- Radiographs show complete seating at every implant-abutment interface.
- Soft tissue has stabilized enough that the emergence profile still matches the provisional’s contour.
- Occlusion has been verified against a current bite registration, not the one taken at surgery.
Timelines vary by case complexity, but definitive delivery at six weeks post-surgery is a documented benchmark for fully digital protocols with stable healing. Some clinical reports describe compressed 3-appointment workflows, guided surgery, framework try-in, and final delivery, but those depend on exceptional primary stability, minimal soft tissue remodeling, and a lab that can turn milled zirconia around fast. Treat the 3-appointment version as the ceiling of what’s achievable, not the default expectation for every case.
How Do You Verify Passive Fit and Avoid Complications?
A framework that doesn’t seat passively is the single most common reason full-arch prostheses fail mechanically down the line. Passive fit means every implant connection seats fully with zero induced strain, and verifying it takes more than a visual check.
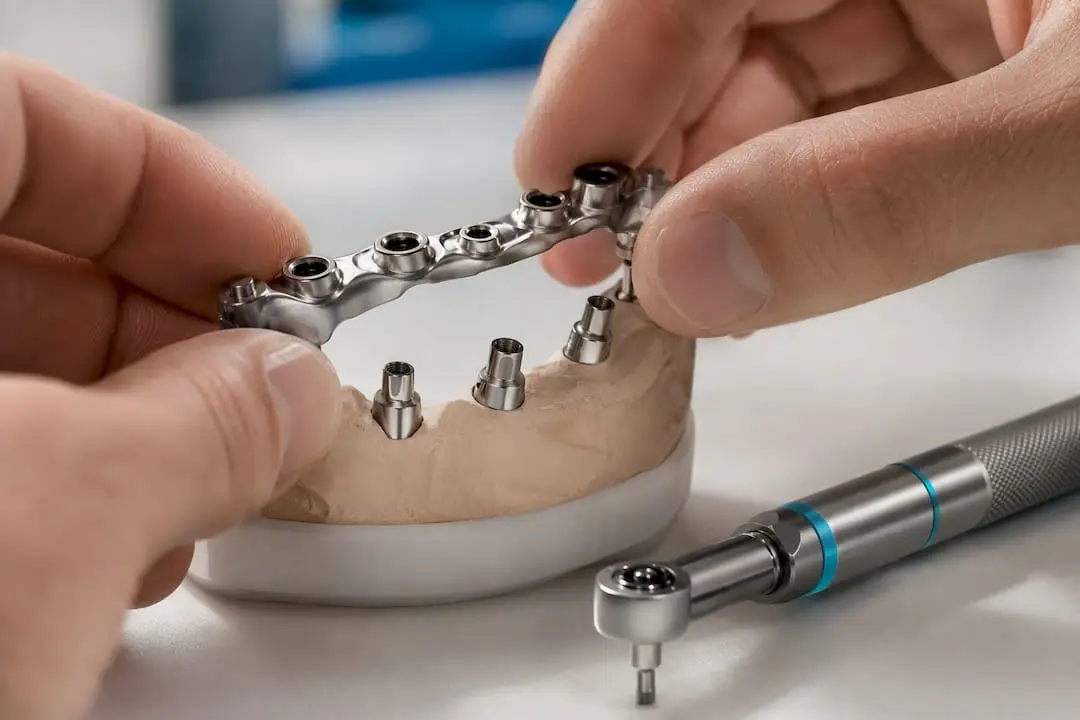
The single-screw test remains the gold standard chairside: torque one screw fully, then check whether every other position still seats flush without lifting. If any interface gaps, the framework isn’t passive, and no amount of extra torque fixes that. Periapical radiographs at each implant confirm complete seating radiographically, since a gap invisible to the eye often shows up as a shadow on film. Some clinicians also section and re-solder a metal framework intraoperatively as an analog backup when digital verification is inconclusive, essentially a return to an older technique when the newer one leaves doubt.
Design choices upstream reduce the odds of a fit problem reaching the try-in stage at all:
- Splinting the framework as one rigid piece, rather than segmented, reduces the number of interfaces that can trap strain.
- Milled titanium interfaces at the implant connection, bonded to a zirconia or ceramic superstructure, tend to fit more precisely than a fully monolithic milled zirconia base.
- Reverse-engineering the framework from the finalized prosthetic file, as covered above, catches geometry mismatches before milling rather than after.
Pro Tip: Never skip the radiograph because the screw test felt fine. A framework can pass single-screw testing and still show a hairline gap on film, especially on posterior implants where visual and tactile checks are least reliable.
Chipping, screw loosening, and peri-implantitis remain the three complications that show up most in the first two years. Chipping usually traces back to occlusal scheme, not material choice alone, so verifying a protected, evenly distributed occlusion at delivery matters as much as the material itself. Screw loosening often signals a passive fit problem that wasn’t fully resolved. Peri-implantitis risk climbs when the prosthesis design leaves inaccessible zones for hygiene, which is a design decision made months before the patient ever picks up a water flosser.
What Follow-Up Schedule Do Full Arch Implant Patients Need?
Early follow-up catches the problems that are still fixable. A risk-stratified recall schedule at 2 to 3 weeks, 6 weeks, 3 months, and 6 months covers the windows where soft tissue healing, occlusal adaptation, and early mechanical failure are most likely to surface.
The critical checks at each visit:
- 2 to 3 weeks: Soft tissue healing around the provisional, screw torque verification, and confirmation the patient isn’t loading the prosthesis outside normal function.
- 6 weeks: Readiness assessment for definitive impression or photogrammetry capture, assuming healing is on track.
- 3 months: Radiographic baseline of bone levels around each implant, now that initial remodeling has settled.
- 6 months: Full occlusal and hygiene review, plus a repeat radiograph to compare against the 3-month baseline.
Hygiene instruction has to be specific to a fixed hybrid prosthesis, not generic denture care. Patients need a water flosser or interdental brush sized to the prosthesis’s cleaning channels, and they need to understand that a fixed full-arch restoration traps plaque differently than natural dentition does.
Documentation at delivery, baseline radiographs, torque values, and a written map of implant positions relative to the prosthesis, turns a future complication from a mystery into a quick diagnosis. When a patient calls with pain at month 14, the record from delivery day is what tells you whether that’s new bone loss or a screw that was always borderline. Escalate early: any bleeding on probing beyond 4 millimeters or new radiographic bone loss between recall visits warrants intervention before it becomes irreversible.
How Can Clinics Validate Their Own Digital Workflow?
A workflow doesn’t become reliable because a rep demonstrated it once at a conference. Clinics building this out for the first time should run a pilot case with a straightforward anatomy before touching a complex one, and every team member, surgical assistant, lab liaison, restorative dentist, should know their handoff responsibility before the patient is in the chair.
Digitizing one step without validating the whole chain is a documented risk. Expert commentary on workflow validation points out that clinicians who adopt a new scanner or planning software often don’t fully understand where that specific tool’s accuracy breaks down until a case goes wrong. Equipment validation, checking your own scanner and guide fabrication against known references, belongs in the onboarding process, not after the first failed guide.
A practical checklist for a clinic adopting this workflow:
- Run one pilot case with generous prosthetic space and favorable bone before attempting a compromised case.
- Confirm every team member’s role in the handoff sequence, written down, not assumed.
- Validate your scanner and guide fabrication against a known reference before trusting it clinically.
Onewd’s surgical site development and extraction course covers the earlier-stage decisions, ridge preservation and grafting timing, that determine whether a case is even a candidate for immediate loading by the time it reaches guided surgery.
A Clinician-Educator’s View on Digital Full Arch Adoption
Digital workflows earn their keep in the planning and communication stages, not necessarily in the surgery itself. A surgeon with strong hands and a clear prosthetic vision can execute a full-arch case well with far less digital infrastructure than the marketing around this topic implies. What digital planning actually buys you is reproducibility: the ability for a lab technician two states away to understand exactly what you intended, and the ability to catch a prosthetic space problem on a screen before it becomes a chairside surprise.
The learning curve is real, and it’s steeper on the software side than the surgical side for most experienced implant surgeons. Teams that succeed treat the first several digital cases as training cases, deliberately choosing favorable anatomy, not as a chance to prove the technology on a hard case.
Efficiency gains matter, but not at the expense of passive fit or biologic width. A 3-appointment timeline is a genuine achievement in the right case. It’s not a target to chase on every patient.
— Jake
Build These Skills With Hands-On Training
Reading about stackable guides and photogrammetry pickup gets you the framework. Running the sequence under pressure, with a guide that needs mid-case adaptation or a torque reading that comes in borderline, is a different skill entirely, and it’s the one that determines whether your first digital full-arch case goes smoothly. Some training programs build around that gap: mentorship-driven courses with live surgery observation, not just recorded lectures.

The From Extraction to Implant surgical workflow course walks through the clinical site development and extraction-to-implant timeline that has to be right before any guided digital case can succeed. If your team is still building comfort with the earlier surgical stages, that’s the place to start. For clinicians ready to see the full digital sequence in action, from data acquisition through immediate provisionalization, Onewd’s training courses page lists the current lineup of digital planning and surgical courses with mentorship built into each tier. Check current course dates and enroll directly through that page to get on the calendar for the next live session.
Selected Methodological and Clinical Literature
The clinical reasoning in this article draws on documented case series and methodological reviews, including a completely digital workflow report on transitioning failed dentition to fixed provisionals, a stackable-guide case series using the All-on-4 concept, a 10-step digital protocol for terminal dentition cases, and comparative reviews of digital versus conventional impressions. Most of this evidence comes from case series and methodological reviews rather than large randomized trials, so treat specific timelines and torque thresholds as clinically validated benchmarks, not universal guarantees for every case.
Recommended