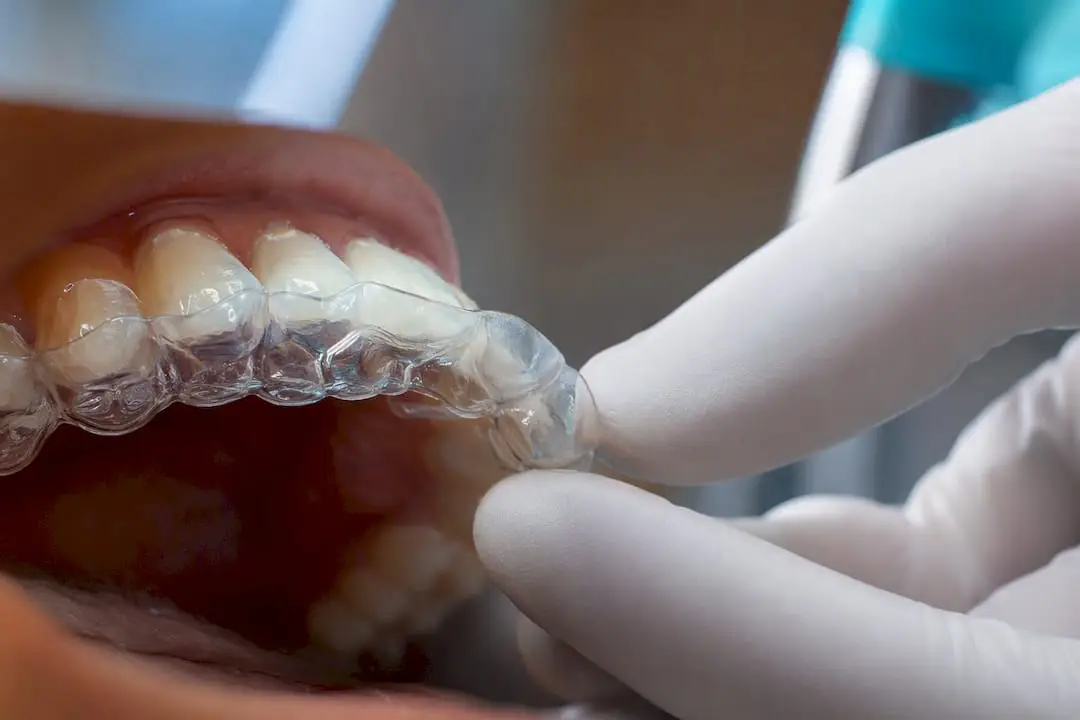
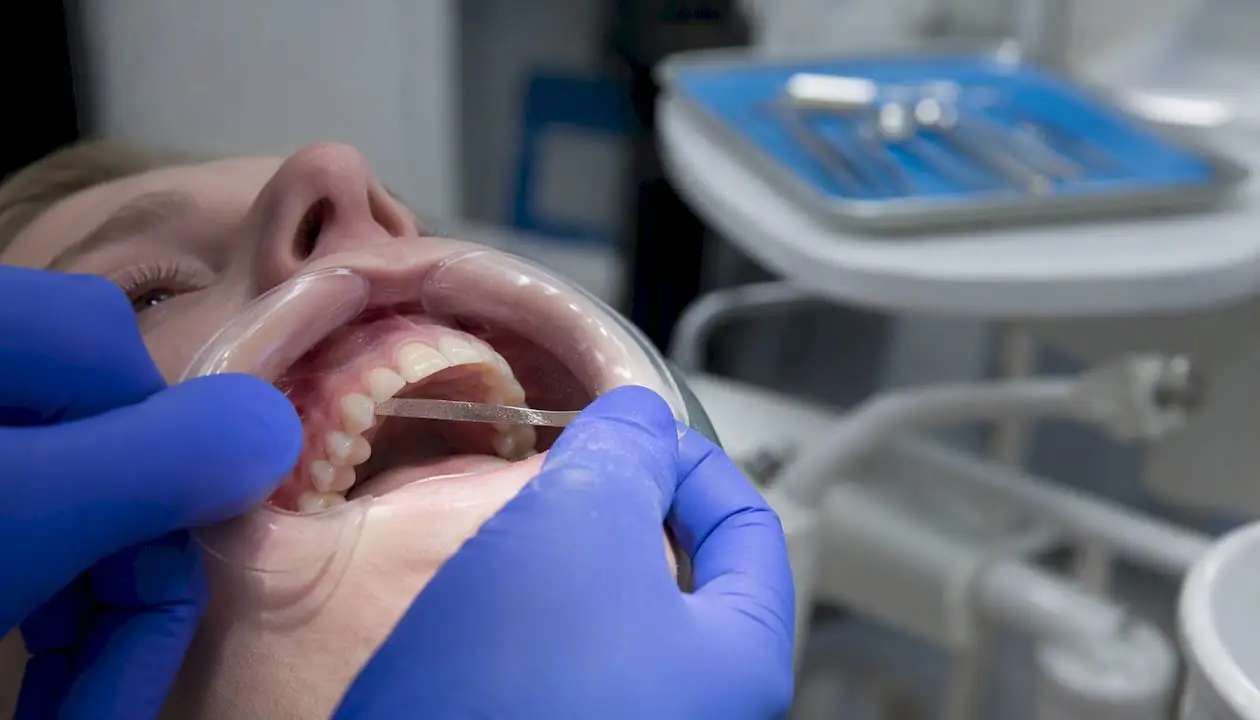
Clear aligners can achieve clinically meaningful vertical control, but the honest answer depends on which movement you need. Molar intrusion and overbite reduction in anterior open bite cases are supported by consistent, if modest, evidence. True molar extrusion and skeletal-level correction are not. Recent systematic reviews place most aligner-driven vertical change in the dentoalveolar category, meaning the teeth move, but the jaw relationship usually does not.
The single most important planning action: build overcorrection into the initial ClinCheck and flag anchorage-demanding cases for TAD consultation before you ever press “submit.” Waiting until refinement to address a stalled intrusion or a bowing molar costs you two to three months of wear time you did not need to lose.
A 2026 systematic review pooling data across adult anterior open bite cohorts reported a pooled overbite increase of approximately 3.07 mm, though the authors rated overall certainty of evidence as very low. That is not a knock on aligner therapy. It reflects how heterogeneous the published cohorts are: different attachment protocols, different staging philosophies, different follow-up windows.
What this means for your first appointment with a vertical-control case:
- Confirm whether the correction needed is dentoalveolar (aligners are a reasonable first-line option) or skeletal (aligners alone will underperform).
- Screen for hyperdivergent facial pattern and posterior open bite risk before finalizing attachment design.
- Decide early whether TADs belong in the plan rather than adding them reactively at refinement.
- Set patient expectations for a longer timeline than sagittal-only cases, since vertical movement is inherently less predictable than horizontal movement.
Clinicians building this skill set from scratch often benefit from structured, case-based training rather than trial and error on live patients. Onewd’s clear aligner course catalog walks through staging logic for exactly these scenarios.
Key Takeaways
Vertical control with aligners is achievable for dentoalveolar corrections like molar intrusion and open bite closure, but it requires overcorrection, careful attachment design, and realistic patient expectations about refinement.
| Point |
Details |
| Match movement to evidence strength |
Molar intrusion has moderate support; incisor extrusion for open bite has low to very low certainty evidence. |
| Plan overcorrection upfront |
Build overcorrection into the initial ClinCheck rather than waiting for refinement to correct a shortfall. |
| Watch for the bowing effect |
Mesial molar tipping during intrusion is a predictable biomechanical risk, not a random complication. |
| Flag TAD candidates early |
Hyperdivergent patterns, prior relapse, or large intrusion targets should trigger a TAD conversation at consult. |
| Pair retention with myofunctional therapy |
Open bite cases need bonded retention plus habit correction to hold results long-term. |
| Train the technique, not just the theory |
Onewd’s hands-on courses in attachments, trim lines, and TAD integration close the gap between literature and chairside execution. |
Vertical Control With Aligners: What the Clinical Evidence Shows
The literature on aligners for vertical adjustment has matured considerably since 2024, and it now supports a fairly specific set of claims rather than the blanket optimism of a decade ago.
At the top of the evidence hierarchy, a comparative analysis asked whether clear aligners outperform fixed appliances for vertical discrepancies. The systematic review found that aligners most often close anterior open bites through incisor extrusion and other dentoalveolar changes rather than skeletal remodeling, and that vertical movements consistently trail sagittal movements in predictability. Overcorrection and refinement were the norm across the included studies, not the exception.
A randomized prospective trial comparing upper molar distalization with aligners against the pendulum appliance adds a useful contrast. The pendulum group showed significantly greater increases in mandibular plane angle and anterior facial height, while the aligner group demonstrated better control of vertical divergence and less unwanted molar extrusion. Researchers attributed this partly to the bite-block effect created by full posterior coverage, which physically limits how far molars can erupt during treatment.
On the intrusion side, a retrospective before-after clinical trial gives clinicians real numbers to work with. It reported average maxillary molar intrusion of about 0.3 mm, with more than 60% of patients showing some degree of upper molar intrusion after treatment. Mandibular molar intrusion occurred far less often in the same sample, a pattern worth remembering when you set expectations arch by arch.
Here is how the certainty breaks down by movement type:
- Molar intrusion (maxillary): Moderate evidence, consistent direction of effect, modest magnitude.
- Anterior open bite closure via incisor extrusion: Reasonable volume of evidence, but very low certainty due to heterogeneity in staging and attachment protocols.
- Mandibular molar intrusion: Sparse evidence, apparently less responsive than maxillary intrusion.
- Mandibular autorotation as a secondary effect: Plausible mechanism, but rarely isolated and measured directly in the current literature.
The limitations matter as much as the findings. Most cohorts are adult samples, follow-up periods rarely extend past 12 to 24 months, and risk of bias runs from moderate to high across many included studies. Attachment protocols vary enough between research groups that pooling results probably understates the ceiling on what a well-executed protocol can achieve, and overstates what an average one will.
Pro Tip: Read the methods section before the abstract on any aligner vertical-control study. A 3 mm reported overbite change means very little if you don’t know the attachment design and wear compliance behind it.
The practical translation: plan for movements in the range the evidence supports, not the range the marketing materials imply. If a case needs more than a few millimeters of true intrusion or a skeletal-level correction, aligners alone are probably the wrong tool, and you should say so to the patient at consult rather than at refinement three.
How Aligners Change Vertical Tooth Position
Vertical control with aligners works through a handful of overlapping mechanisms, and understanding each one changes how you stage a case.
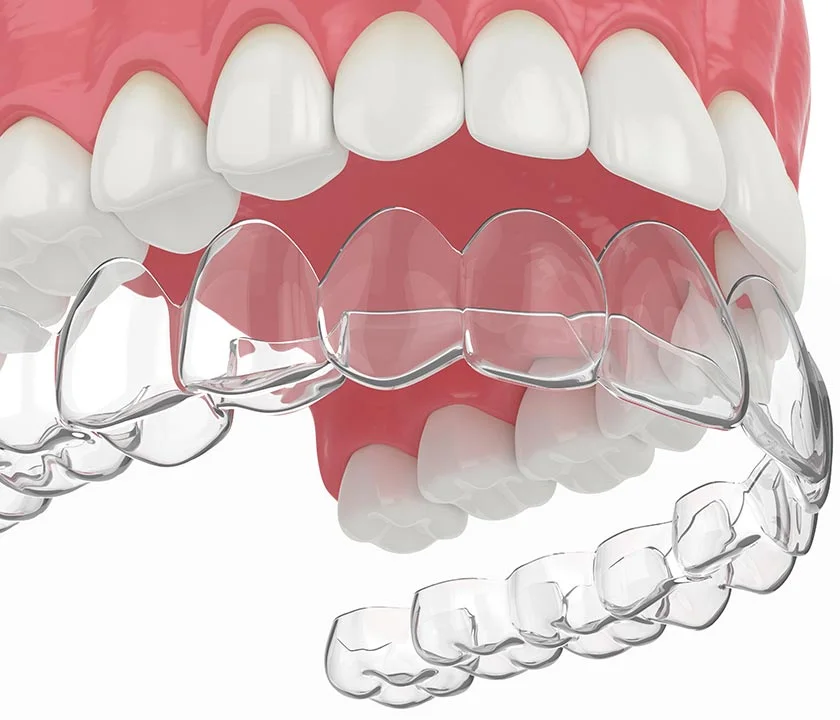
The bite-block effect. Full coverage of the occlusal and incisal surfaces creates a physical barrier between opposing arches. This limits eruption of posterior teeth during treatment, which is why aligners tend to outperform some fixed appliances at preventing unwanted molar extrusion during distalization. It also explains a common side effect: patients sometimes end up with a temporary posterior open bite from prolonged bite-block interference, especially with thicker aligner material and extended daily wear.
Incisor extrusion. Most anterior open bite closure with aligners happens here, not through skeletal change. The aligner applies an extrusive force to the incisor via attachment-driven engagement, and the tooth erupts into the bite. This is a dentoalveolar compensation, not a true correction of the underlying jaw relationship, which is precisely the distinction the systematic review on Invisalign versus fixed appliances emphasizes.
Molar intrusion. True intrusion is mechanically harder to generate than extrusion because it requires sustained, controlled force delivered through a material that wants to return to its molded shape. Continuous wear matters enormously here. Every hour a patient is out of the aligner is an hour without the compressive force needed for intrusive movement.
Mandibular autorotation. When posterior vertical dimension decreases through molar intrusion, the mandible can rotate counterclockwise, effectively closing the bite as a secondary consequence rather than a primary movement. This is a real and clinically useful effect, but it is a downstream result of successful intrusion, not something you can plan for independently.
The bowing effect. This is the mechanism clinicians underestimate most often. During posterior intrusion or distalization, the aligner shell tends to flex or “bow” between anchor teeth, and that flex frequently manifests as unwanted mesial tipping of the molar rather than clean bodily movement. Finite element models of attachment mechanics consistently show this as a predictable, not random, failure mode.
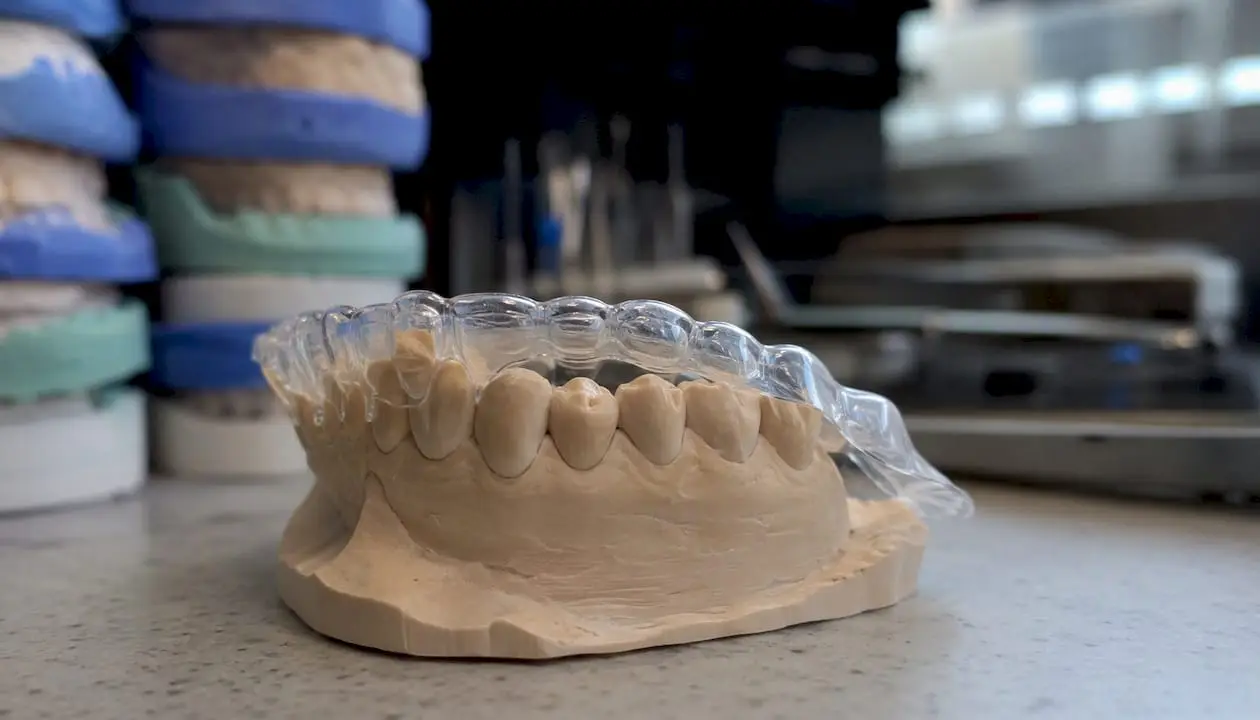
Attachment geometry drives the outcome. A finite element study modeling vertical beveled rectangular attachments found that central buccal placement produced the greatest distal displacement, while mesial placement reduced periodontal ligament stress. That is a real trade-off: central placement moves the tooth further per stage, mesial placement is gentler on the periodontium. Neither is universally correct; the right choice depends on periodontal status and how aggressive your staging needs to be.
Pro Tip: For intrusion-heavy cases, favor mesial or combination attachment placement on teeth with any periodontal compromise, and reserve central placement for healthy periodontium where you need maximum displacement per aligner.
A quick chairside sketch helps communicate this to associates or students: draw the tooth as a lever, mark the attachment as the force application point, and draw an arrow showing the intended vector versus the likely tipping vector if the aligner bows under load. Seeing the discrepancy between intended and actual force direction on paper makes the bowing effect intuitive in about thirty seconds, far faster than explaining it verbally.
Staging and Technique Strategies for Predictable Vertical Movement
Getting vertical movement right with aligners is less about the software and more about the instructions you give it. Here is a sequence that reflects what the biomechanics actually reward.
- Stage vertical movement conservatively per aligner. Vertical movements tolerate less per-stage displacement than sagittal ones. Where a horizontal movement might tolerate 0.25 mm per aligner, intrusion and extrusion often need a slower ramp to avoid tipping or root resorption risk.
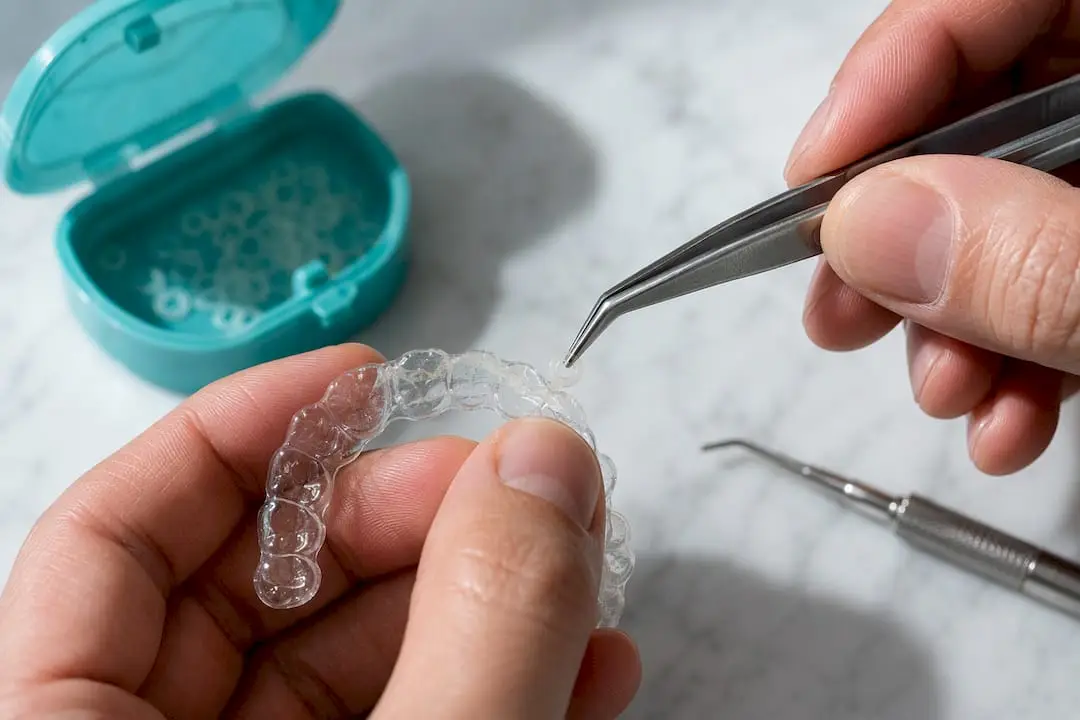
- Select attachments by movement type, not habit. Vertical rectangular attachments for intrusion, beveled attachments where you need a specific force vector, and combination designs where both intrusion and slight rotation are needed. Default “same attachment on every case” thinking is where predictability breaks down.
- Place bite ramps deliberately, not reflexively. Precision bite ramps on the lingual of maxillary incisors can help unlock a deep bite and encourage posterior eruption, but they also change the occlusal contact pattern temporarily. Use them when the case needs deep bite opening; skip them when the primary need is anterior intrusion without posterior eruption.
- Add elastics for anchorage support, not as an afterthought. Cross-arch or intermaxillary elastics can offload anchorage strain from the aligner alone, which matters most in extraction cases or where you are asking aligners to both intrude and hold position simultaneously.
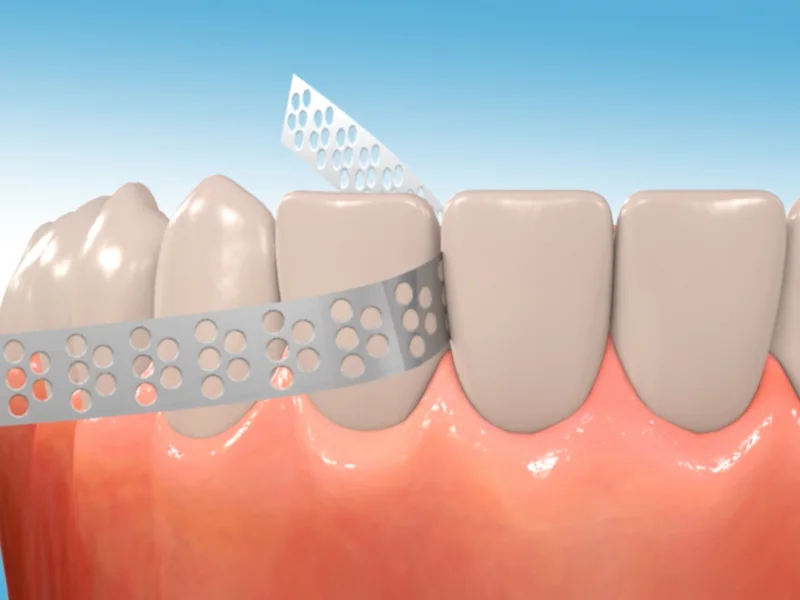
- Sequence IPR to support the vertical plan, not just the sagittal one. Interproximal reduction timed too early or too late can undermine the anchorage you are counting on for intrusion.
- Know when to add limited fixed auxiliaries. A short segment of fixed appliance or a bonded button for elastic attachment sometimes solves an anchorage problem faster than redesigning six stages of aligners.
Some practical technician-facing details make a real difference:
- Trim line height affects retention and, by extension, how well the aligner transmits vertical force. A high trim line captures more of the clinical crown but can interfere with gingival margins in some patients.
- Aligner thickness selection matters more for vertical cases than most clinicians realize. Thicker material holds shape longer under load, useful for sustained intrusive force, but it also increases the bite-block effect and posterior open bite risk.
- Sequencing instructions to your lab should specify not just tooth movement targets but movement type (intrusion versus extrusion versus rotation) so technicians select the right attachment library.
Pro Tip: When you write technician notes, spell out the intended force direction in plain language (“intrude UR6 and UL6, avoid mesial tip”) rather than relying on the software’s default movement chart. That single sentence prevents most bowing-related surprises at delivery.
Clinicians who want a deeper technical grounding in trim line and attachment mechanics can work through Onewd’s IPR and attachment course, which covers force control principles directly relevant to vertical staging.
When Do Vertical Aligner Cases Need Skeletal Anchorage?
Not every vertical correction needs a temporary anchorage device, but certain findings should push you toward one immediately rather than after a failed refinement.
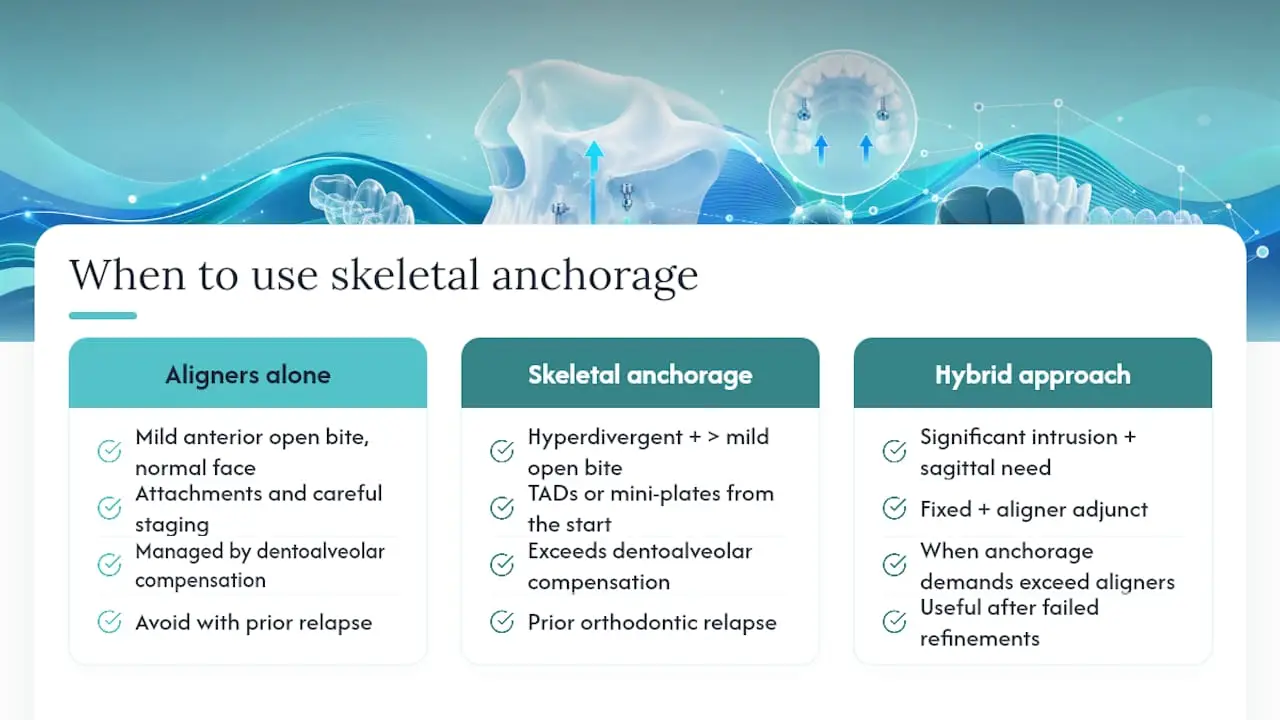
Consider TADs or mini-plates when the case shows a hyperdivergent skeletal pattern combined with more than mild anterior open bite, when there is a documented history of prior orthodontic relapse, or when the movement required exceeds what dentoalveolar compensation alone can deliver. A patient who needs 2 mm of true molar intrusion bilaterally, for example, is asking for more control than aligner attachments alone reliably provide.
A useful anchor layout pairs buccal and palatal mini-screws in a coordinated couple, connecting elastic chains to precision cuts or hooks built into the aligner. Force ratio matters here. FEA-based modeling on molar intrusion mechanics found that a buccal-to-palatal force ratio near 1:0.8 produced more even stress distribution across the periodontal ligament and reduced the risk of unwanted buccal or palatal tipping during intrusion. That is a meaningfully different result than an even 1:1 split, and worth building into your anchor placement protocol.
Two brief scenarios illustrate the decision point. A patient with a mild anterior open bite and normal facial proportions can often be managed with aligners alone, attachments, and careful staging. A patient with the same open bite but a clearly hyperdivergent pattern and a history of relapse after prior fixed treatment is a different case entirely; skeletal anchorage belongs in the plan from the start, not as a rescue maneuver at month eight.
Pro Tip: If you find yourself planning more than one round of refinement purely to chase a vertical target, that is usually a sign the case needed TADs from the beginning, not a sign you staged it wrong.
Hybrid fixed-plus-aligner approaches earn their place when anchorage demands exceed what aligner material and attachments can hold on their own, particularly in cases combining significant intrusion with sagittal correction.
Choosing Aligners, Fixed Appliances, or Surgery for Vertical Cases
Case selection is where most predictability problems actually start, long before the first aligner is delivered. A short checklist at consult saves months later.
Screen for these factors:
- Skeletal pattern: hyperdivergent facial types carry higher relapse risk and often need adjunctive anchorage even for modest corrections.
- Overbite magnitude: mild to moderate deep bite or open bite responds better to aligner-based dentoalveolar compensation than severe discrepancies.
- Etiology: an active tongue thrust, digit habit, or airway obstruction driving the open bite needs its own management plan; aligners alone will not hold a correction against an unaddressed habit.
- Periodontal status: reduced periodontal support changes both attachment selection and force magnitude tolerances.
- Compliance history: vertical movement is more compliance-sensitive than most sagittal movement, since intrusion depends on sustained wear time.
Red flags that favor fixed appliances or surgical referral:
- Skeletal discrepancy severe enough that dentoalveolar compensation alone cannot mask it acceptably.
- Documented relapse after a prior aligner or fixed vertical correction.
- Active, unmanaged parafunctional habit or airway pathology.
- Patient unable or unwilling to commit to the wear schedule intrusion requires.
- Anchorage demands that exceed what attachments, elastics, and even TADs can reasonably deliver in the aligner workflow.
For patient communication, be direct about three things: predictability is lower for vertical movement than for straightening crowded teeth, a refinement phase is likely rather than a remote possibility, and TADs may enter the plan partway through if progress stalls. Patients tolerate a longer timeline far better when you set it up front instead of explaining a delay after it happens.
A simple flag system in your digital chart, noting “vertical primary case, TAD candidate” or “dentoalveolar only, low relapse risk,” helps whoever reviews the chart next make faster, more consistent modality decisions. For complex dual-arch vertical cases, Onewd’s protocol on managing vertical dimension of occlusion in full-mouth rehabilitation offers a useful reference point for planning logic that extends beyond single-arch aligner cases.
Which Vertical Movements Are Most Predictable With Aligners?
Predictability is not uniform across vertical movement types, and treating them as equally reliable is where treatment plans go wrong.
| Mechanism of Correction |
Predictability |
Adjuncts Typically Required |
Stability / Relapse Risk |
| Molar intrusion (maxillary) |
Medium |
Attachments, sometimes TADs for larger amounts |
Moderate, generally stable when overcorrected |
| Incisor extrusion (open bite closure) |
Low to medium |
Attachments, bite ramps, refinement built in |
High relapse risk without retention and myofunctional support |
| Molar intrusion (mandibular) |
Low |
Attachments, TADs more often needed |
Limited data, treat conservatively |
| Mandibular autorotation |
Medium (as secondary effect) |
Dependent on successful posterior intrusion |
Stable when the underlying intrusion holds |
Where the evidence supports it, build in overcorrection rather than targeting the exact clinical goal. For open bite closure specifically, planning toward a slightly deeper overbite than the final target gives you a buffer against the relapse pattern the 2026 open bite systematic review documented across its pooled cohorts.
Expect refinement to be the rule, not the exception, in vertical-primary cases. Most clinicians plan for at least one refinement cycle when intrusion or open bite closure is the primary goal, sometimes two if TADs enter the plan mid-treatment. Monitor progress with periodic occlusal photos looking specifically for posterior open bite development, and consider a CBCT check if intrusion targets are not tracking by the midpoint of the case. Stalled progress at that stage is your cue to consider converting to hybrid mechanics rather than adding more aligners to the same failing vector.
Retention Protocols That Actually Hold Vertical Corrections
Vertical corrections relapse more readily than sagittal ones, which makes retention design a clinical decision, not an afterthought.
| Case Type |
Retainer Type |
Wear Schedule |
Follow-Up Cadence |
| Anterior open bite closure |
Vacuum-formed retainer plus bonded lingual retainer |
Full-time first 3 to 6 months, then nights indefinitely |
Every 3 months in year one |
| Deep bite correction |
Vacuum-formed retainer with posterior coverage |
Nights indefinitely from delivery |
Every 4 to 6 months in year one |
| Combined intrusion cases with TADs |
Vacuum-formed retainer, consider bonded retainer if habit history exists |
Full-time initial period, then nights |
Every 3 months until stability confirmed |
Myofunctional therapy earns a place in the plan whenever an open bite closure has a tongue posture or swallowing pattern component. A narrative review and case report on anterior open bite treatment found that adjunctive myofunctional therapy and rigorous retention protocols supported stability over a two-year follow-up, while cases without addressing the underlying habit showed more variable outcomes. Refer to a qualified myofunctional therapist early, not after relapse appears.
Compliance drives everything here. Document wear time expectations in writing, schedule the first retention check earlier than you might for a routine case, typically within six to eight weeks, and combine bonded lingual retention with removable retention for any vertical case where relapse risk runs high, particularly open bite closures in patients with a persistent habit history.
Fixing Bowing, Tipping, and Anchorage Loss During Treatment
Vertical cases fail predictably, which is actually good news: you can watch for the same three problems every time.
Watch for these signs during the working phase:
- Developing posterior open bite on progress photos or at chairside check.
- Mesial tipping of the molar you intended to move bodily, visible on occlusal or lateral photos.
- Incisor extrusion beyond the planned amount during open bite closure.
- Aligner tracking loss specifically at the tooth undergoing vertical movement, while adjacent teeth track normally.
Act in this order when you spot a problem:
- Confirm compliance first. Most vertical tracking failures trace back to wear time, not mechanics.
- Reassess attachment design. A tipping molar during intrusion often needs a redesigned attachment, sometimes shifted from central to mesial placement to reduce the bowing effect.
- Add elastics or a precision cut if anchorage appears to be the issue rather than attachment geometry.
- Order a periapical or bitewing if intrusion seems stalled and root resorption is a concern; consider CBCT for larger discrepancies.
- Re-plan with a new scan rather than pushing forward on a staging sequence that has already drifted from its intended vector.
Three scenarios come up often enough to script your response in advance. Bowing with mesial molar tipping during intrusion usually resolves with attachment redesign and slower staging, sometimes with TAD support if it recurs. Unwanted incisor extrusion during open bite closure typically means the attachment or bite ramp design needs adjustment, or that the case needed a slower, more conservative extrusion target from the start. Anchorage loss during distalization, evidenced by unplanned mesial drift of anchor teeth, is the clearest sign to add elastics or reconsider whether a hybrid fixed approach would have anchored the case more reliably from day one.
A Practical ClinCheck Checklist for Vertical Cases
Use this before submitting any case where vertical movement is a primary goal, not a secondary effect.
- Confirm staging pace for vertical movement is conservative relative to sagittal movement in the same case.
- Select attachment type and position by movement goal: mesial for lower PDL stress, central for greater displacement.
- Specify bite ramp placement and purpose if deep bite opening is part of the plan.
- Choose aligner thickness deliberately based on whether sustained intrusive force or reduced bite-block effect matters more for this case.
- Write out the intended wear schedule and communicate it clearly to the patient, not just the lab.
Sample technician note: “Intrude UR6/UL6 approximately 0.3 mm total, mesial attachment placement to limit PDL stress, monitor for mesial tip at each refinement scan.”
Add precision cuts or elastics at initial setup, not as a later addition, whenever the case anchorage demand is borderline. If the case looks like it will need more than one refinement purely to hit a vertical target, flag it for TAD consultation before you deliver aligner number one.
Onewd’s trim line and force retention course covers the trim and edging decisions that feed directly into this checklist.
What Hands-On Training Teaches That Papers Don’t
Reading the literature gets you the mechanisms. Chairside experience teaches you the margins.
- A half-millimeter difference in trim line height can be the difference between an aligner that tracks intrusion cleanly and one that flexes enough to trigger the bowing effect.
- Attachment angulation errors of even a few degrees compound over several stages into a visibly different tipping pattern than the ClinCheck simulation predicted.
- TAD integration timing, deciding early rather than reactively, consistently separates cases that finish on schedule from cases that drag through three refinements.
If you are building this skill set, prioritize hands-on instruction in IPR and attachment mechanics first, trim line and edging decisions second, and TAD integration workflow third. Reading a force-vector diagram is not the same as watching an attachment placement go wrong on a study model and understanding why.
Pro Tip: Ask any CE course for a specific vertical-control case they’ve worked through start to finish, not just isolated technique modules. Seeing the full staging arc, including where it needed correction, teaches more than any single lecture on attachment theory.
What I’ve Learned Treating Vertical Cases With Aligners
The gap between what the systematic reviews say and what happens in your operatory is smaller than most clinicians assume, but it is real. A moderate anterior open bite case that looked straightforward on paper needed a full refinement round because the initial attachment placement favored displacement over periodontal safety, exactly the trade-off the finite element data on attachment position predicts, but easy to underweight until you see it happen on a real patient.
The lesson that changed my planning going forward: build the overcorrection and the TAD conversation into the first patient conversation, not the third appointment. Patients handle “this might need an extra step” far better before treatment starts than after it stalls. The literature supports conservative staging and honest expectation setting more than it supports any particular attachment brand or software default, and that is the part worth internalizing before your next vertical case walks through the door.
Build Real Vertical-Control Skill Through One World Dental
Reading the evidence gets you halfway. Translating pooled overbite data and FEA attachment models into a ClinCheck you’d actually submit takes repetition most orthodontists don’t get outside a mentored setting. Onewd’s clear aligner curriculum walks through exactly the staging, attachment, and TAD-integration decisions covered here, with case-based instruction instead of abstract theory.

The IPR and attachment mastery course covers force-vector control in depth, and the broader training course catalog lets you build a full vertical-control skill path from foundational attachment work through advanced anchorage integration. If you learn best by doing rather than reading, Onewd’s in-person course format puts you at the chair working through real staging decisions with mentor feedback. Check current course dates and reserve a seat before your next vertical-control case reaches consult.
Recommended