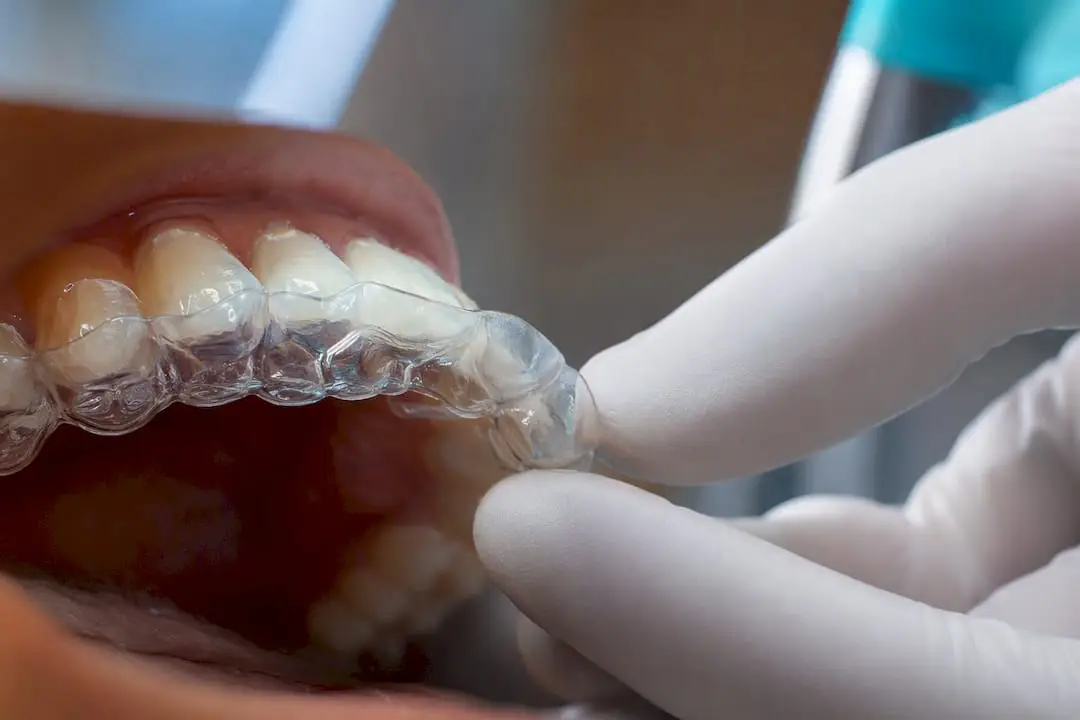
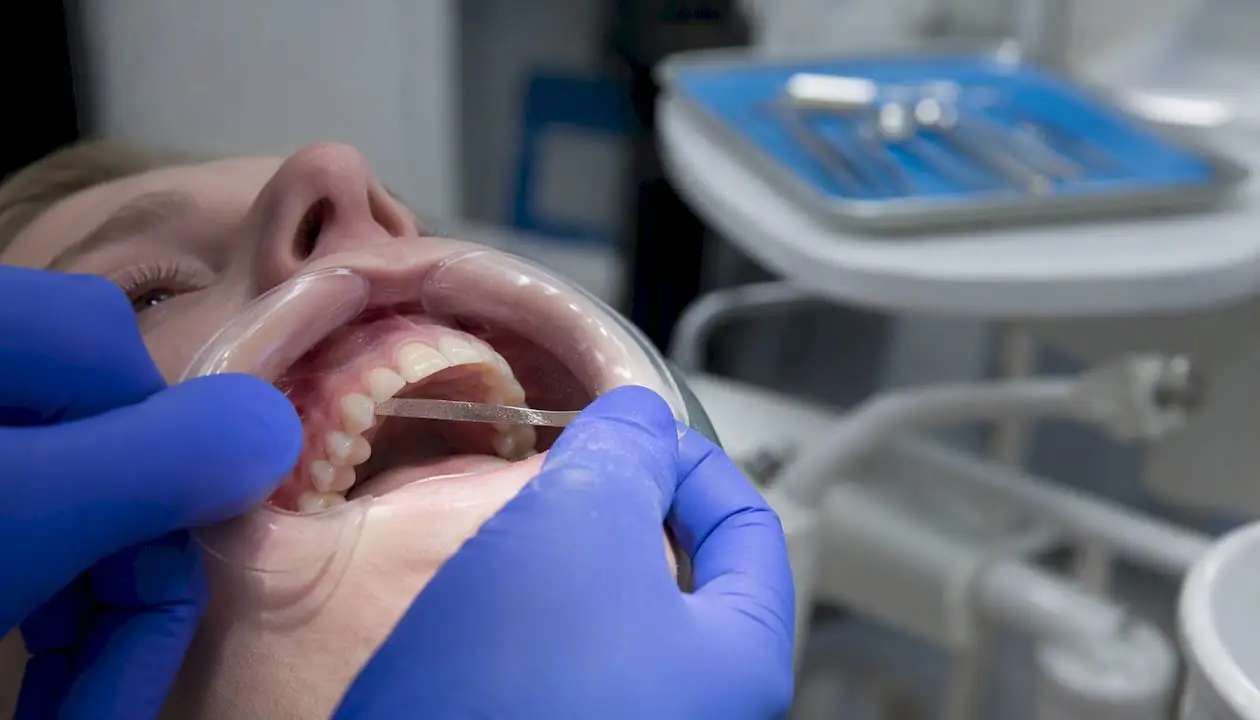
Yes, elastics work with clear aligners, and clinicians prescribe them regularly to add interarch force for correcting overjet, molar relationships, vertical gaps, and certain crossbites. Success depends on precise virtual setup planning, the right attachment method (bonded buttons versus precision cuts), correct elastic size and force, and near full-time patient wear of about 22 hours a day. When those pieces line up, studies show measurable improvement in overjet and molar class for mild to moderate corrections.
What Are Orthodontic Elastics With Aligners, and What Do They Do?
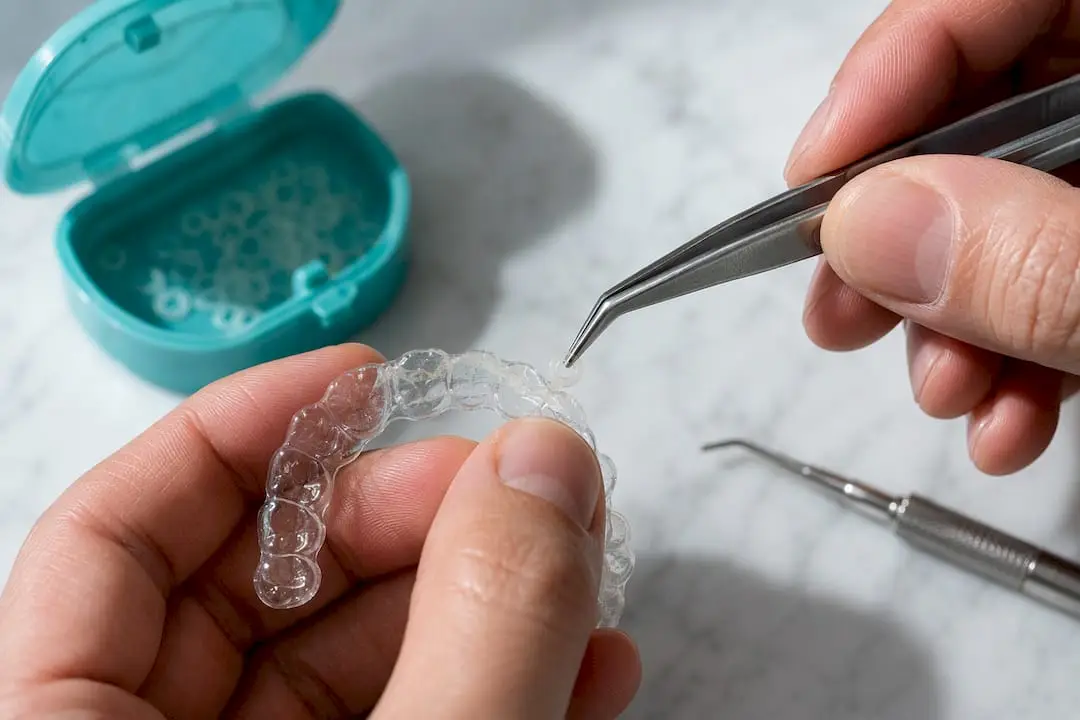
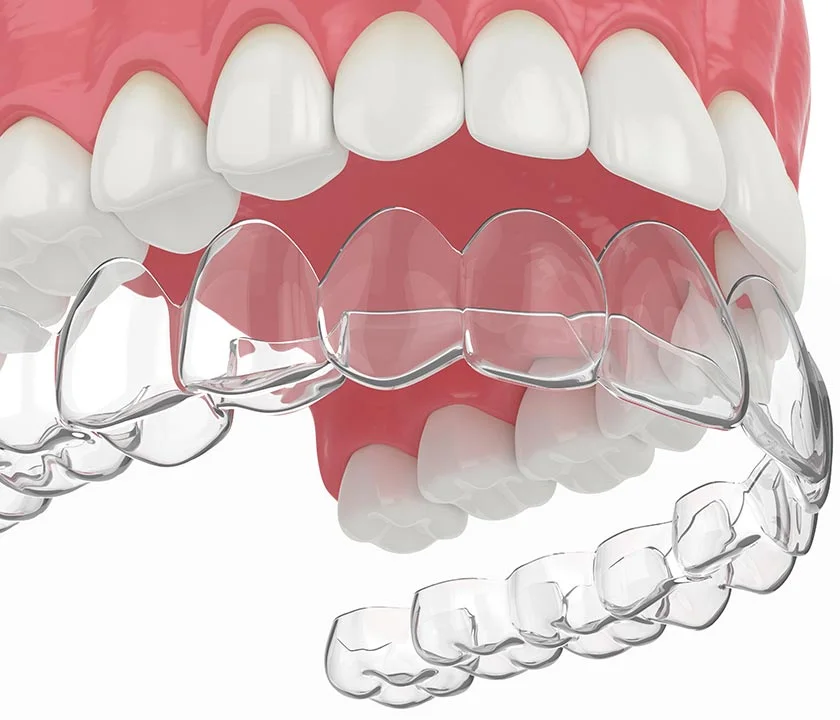
Aligners move teeth through a series of small, staged shape changes. Elastics add a different kind of force entirely: a continuous pull between the upper and lower arches, or sometimes within a single arch, that aligners alone cannot generate. Orthodontists call the first type intermaxillary elastics (they connect the top and bottom arches) and the second intra-arch elastics (they connect two points in the same arch). Both attach to hooks, buttons, or precision cutouts built into the aligner or bonded directly to a tooth.
The clinical goals fall into three categories:
- Sagittal correction — reducing overjet and shifting molars into a better Class I relationship, the most common use case for Class II elastics in aligner treatment.
- Vertical control — closing an open bite or improving intercuspation where aligners alone tend to stall.
- Transverse correction — nudging a posterior crossbite toward proper alignment when aligner-only expansion isn’t enough.
It helps to think of elastics as a modulator, not a replacement engine. Aligners still do the bulk of tooth movement through staged tray changes. Elastics supply an auxiliary vector the plastic can’t produce on its own, which is why treatment planning has to account for both systems working together rather than in isolation.
Which Types of Elastics Work Best for Different Bite Problems?
Elastic configuration follows the diagnosis, and the labels correspond to the geometry of the pull, not just tooth position.
- Class II elastics run from the upper canine or first premolar area back to the lower molar, pulling the upper arch back and the lower arch forward. This is the workhorse configuration in aligner practice, and a common aligner-era prescription uses 1/4 inch elastics at roughly 4.5 to 6 ounces of force.
- Class III elastics reverse the vector, pulling the lower arch back and upper arch forward, used when the lower jaw sits ahead of the upper.
- Vertical elastics connect top and bottom teeth in the same general area to close an open bite or seat a tooth into occlusion.
- Triangular and box elastics span three or four points to control rotation or close small gaps with more nuanced force distribution.
- Cross elastics pull diagonally between arches to correct a single crossbite tooth or a localized transverse discrepancy.
Clinicians increase force when a correction has stalled or the diagnosis calls for faster sagittal change, and decrease it when root resorption risk, patient discomfort, or anchorage concerns show up on progress checks. Lighter forces are typically favored for vertical control, since overcorrection there tends to extrude teeth rather than close a bite cleanly.
How Do Clinicians Plan Aligner and Elastic Biomechanics Together?
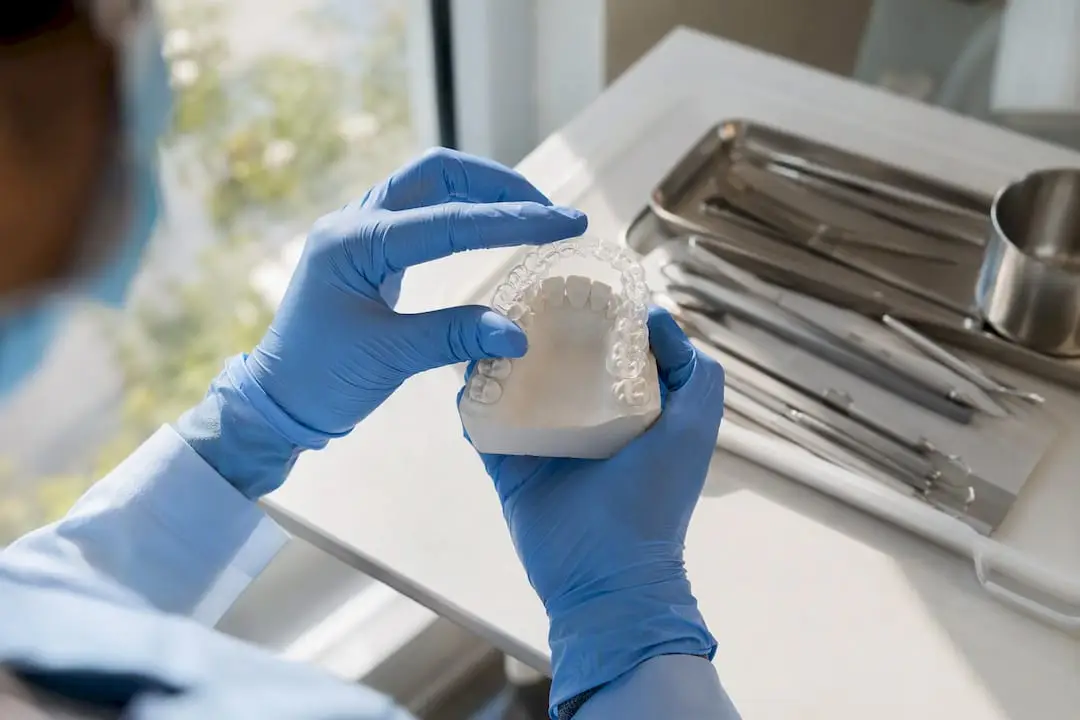
The virtual setup is where most elastic-related problems get solved or created. If the digital treatment plan doesn’t simulate how the elastic force will interact with the staged tooth movements, the aligner and the elastic end up fighting each other instead of cooperating.
- Simulate the elastic vector in the software before finalizing stages, so the plan leaves room for the actual movement the elastic will produce rather than assuming aligner trays alone will finish the job.
- Remove interferences in the setup, particularly on posterior teeth, so the elastic pull doesn’t bind against occlusal contacts that haven’t been staged out of the way yet.
- Choose a staging pattern deliberately. Sequential distalization moves posterior teeth back before elastics engage; elastic simulation builds the expected force into the stage sequence itself; en-masse retraction moves the whole arch segment together. Each suits different malocclusions, and staging choice affects how predictable the outcome will be.
- Account for reactive aligner forces. In-vitro testing shows elastic traction doesn’t fully cancel out the forces the aligner itself is generating, so button attachments transmit force more efficiently than hooks, which matters when anchorage is tight.
- Consider TADs (temporary anchorage devices) when anchorage demands exceed what tooth-borne elastics can reliably deliver, especially in adults with reduced periodontal support.
Pro Tip: Ask your clinician to walk through the digital setup with you before treatment starts. If the plan shows tooth movement continuing smoothly into the elastic-wear stages rather than “waiting” for the elastics to do all the work, that’s a sign the biomechanics were properly integrated.
Three methods dominate chairside practice, and each comes with tradeoffs worth understanding before treatment starts.
- Precision cutouts are small notches built into the aligner itself during design, letting an elastic hook directly onto the tray. They’re fast, require no bonding appointment, and work well anteriorly where attachments already boost retention.
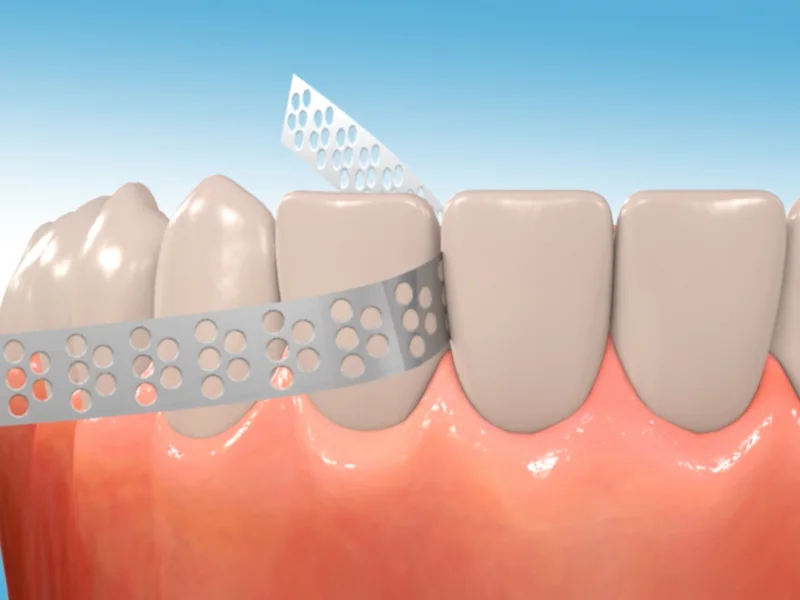
- Bonded buttons are small composite attachments cemented directly to enamel, independent of the aligner. They’re the preferred choice posteriorly because aligners naturally have less grip at their terminal ends, and buttons keep the elastic force from levering the tray off the tooth.
- Resin hooks sit somewhere in between: attached to the tooth surface but shaped specifically to catch an elastic loop, often used when a button would be too bulky for the bite.
Bonding sites follow a consistent logic in most protocols: first molars for high-force posterior anchorage, canines for anterior connection points where the elastic vector is more forgiving.
The typical chairside sequence starts with the clinician deciding, based on progress checks, when elastic wear begins, since starting too early (before the aligner and teeth have settled into a stage) risks unpredictable movement. Vector checks at follow-up visits confirm the elastic is pulling along the intended line, not twisting a tooth sideways. If a button detaches, re-bonding follows the same site logic used initially rather than picking a new location out of convenience.
Pro Tip: If a bonded button comes off between appointments, don’t try to wear the elastic on the closest attachment tooth as a substitute. The force vector will be wrong, and it can move teeth in a direction the plan never intended. Call the office instead.
What Size, Force, and Wear Schedule Actually Work?
Most Class II aligner protocols call for 1/4 inch elastics delivering 4.5 to 6 ounces of force, while vertical control cases typically use lighter forces to avoid extruding teeth instead of seating the bite. These are starting points a clinician adjusts based on progress, not universal settings.
Wear time is where outcomes are won or lost.
- Full-time wear means roughly 22 hours a day, removed only for eating, drinking anything but water, and brushing.
- Replace elastics at least twice daily, since saliva and oral temperature degrade the material’s elasticity well before it visibly snaps.
- Latex-free alternatives exist for patients with a latex allergy and should be requested upfront rather than discovered after a reaction.
- Compliance tracking through simple daily habits, like changing elastics at the same two points every day (morning and bedtime), keeps force levels consistent instead of drifting toward under-treatment.
The wear-time number isn’t arbitrary, and improving patient communication is crucial; tools like the Dental Chatbot use cases that cut no-shows and add patients can help clinics boost compliance and appointment adherence. Studies on Class II elastics with aligners consistently flag compliance as the single biggest variable separating predictable outcomes from stalled treatment, more than the specific brand of elastic or minor force variations.
What Does the Clinical Evidence Actually Show?
A retrospective study of adults treated with aligners and Class II elastics found average overjet reduction of about 1.4 millimeters, along with measurable improvement in molar relationship. That’s a real, clinically meaningful shift for mild to moderate Class II cases, though it’s not the dramatic skeletal change you’d expect from functional appliances or surgery.
Biomechanical testing backs up what clinicians see chairside. In-vitro work comparing attachment types found button traction transmits a greater proportion of applied force compared to hook traction, which loses more to mechanical slippage. Separately, finite element analysis shows Class II elastics reduce lingual tipping of front teeth but may increase mesial tipping of posterior teeth unless attachment placement compensates unless attachment placement compensates for it.
Elastic traction interacting with an aligner’s own reactive forces is not a simple addition of two forces pulling in the same direction. The aligner is already pushing back against the tooth movement it’s staged to create, and the elastic force layers on top of that, sometimes only delivering a fraction of its nominal pull by the time it reaches the tooth.
- Elastics work best for limited to moderate sagittal, vertical, or transverse discrepancies.
- Larger skeletal discrepancies typically need fixed appliances, TADs, or orthognathic evaluation rather than elastics alone.
- Adults with reduced bone support may see slower, more limited response than younger patients in the same studies.
What Side Effects and Complications Should You Expect?
Elastic wear predictably produces a few side effects, and understanding them ahead of time makes them far less alarming when they show up.
- Anchorage loss happens when the “anchor” teeth (often posterior molars) move more than intended in reaction to the elastic pull, undermining the intended correction.
- Mesial tipping of posterior teeth is a known risk with Class II mechanics, though mesiolingual attachment placement can reduce it according to finite element modeling.
- Extrusion of anterior or posterior teeth can occur when vertical force components aren’t balanced correctly in the staging.
When progress checks reveal one of these patterns emerging, clinicians typically respond by re-bonding buttons at a different attachment location, adjusting the remaining aligner stages to compensate, or adding TADs for extra anchorage. Patients should flag any of these signs promptly: a bite that suddenly feels different day to day, a tooth that seems to be rotating rather than translating, or persistent soreness that doesn’t ease after the first week of a new elastic configuration. Early re-evaluation is far easier to manage than a correction discovered three months late.
How Do You Care for Elastics Day to Day?
Daily elastic management is mostly routine once it becomes habit, but a few specifics make a real difference.
- Replace elastics twice a day minimum, ideally morning and night, even if they haven’t visibly lost stretch.
- Keep a spare kit in a bag, car, or desk drawer. Running out mid-day is the most common reason compliance slips.
- Remove elastics for eating and for anything besides water, then reinsert immediately afterward rather than “for a bit later.”
- Brush and floss around attachments carefully. Buttons and hooks trap plaque more than smooth enamel does.
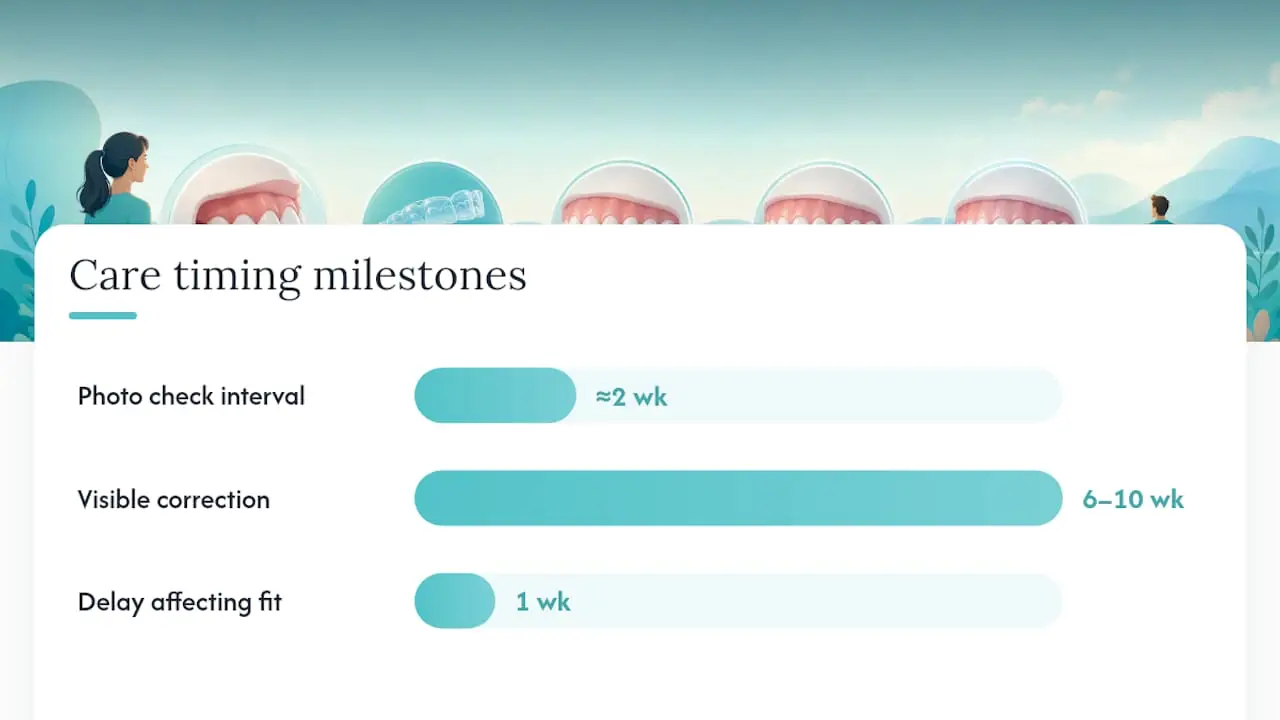
- Call the office the same day a button or hook detaches rather than waiting for the next scheduled visit; a delay of even a week can shift the aligner fit enough to affect the stage in progress.
Pro Tip: Photograph your bite from the side every couple of weeks. Overjet correction with elastics is gradual, and having a visual timeline makes it much easier to see progress that’s hard to notice day to day, and easier to flag anything that looks off early.
Most elastic-driven corrections show visible change within 6 to 10 weeks of consistent wear, though full correction timelines vary with the size of the discrepancy and how consistently the elastics are worn.
What Clinicians Should Plan Before Prescribing Elastics With Aligners
The clinicians we train at Onewd consistently point to one failure point above all others: incomplete virtual setup planning. If the software plan doesn’t remove posterior interferences and simulate the elastic vector before staging is finalized, the elastic phase fights the aligner instead of supporting it.
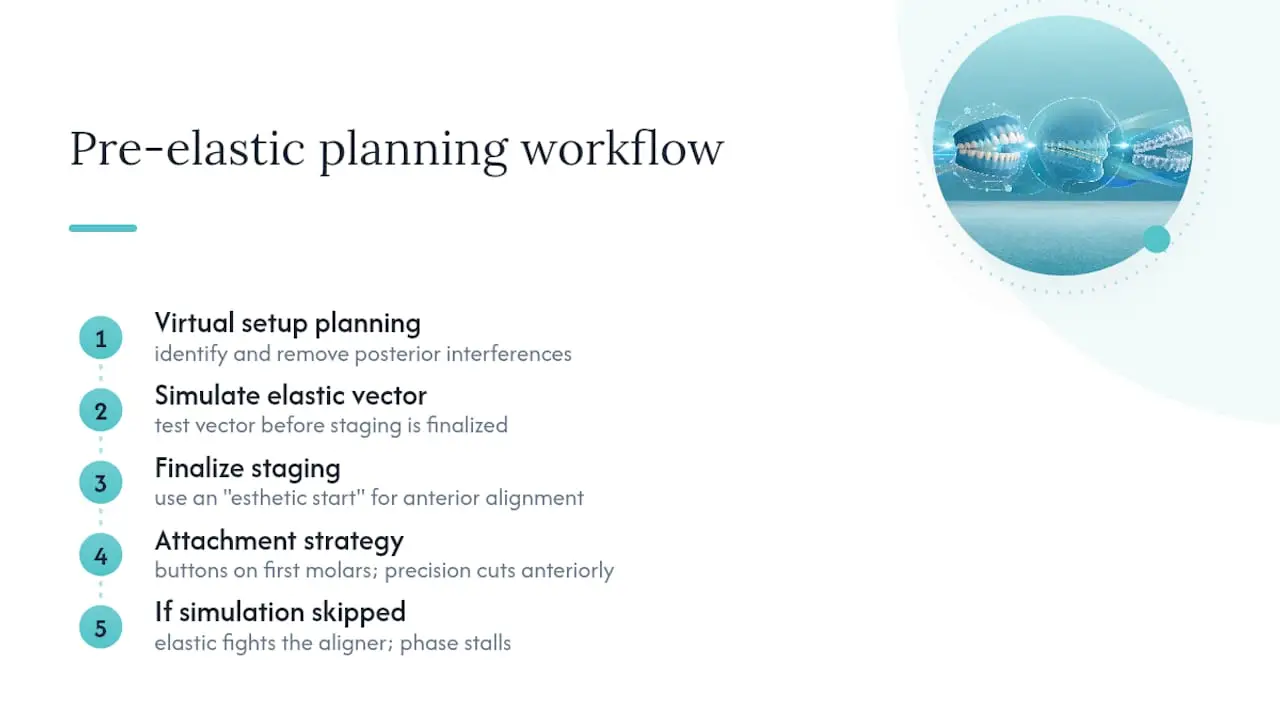
An “esthetic start,” staging anterior alignment early while posterior distalization runs its longer course, keeps patients visually satisfied during a phase that can otherwise feel stalled. For attachment strategy, bonded buttons belong on first molars in higher-force posterior cases, while precision cuts paired with retention attachments hold up well anteriorly without extra chair time.
Clinicians looking to sharpen these skills should look at Onewd’s hands-on aligner course covering staging, attachments, and biomechanics, which walks through exactly this kind of case planning with live mentorship.
The Real Question Isn’t Whether Elastics Work
The evidence on aligner elastics is stronger than the average patient conversation suggests. A roughly 1.4 millimeter overjet reduction with measurable molar improvement isn’t a marginal result for a mild to moderate Class II case. Yet most of the anxiety patients bring to this topic is about compliance, not biomechanics, and that’s exactly backward.
The conventional advice tends to focus on elastic size and force, as if picking the right number solves the problem. It doesn’t. The in-vitro data on button versus hook transmission efficiency makes clear that attachment choice moves the needle more than tweaking ounces of force ever will. A button system transmitting close to full force beats a hook system losing 15% to slippage, no matter how precisely the elastic strength was calculated on paper.
If you’re a patient, prioritize wear time over worrying about the exact elastic strength; if you’re a clinician, prioritize attachment design and virtual setup planning over defaulting to whatever configuration is fastest to prescribe. The biomechanics research is unambiguous about where the real leverage sits.
— Jake
Recommended