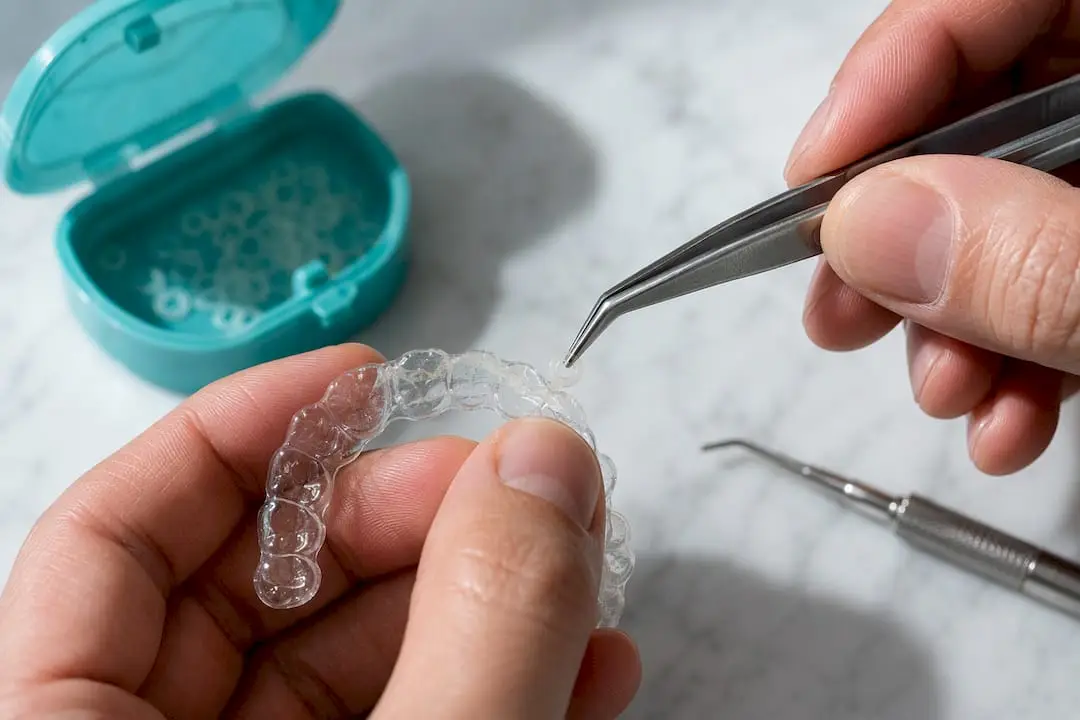
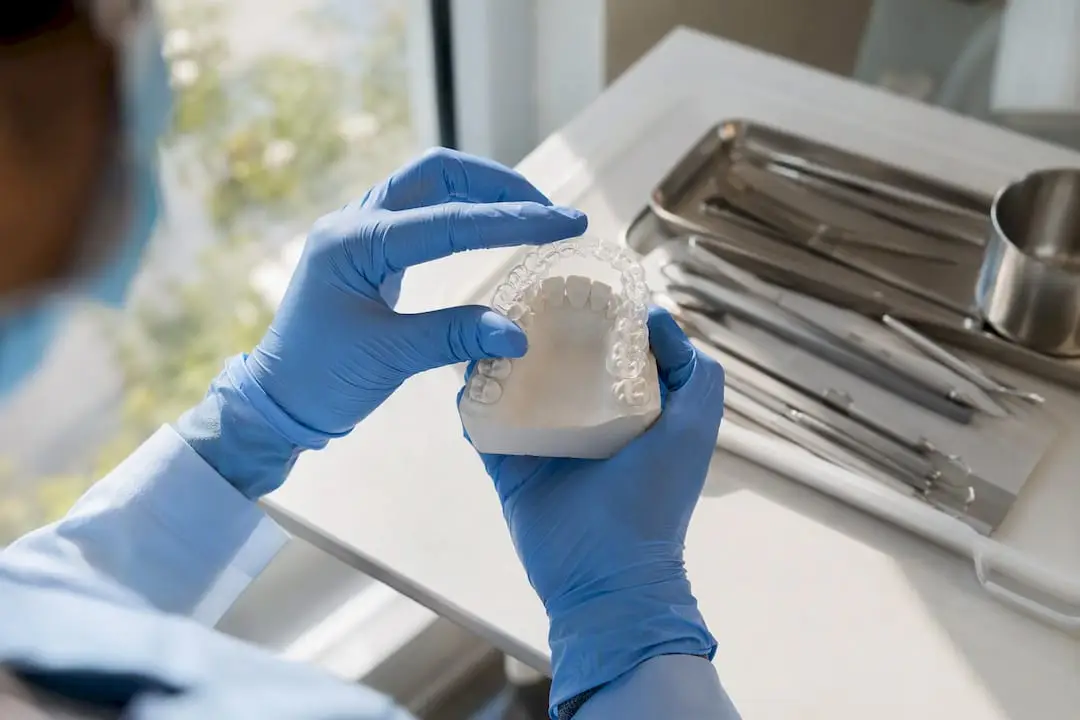
Yes — dental clinics can produce clinical-grade clear aligners with 3D printing, but only inside a validated, closed-loop workflow where the resin, printer parameters, and post-processing steps are documented and tested before a single aligner reaches a patient. The U.S. Food and Drug Administration regulates the finished aligner as a Class II medical device, so the resin you choose must carry 510(k) clearance or equivalent validation for orthodontic use. Tera Harz TC-85 is one of the most cited examples in clinical literature. One World Dental (Onewd) is the CE platform to benchmark your training against before scaling production.
Before you print a single aligner, confirm:
- Your resin has documented biocompatibility and FDA clearance for orthodontic appliances
- Your printer parameters (orientation, layer thickness, exposure time, post-cure cycle) are locked and recorded
- Your post-processing protocol matches the resin manufacturer’s specification exactly
- Staff roles are defined in writing, with clinician sign-off on staging and final seating
Pro Tip: Start with a model-based thermoforming workflow if you are new to in-office production. It uses a well-established evidence base and lets you build SOP discipline before moving to direct-print resins.
What does “3D printing aligners” actually mean?
The phrase covers two distinct workflows, and knowing which one you are implementing changes nearly every downstream decision.
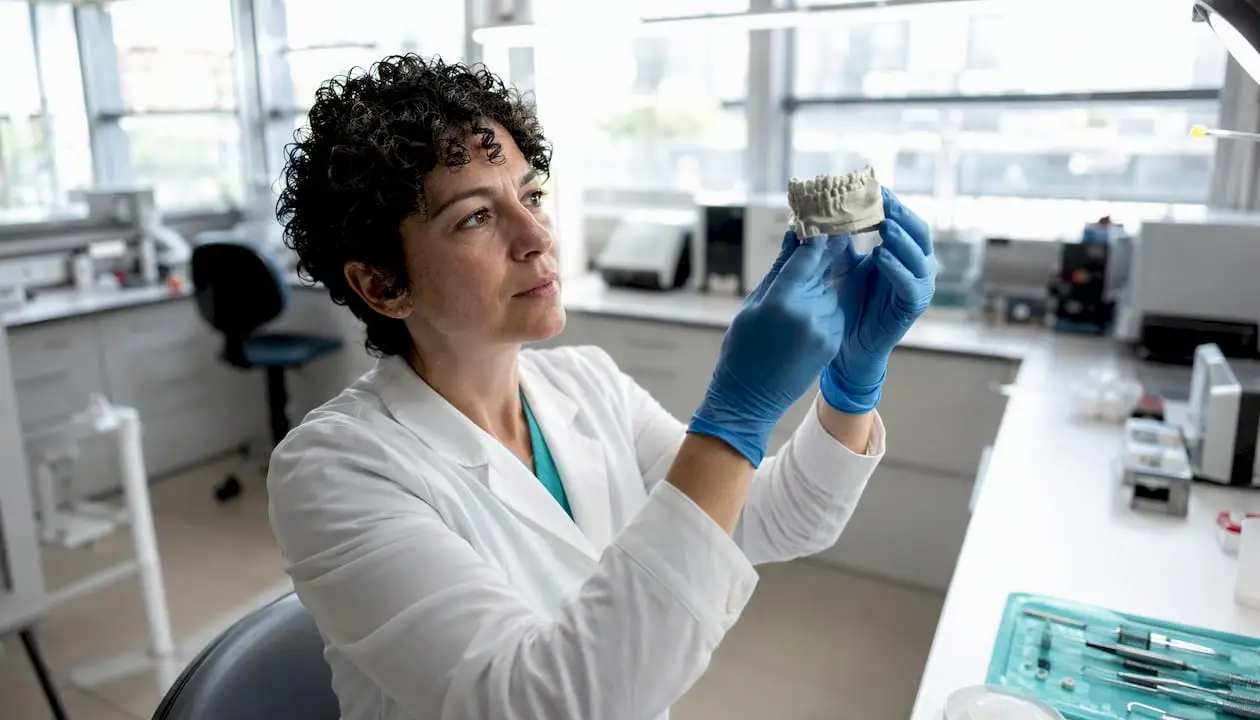
Model-based (print-then-thermoform): You print a physical dental model from a digital scan, then pressure- or vacuum-form a thermoplastic sheet over it. This is the widely established approach used by most in-office and lab-integrated workflows today. The aligner material itself is a conventional thermoplastic; the printer only produces the model.
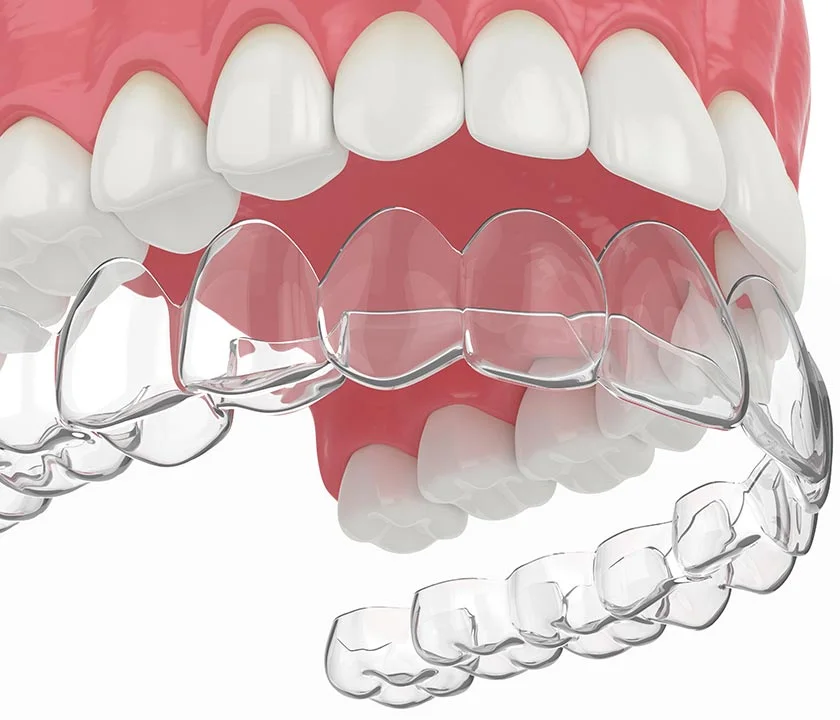
Direct-print: You print the aligner shell itself from a biocompatible photopolymer resin. This eliminates the thermoforming step and allows localized thickness control, integrated hooks, and built-in bite ramps. Tera Harz TC-85 is an FDA- and CE-cleared resin documented in clinical status reports for this purpose. The tradeoff: post-processing is more demanding and the clinical evidence base is still growing.
Typical use cases by approach:
- Model-based: lab-integrated production, in-office thermoforming with existing pressure-forming equipment, cases where thermoplastic material properties are well-characterized
- Direct-print: full in-office production without thermoforming equipment, cases requiring variable tray thickness or integrated auxiliary features, clinics investing in a single-step digital workflow
How does the end-to-end clinical workflow run?
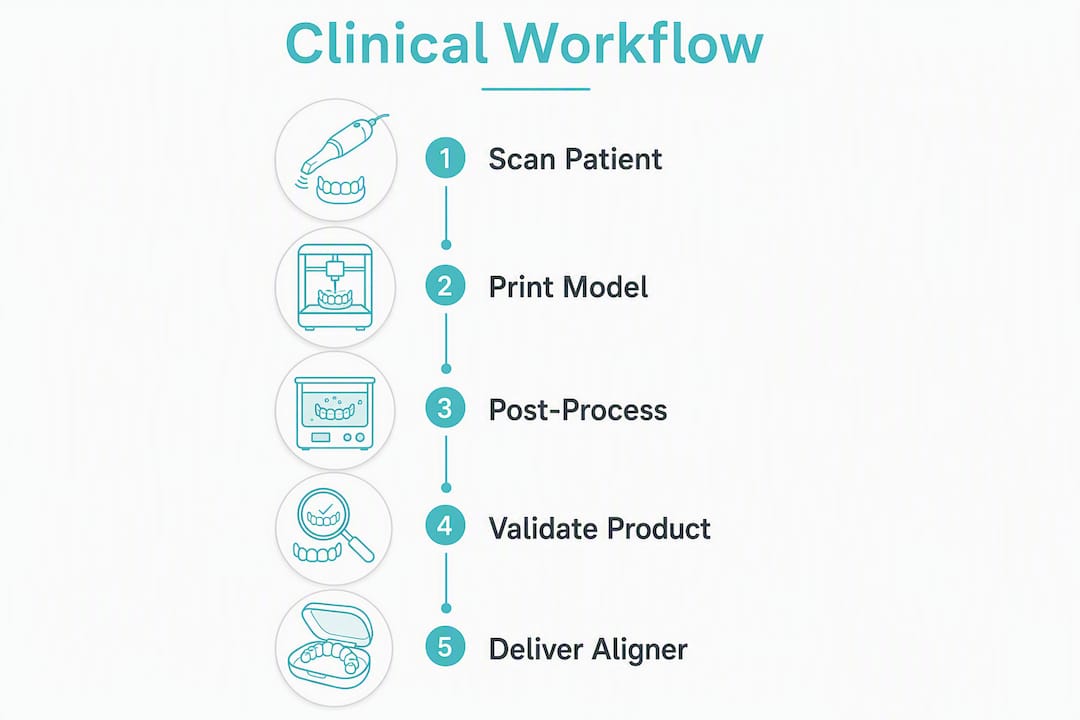
A validated workflow has six sequential steps. Skipping or shortcutting any one of them is where clinical risk accumulates.
- Intraoral scan and bite records. Capture full-arch scans with an occlusal registration. Scan quality directly determines model accuracy; retake rather than accept a scan with voids or stitching errors.
- Digital treatment planning and staging. This step stays with the clinician. Attachment placement, IPR sequencing, and movement staging require clinical judgment. Staff can prepare the setup file; the clinician reviews and approves it before export.
- Export and slicing. Orient models or shells to minimize support artifacts on occlusal surfaces. For direct-print, layer thickness and build angle affect surface finish and mechanical properties. Lock these settings in your slicer profile.
- Print run monitoring. Document the resin lot number, printer firmware version, tray placement, and ambient temperature and humidity for every batch.
- Post-processing. For direct-print resins like TC-85, recommended steps include centrifugation (3–6 minutes to remove residual resin), support removal, nitrogen-atmosphere UV curing, ultrasonic cleaning, and staged heat treatment. Deviating from the manufacturer’s protocol compromises both mechanical properties and biocompatibility.
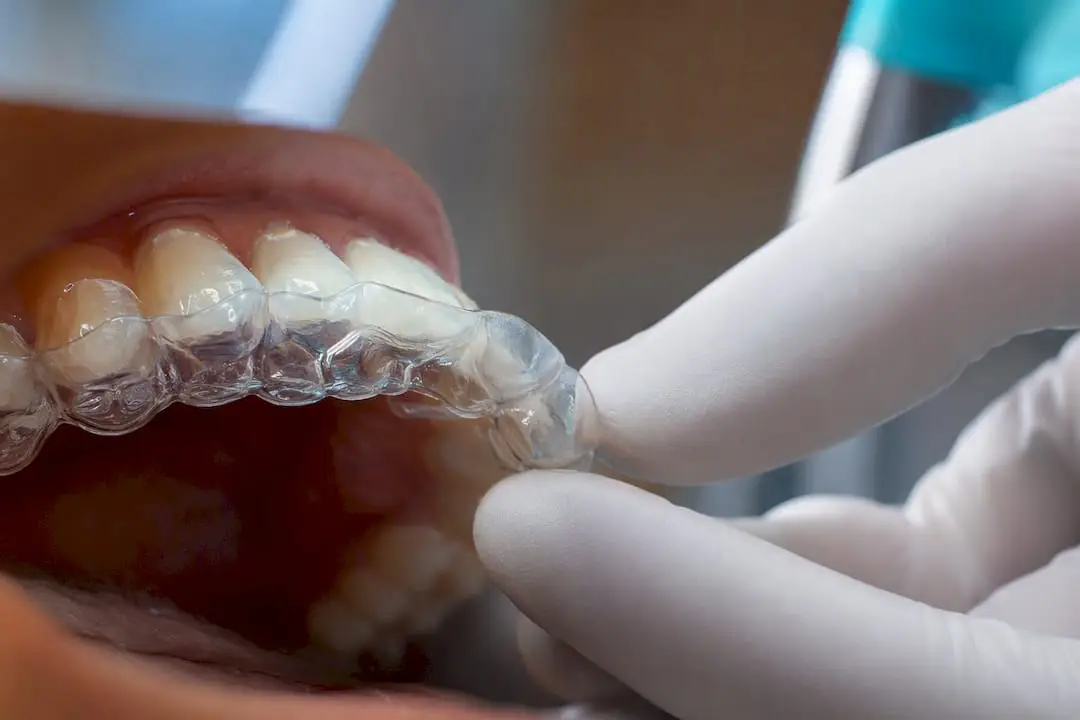
- Clinical verification and delivery. Seat the aligner on the patient’s model or chairside, check fit and trim lines, review occlusion, and document. Provide written patient instructions for wear time (typically 20–22 hours per day) and aligner changes.
SOP checklist to copy:
- Scan quality confirmed before export
- Staging approved by clinician (signed)
- Resin lot and printer firmware recorded
- Post-processing steps completed per protocol
- Fit verified on reference model
- Patient consent and instructions documented
Pro Tip: Treat any change to resin lot, firmware version, or cure lamp as a trigger for a re-validation run — not just a note in the log.
What do you need to validate before clinical use?
Validation is not a one-time event. It is a documented file you build before production and update whenever a variable changes.
| Parameter |
Test |
Acceptance Criterion |
Pass/Fail |
| Resin biocompatibility |
Manufacturer datasheet / ISO 10993 |
Cytotoxicity confirmed negative |
Pass/Fail |
| Dimensional accuracy |
Caliper check vs. digital model |
Within ±0.1 mm at key zones |
Pass/Fail |
| Tray thickness |
Spot-check at incisal, cervical, and posterior zones |
Within spec for planned force delivery |
Pass/Fail |
| Force retention |
Simulated wear cycle measurement |
No clinically significant decay at target interval |
Pass/Fail |
| Post-cure completion |
Surface hardness / tack test |
No residual surface tack |
Pass/Fail |
| Seating accuracy |
Try-in on reference model |
Full seating with no rocking |
Pass/Fail |
Essential validation categories:
- Biocompatibility: pull the resin manufacturer’s datasheet and confirm ISO 10993 testing; do not assume CE marking equals FDA clearance
- Mechanical properties: flexural modulus and ultimate flexural strength must meet ISO 20795-2 requirements
- Post-processing consistency: centrifuge function, cure unit output, and ultrasonic cycle must be verified on a schedule
- Environmental control: temperature and humidity affect resin viscosity and cure depth; log both for every batch
Pro Tip: Keep the resin datasheet, printer firmware record, and post-processing log in the patient file or a linked SOP library. If a complaint arises, that documentation is your first line of defense.
What quality-control steps protect patients before delivery?
QC runs at two levels: equipment-level checks on a daily or weekly schedule, and per-case checks before any aligner leaves the clinic.
- Daily equipment checks: printer calibration status, resin lot in use, centrifuge function, cure unit output, ambient temperature and humidity log.
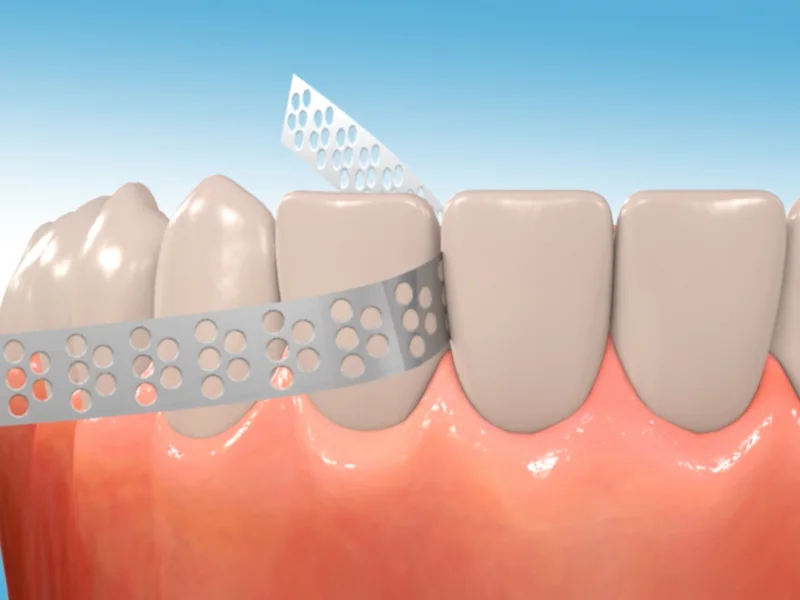
- Per-batch visual inspection: check for layer delamination, incomplete curing, surface defects, and sharp edges that could irritate soft tissue.
- Thickness spot-check: measure at incisal edges and cervical margins on at least one aligner per batch.
- Fit seating test: seat on a reference model; full seating with no rocking is the pass criterion.
- Traceability labeling: each aligner leaves the clinic with patient ID, stage number, resin lot, print date, operator initials, and QC sign-off.
- Documentation retention: keep batch QC logs, corrective action records for failed units, and patient consent notes.
Trained staff can complete steps 1–4. The clinician signs off on staging authorization and final patient seating. That division of labor is what closed-loop in-house programs consistently identify as the difference between scalable production and recurring errors.
How does printing affect aligner biomechanics?
Direct printing enables design features that thermoforming cannot easily replicate: variable tray thickness for localized force control, integrated elastic hooks, built-in bite ramps, and embossed tray identification. Controlled thickness lets you apply more precise countermoments for root movement rather than relying solely on attachment geometry.

The evidence caveat is real. Mechanical properties and force delivery of direct-printed aligners are still being established; some studies show different force decay profiles compared with thermoformed aligners, but long-term clinical efficacy data remains limited. Plan conservatively: use smaller incremental movements, rely on attachments and IPR where you would normally, and verify force levels on pilot prints before committing to a full series.
Pro Tip: For complex root movements or cases with significant torque demands, the model-based thermoforming approach currently has a stronger evidence base. Reserve direct-print for cases where the design flexibility genuinely adds clinical value.
What CE and training path gets you to clinical competency?
Theory alone does not produce safe in-office aligner production. The operational transition requires written SOPs, staff role definitions, and clinician oversight of staging — none of which come from a webinar.
| Format |
Best Use |
Hands-On Hours |
CE Credits |
SOP Templates |
Post-Course Mentorship |
| On-demand online |
Baseline theory, regulatory review |
None |
Varies |
Sometimes |
Rarely |
| Live/in-person |
Equipment operation, post-processing, trimming |
Significant |
Varies |
Often included |
Sometimes |
| Mentorship/proctoring |
First clinical cases, staging review |
Case-based |
Varies |
Yes |
Yes |
What to look for in a course:
- Didactic coverage of resin selection, FDA regulatory basics, and post-processing protocols
- Hands-on printing, post-processing, trimming, and chairside seating on simulated or live cases
- SOP templates and validation checklists you can adapt immediately
- CE credit accreditation and a path to follow-up mentorship for your first real cases
Onewd’s clear aligner CE modules combine didactic planning content with hands-on components and mentorship access. For clinicians building toward in-house production, the in-person course catalog is the right starting point for equipment-level training, while on-demand modules cover the regulatory and material theory you need before you touch a printer.
What U.S. regulatory and practice-risk issues must you address?
The FDA regulates 3D-printed dental devices through its Center for Devices and Radiological Health. Aligners are Class II devices requiring 510(k) clearance; the resin, printer, and software combination you use must be validated for that finished device classification.
Key regulatory and risk points:
- The printer is a tool; the aligner is the regulated finished device. Non-validated resins or off-label printing processes increase practice risk and may conflict with FDA expectations.
- State dental boards vary on in-office appliance fabrication rules. Confirm whether your state requires laboratory registration, a prescription to a third-party lab, or specific delegation rules before producing in-house.
- Update your professional liability coverage to reflect in-house device fabrication before your first case.
- Informed consent should document that aligners are fabricated in-office and describe the materials used.
- Use only FDA-cleared resins for finished orthodontic appliances; CE marking in Europe does not substitute for U.S. clearance.
Pro Tip: Your validation file (resin datasheet, printer firmware version, post-processing log, and dimensional accuracy records) is your primary legal protection if a patient complaint or board inquiry arises. Build it before your first case, not after.
Maintenance and sterilization for 3D printed aligners
Patients wear aligners 20–22 hours per day, so surface hygiene and material stability matter throughout the treatment arc.
Patient-level maintenance: Aligners should be rinsed with cool water and cleaned with a soft-bristle brush and mild, non-abrasive soap. Avoid hot water, which can distort the polymer. Ultrasonic cleaners designed for dental appliances are acceptable for most cleared resins; confirm compatibility with your specific resin’s datasheet before recommending one.
Clinic-level handling: Aligners returned for fit checks or adjustments should be disinfected with a cold disinfectant solution compatible with the resin (check manufacturer guidance). Autoclaving is generally contraindicated for photopolymer aligners because heat degrades dimensional stability and mechanical properties.
Storage and shelf life: Store undelivered aligners in sealed, labeled bags away from UV light. Most cleared resins carry a 24-month shelf life from manufacture; track print date and lot number to stay within that window.
Key Takeaways
3D printing aligners safely requires a validated, closed-loop workflow covering resin selection, printer parameters, post-processing, and clinician-led staging before any aligner reaches a patient.
| Point |
Details |
| Validated resin is non-negotiable |
Use only FDA-cleared resins (e.g., Tera Harz TC-85) and retain the manufacturer’s biocompatibility datasheet. |
| Post-processing determines safety |
Centrifugation, nitrogen-atmosphere curing, and ultrasonic cleaning must follow the resin protocol exactly. |
| Clinician owns staging |
Treatment planning and final seating sign-off cannot be delegated; staff handle production steps under documented SOPs. |
| Evidence is still developing |
Direct-printed aligner force delivery data is emergent; plan conservatively and use auxiliaries for complex movements. |
| Onewd CE bridges theory to practice |
Onewd’s hands-on clear aligner modules and mentorship paths give clinicians the SOP templates and supervised first-case support needed to implement safely. |
Why the printer brand matters less than you think
The conversation in most CE circles gravitates toward which printer to buy. That is the wrong question to lead with. A well-calibrated entry-level DLP printer running a validated resin and a documented post-processing protocol will outperform an expensive machine running an unvalidated workflow every time.
What actually determines outcomes is whether the clinician personally reviews and approves the digital setup before printing. Staging errors that slip through because a clinician passively accepted a technician’s plan are not a printing problem. They are a clinical oversight problem, and no printer solves that. The clinicians who get consistent results treat every digital setup as a clinical decision, not a production task.
The other underappreciated factor is post-processing discipline. Centrifugation time, cure atmosphere, and ultrasonic cycle length are not suggestions. Deviating from them changes the mechanical properties of the finished aligner in ways that are not visible to the eye. That is where most in-office programs quietly fail.
Start conservative. Pilot with straightforward cases. Get hands-on mentorship before scaling. The technology is genuinely capable; the limiting variable is almost always the workflow, not the hardware.
Onewd’s hands-on aligner CE gets you from theory to first case
Knowing the workflow is one thing. Running it safely on a live patient is another. Onewd’s training courses include clear aligner modules that move from digital treatment planning through hands-on printing, post-processing, and clinical seating, with mentorship available for your first cases. You leave with SOP templates, validation checklists, and CE credits you can apply toward your state requirements.
For clinicians who want to build baseline knowledge before committing to a live course, Onewd’s on-demand CE catalog covers resin selection, regulatory basics, and staging principles at your own pace. When you are ready for equipment-level practice and proctored first cases, the in-person and live modules are the next step. Browse the full CE course options to find the format and credit range that fits your schedule.
Useful sources and further reading
Clinicians building SOPs and validation files should work from primary sources, not secondary summaries.
- FDA: 3D Printing of Medical Devices — regulatory framework for additive manufacturing in dental applications
- JCO: Direct-Printed Aligners — A Clinical Status Report — clinical workflow, Tera Harz TC-85 post-processing protocol, and design feature documentation
- Frontiers in Dental Medicine: Integrated Manufacturing of Direct 3D-Printed Clear Aligners — end-to-end workflow comparison and clinical rationale
- MDPI Polymers: Mechanical Properties and Clinical Implications — force retention data and evidence limitations for direct-printed resins
- PMC: In-House Aligners — Rationale and Workflow Considerations — cost and operational rationale for in-office production
- Engineering.com: FDA Regulations for Additive Manufacturing in Dentistry — practical regulatory primer for dental labs and clinics
- Onewd clear aligner CE courses — hands-on modules, mentorship, and accredited CE credits
Keep the resin manufacturer’s datasheet, your printer’s firmware version record, and your post-processing validation log on file for every patient case. These are not administrative formalities.
“The physical and mechanical qualities of 3D-printed dental resins used in orthodontic devices must meet the requirements specified in ISO 20795-2 in order to guarantee their quality and safety.” — Frontiers in Materials, 3D-printing of clear aligners narrative review
This article is general clinical education, not legal or regulatory advice. Confirm current FDA clearance status, state board rules, and resin specifications directly with the relevant authorities and manufacturers before beginning in-office aligner production.
Recommended