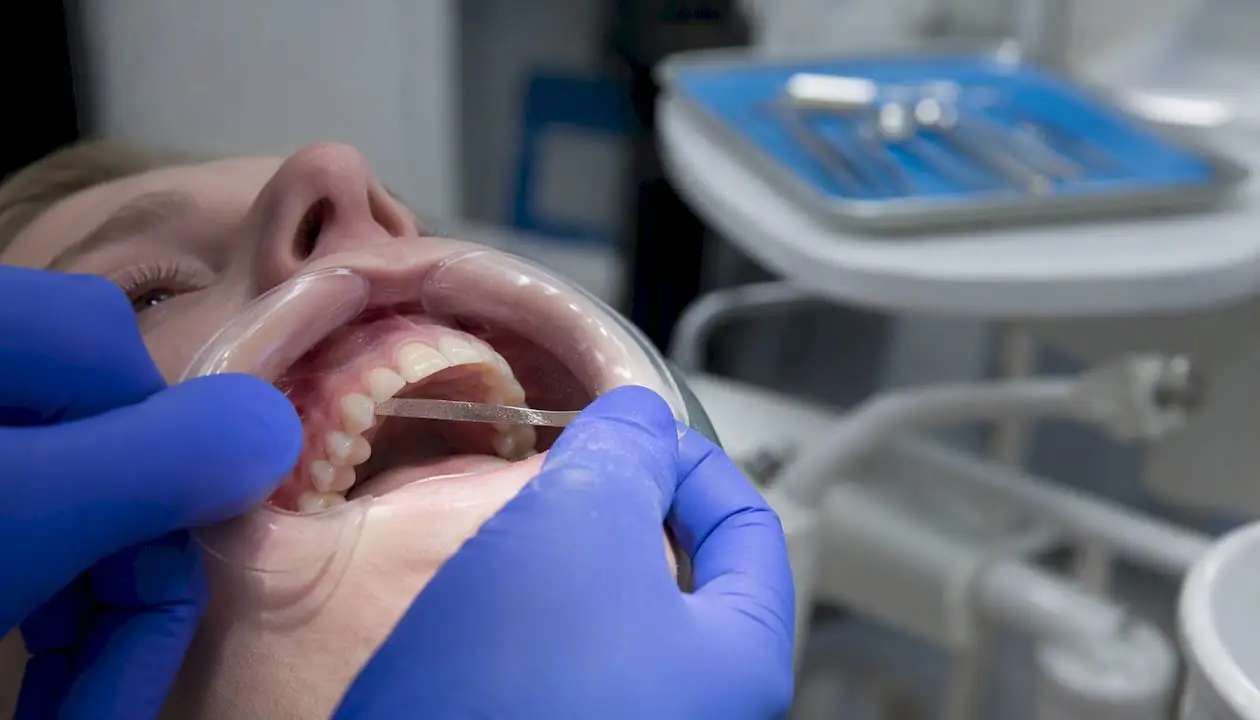
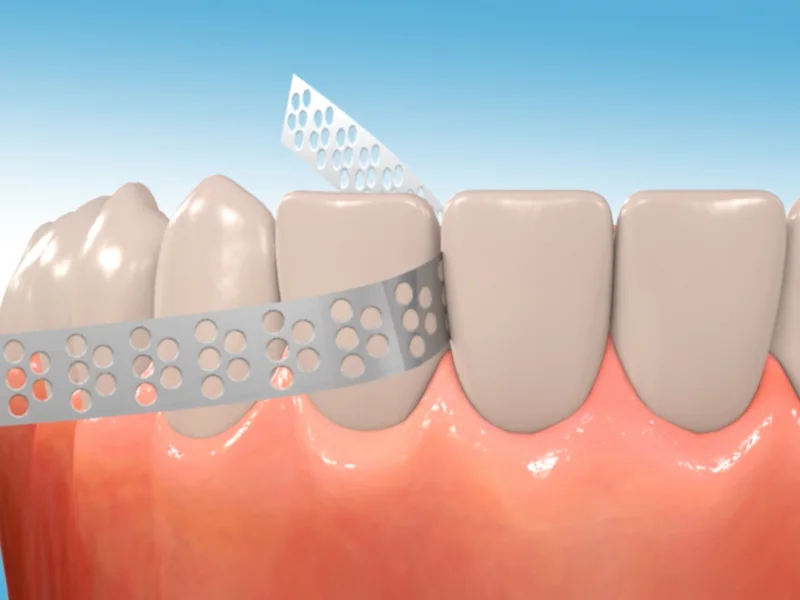
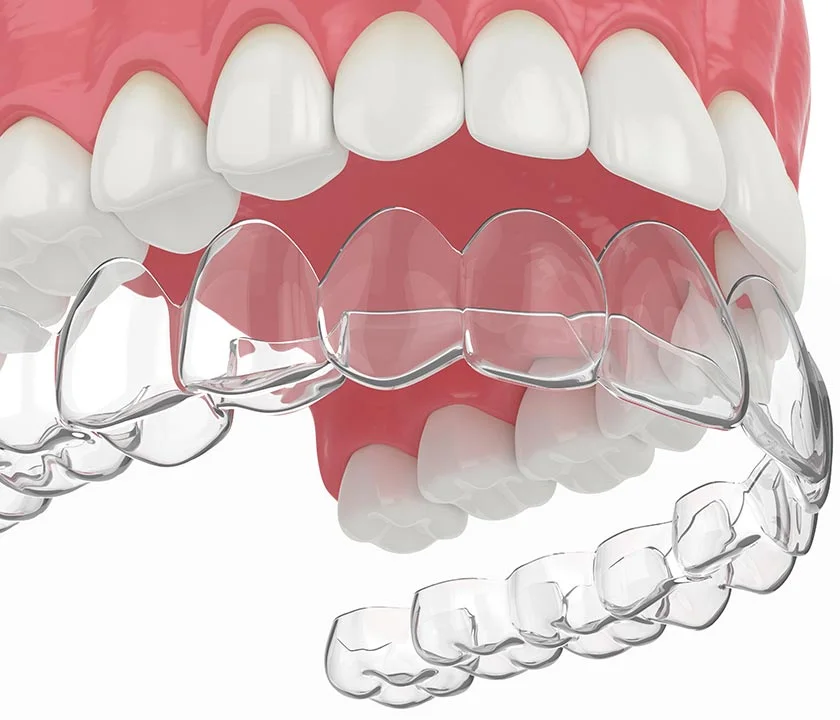
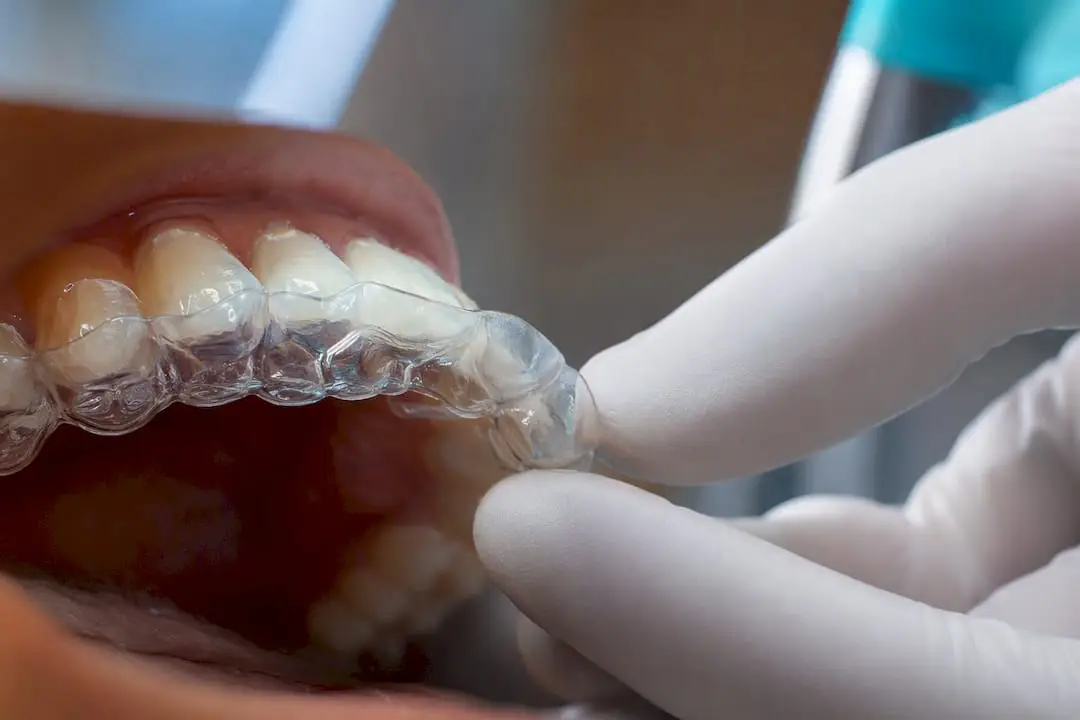
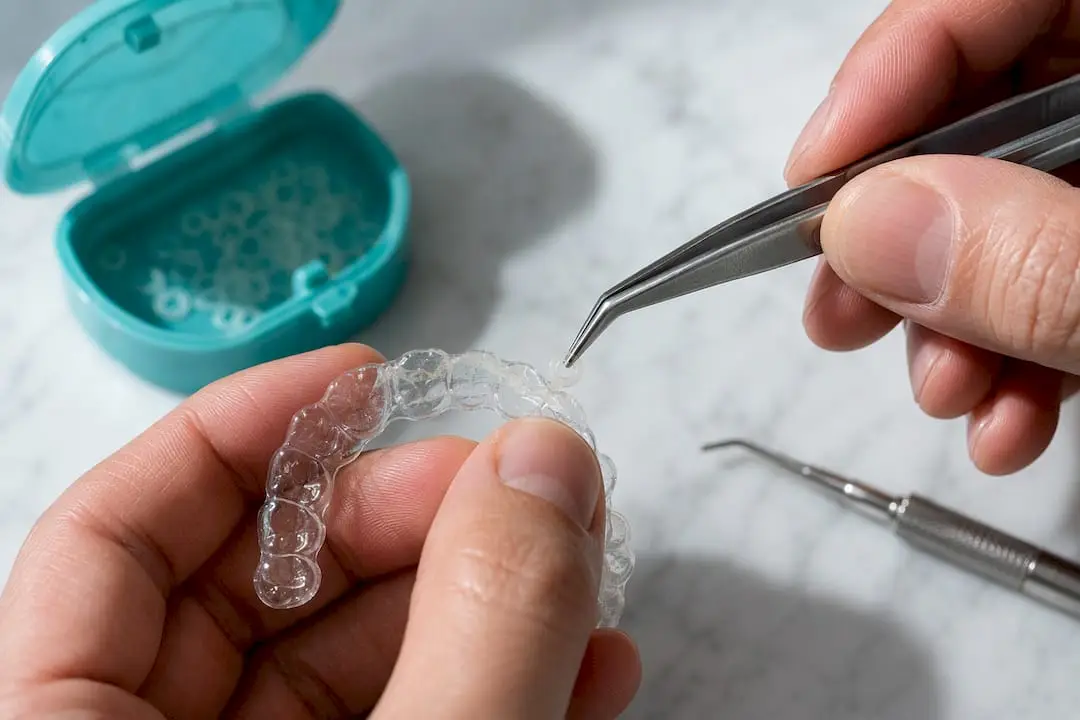
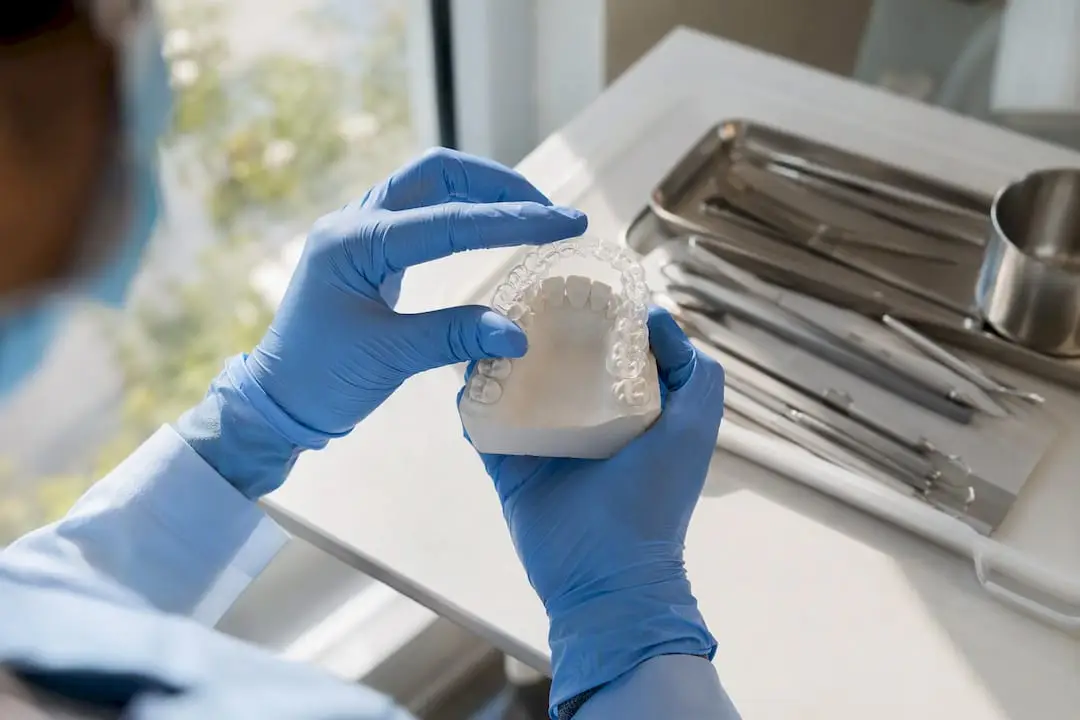
Interproximal reduction is indicated in clear aligner cases with mild to moderate crowding treated non-extraction, anterior Bolton discrepancies, and black-triangle or contact-point correction. Motor-driven oscillating discs and motor-driven abrasive strips track planned IPR more closely than hand-operated diamond strips, which tend to under-execute on certain anterior teeth. That gap between what the digital plan says and what actually happens in the mouth is the single biggest reason IPR cases go sideways.
Here’s the practical shape of a sound IPR workflow for aligner therapy:
- Confirm the indication during digital treatment planning, not chairside on the fly.
- Choose motor-driven instruments when access allows; reserve manual strips for tight or early-stage contacts.
- Measure executed IPR against the planned millimeters using a gauge or intraoral scan before the patient leaves the chair.
- Document every contact reduced, by how much, and at which aligner stage.
Clinical reality check: a scoping review across 31 studies found IPR is widely used in digital treatment planning but consistently under-measured and under-documented, with motor-driven techniques showing better accuracy overall. Get the measurement habit right and most of the downstream problems (ledges, mismatched space closure, refinement surprises) disappear on their own.
Key Takeaways
Accurate IPR for aligners depends on matching the instrument to the contact, verifying every executed millimeter against the digital plan, and finishing each reduction properly.
| Point |
Details |
| Match method to access |
Use motor-driven discs or strips when accessible; reserve manual strips for tight or early-stage contacts. |
| Measure every time |
Confirm executed IPR against the plan using a gauge or scan immediately after the procedure. |
| Finish and remineralize |
Polish with ultra-thin discs and apply fluoride varnish after every reduction, regardless of instrument used. |
| Screen contraindications first |
Rule out periodontal disease, thin enamel, large pulp chambers, and rectangular tooth shapes before planning IPR. |
| Build the skill hands-on |
Onewd’s clear aligner courses pair wet-lab practice on motor-driven and manual IPR systems with documentation training. |
Clinical Indications for IPR in Clear Aligner Therapy
IPR earns its place in a treatment plan for three main reasons: gaining space without extraction, correcting a Bolton discrepancy, and reshaping proximal contours to close black triangles. Each has a distinct clinical signature worth recognizing before you commit a case to stripping.
Mild to moderate crowding, roughly 2 to 6 mm arch-length deficiency, is the classic non-extraction scenario where distributed IPR across several contacts beats aggressive expansion or unwanted proclination. Anterior Bolton discrepancies, where the mesiodistal width of the upper and lower anterior teeth doesn’t match, show up as a lower incisor that’s too wide relative to the uppers or vice versa. IPR on the larger arch reconciles the ratio instead of leaving the bite in permanent compromise. Triangular incisors with visible gingival embrasures are a third common target. Stripping the mesial and distal surfaces relocates the contact point apically, lengthens the contact area, and reduces the visual triangle between teeth.
A few case types come up often enough to name directly:
- Lower anterior mild crowding: small, distributed IPR across four to six contacts often resolves 2 to 4 mm of deficiency without touching arch width.
- Triangular incisors with open embrasures: contact-point relocation via IPR frequently outperforms restorative bonding for long-term stability.
- Small lateral incisors with Bolton mismatch: selective IPR on the opposing arch narrows the discrepancy without composite buildups.
IPR also earns a spot in refinement stages, relieving minor contact interferences that block full seating, and as a preventive measure against unwanted arch expansion in cases where you’d rather redistribute space than widen the arch form.
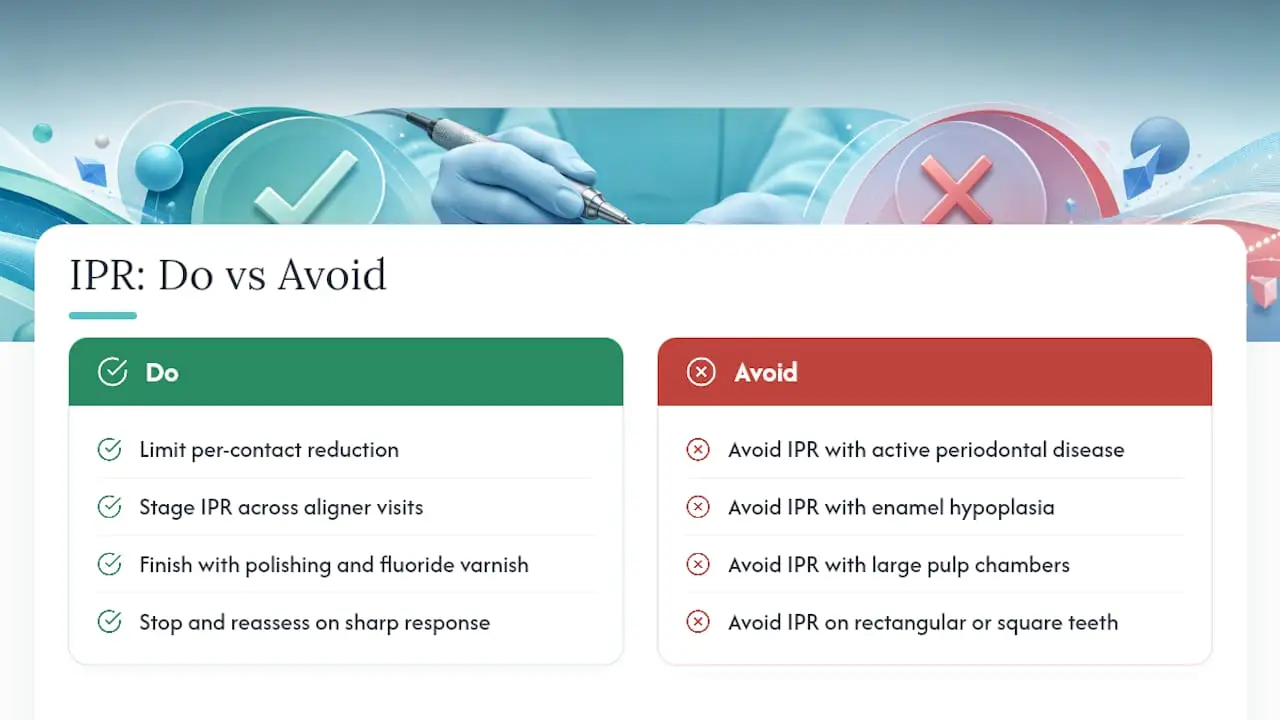
Some cases should not go anywhere near a strip. Active periodontal disease with attachment loss changes the risk calculus, since removing enamel near an already-compromised periodontium invites further breakdown. Thin enamel or enamel hypoplasia narrows your margin for error to almost nothing. Large pulp chambers, typical in younger patients or teeth with a history of trauma, put you closer to the pulp than the radiograph might suggest. Rectangular or square tooth morphology carries a documented higher risk of ledge formation because the flat proximal surface doesn’t guide the instrument the way a naturally convex contact does.
Where IPR Fits in the Digital Aligner Workflow
IPR planning happens at the treatment-design stage, not as an afterthought once aligners start tracking. When you build the case in ClinCheck or a comparable digital treatment planning platform, you enter the planned reduction in millimeters for each contact and assign it to a specific aligner stage. That assignment matters more than most clinicians treat it: stripping too early risks operating on contacts you can’t reach yet, and stripping too late means fighting for space that should have opened weeks earlier.
Three timing strategies cover most cases. Preventive IPR, done early, works when contacts are already accessible and the space gain needs to bank before crowding resolves further. Staged IPR, spread across sequential aligners, suits larger cumulative reductions where doing it all at once risks over-preparation. Refinement-phase IPR handles what preliminary alignment reveals, minor residual crowding or a contact that only opened up once neighboring teeth moved.
A short preliminary alignment phase before major stripping consistently improves access and reduces off-axis instrument angulation, which is exactly what you want before running a motor-driven disc through a tight contact.
Pro Tip: When a contact looks too tight for safe motor-driven access at the first visit, let one or two aligner stages do the initial separation work before you pick up an instrument. You’ll cut your ledge risk substantially and the reduction goes faster once there’s a sliver of daylight between the teeth.
Documentation has to happen in real time, not from memory at the end of the day. Record the planned millimeters, the assigned stage, and the intended contact-point outcome, then confirm the executed value immediately after the procedure rather than trusting that the strip did what the plan said it would.
IPR Instruments: Strips, Discs, and Burs Compared
Four instrument families cover essentially all IPR in aligner practice, and each removes enamel through a slightly different mechanism with its own accuracy profile.
Hand-operated diamond strips work by manual sawing motion, dragging an abrasive-coated strip through the contact. They’re inexpensive, require no motor, and remain the safest option in very tight contacts or early-stage cases where a rotary instrument simply can’t get purchase. Their downside is consistency: in vivo comparisons found hand strips tend to under-execute planned IPR on specific teeth, notably maxillary centrals and mandibular canines, likely because operator fatigue and awkward angulation limit how much force and time get applied evenly.
Motor-driven oscillating segmental discs mount on a handpiece and vibrate through a small arc, cutting enamel with less operator-dependent variability than manual sawing. Motor-driven abrasive strips work on a similar principle but use a reciprocating strip rather than a disc. Burs, typically fine-grit tapered diamonds, see more limited use for IPR proper but come in handy for spot-correcting a ledge or refining a contact shape after the primary reduction.
ContacEZ is the most commonly referenced hand-operated strip system in aligner practice, valued for its range of grits and its usefulness in contacts too tight for anything else. KOMET and SWISS represent the motor-driven category, KOMET with oscillating disc systems and SWISS with motor-driven abrasive strip systems, both built around the idea that reducing operator variability improves how closely the executed reduction matches the digital plan.
Finishing is not optional regardless of which primary instrument you used. Ultra-thin polishing discs smooth the cut surface, fluoride varnish supports remineralization of freshly exposed enamel, and coolant spray during any motor-driven procedure keeps intrapulpal temperature from climbing, a detail multiple clinical reviews flag as essential rather than optional.
| Method |
Accuracy vs. planned mm |
Chair-time |
Surface finish |
Access (tight contacts) |
Patient comfort |
Best-use case |
| Manual diamond strips |
Moderate, tends to under-execute on some teeth |
Slower |
Requires separate polishing step |
Best for very tight or early-stage contacts |
Generally well tolerated |
Initial alignment phase, minimal access |
| Motor-driven oscillating discs |
High, closely matches plan |
Faster |
Smooth with proper finishing |
Needs some contact opening first |
Comparable to manual strips |
Posterior and accessible anterior contacts |
| Motor-driven abrasive strips |
High, closely matches plan |
Faster |
Smooth with proper finishing |
Moderate access needed |
Comparable to manual strips |
Sequential staged IPR across multiple contacts |
| Fine diamond burs |
Operator-dependent |
Fast for spot correction |
Can leave rougher surface without polishing |
Good for isolated corrections |
Similar to other methods |
Ledge correction, contact reshaping |
What the Evidence Says About Accuracy and Comfort
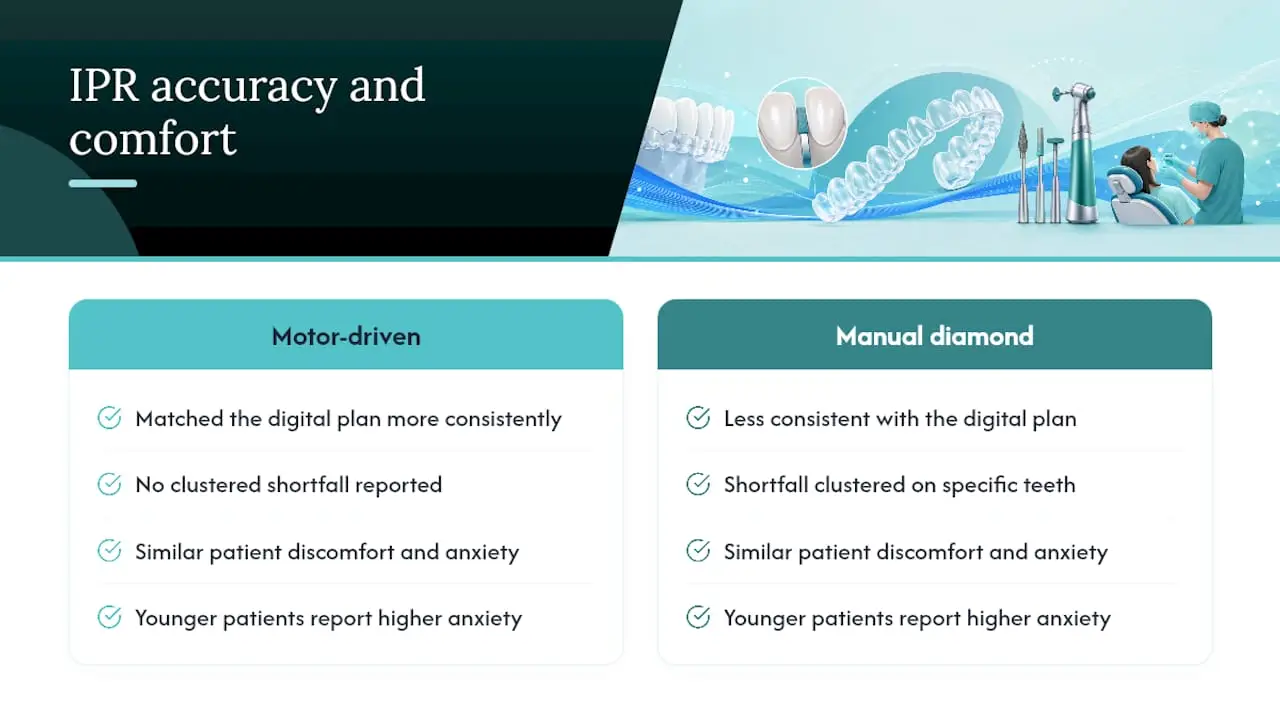
The strongest data point in this entire field comes from a prospective in vivo trial that measured planned versus executed IPR across three methods head to head. Motor-driven oscillating discs and motor-driven abrasive strips matched the digital plan more consistently than hand-operated diamond strips, and the shortfall with manual strips clustered on specific teeth rather than spreading evenly across the arch. That’s a useful detail: if you’re using manual strips on a maxillary central or a mandibular canine, build in a small planned excess because that’s exactly where under-execution shows up most often.
Patient-reported comfort tells a less dramatic story. Across the available comparisons, subjective discomfort and anxiety scores run similarly whether the clinician used manual or motor-driven instruments, with younger patients reporting somewhat higher anxiety regardless of method. That means instrument choice should be driven by accuracy and access, not by an assumption that one approach is meaningfully more comfortable for the patient in the chair.
Open gingival embrasures deserve their own mention because they’re the complication clinicians worry about most and understand least. A retrospective study found OGE incidence after clear aligner therapy running 25.7% at maxillary central incisors and 40.3% at mandibular central incisors. IPR itself was not associated with whether an OGE appeared. It was associated with how severe the embrasure became when one did occur. Attachment design, not IPR, was the variable linked to incidence. That distinction changes how you counsel patients: IPR isn’t the primary cause of black triangles opening up, but if one does open, the amount of prior stripping can influence how pronounced it looks.
Where the evidence still runs thin is long-term OGE prevention strategy. Reviewers keep flagging the same gap: better precision instruments have improved accuracy, but nobody has run the long-term trial that tells you exactly how much contact-point relocation via IPR reduces embrasure risk five years out.
A Chairside Protocol for Executing IPR
Treat every IPR appointment as a three-phase procedure: verify the plan, execute with measurement, and finish with documentation. Skipping straight to the stripping is where most accuracy gaps originate.
- Review the digital plan. Pull up the planned millimeters per contact from ClinCheck or your DTP software before you pick up an instrument, and cross-check it against the physical exam.
- Assess enamel and tooth shape. Look for rectangular morphology, visible enamel thinning, or radiographic signs of an enlarged pulp chamber that would change your approach.
- Get informed consent specific to IPR. Patients should understand that this is permanent enamel removal, not a reversible adjustment, before you start.
- Capture a pre-procedure baseline. A quick intraoral scan or photo set gives you something concrete to compare against afterward.
- Isolate and protect soft tissue. A wedge or a simple retraction technique keeps the interdental papilla out of the instrument’s path.
- Select the instrument per contact. Motor-driven where access allows, manual strips where it doesn’t, based on what you learned in the exam.
- Reduce incrementally. Use a calibrated gauge or strip thickness as your reference and check progress every few passes rather than stripping continuously to a guess.
- Irrigate continuously with motor-driven instruments. Coolant spray keeps pulpal temperature controlled during any rotary or oscillating procedure.
- Polish with ultra-thin discs. This step is not cosmetic. It removes microscratches that would otherwise trap plaque.
- Apply fluoride varnish. Freshly cut enamel benefits from topical remineralization support immediately after the procedure.
- Measure and record the executed amount. Compare the gauge reading or scan against the planned figure for that contact.
- Update the digital record. Log the executed millimeters, the date, and the aligner stage in the patient chart and, where relevant, the DTP notes.
Pro Tip: Keep a simple per-contact log, even a basic chart column, that lists planned mm next to executed mm. When refinement scans come back and space hasn’t closed the way it should, that log tells you in ten seconds whether the shortfall is a tracking issue or an IPR execution issue.
| Reduction phase |
Instrument likely in use |
Key check before proceeding |
| Initial/tight contact |
Manual diamond strip |
Confirm contact truly inaccessible to motor-driven disc |
| Post-alignment/staged |
Motor-driven oscillating disc or abrasive strip |
Confirm parallelism to tooth long axis |
| Refinement/spot correction |
Fine diamond bur or polishing disc |
Confirm no ledge or notch before finishing |
Re-scan and re-enter executed values whenever the difference between planned and actual IPR exceeds what a routine refinement would otherwise catch. Small discrepancies can usually wait for the next scheduled refinement scan; larger ones warrant an earlier check so the aligner sequence doesn’t keep tracking against a plan that no longer matches the mouth.
Contraindications, Complications, and How to Avoid Them
The clearest contraindications are active periodontal disease with ongoing attachment loss, enamel hypoplasia or generalized thin enamel, large pulp chambers common in younger patients, and tooth shapes (rectangular, square) that leave little margin between the ideal reduction and dentin exposure. Screen for these at the treatment-planning stage, before IPR ever gets written into the aligner sequence, not after the first strip is already in the contact.
The complications that actually show up in practice, in rough order of frequency, are over-reduction beyond the planned or safe limit, ledge or notch formation from off-axis instrument angulation, and transient sensitivity from newly exposed enamel. Evidence on protocols followed correctly is reassuring here: standardized IPR technique with proper finishing was not associated with a statistically significant increase in caries risk, periodontal attachment loss, or long-term dentin hypersensitivity. The complications cluster around technique lapses, not the procedure itself.
Mitigation is mostly about restraint and sequencing. Stay within conservative per-contact limits rather than chasing the full planned amount in one pass, use coolant with any motor-driven instrument, finish every reduction with polishing, and apply fluoride varnish as a standard closing step rather than an optional extra. Staged IPR across multiple aligner visits beats bulk removal in a single sitting almost every time.
Pro Tip: If you feel resistance change abruptly or the patient reports a sharp response during stripping, stop immediately and reassess before continuing. That’s your body’s fastest signal that you’re closer to the pulp than the plan accounted for.
Know when to stop and refer: uncontrolled bleeding, suspected pulpal proximity, or any structural concern beyond routine IPR technique belongs with a specialist, not resolved chairside under time pressure.
Measuring What You Actually Removed
Objective measurement is what separates a documented IPR protocol from a guess. Physical interproximal gauges remain the simplest chairside tool, giving you a direct millimeter reading against the reduced surface. Calibrated strips serve a similar purpose during the procedure itself. Intraoral digital scans add a layer gauges can’t: a permanent record you can overlay against the pre-IPR scan to calculate the exact difference at each contact.
A workable documentation sequence looks like this:
- Capture a pre-IPR scan or photo before touching any instrument.
- Take an immediate post-IPR measurement with a gauge or strip.
- Update the DTP notes or chart with the executed millimeters, the date, and the aligner stage.
- Flag any contact where executed and planned values diverge meaningfully for review at the next refinement scan.
Tolerance thresholds matter more than clinicians often admit. A difference of a few tenths of a millimeter rarely changes the clinical outcome, but the in vivo comparison data makes clear that manual strips can miss the plan by enough to affect space closure on specific teeth, which is exactly when an additional refinement stage becomes necessary rather than optional.
For multi-quadrant cases, measure and reconcile quadrant by quadrant rather than totaling everything at the end. It’s far easier to catch a single under-executed contact when you’re checking four contacts at a time instead of sixteen.
Practical Fixes for Common IPR Problems
Access is the recurring headache in nearly every IPR appointment, and the fix is usually simpler than clinicians expect.
- Open tight contacts first. Elastic separators or a stage or two of preliminary alignment often creates enough space for a motor-driven disc to work safely where it couldn’t before.
- Avoid ledges by paralleling the instrument. Keep the disc or strip aligned to the tooth’s long axis and remove enamel in small increments rather than one aggressive pass.
- When manual strips fall short, adjust forward. If measurement shows under-execution on a given tooth, plan a small additional reduction at the next stage rather than trying to force the full amount in one visit.
- When you’ve removed too much, stop and stabilize. Smooth any ledge with a fine polishing disc, apply topical fluoride, and consider a restorative option if the surface integrity is genuinely compromised.
Choosing IPR Instruments and Consumables
Buying decisions here come down to control and consistency, not brand loyalty. For motor-driven systems, weigh oscillation versus rotary action, the range of available disc widths, the pivot angle the handpiece allows, and whether the system includes calibrated abrasive strip options that limit how much enamel comes off per pass.
Your consumables checklist should cover ultra-thin finishing and polishing discs, calibrated abrasive strips in multiple grits, a coolant spray system for any motor-driven work, interproximal measurement gauges, and soft-tissue protection materials for isolation.
Practically speaking, stock both a manual strip system and a motor-driven option. Access-limited contacts will always come up, and having ContacEZ-style strips on hand alongside a KOMET or SWISS motor-driven setup covers the full range of cases you’ll see. Prioritize systems with published accuracy data and available operator training over anything marketed purely on speed.
Why Hands-On Training Changes IPR Outcomes
Motor-driven IPR is a feel-based skill. Reading about the correct pivot angle and actually holding a handpiece parallel to a tooth’s long axis under time pressure are different competencies, and the gap between them is where ledges and over-reduction happen. Polishing sequences and coolant technique are similarly hard to internalize from a slide deck.
Look for a course with a small student-to-faculty ratio, hands-on practice on typodonts or live patients, mentorship that continues after the initial session, and some form of measurable skills assessment rather than a certificate for attendance alone.
Onewd structures its clear aligner training around exactly this gap, with modules on IPR technique, attachment design, and the documentation habits that keep planned and executed reduction in sync across a full course of treatment.
A Clinician’s Take on Building IPR Into Everyday Practice
The clinicians who get the best results with IPR aren’t the ones with the fanciest instruments. They’re the ones who measure obsessively and stay conservative by default. Start with a bias toward motor-driven accuracy whenever a contact is accessible, and reserve manual strips for exactly the situations they’re good at: tight, early-stage contacts where a disc has no business being.
Where I’d push back on the field’s general comfort level is around documentation. Too many practices treat the executed millimeter reading as optional paperwork instead of the single data point that tells you whether your plan is actually working. Close that loop every time, and refinement stages stop being a mystery.
The bigger lever, honestly, is standardizing protocol across every provider in a practice so outcomes don’t depend on which associate happened to be in the chair that day. Training closes that gap faster than years of trial and error.
Get Hands-On With IPR Technique Through Onewd
Reading about instrument angulation and actually holding a disc steady on a live contact are two different skills, and that gap is exactly what Onewd’s clear aligner courses are built to close. Rather than another slide deck on theory, the training pairs online pre-work with in-person wet-lab time on motor-driven and manual IPR instruments, finishing and polishing protocols, and the measurement habits that keep executed reduction matched to the digital plan.

Course features include:
- Hands-on practice with both motor-driven and manual IPR systems
- Finishing, polishing, and fluoride protocols taught step by step
- Documentation workflows that connect chairside execution back to ClinCheck-style planning
- Mentorship support beyond the initial session
- CE credit toward your annual requirements
Formats range from online modules for the planning side to in-person sessions for the physical technique, with mentorship available for clinicians who want ongoing feedback on their cases. Browse Onewd’s training courses to find a schedule that fits, or check the clear aligner course catalog for the next available in-person date.
Recommended