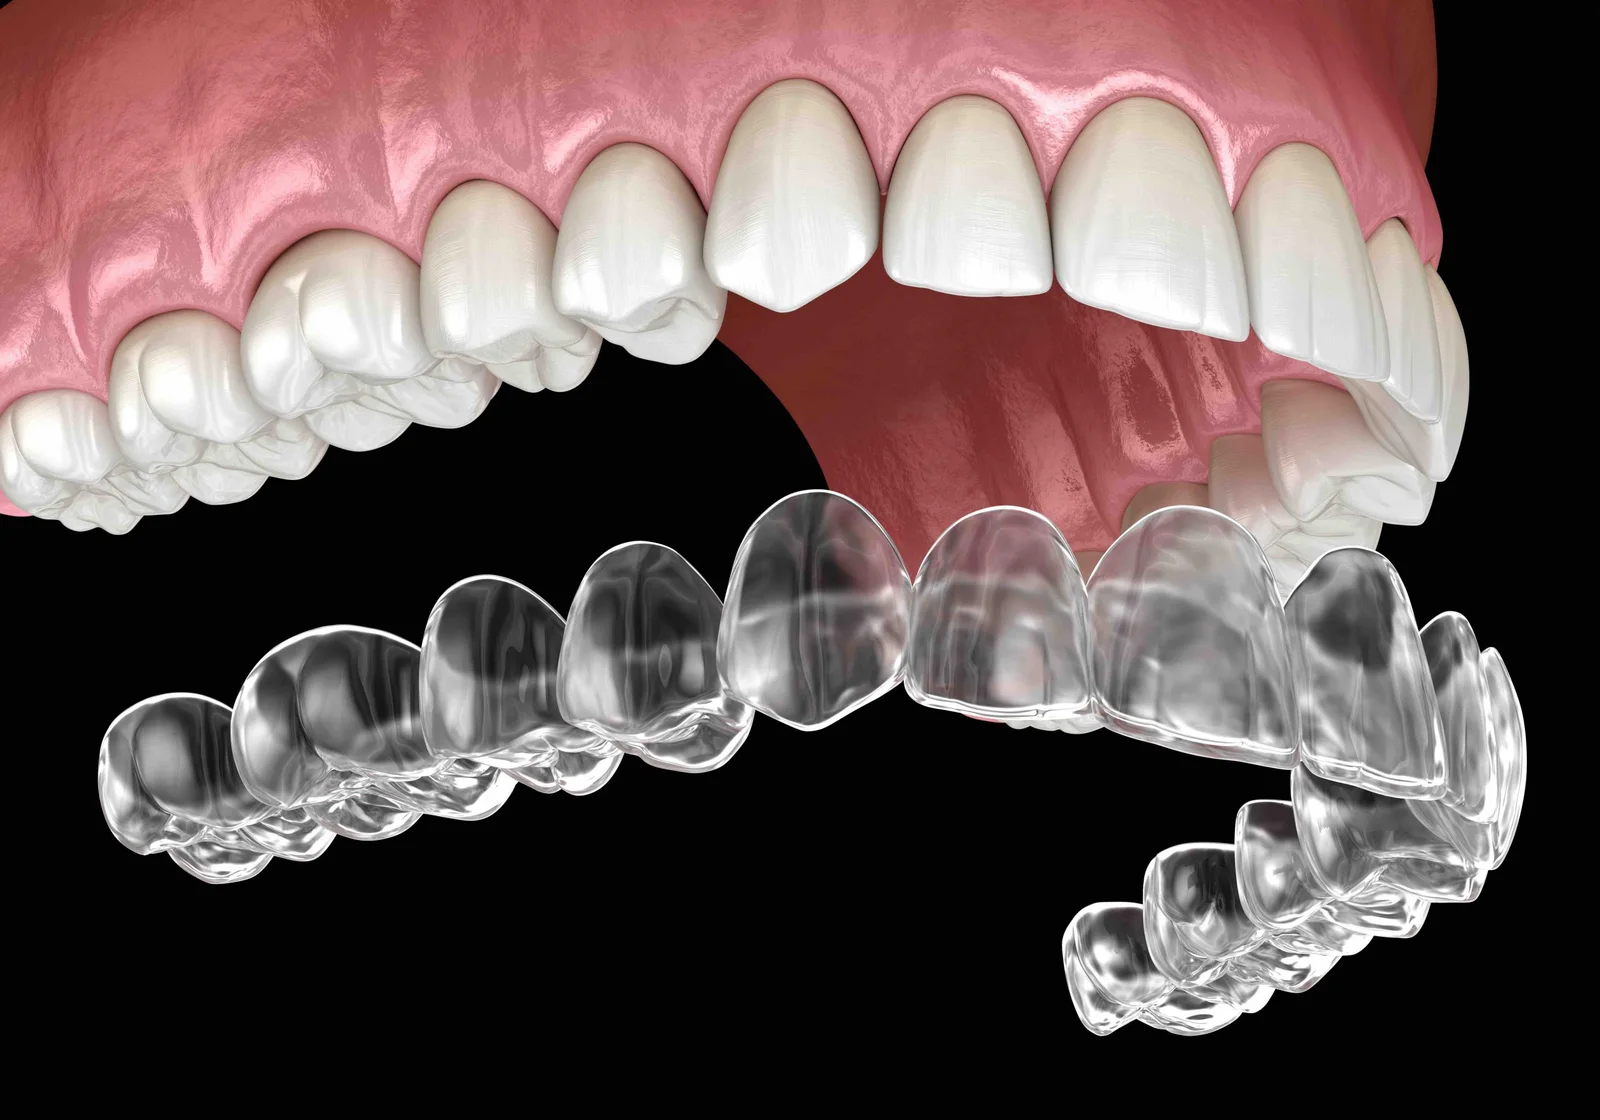
Level 2 • Clear Aligners
Comprehensive Dentistry: A Multidisciplinary Approach to Complex Clear Aligner Cases
Multidisciplinary treatment planning for complex clear aligner cases.
- Self-Paced
- 4–6 CE Credits
- 1–2 Days
- On-Demand
Coming SoonView Course

Clear Aligners • Clinical Guide
A CE-focused playbook for dentists to start clear aligner cases: three immediate steps, required records, staging rules, and a hands-on mentorship path.
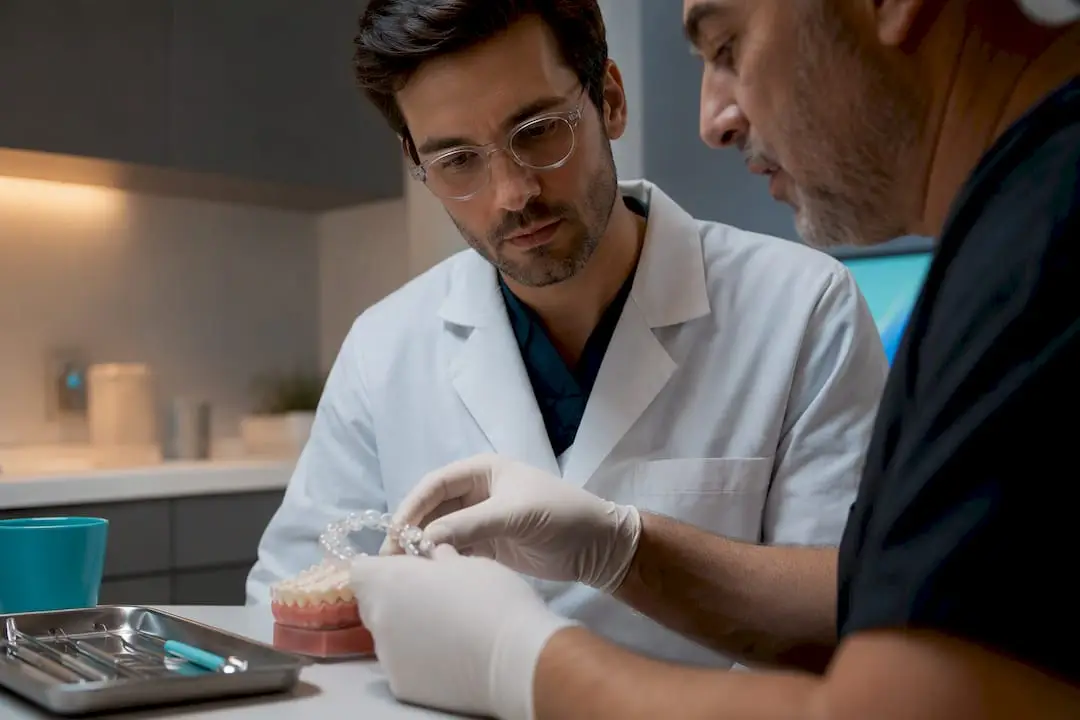
Yes, a trained dentist can start clear aligner cases now, provided the case fits within a graded difficulty framework and the clinician has the competency to plan and monitor it. The three immediate steps are: confirm your training level against a recognized CE and hands-on standard, collect a complete diagnostic record set before touching any software, and run every case through a difficulty-grading checklist before you submit a digital prescription.
Case selection is the single biggest variable in whether your first aligner cases finish on schedule or spiral into endless refinements. Most clinical guidance sorts cases into easy, moderate, difficult, and challenging tiers based on the type and amount of tooth movement required, not just crowding severity. A case with 2mm of mild anterior crowding and normal occlusion is easy. A case needing molar distalization beyond 2mm, significant extrusion, or multiple rotations of over 20 degrees belongs in the difficult tier and should wait until you’ve built experience.
Diagnosis and case selection research is clear that clinical judgment, not the software’s default plan, should drive whether a case moves forward. Before accepting a case, screen for:
Your clinical exam should also record gingival phenotype, crown morphology, static and functional occlusion, and any parafunctional habits. These details shape both your case difficulty rating and your attachment design later.
A predictable digital prescription depends on a complete diagnostic record set, not a quick scan and a submission button. Skipping steps here is the single most common reason a case looks fine on screen and fails in the mouth.
Skipping the CBCT on a borderline case to save time is how root resorption or an undiagnosed impaction gets discovered mid-treatment instead of before it starts.
Diagnosis has to translate into an explicit set of treatment goals before you open any planning software. Write down what you want moved, by how much, and in what order, then use that as your checklist against the digital prescription the lab or manufacturer sends back. Treating the software’s automated plan as the final word is one of the most common failure points general dentists run into, largely because uncritical approval of default plans skips over root position, staging order, and attachment logic that actually determine whether the case tracks.
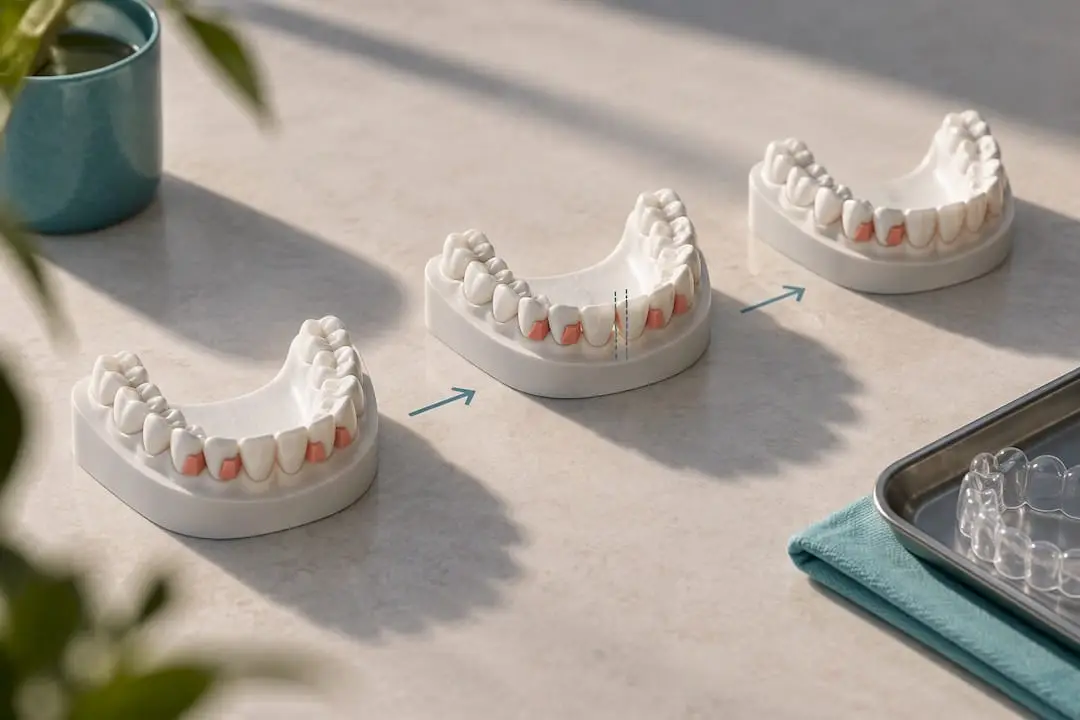
Clear aligners move teeth primarily through crown tipping, which means anything requiring real root movement, rotation, or torque control needs deliberate compensation. International Delphi consensus work on aligner limits confirms that auxiliaries and attachments aren’t optional add-ons for these movements. They’re the mechanism that makes the movement possible at all.
When you review a submitted plan, check for:
Pro Tip: Build refinement into your treatment plan from day one, not as a fallback. Most general-practice aligner cases need at least one refinement, and telling the patient that upfront protects trust far better than explaining it after the fact.
Detailed staging and attachment rules, including specific IPR sequencing, are covered in Onewd’s clear aligner biomechanics guide, which is worth reviewing before your first plan approval.
The delivery visit sets the tone for the entire case. Rush it, and you’ll spend the next six months fielding calls about aligners that don’t seat.
Wear time is the variable most within the patient’s control and most responsible for off-tracking when it slips. Compliance research puts the minimum at 22 hours daily, and falling short is the leading cause of mismatched movement.
Schedule follow-up visits every six to eight weeks, comparing what you see clinically against the digital plan tooth by tooth, not just checking whether the current tray seats. This interval gives enough time to spot a real trend without letting a tracking problem run so long that correction becomes harder, according to expert consensus on clinical monitoring.
Roughly seven to fourteen days is the typical interval for aligner changes in many protocols, and off-tracking usually shows up as a visible gap between the aligner and one or more teeth. When you see it, work through the problem in order:
Document every deviation and every appliance change in the chart, with consent notes covering any switch to elastics, auxiliaries, or fixed appliances. For a deeper look at avoiding the mid-treatment plateau that off-tracking often causes, Onewd’s digital workflow guide walks through common stall points and fixes.
Guidelines on orthodontic scope of practice recommend a minimum threshold of continuing education and progressive case exposure before a general dentist takes on complex movements, and that principle applies directly to aligner case competency. Reading a manufacturer’s onboarding module isn’t the same as building judgment.
A workable path looks tiered:
Live patient modules and direct mentorship shorten the distance between watching a technique and finishing a case predictably, because feedback happens in real time instead of after the fact. When evaluating any CE offering, check the CE credit count, how much of the course is genuinely hands-on versus lecture, whether mentorship continues past the course dates, and whether it teaches documented clinical protocols rather than generic software navigation. Course-specific training built around these criteria is listed in Onewd’s clear aligner course catalog.
Start with the easiest cases on your list, even if that feels overly conservative. Expect at least one refinement per case as the norm, not the exception, and lean on an experienced mentor for your first handful of starts rather than troubleshooting alone. Document every decision and set patient expectations early. The clinicians who struggle aren’t the ones who start slow. They’re the ones who start with a difficult case and no one to call when it stops tracking.
— Jake
Specialized courses provide a direct path to the hands-on skills this guide describes, built around mentorship and live case review rather than lecture slides alone. If you want structured feedback on your first aligner plan submissions, tiered courses take you from case-selection fundamentals through advanced biomechanics with instructors who review actual cases, not generic examples.

Clinicians who want a broader surgical and clinical foundation alongside aligner training can also explore Onewd’s course catalog, which includes both online lecture formats and in-person hands-on sessions depending on how much direct supervision you want before your first submissions. For those weighing an on-demand refresher against a live mentored session, the course listings page breaks out format by course. Browse current course dates and enroll directly through the training course listings to lock in a seat before your next case comes through the door.
Educational disclaimer: Content is provided for professional education and is not a substitute for a clinician's independent judgment, applicable standards, manufacturer instructions, or relevant laws and regulations.
Related Training
Level 2 • Clear Aligners
Multidisciplinary treatment planning for complex clear aligner cases.
Level 1 • Clear Aligners
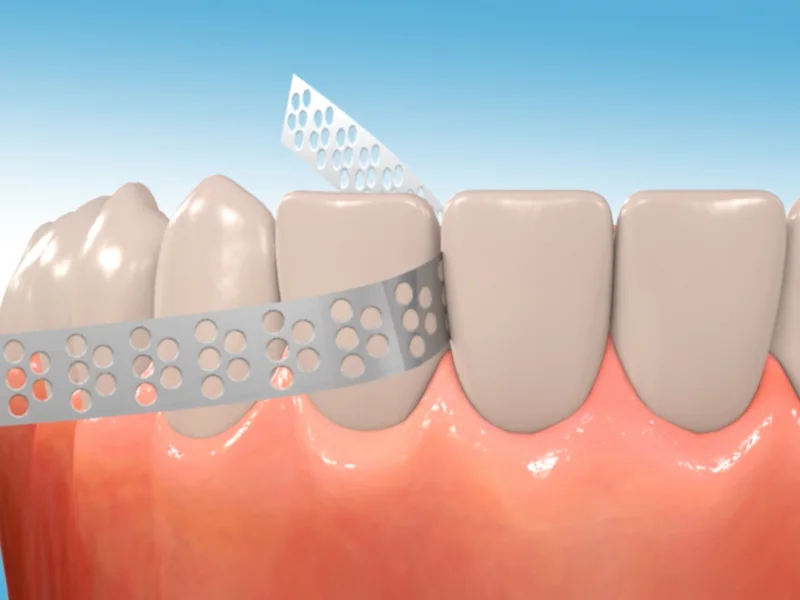
Interproximal reduction and attachment design for predictable space creation and force control in aligner therapy.
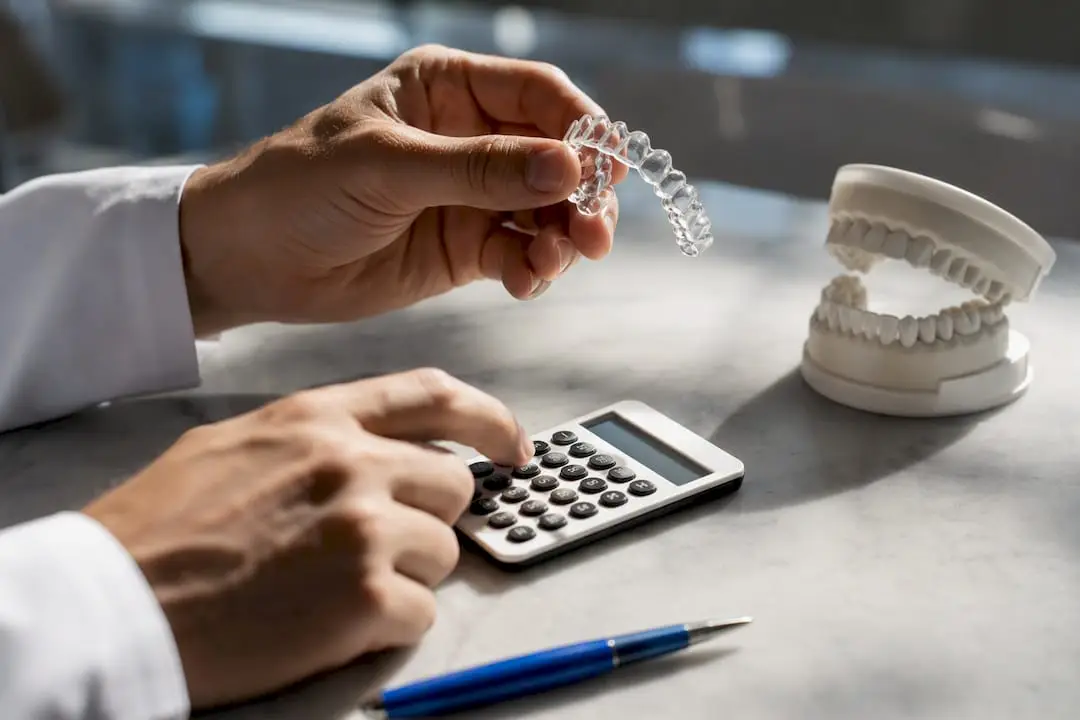
Clear Aligners • Professional Education
Practical budgeting for dentists: tuition ranges ($100–$20,000), a TCA checklist, and a 2.5 month payback example; includes One World Dental mentorship...
9 min read · Updated September 12, 2026
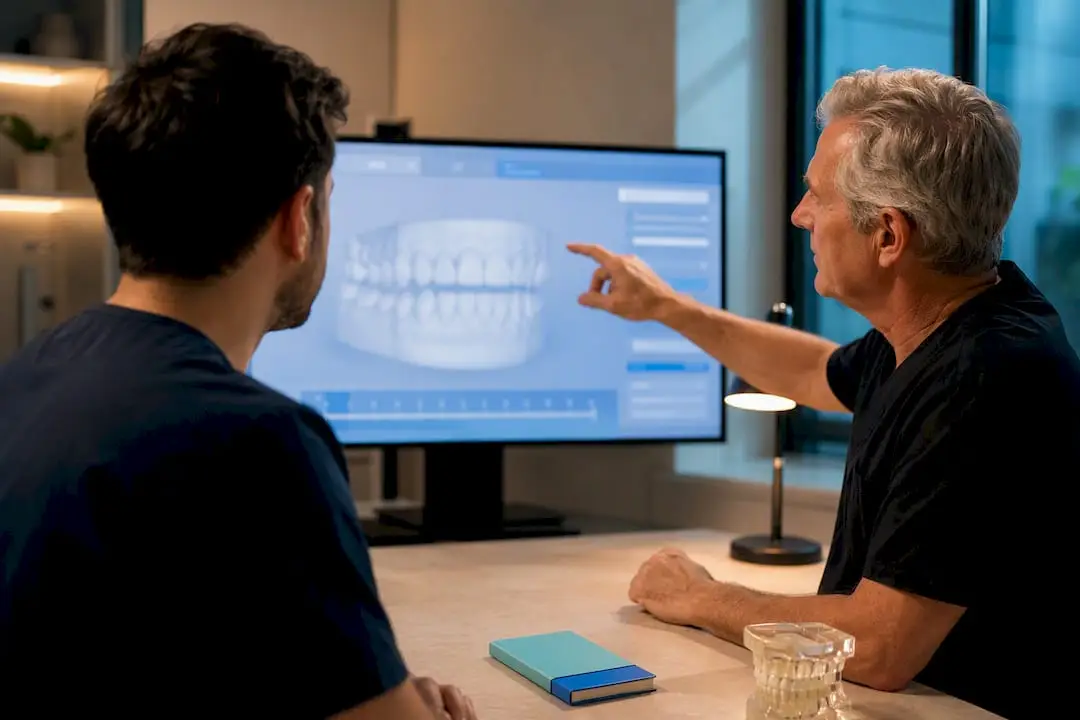
Clear Aligners • Clinical Guide
Compare mentorship features that lower refinements and shorten treatment time. Use a program checklist to pick the right clear aligner mentorship for your...
12 min read · Updated September 11, 2026
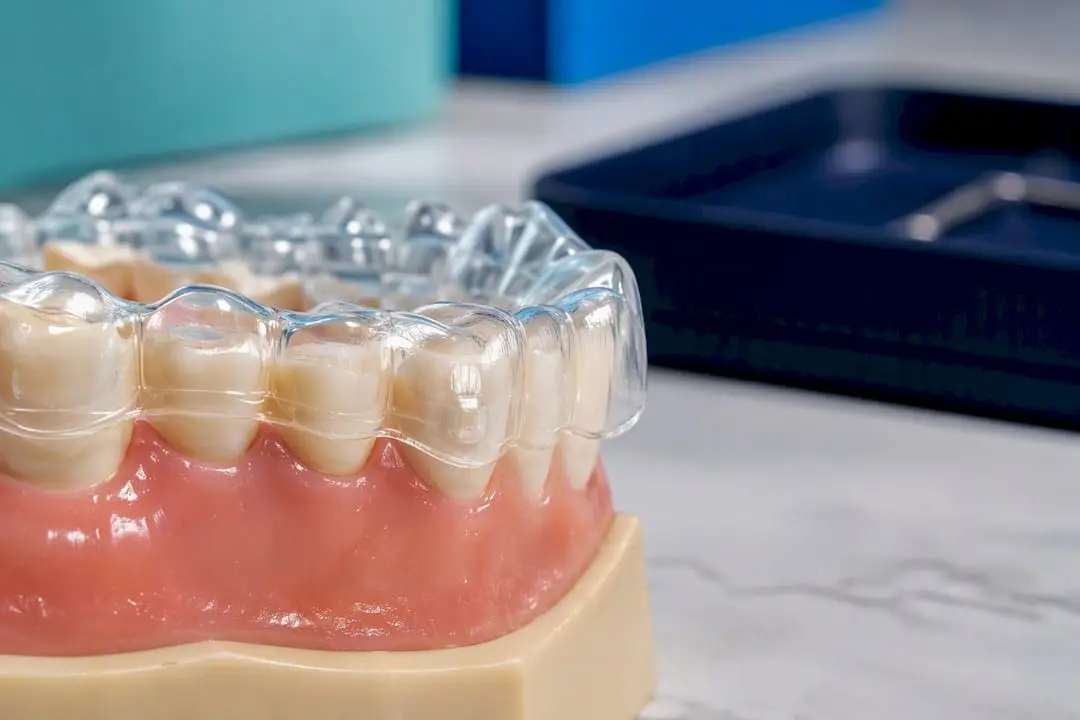
Clear Aligners • Clinical Guide
Turn 2020–2025 FEA findings into chairside practice: attachment shapes, trimline checks, 0.25 mm staging, anchorage and monitoring steps that reduce...
14 min read · Updated September 1, 2026