An orthodontic digital workflow replaces plaster and pencil marks with a connected chain: intraoral or CBCT scanning, software-based planning, and 3D printing or milling. Done well, it produces more predictable outcomes, often cuts turnaround time, and improves patient comfort, though the evidence backing individual steps varies. The sections ahead cover the hardware, the clinical cases where it changes practice, and the rollout plan that keeps it from becoming an expensive paperweight.
What Makes Up an Orthodontic Digital Workflow?
Every digital orthodontic workflow follows the same basic chain regardless of case type: digital acquisition, software-based planning, and fabrication by printing or milling. That’s the standard clinical sequence most reviews describe, and it’s worth memorizing because every purchasing decision you make should map back to one of those three links.
The hardware side is where most practices start, and where most budgets get blown on the wrong priorities.
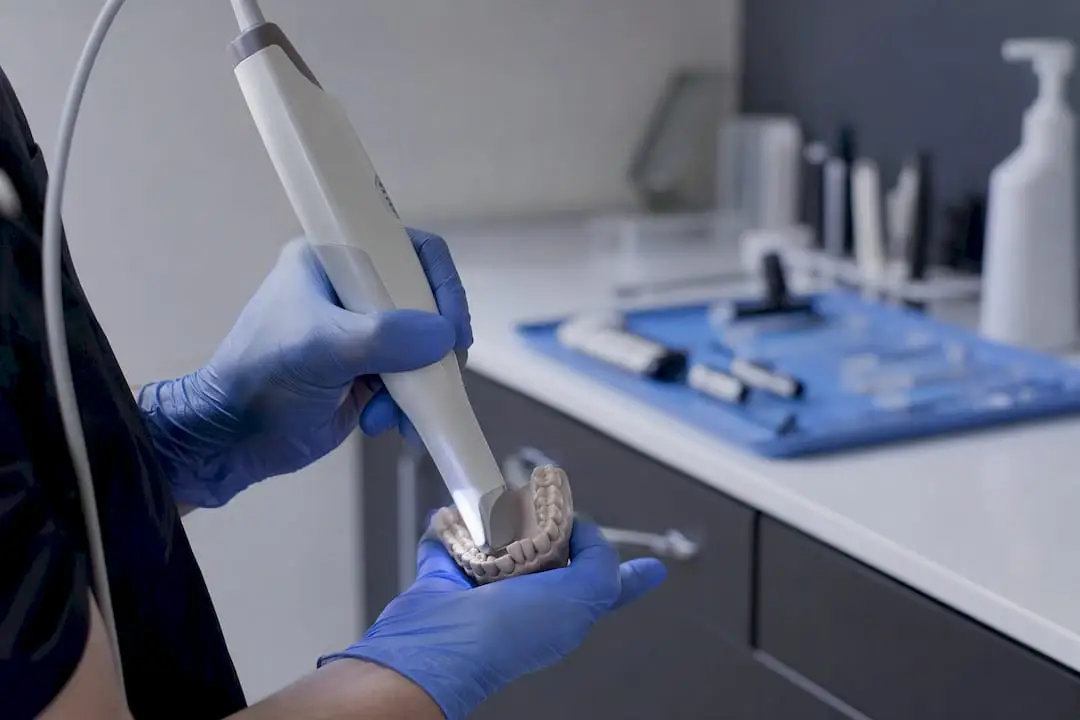
- Intraoral scanners (IOS): capture arch geometry directly from the patient, replacing alginate or PVS impressions for most aligner and retainer cases.
- CBCT units: provide 3D bone and root data, essential for surgical guides and cases requiring root-position visualization.
- Lab-side scanners: digitize physical models or impressions when a practice isn’t fully chairside digital yet.
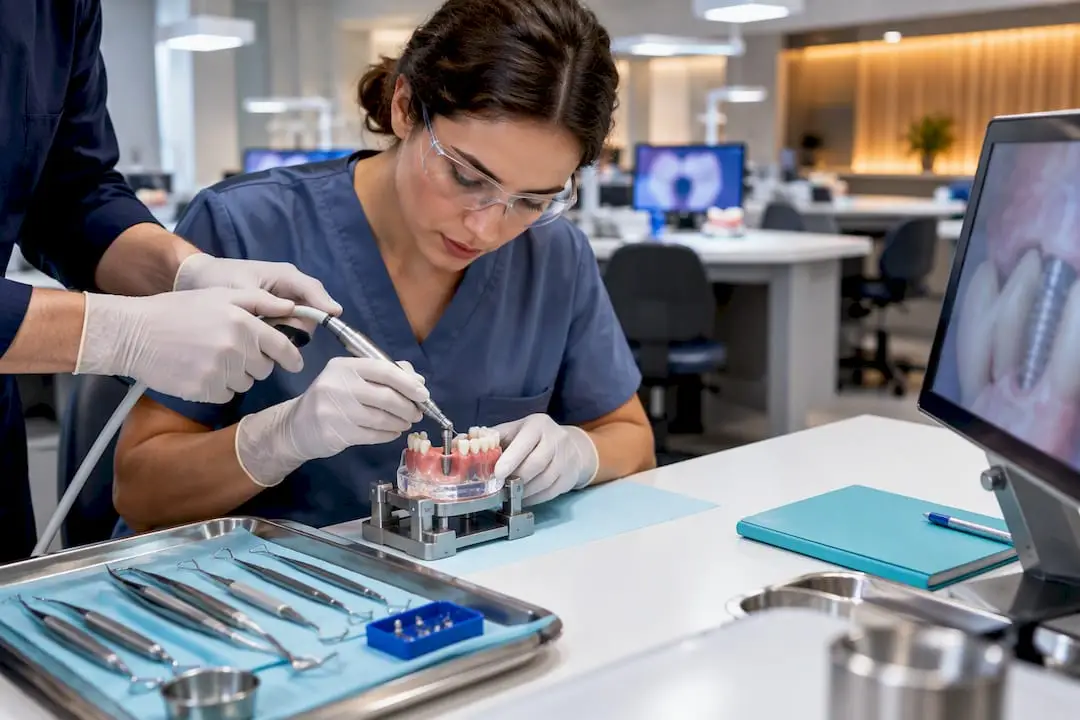
- 3D printers: fabricate models, trays, surgical guides, and increasingly direct aligners and retainers.
- Postprocessing stations: wash, cure, and finish printed parts, a step clinicians underestimate until dimensional accuracy suffers.
Software does the heavy lifting between scan and print. Setup software builds the virtual treatment plan; CAD editing tools adjust attachments, IPR, and staging; lab communication platforms move files to manufacturing partners; and remote monitoring apps track patient compliance between visits.
File compatibility is where good intentions meet friction. STL files handle surface geometry for most aligner and appliance work, PLY files carry color and texture data useful for esthetic cases, and DICOM remains the standard for CBCT volumetric data. Some vendors keep their ecosystems closed, locking your scanner to their specific lab or software; others publish open STL exports that work with any downstream partner. That distinction matters more than resolution specs when you’re comparing systems.
If you’re building a workflow from scratch, prioritize in this order: scanning speed and patient tolerance first (you’ll use the scanner daily), file interoperability second (this determines your lab flexibility for years), and service response time third. A scanner that sits idle during a warranty dispute costs more than the unit itself.
How Do Digital Workflows Apply to Aligners, Brackets, and Surgical Guides?
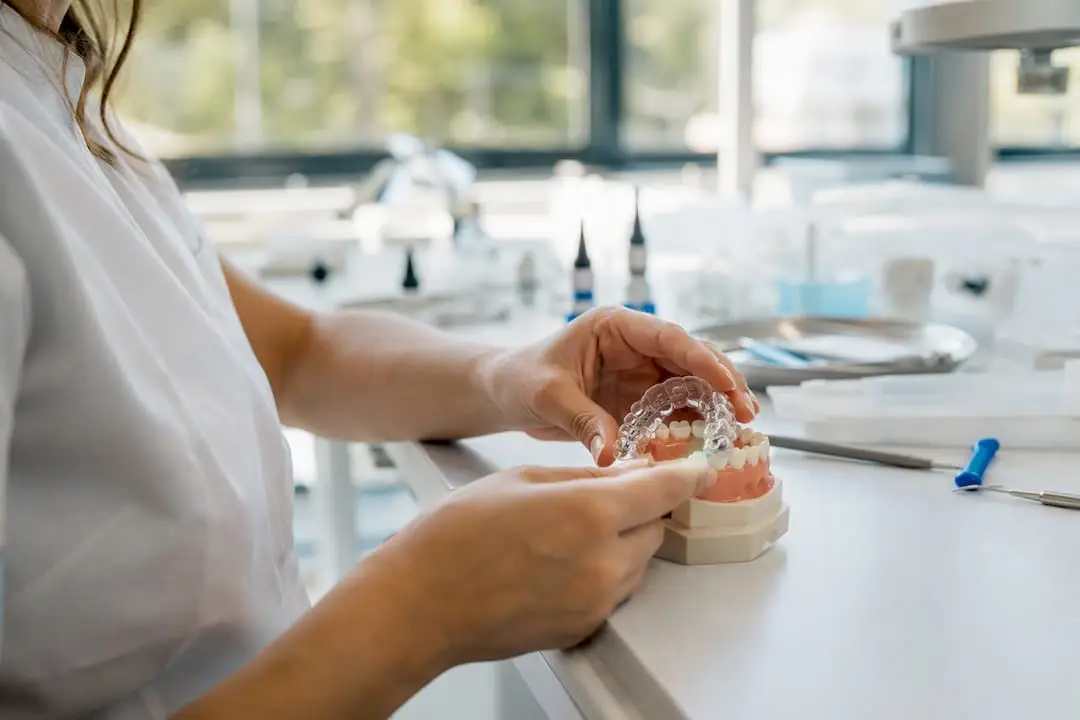
Aligner treatment is the clearest example of the full digital chain in action. A scan feeds a virtual setup, the setup gets staged into sequential tooth movements, attachments are placed digitally where engagement is needed, and the final files go to a printer or aligner lab. Compliance tracking software can then flag patients who aren’t wearing trays on schedule, catching problems before a six-month check reveals a stalled case.
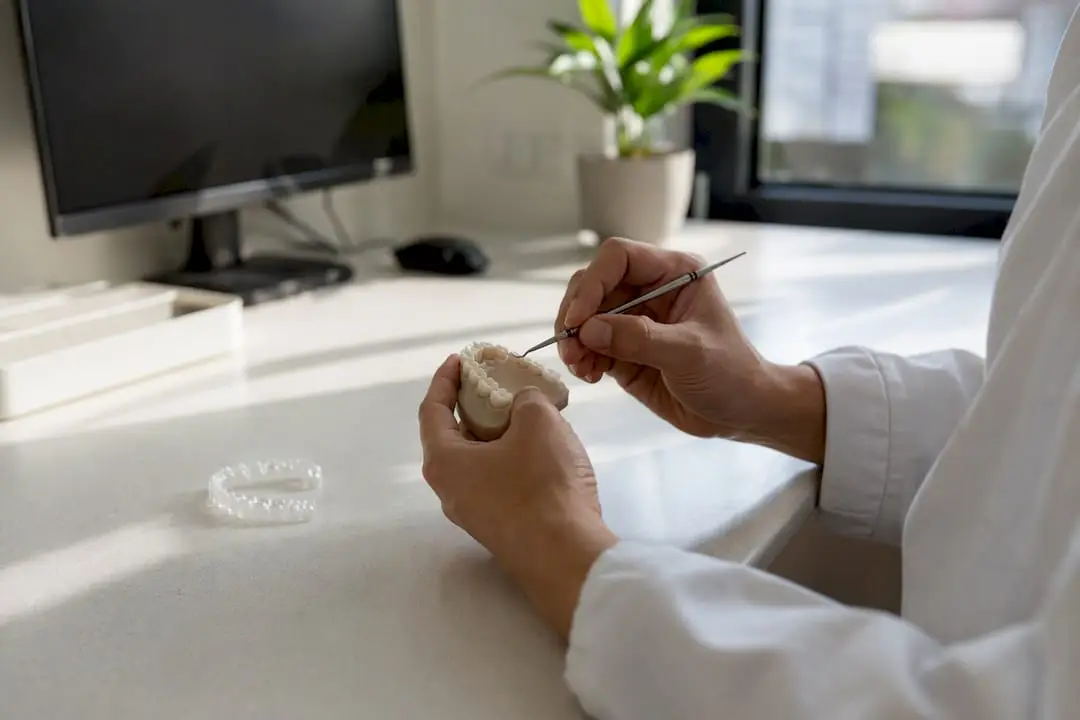
Indirect bonding (IDB) has quietly become one of the highest-value applications of digital planning. Digital IDB trays are designed from the same scan used for diagnostic records, then printed or milled with bracket positions built in. The clinical payoff shows up in appointment length: transferring precise bracket placement from a digital tray takes a fraction of the time that hand-positioning brackets one by one requires, and accuracy improves because the placement was planned on a magnified 3D model rather than eyeballed on the patient.
Bracket workflows themselves are shifting too. Digital bonding platforms, AI-assisted positioning tools, and remote monitoring adjuncts are reducing chair time and catching broken brackets or wire issues between visits rather than at the next scheduled appointment. Custom bracket systems, planned entirely from the digital setup, are also gaining ground against traditional stock brackets transferred through adapter trays.
Surgical guides sit at the more technical end of the spectrum, requiring you to merge two different data types:
- CBCT volumetric data provides root and bone position.
- Intraoral scan STL files provide crown surface detail.
- Merged files generate a guide that positions miniscrews or surgical cuts with millimeter precision.
- Multidisciplinary cases (orthodontics plus oral surgery) require this merge to happen before either specialist finalizes their plan.
Getting the merge wrong, usually from a scan taken too long before the CBCT, is the single most common reason surgical guides don’t fit chairside. Keep those two captures close together in your treatment timeline.
What Are the Best Practices for Scanning and Data Acquisition?
Scan quality determines everything downstream. A rushed scan with missing occlusal detail forces a remake, adds a patient visit, and erodes trust in the whole digital process. Most practices that struggle with digital adoption are actually struggling with scan technique, not software.
- Start with a dry field. Isolate with cotton rolls or a cheek retractor before you begin; saliva pooling is the top cause of scan artifacts around molars.
- Scan the occlusal surface first, then move buccal, then lingual, following your scanner manufacturer’s recommended path rather than improvising.
- Capture the bite registration in a single continuous pass with the patient in maximum intercuspation, avoiding multiple starts that introduce alignment errors.
- Review chairside before the patient leaves. Most software flags gaps or noise in real time; fix them before removing the retractor.
- Export and cross-check the file against your case requirements (full arch vs. quadrant, with or without bite) before sending to planning software or lab.
Common artifacts include stitching errors where two scan passes don’t align, “noise” from moving tissue like the tongue or cheek, and missing data at the distal of second molars where scanner heads can’t reach comfortably. Most of these get fixed with a targeted rescan of the problem area rather than starting over.
Patient comfort is a genuine driver of adoption, not just a marketing line. Clinical literature on intraoral scanning consistently finds patients prefer scanning to alginate impressions, even though total scan time compared with a traditional impression is mixed across studies. Communicating that preference to anxious patients, especially kids and gaggers, often matters more than shaving thirty seconds off the scan itself.
Pro Tip: Keep a one-page scan acceptance checklist taped near the scanner. New staff skip steps under time pressure, and a visual checklist catches errors before the file ever leaves the room.
Calibrate scanners on the manufacturer’s schedule, not “when something seems off,” and keep version control on your software so a rescan on Tuesday doesn’t overwrite Monday’s diagnostic capture.
How Do You Manage CAD/CAM Setup, Staging, and File Handoffs?
The virtual setup is where the treatment plan actually gets written, and reviewing it properly takes longer than most clinicians budget for. Rushing this step is the single biggest source of mid-treatment surprises.
When reviewing a setup, check occlusion at every stage, not just the final position. Confirm root movement planning is visible if your software supports it, since many platforms only model crown movement by default and can hide problematic root torque until you specifically toggle that view. Verify that IPR amounts match what you’re comfortable performing clinically, and confirm attachment placement accounts for the specific tooth movements planned rather than a generic template.
A practical CAD/CAM review checklist looks like this:
- Confirm arch form and midline match diagnostic photos, not just the scan.
- Check attachment type and position against the movement each tooth requires (rotation, extrusion, torque).
- Verify IPR locations and amounts against your treatment plan and patient consent.
- Review staging sequence for movements that are biologically unrealistic (too much per stage).
- Confirm final file format and version before export; a mismatched software version is a common cause of lab rejection.
Export practices deserve their own discipline. Label files with case number, date, and revision number every time, because “final_v2” and “final_v3” sitting in the same folder is how the wrong tray gets printed. Most lab miscommunication traces back to version confusion, not clinical disagreement. Sign off only after you’ve compared the exported file’s staging count against your written treatment plan; a mismatch there means something changed in software that didn’t make it into your notes.
Which 3D Printing and Postprocessing Choices Affect Clinical Fit?
Printer technology choice isn’t just a budget decision, it’s a clinical accuracy decision. Comparative data on printer types shows DLP and SLA units generally deliver higher dimensional accuracy and faster fabrication than basic FDM printers, which matters directly for how well an aligner or tray fits when it reaches the patient.
- SLA (stereolithography): high accuracy, smooth surface finish, slower per-part but reliable for models and guides.
- DLP (digital light processing): comparable accuracy to SLA with faster batch printing, now common in orthodontic labs.
- FDM (fused deposition modeling): lower cost and lower resolution, generally unsuitable for anything requiring tight fit tolerances.
- SLS (selective laser sintering): used less often chairside, more relevant for certain appliance frameworks needing durability without support structures.
Material selection matters as much as printer choice. Aligner and tray materials need enough flexibility to seat and remove without cracking, but enough stiffness to apply consistent force. Biocompatibility certification isn’t optional; verify any material touching oral tissue carries the appropriate clearance before it goes anywhere near a patient’s mouth.
Postprocessing is the step that quietly ruins otherwise good prints. Wash time removes uncured resin, and skipping or rushing it leaves tacky surfaces that irritate soft tissue. Cure time and UV wavelength need to match the resin manufacturer’s spec exactly, because under-curing leaves parts dimensionally unstable and over-curing makes them brittle. Finishing (trimming supports, polishing edges) is where technician skill still matters even in a fully digital shop.
Whether to print in-house or outsource comes down to case volume and staff bandwidth. A practice doing under a handful of aligner cases weekly rarely justifies the equipment, maintenance, and postprocessing labor of in-house printing; a higher-volume practice often recoups that investment within a reasonable case count. Reading more on aligner printing workflows helps clarify where that break-even point sits for your case mix.
How Do You Roll Out Digital Workflows Without Disrupting the Practice?
Buying the equipment is the easy part. Getting a full team to trust and consistently use a new workflow is where most digital transitions stall, usually within the first ninety days.
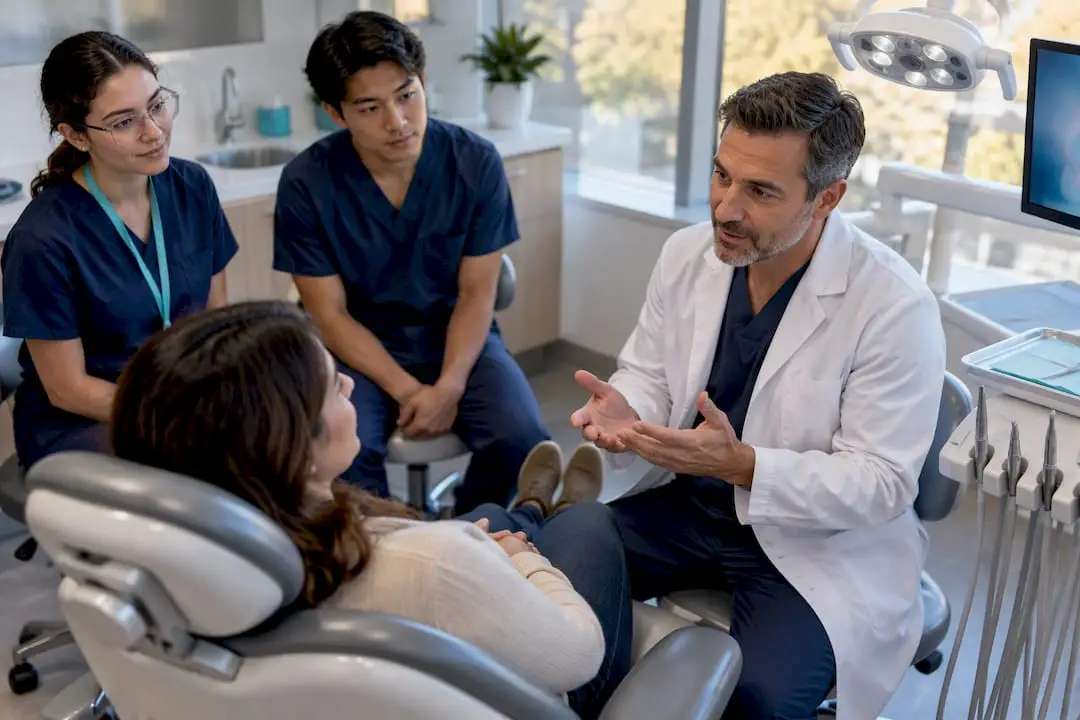
Start by defining roles clearly, because ambiguity here is what causes bottlenecks. A digital coordinator who owns case files end-to-end, from scan through lab handoff, prevents the common failure mode where three staff members each assume someone else exported the file. Scanner operators need dedicated training time, not a five-minute demo during a busy Monday. A lab liaison, even if that’s the same person as the coordinator, should own communication with outside manufacturing partners so nothing falls through the cracks between systems.
A phased rollout beats a full switch every time:
- Pilot with low-complexity cases (simple aligner cases or retainers) for the first four to six weeks.
- Train staff on scan technique before expanding to more complex cases, with a documented SOP they can reference without asking.
- Expand to IDB and bracket workflows once scan quality is consistently acceptable on the pilot cases.
- Add surgical guide and CBCT-merged workflows last, once the team is fluent with the simpler chain.
Track a small set of metrics from day one so you know if the rollout is actually working rather than just feeling busier:
- Rescan rate (target: declining month over month as staff improve)
- Chair time saved per case type versus your prior analog baseline
- Lab turnaround time from file export to appliance delivery
- Patient satisfaction or NPS specifically tied to the digital experience
Vendor contracts deserve scrutiny before signing, particularly around file portability. Confirm you can export in open formats if you ever switch labs, and keep a documented analog backup procedure for the inevitable day the scanner is in for repair.
Pro Tip: Don’t retire your alginate trays when you go digital. Keep one impression kit stocked and one staff member trained on it, because scanner downtime during a busy week is when analog backup earns its shelf space.
Industry guidance on preventing staff burnout during digital adoption consistently points back to the same lesson: pilot small, template everything, and don’t expand scope until the current phase runs smoothly without daily troubleshooting.
What Does the Evidence Actually Show About Digital Workflow Accuracy?
The evidence base is genuinely encouraging, with a real caveat clinicians should hold onto. A systematic review of twelve studies combining digital scanning and 3D printing found improved dimensional accuracy and workflow efficiency compared with conventional plaster methods, and that finding held across most of the studies reviewed.
Dimensional accuracy improvements were consistent enough across the reviewed studies that reviewers treated it as a reliable finding, not an outlier result.
The heterogeneity shows up in the details, not the headline. Sample sizes vary widely, printer brands and resin chemistries differ between studies, and outcome measures aren’t standardized, meaning a “significant improvement” in one study isn’t automatically comparable to another. Where evidence stays consistent is on model dimensional accuracy; where it gets murkier is on posterior tooth detail capture and total procedural time, both of which depend heavily on operator skill and specific hardware.
The practical mitigation is simple: don’t assume a published accuracy figure transfers directly to your practice’s specific printer, resin, and technician. Run your own quality checks, especially in the first several months after adopting a new device, and validate that your in-practice results match what the literature reports before you rely on it for complex cases.
A Stepwise Case Workflow Worth Copying
A clean aligner or IDB case follows a sequence that’s easy to templatize once you’ve run it a few times: diagnostic scan and photos, virtual setup review with attachment and IPR planning, clinician sign-off against the written treatment plan, fabrication (in-house print or lab), fitted delivery appointment, then scheduled compliance monitoring check-ins.
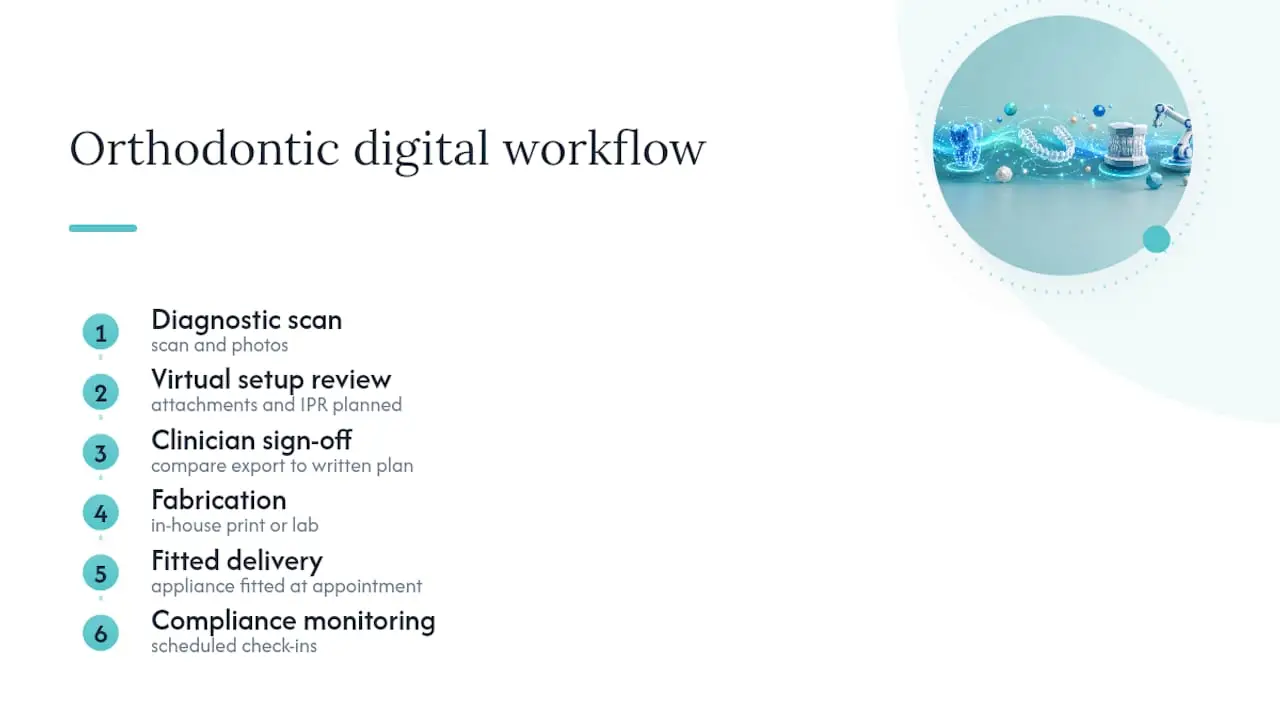
The step clinicians skip most often is the sign-off review, comparing the exported staging file against the original written plan before it goes to manufacturing. That five-minute check catches the majority of case-planning errors before they become a poorly fitting appliance in a patient’s mouth.
Building fluency across scanning, CAD review, and printing takes structured repetition, which is where Onewd’s course pathways come in. Clinicians moving from basic scanning into full digital case management typically progress through intermediate-level coursework before tackling more complex CAD/CAM planning and surgical-guide integration.
What Should Clinicians Prioritize First?
Buying the flashiest scanner on the market solves nothing if nobody on staff can run a clean scan sequence. The workflows that actually work in practice are the ones where clinician oversight stays in the loop, not the ones where software runs unsupervised and everyone assumes accuracy.
Balance matters here too. A reliable lab partnership often beats a half-used in-house printer sitting idle most weeks. Before adding equipment, invest in staff training and a written SOP that survives staff turnover, because the biggest workflow failures are people problems, not software problems.
— Jake
Build Your Digital Workflow Skills With One World Dental
Reading about digital orthodontic workflows only gets a practice partway there. The actual skill transfer happens through hands-on repetition with a mentor watching your scan technique, your CAD review habits, and your printer calibration in real time, not through a manual.

Onewd structures its coursework around exactly the adoption stages covered here. Clinicians new to chairside scanning start with foundational scanner and CAD basics; those ready to expand into aligner mechanics move into clear aligner coursework, including focused sessions on IPR and attachment planning; and clinicians building surgical or implant-adjacent digital skills can progress into in-person, hands-on modules with live mentorship rather than recorded lectures alone. Every course carries CE credit, so the skill-building doubles as license compliance rather than competing with it.
If you’re deciding where to start, browse the full course catalog and match your current gap, scan technique, CAD review confidence, or printer workflow management, to the corresponding module before committing to equipment purchases you haven’t yet been trained to use well.
Recommended