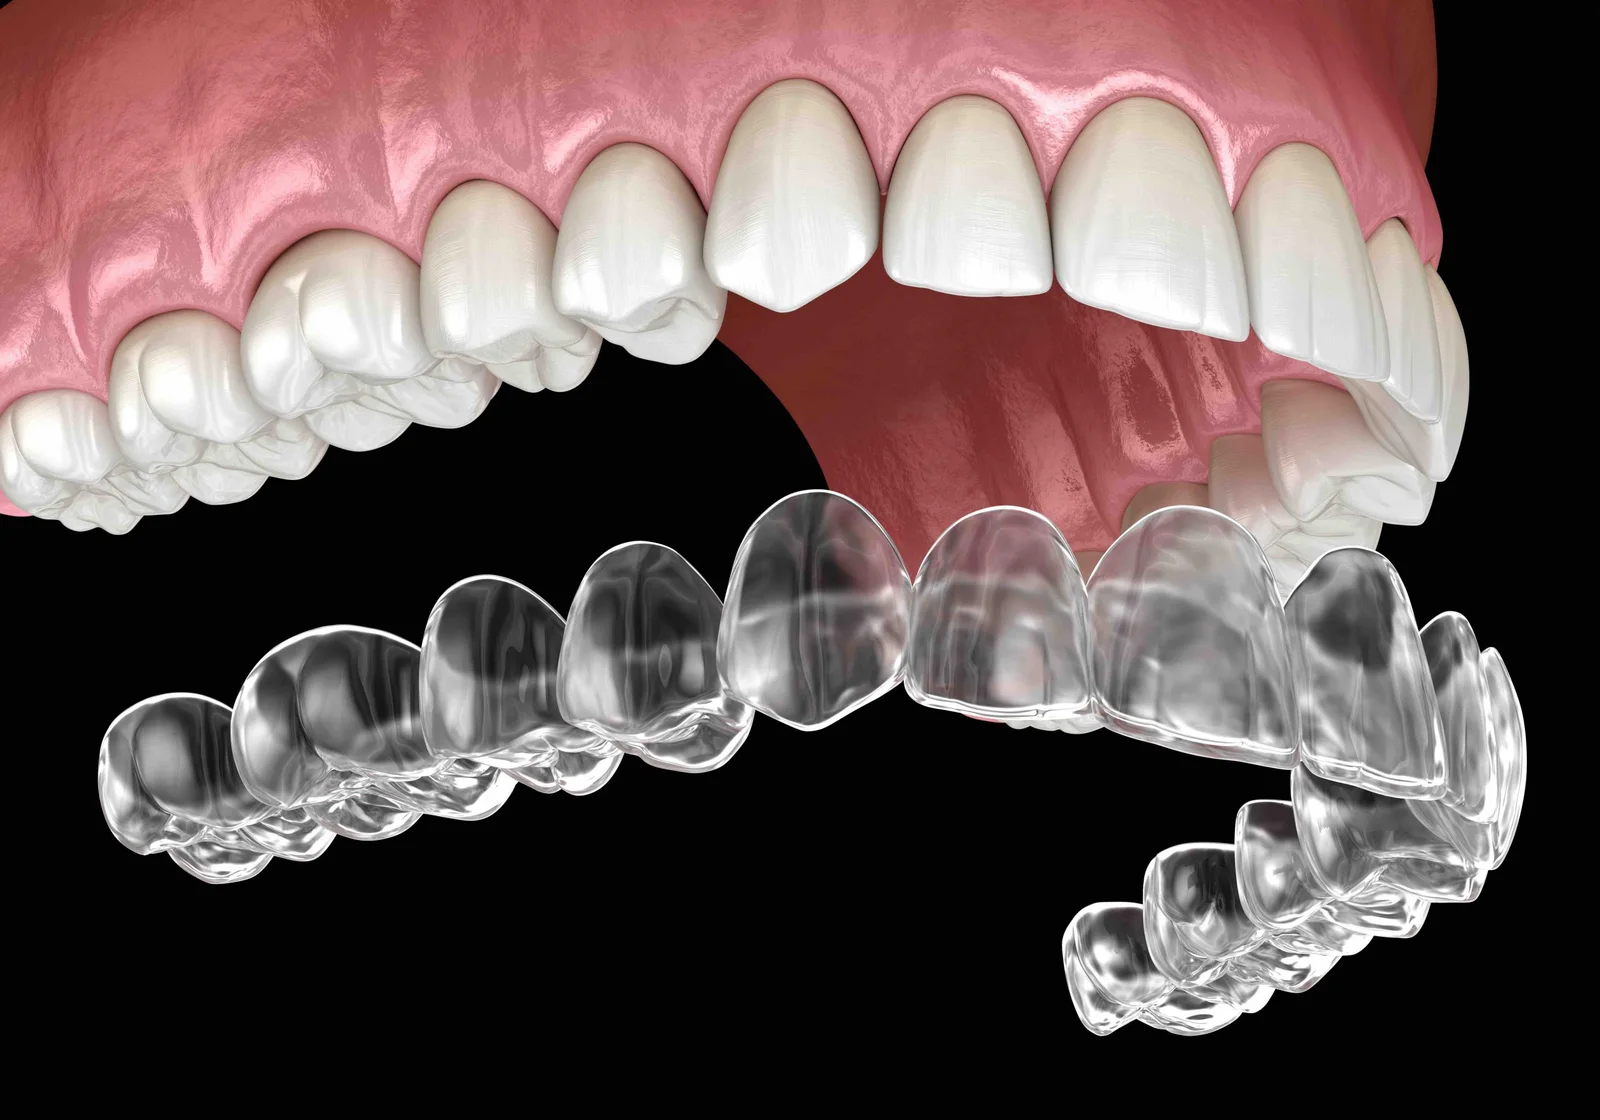
Level 2 • Clear Aligners
Comprehensive Dentistry: A Multidisciplinary Approach to Complex Clear Aligner Cases
Multidisciplinary treatment planning for complex clear aligner cases.
- Self-Paced
- 4–6 CE Credits
- 1–2 Days
- On-Demand
Coming SoonView Course

Clear Aligners • Clinical Guide
Turn 2020–2025 FEA findings into chairside practice: attachment shapes, trimline checks, 0.25 mm staging, anchorage and monitoring steps that reduce...
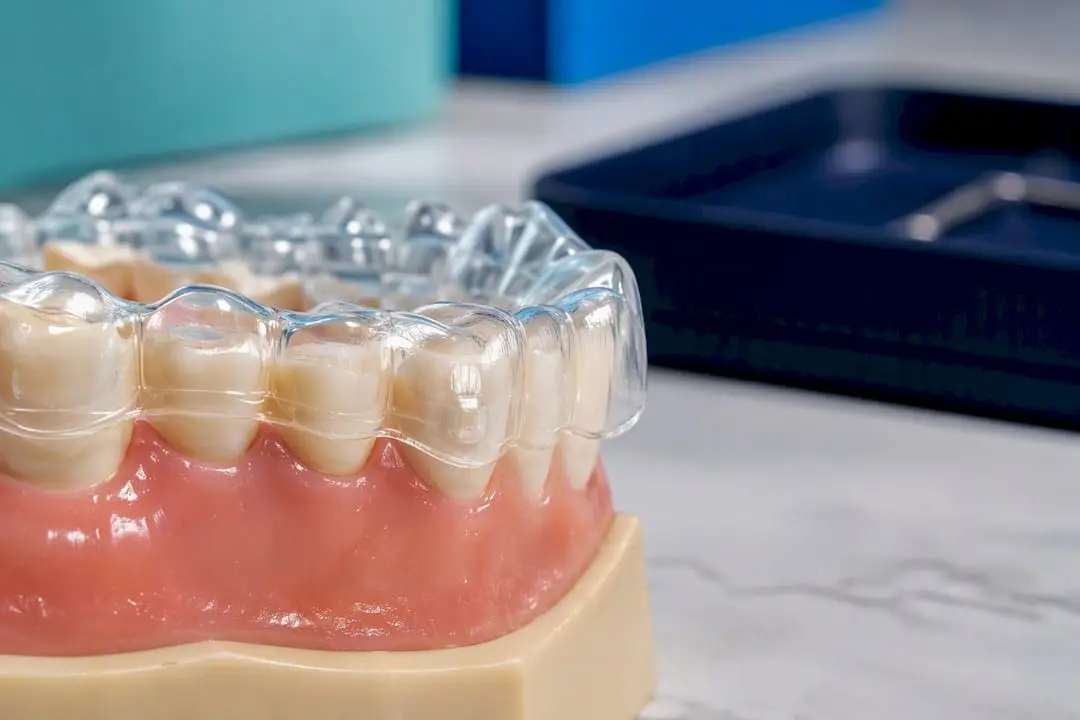
Clear aligners move teeth by rebound deformation of a stressed thermoplastic shell, and that single mechanism explains both their strength and their weakness: it excels at tipping and intrusion but struggles with rotation, torque, and bodily translation unless attachments, staging, and anchorage compensate for the geometry. Finite element analysis and clinical predictability studies now converge on the same conclusion. Get the mechanics right at the attachment and staging level, and the gap between planned and achieved tooth position closes considerably.
An aligner does not push a tooth the way an archwire does. It is manufactured over a digitally staged model that is slightly displaced from the tooth’s current position, so when the tray seats, the plastic deforms elastically around the crown and tries to spring back to its original molded shape. That rebound is the entire force engine of clear aligner technology, and everything downstream, attachment design, trimline choice, staging increments, exists to steer that rebound toward a specific movement instead of a generic tip.
Three variables determine how much force reaches the tooth and where it lands.
Edging quality, the precision of the laser or bur cut along the trimline, also matters more than manufacturers’ marketing suggests. A rough or inconsistent edge changes the contact area unpredictably from tooth to tooth, which is one reason two aligners cut from the same digital file can behave differently in the mouth.
The complication that undermines textbook force calculations is slippage. Classic orthodontic mechanics assume a fixed point of force application, the bracket slot, but an aligner is a removable, deformable shell that can slide slightly along the crown surface under masticatory load. That interfacial slip means the center of resistance calculations you would use for a bracket and wire system do not transfer cleanly to aligner therapy. The tray is not a rigid lever arm; it is a compliant membrane that redistributes load as the tooth moves and the fit changes session by session. This is precisely why attachments exist: they give the shell something to grip other than the smooth, slip-prone enamel surface.
A plain aligner tray, without attachments, generates a single force through roughly the geometric center of the crown, which produces tipping almost by default. To achieve rotation, torque, or translation, you need a couple, a pair of forces acting in opposite directions with a moment arm between them, and a smooth tooth surface simply does not offer enough purchase to create one. Attachments are the mechanical fix: bonded composite features that give the tray a shape to push against beyond the crown’s natural convexity.
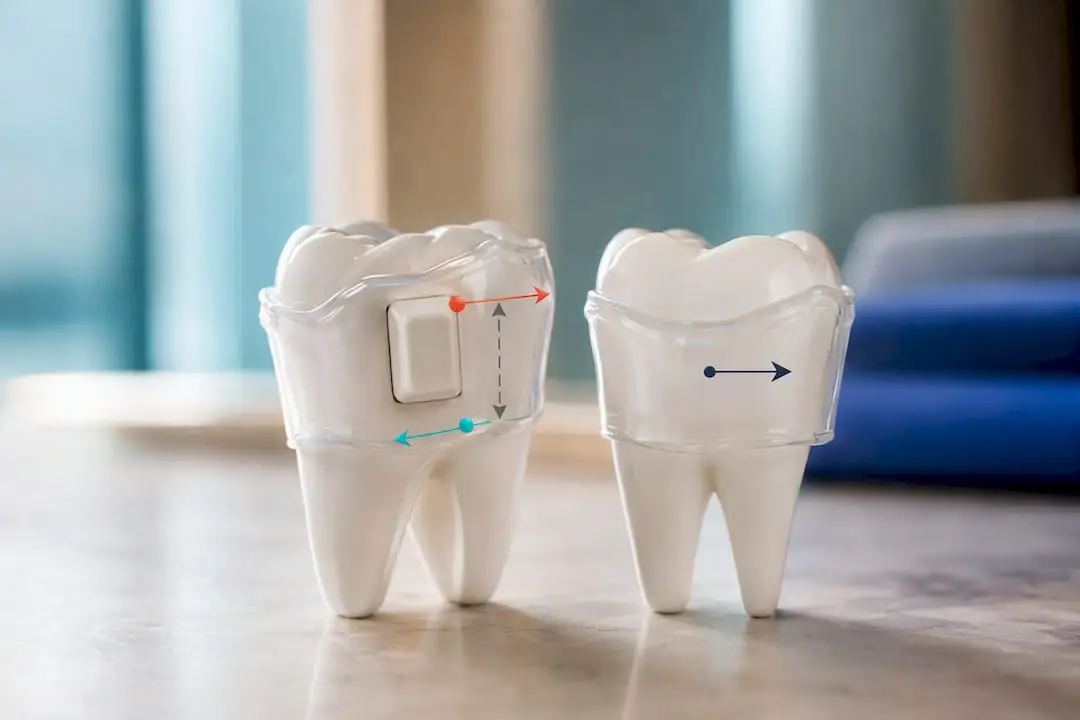
Not every attachment shape does the same job. Rectangular and beveled attachments extend the moment arm further from the tooth’s long axis than rounded or ellipsoid designs, which increases the couple available for root movement. Power ridges, small horizontal ledges placed at the incisal or gingival aspect, add a second contact point that helps convert what would otherwise be crown tipping into a more even push on the root. The tradeoff is stress concentration: a sharper attachment edge creates a more effective moment arm but also a higher local stress point on the periodontal ligament, so attachment selection is a balance between mechanical leverage and biological tolerance rather than a straightforward “more is better” decision.
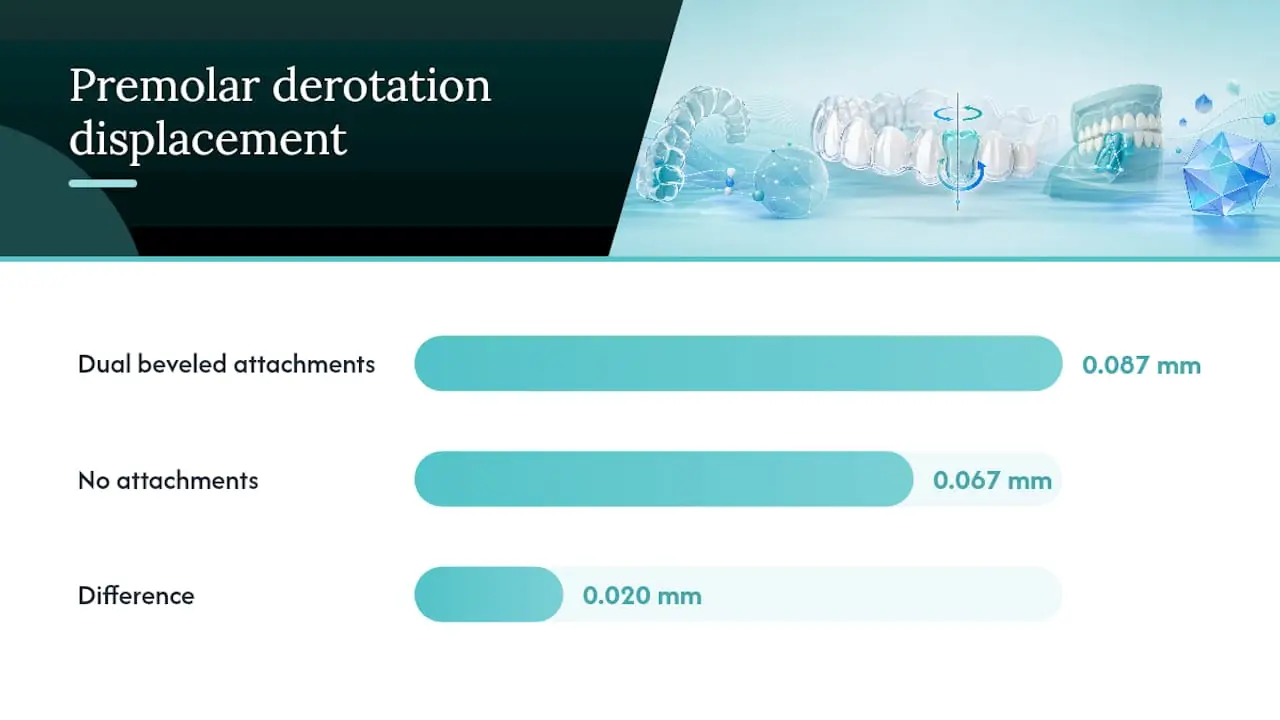
Placement location compounds the geometry question. Dual attachments, one on the buccal surface and one on the lingual, wrap the couple around the tooth from two sides instead of one, and the difference shows up in derotation studies. Mandibular second premolar derotation models using dual buccal and lingual beveled rectangular attachments produced 0.087 millimeters of tooth displacement, compared with 0.067 millimeters in no-attachment controls. That is a meaningful jump in a movement category, rotation of a premolar, that clinicians already flag as one of the least predictable in aligner therapy.
Distributing attachments beyond the tooth being moved also changes the outcome. Adding attachments to teeth adjacent to the target tooth increases resultant derotation and reduces unwanted aligner deformation in finite element models, essentially turning neighboring teeth into anchorage units that stabilize the tray while the target tooth rotates. This is the biomechanical logic behind staging attachments on a canine and a first premolar simultaneously even when only the premolar needs to move.
Pro Tip: Before you commit to a full-arch attachment scheme, run a single test activation on the tooth requiring the most root control and check tray seating at delivery. If the tray rocks or shows a visible gap over that attachment, the moment arm is not engaging as planned, and no amount of staging will fix a fit problem.
There is no single attachment library that outperforms all others across every case. Attachment efficacy depends on tooth morphology, the phase of movement, and how the geometry interacts with the aligner shell, which argues against defaulting to a software’s automatic attachment suggestions without reviewing them tooth by tooth. A few practical distinctions worth building into your protocol:
Not all tooth movements are equally forgiving of aligner mechanics, and the predictability gap between movement types is now well documented rather than anecdotal. Ranking movements from most to least predictable gives you a working framework for setting patient expectations and deciding where to reinforce the plan before it ever reaches the lab.
The practical takeaway for treatment planning is straightforward: rank the planned movements in a case by this predictability hierarchy before you approve the digital setup, not after the first refinement comes back short.
Finite element analysis has become the dominant research tool in aligner biomechanics because it can isolate one variable, attachment angle, sheet thickness, staging increment, and measure its effect on stress and displacement without a clinical trial’s confounders. The convergence across recent FEA literature is strong enough to treat as a working consensus.
Those findings are genuinely useful, but they come from models built on simplifying assumptions that do not hold up perfectly in a living mouth. Most FEA studies use static loading rather than the cyclical, intermittent forces a tray actually experiences over a full day of wear and removal. Many also treat the periodontal ligament as a linear elastic material, when it behaves in a nonlinear, viscoelastic way that changes its stress response depending on load duration and rate. Evidence mapping of the FEA literature found low to moderate credibility across most studies, with temporal modeling and realistic PDL properties underrepresented, which means a simulation showing a clean translation vector under ideal conditions may not survive contact with a patient who removes the tray for meals and talks with it in for sixteen hours a day.
Small changes in attachment orientation or power ridge height can flip the predicted center of rotation from a translation pattern to a tipping pattern in the same model, a sensitivity finding worth internalizing before you assume a minor lab adjustment is harmless.
The right way to use FEA clinically is as hypothesis generation, not proof. A simulation telling you that a bilateral rectangular attachment with a 0.25 millimeter stride should produce translation on a lower canine is a strong reason to try that configuration. It is not a guarantee, and every FEA-informed protocol still needs confirmation through staged clinical monitoring, ideally with a scan or photo checkpoint at the movement’s midpoint rather than waiting for the full stage to complete before checking tracking.
The single biggest lever you control before a case ever reaches manufacturing is stage size, how much movement each individual aligner is asked to deliver. Software defaults are not calibrated to movement difficulty; they tend to apply similar increments across all movement types, which is part of why rotation and torque cases refine more often than tipping cases.
Pro Tip: Treat the software’s suggested overcorrection as a starting draft, not a final number. One clinical framework recommends adopting a prescriptive multiplier tuned by tooth type, increasing prescribed rotation beyond the software default based on your own tracked outcomes, and refining that multiplier over successive cases rather than trusting a single generic setting.
The software prescription is a starting point, not a guarantee, because it cannot account for interfacial slip, patient wear compliance, or the specific attachment geometry you end up bonding. Clinical limits research on aligner planning emphasizes that clinicians must anticipate frictional loss at the plastic to enamel interface and build overcorrection into rotation and torque stages proactively rather than reactively through refinement scans. A refinement is not a failure of the system. It is a built-in correction step, but the fewer refinements a case needs, the faster the treatment and the more confidence the patient has in the process.
Anchorage decisions deserve the same upfront attention as attachment selection. When a case requires a tooth to move a significant distance, extraction space closure being the clearest example, the reactive force on adjacent teeth is not trivial, and relying on the tray alone to hold those teeth stationary often fails. Precision cut elastics engaging a button or attachment give you a controlled anchorage vector; mini screws remove the reciprocal force question entirely for cases where even a small amount of anchor loss would compromise the outcome.
Getting the biomechanics right on paper means little if trimline execution, attachment placement, and interproximal reduction sequencing are inconsistent chairside. A few practical rules translate the research into something a clinical team can execute the same way every time.
Edging precision on the trimline is not a lab detail to overlook. A poorly finished edge changes the contact area unpredictably, and that inconsistency compounds across a full arch of aligners. If your team is still calibrating trimline strategy by feel, a structured trimline and edging training course standardizes that judgment call across every provider in the practice. The same applies to attachment and IPR sequencing, where a hands-on IPR and attachment course can shorten the learning curve considerably compared with trial and error on live cases. For interdental esthetics specifically, managing black triangles with aligner mechanics is worth reviewing before finalizing any IPR-heavy plan.
Every predictability problem in aligner therapy traces back to one of three levers: attachment and auxiliary design, staging and overcorrection, or anchorage and monitoring. Before sending a case to the lab, flag any rotation greater than 5 degrees, any torque change on a proclined incisor, or any translation requirement, these are your difficulty markers. Confirm dual attachments where root control matters, tighten staging increments for rotation and torque, and decide anchorage strategy before manufacturing, not after the first refinement scan.
The honest gap in this field is not attachment design or staging math. Those are increasingly well characterized. It is the space between a finite element model and a mouth that talks, chews, and removes its aligners inconsistently. Most FEA studies validate against other simulations or short-term clinical snapshots, not against long-term tracked outcomes across diverse tooth morphologies, and that leaves clinicians extrapolating from static models to a dynamic biological system more often than the literature comfortably admits.
What closes that gap in practice is not more simulation data. It is repetition under supervision, seeing what a 0.25 millimeter rotation stage actually does on a canine versus a lateral incisor, feeling where a dual attachment seats poorly before it becomes a refinement. That kind of pattern recognition is exactly what mentorship-driven, hands-on training is built to accelerate, and it is the piece a research paper cannot deliver on its own.
— Jake
Reading the FEA literature gets you the framework. Applying it consistently across real patients, with real attachment placement variability and real patient compliance, is a different skill, and it is the one Onewd’s clear aligner curriculum is built around. Courses cover attachment selection and IPR sequencing, trimline and edging strategy, and vertical control planning, taught through mentorship and live case review rather than slide decks alone.

Formats range from online modules you can work through between patients to in-person hands-on sessions where you place attachments and check tracking under direct supervision. If staging and attachment decisions are still the part of your aligner workflow that feels like guessing, browse the training course catalog and find the module that matches where your cases are currently falling short.
Educational disclaimer: Content is provided for professional education and is not a substitute for a clinician's independent judgment, applicable standards, manufacturer instructions, or relevant laws and regulations.
Related Training
Level 2 • Clear Aligners
Multidisciplinary treatment planning for complex clear aligner cases.
Level 1 • Clear Aligners
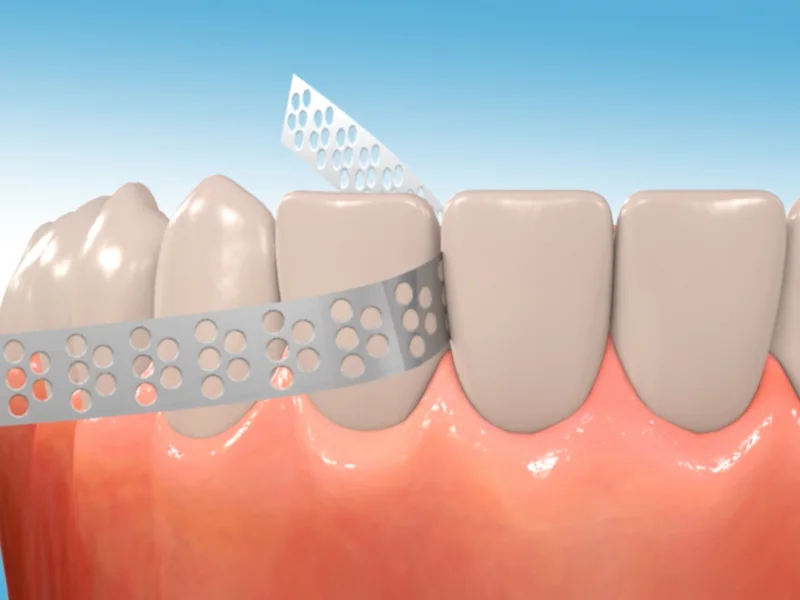
Interproximal reduction and attachment design for predictable space creation and force control in aligner therapy.
Clear Aligners • Clinical Guide
A CE-focused playbook for dentists to start clear aligner cases: three immediate steps, required records, staging rules, and a hands-on mentorship path.
8 min read · Updated September 20, 2026
Clear Aligners • Professional Education
Practical budgeting for dentists: tuition ranges ($100–$20,000), a TCA checklist, and a 2.5 month payback example; includes One World Dental mentorship...
9 min read · Updated September 12, 2026
Clear Aligners • Clinical Guide
Compare mentorship features that lower refinements and shorten treatment time. Use a program checklist to pick the right clear aligner mentorship for your...
12 min read · Updated September 11, 2026