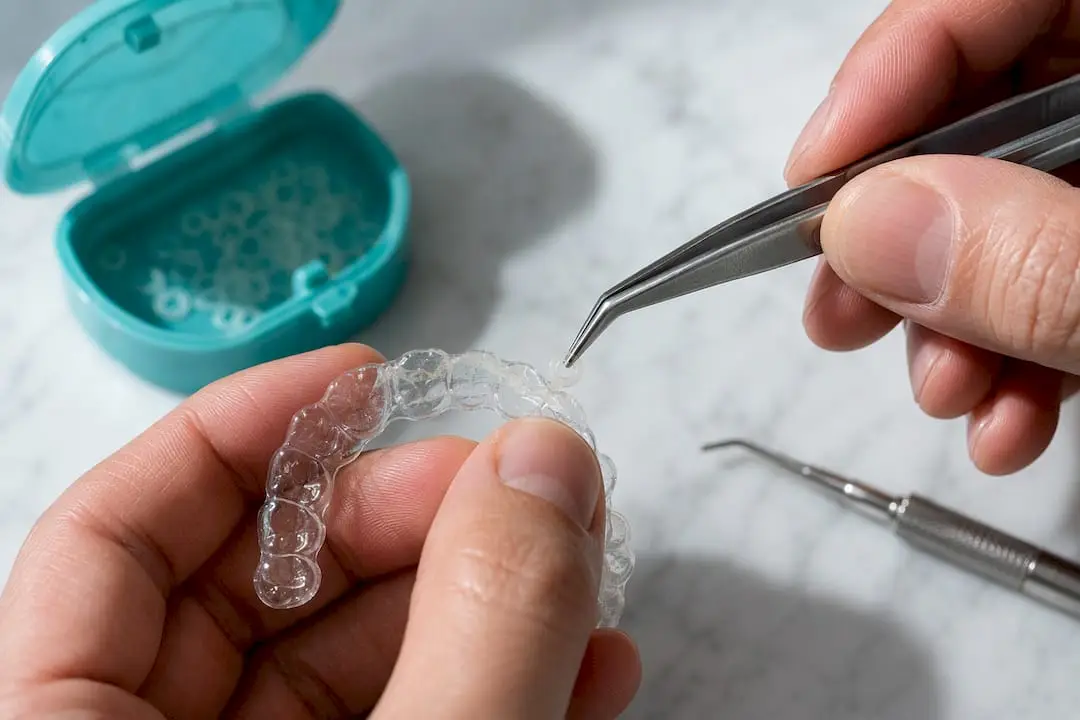
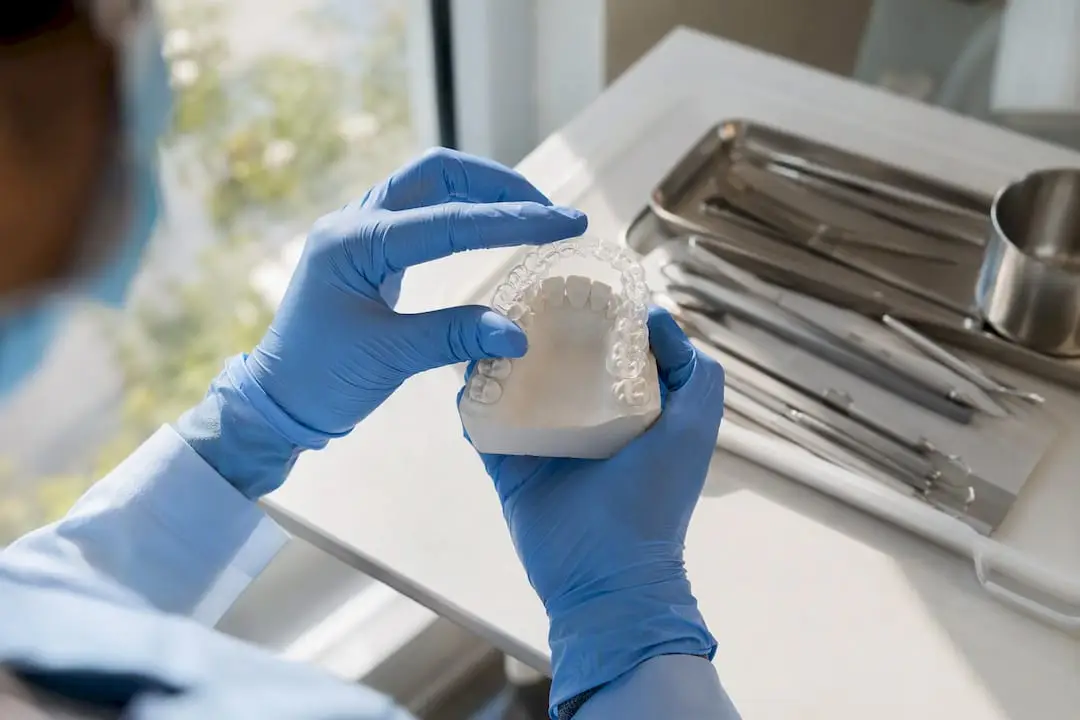
Prevent and correct open gingival embrasures (OGEs) in aligner cases by anchoring every treatment plan to Tarnow’s contact-point-to-bone thresholds, staged IPR within safe per-contact limits, controlled root torque, and sequenced restorative rescue when orthodontic mechanics alone fall short. The core rule: if the interproximal contact point (ICP) sits more than 5 mm above the alveolar bone crest (ABC), papilla fill becomes probabilistic rather than predictable. Your aligner plan must account for that before the first tray is delivered.
Chairside checklist — apply at every new aligner consult:
- Measure ICP→ABC on periapical radiographs or CBCT; flag any site ≥6 mm
- Document crown form (triangular vs. square), root angulation, and periodontal biotype
- Map proactive IPR: ≤0.3 mm per anterior contact, ≤0.5 mm per posterior contact
- Review digital setup for final contact-point height; overcorrect apically where indicated
- Assign attachment positions that minimize anterior papilla stress
- Schedule mid-treatment monitoring at IPR stages and at 50% aligner completion
- Identify restorative or periodontal referral triggers before treatment starts
Key Takeaways
Managing black triangles in aligner cases requires measuring ICP-to-bone distance before treatment starts, staging IPR at its designated aligner step, limiting anterior attachments, slowing movement in periodontal-risk patients, and sequencing restorative rescue only after soft-tissue adaptation is complete.
| Point |
Details |
| Tarnow thresholds guide every plan |
ICP→ABC ≤5 mm gives ~98% papilla fill; ≥7 mm drops to ~27% — measure before approving any setup. |
| IPR is a gate, not an option |
Complete planned IPR at its designated aligner step; missed IPR causes off-tracking and apical contact shift. |
| Limit anterior attachments |
Attachment number correlates with higher OGE incidence; favor canine anchorage over central incisor attachments. |
| Slow movement for at-risk patients |
Reduce staging to 0.15–0.2 mm per step and extend wear to 2–3 weeks for thin-biotype or attachment-loss cases. |
| Onewd aligner training |
Onewd’s hands-on and on-demand courses teach IPR, attachment design, and OGE-risk case planning with CE credit. |
How to assess risk for black triangles in aligner cases
Risk stratification starts with one measurement: the distance from the ICP to the ABC. Tarnow et al. established that when this distance is ≤5 mm, the papilla fills the embrasure in approximately 98% of cases. Those three numbers are the foundation of every OGE risk conversation.
Tarnow thresholds at a glance: ≤5 mm → ~98% papilla fill | 6 mm → ~56% | 7 mm → ~27%
Measure ICP→ABC on calibrated periapical radiographs, CBCT cross-sections, or by combining standardized intraoral photographs with digital model measurements. On digital models, measure from the contact point to the gingival zenith and cross-reference with radiographic bone levels. Photograph every anterior embrasure at baseline with consistent angulation and magnification so mid-treatment comparisons are valid.
Beyond the ICP→ABC distance, document these anatomical risk factors at the consult:
| Risk factor |
Low risk |
Medium risk |
High risk |
| ICP→ABC distance |
≤5 mm |
6 mm |
≥7 mm |
| Crown form |
Square |
Intermediate |
Triangular |
| Root angulation |
Parallel |
Mild divergence |
Marked divergence |
| Periodontal biotype |
Thick/flat |
Intermediate |
Thin/scalloped |
| Prior attachment loss |
None |
Mild (1–2 mm) |
Moderate–severe |
A retrospective cohort of 200 non-extraction adults confirmed that OGE incidence and severity were higher in the aligner group than in the fixed-appliance group at appliance removal, underscoring why pre-treatment stratification matters more in aligner planning than in bracket-based cases.
Core aligner treatment-planning rules to prevent black triangles
The planning priority is contact-point position, not tooth position. Before approving any digital setup, confirm that the final ICP sits at or below the threshold that keeps it within 5 mm of the bone crest. Everything else, including arch form, overjet, and overbite, is secondary to that constraint in OGE-prone cases.
Concrete planning rules:
- Prioritize apical contact-point placement. Review the final virtual setup and measure ICP→ABC at every anterior site. Reject setups where final contacts sit more coronally than the bone-to-contact threshold allows.
- Avoid unnecessary incisor proclination. A retrospective analysis of 80 patients linked incisor proclination and omitted IPR to higher OGE rates. When space is needed, IPR is safer than labial tipping for papilla preservation.
- Prefer root-parallel torque control. Moving crowns labially while roots stay lingual opens embrasures. Plan root torque before or concurrent with any space closure.
- Overcorrect contact positions in the digital setup. Aligner material occupies interproximal space while in situ; plan contact points slightly more apical than the target to offset that occupation.
- Stage IPR before space closure, not after. IPR reshapes the contact point geometry; closing space over a triangular contact recreates the problem.
Pro Tip: Wait at least 8–12 weeks after completing active aligner treatment before finalizing restorative contact closures. Papilla can continue to fill during that window, and premature bonding locks in a contact point that the tissue might have corrected on its own.
Practical IPR protocol: limits, timing, and documentation
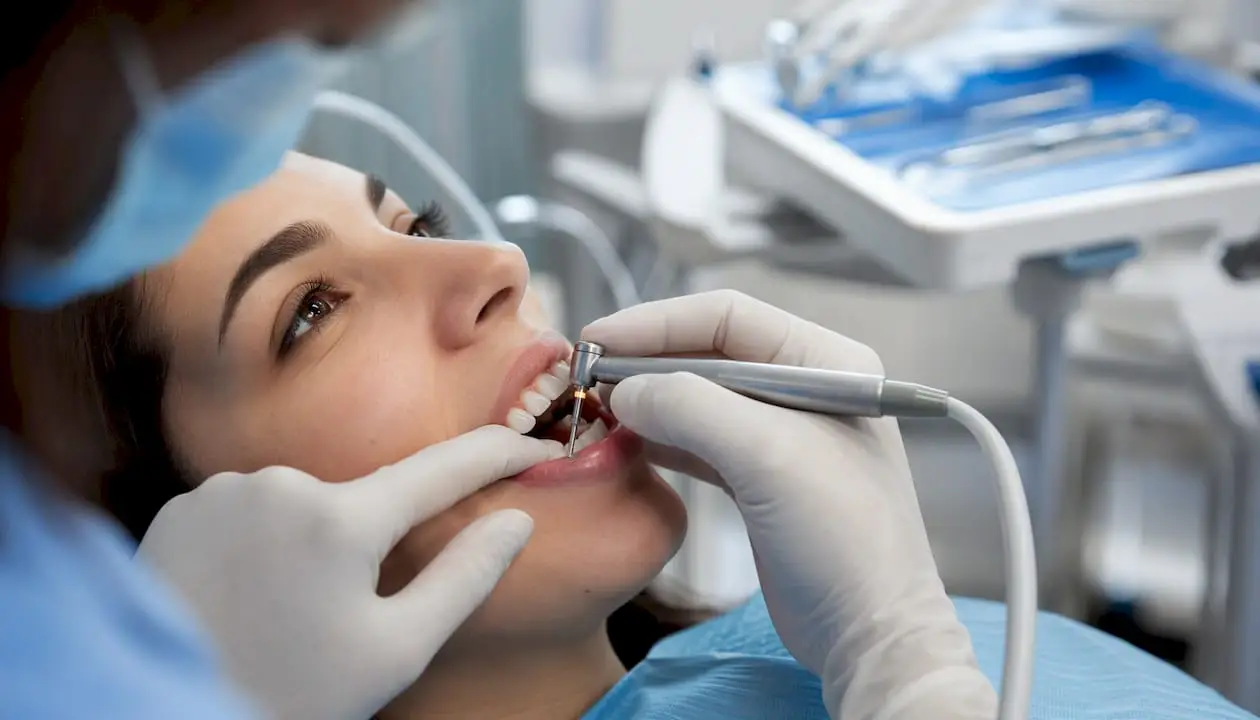
Plan IPR to relocate contact points incisally while staying within safe per-contact enamel removal limits, staged at the aligner step where space is first available. Clinical guidance sets the anterior limit at approximately 0.3 mm per contact and the posterior limit at up to 0.5 mm per contact. Cumulative removal across multiple contacts on a single tooth should not exceed roughly half the enamel thickness at that site.
Stepwise IPR protocol:
- Pre-op: confirm the planned site on the IPR chart; verify aligner fit before proceeding.
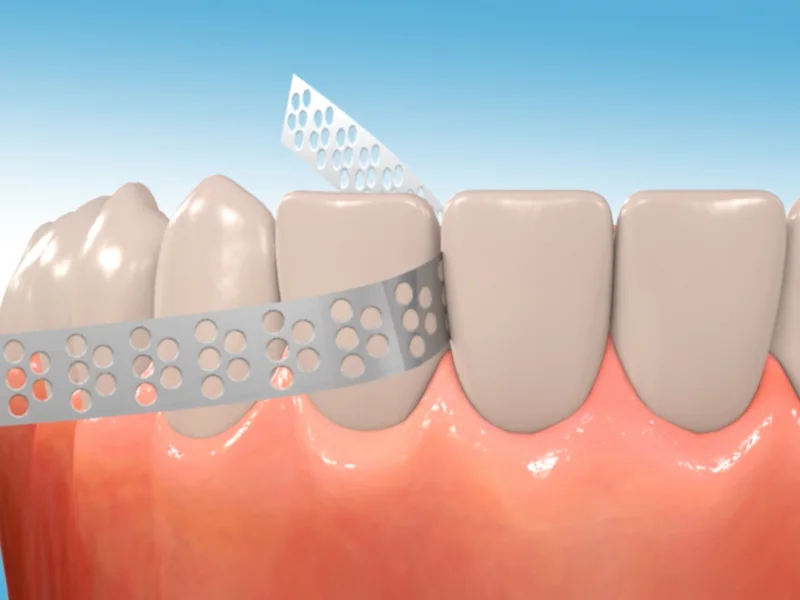
- Instrumentation: use oscillating diamond strips for anterior contacts; tapered burs or discs for posterior sites where access is limited.
- Anesthesia: topical anesthetic is sufficient for most anterior IPR; consider infiltration for sensitive patients or posterior sites.
- Polish with a fine-grit strip after reduction; check with floss for smoothness.
- Apply fluoride varnish to all reduced surfaces.
- Provide post-IPR hygiene instructions emphasizing interdental cleaning.
Documentation template (copy into chart):
Failing to perform scheduled IPR at its designated aligner step is one of the most common causes of off-tracking and poor contact-point formation. Treat IPR completion as a non-optional gate before advancing to the next aligner set.
How attachment choice and placement affect papilla outcomes
Attachments increase OGE risk when they concentrate removal stress at papilla-prone sites or drive root divergence. Research shows that the number and distribution of attachments correlate positively with OGE incidence, even when IPR reduces severity.
Practical attachment rules:
- Limit anterior attachments. Avoid placing attachments on both central incisors simultaneously when the ICP→ABC distance is already ≥6 mm. Canine attachments provide anchorage with less papilla risk.
- Use optimized attachment shapes. Smaller, beveled attachments reduce removal-stress forces at the gingival margin compared with rectangular horizontal attachments.
- Stage torque-heavy movements. Sudden root torque via attachments can transiently displace the papilla. Distribute torque across more aligner steps rather than concentrating it in two or three.
- Reassess at mid-treatment. If new OGEs appear at an attachment site, consider redesigning or removing that attachment before continuing.
- Avoid auxiliary elastics that pull teeth apically at sites where the ICP→ABC distance is already marginal.
Modifying aligner treatment for periodontal risk
Slow movement, longer wear per stage, and pre-treatment periodontal stabilization reduce papilla loss risk in compromised patients. Expert consensus explicitly recommends reducing tooth-movement velocity and increasing wear time per aligner stage for patients with suboptimal periodontal status.
Periodontal modification checklist:
- Complete full-mouth periodontal therapy and confirm stability (probing depths ≤4 mm, no active bleeding on probing) before starting aligners.
- Document baseline probing depths, clinical attachment levels, and radiographic bone levels at every anterior site.
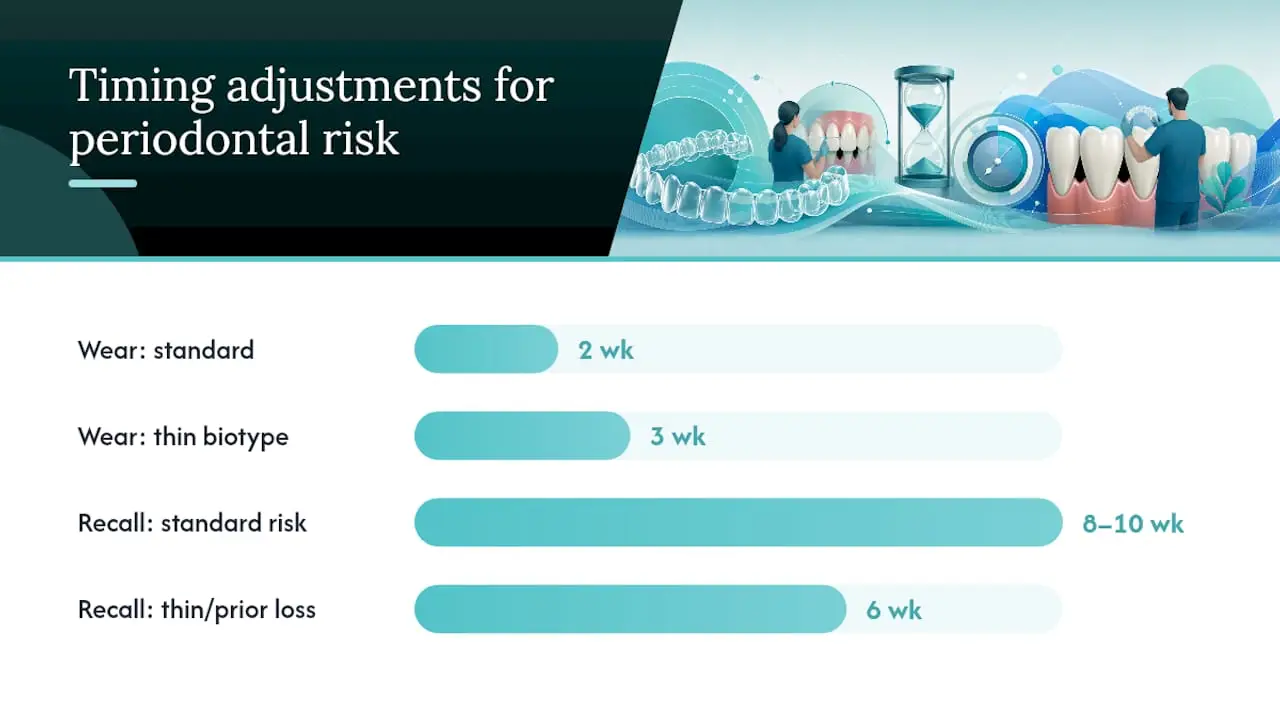
- Reduce staging magnitude: limit anterior movements to 0.15–0.2 mm per stage rather than the standard 0.25 mm.
- Extend wear time to 2 weeks per aligner minimum; consider 3 weeks for thin-biotype patients with prior attachment loss.
- Refer to periodontics if probing depths exceed 5 mm at any anterior site, if there is furcation involvement, or if bone loss is progressive.
Pro Tip: Schedule a periodontal re-evaluation at the midpoint of active treatment, not just at the start. Aligner forces can unmask subclinical inflammation, and catching it at week 20 is far better than discovering it at debond.
Recall intervals during active movement: every 8–10 weeks for standard-risk patients; every 6 weeks for thin-biotype or prior-attachment-loss cases.
Rescue strategies when orthodontic mechanics fall short
When ICP→ABC remains beyond predictable papilla-fill thresholds after orthodontic finishing, or when crown morphology physically prevents natural fill, restorative or periodontal options become necessary. The decision turns on two variables: how much space remains and whether the bone and soft tissue support reconstruction.
Rescue options by indication:
- Composite bonding or enameloplasty: first choice for mild OGEs (≤1 mm) where the contact point can be moved incisally with minimal tooth reduction. Fast, reversible, and compatible with retention.
- Porcelain veneers: indicated when multiple anterior teeth need contact-point repositioning and the patient also wants esthetic improvement. Requires careful coordination with the retainer design.
- Papilla reconstruction surgery: reserved for cases with adequate bone support but persistent soft-tissue deficit. Predictability is limited; patient counseling must set realistic expectations.
- Refer to periodontics when OGE depth exceeds 2 mm, when bone loss is the primary driver, or when the patient has a thin biotype with active recession.
Wait at least 8–12 weeks post-debond before any restorative intervention. Papilla fill continues during retention, and risk-factor data confirms that tooth morphology and residual ICP→ABC distance are the strongest predictors of whether natural fill will occur.
Objective monitoring schedule and metrics
Standardized follow-up at defined intervals catches embrasure problems early enough to redirect treatment. Record these metrics at every checkpoint:
| Checkpoint |
Timing |
Metrics to record |
| Baseline |
Before aligner 1 |
Calibrated photos, ICP→ABC (radiograph/scan), probing depths |
| Mid-treatment |
At 50% completion or IPR stage |
Photos, ICP→ABC, embrasure area on digital model |
| End of active treatment |
At debond |
Full photo series, ICP→ABC, patient-reported concern |
| Early retention |
3 months post-debond |
Photos, ICP→ABC, papilla fill assessment |
| Late retention |
12 months post-debond |
Full metrics; restorative/surgical decision point |
Clinical signal: any site where ICP→ABC increases by ≥1 mm between baseline and mid-treatment warrants immediate review of staging, IPR completion, and attachment position before advancing further.
Step-by-step clinical workflow from consult through retention
- Consult: measure ICP→ABC at all anterior sites; stratify risk (low/medium/high); document crown form, biotype, and root angulation.
- Records: take calibrated periapical radiographs, full-arch digital scans, and standardized intraoral photographs.
- Digital setup review: confirm final contact-point heights against Tarnow thresholds; map IPR sites and quantities; verify root parallelism at space-closure sites.
- IPR staging: assign each IPR event to a specific aligner step; enter into the IPR chart; brief the clinical team.
- Attachment plan: limit anterior attachments; select optimized shapes; document attachment positions in the chart.
- Delivery and early monitoring: deliver aligner 1; schedule 8-week check; confirm aligner fit and IPR completion at each visit.
- Mid-treatment check (50%): photograph and measure; re-evaluate periodontal status; adjust staging if OGEs are emerging.
- Finishing: confirm all IPR is complete; review contact-point positions on final scan; initiate restorative planning if needed.
- Debond and retention: deliver retainer; photograph full series; schedule 3-month and 12-month retention reviews.
- Restorative/surgical handoff: at 3 months, assess papilla fill; refer or plan bonding/veneers if OGEs persist beyond natural-fill threshold.
For complex cases, flag periodontic referral at step 1 and restorative planning at step 3 so those colleagues are engaged before treatment starts, not after a problem appears.
Evidence summary: what the research actually supports
The Tarnow thresholds are the strongest evidence in this space: a prospective measurement study with clear, reproducible data and clinical thresholds that have held up across subsequent cohorts. Everything built on top of that foundation is retrospective.
The 200-patient retrospective cohort comparing aligners with fixed appliances is the best available comparative data, but it is retrospective and cannot fully control for baseline periodontal differences. The attachment and IPR study (IPR reduces severity but not incidence; attachments increase incidence) is a useful signal, though sample sizes and measurement variability limit generalizability. Expert consensus on periodontal modifications is consensus-grade, not RCT-grade. Clinicians should treat these protocols as evidence-informed best practice, not proven algorithms, and document outcomes to contribute to the growing cohort literature.
What these protocols look like in real practice
The most common pitfall is treating IPR as optional. A missed IPR stage at aligner 10 does not just delay space creation; it causes the aligner to track incorrectly, which shifts contact points coronally and widens the embrasure. By the time the clinician notices at aligner 18, the soft tissue has adapted to the wrong position. Correcting it requires refinement, additional IPR, and sometimes restorative rescue that was entirely avoidable.
The second pitfall is approving a digital setup without checking ICP→ABC at every anterior contact. Software renders setups that look esthetically clean but place final contacts 7 mm above the bone.
The fix for both is procedural: make IPR completion a gate (no next aligner without confirmed IPR), and make ICP→ABC review a mandatory step in setup approval. Neither takes more than two minutes. Both prevent the kind of case that ends in a restorative rescue conversation the patient was never warned about.
Hands-on aligner training that covers these protocols
Knowing the protocol and executing it under pressure are different skills. Onewd’s clear aligner courses are built specifically for clinicians who want to close that gap, with live IPR practice, attachment design labs, and case-planning workshops that work through exactly the kind of OGE-risk scenarios this article covers.

The multidisciplinary aligner case planning course walks through digital setup review, IPR staging, and restorative sequencing on real cases. For clinicians who prefer self-paced learning, on-demand modules cover IPR technique and biomechanics fundamentals with CE credit. Browse the full training course catalog to find the format and credit range that fits your schedule.
Recommended