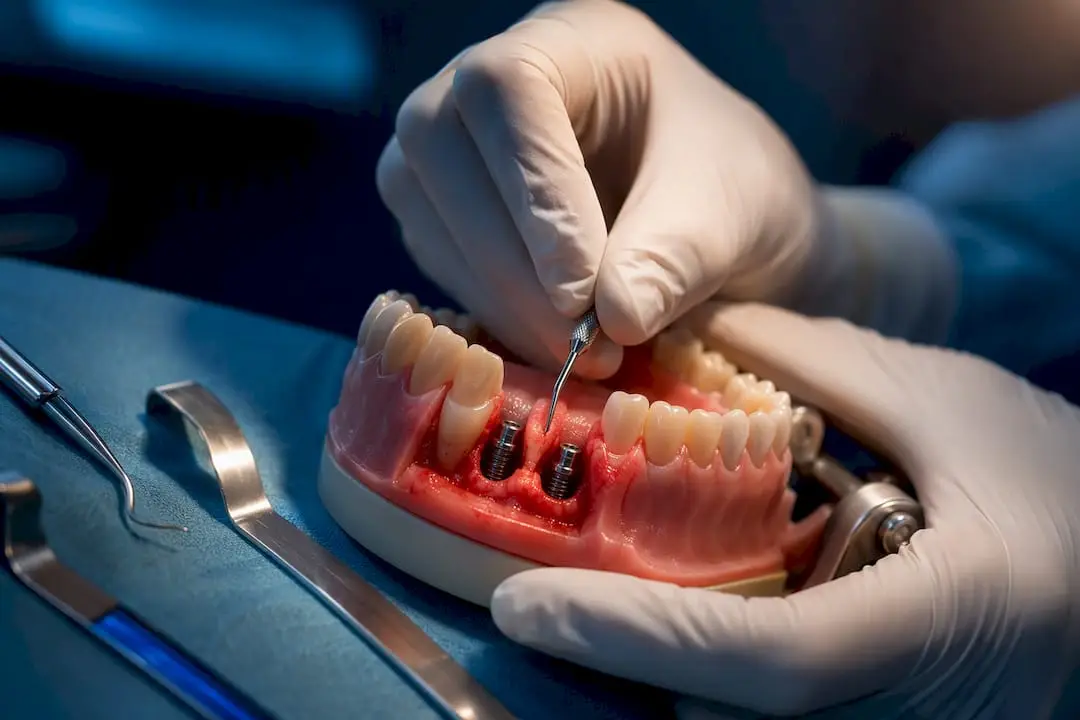
Choose the least invasive flap that reliably gives you the access you need while preserving blood supply and allowing tension-free closure. That single rule settles most flap decisions before you ever pick up a blade. If the case demands grafting, buccal wall inspection, or ridge augmentation, flapless surgery is off the table. If it’s a single anterior implant with thick biotype and adequate bone, papilla preservation usually wins.
Flap Design in Implantology: The Vascular and Mechanical Ground Rules
Every flap decision in implantology comes down to blood supply first, mechanics second. A flap survives on perfusion from its base, so a narrow pedicle starves the tip of oxygen no matter how carefully you handle the tissue elsewhere. Wider bases tolerate more manipulation and heal faster, which is why flap design principles always start with anatomy, not convenience.
Vascular considerations should shape the flap before you touch the elevator. Keep releasing incisions outside the esthetic zone whenever the case allows, and make them only as long as the access truly requires.
Practical habits that protect perfusion:
- Design the flap size to match the defect, not the other way around. Oversized flaps invite unnecessary tension.
- Handle tissue with atraumatic instruments; crushing forceps injury slows revascularization.
- Keep vertical releases short and placed at least one tooth away from the papilla you’re trying to save.
- Avoid undermining beyond what the graft or implant actually needs.
Pro Tip: If you’re unsure whether your flap base is wide enough, hold the design up mentally against the width of two adjacent papillae. Anything narrower than that on a full-thickness flap in the esthetic zone is asking for trouble.
Common Flap Types and When Each One Fits
Flap classification tracks the number of releasing incisions: flapless designs use zero, crestal or one-sided flaps use one, and two- or three-sided designs add vertical releases for greater access. Matching the type to the clinical picture is the whole game.
- Flapless (punch) technique. Best for single implants with adequate bone volume and no grafting need. Blind by nature, so it demands accurate imaging beforehand.
- Crestal, one-sided flap. A simple mid-crestal incision with no vertical release. Works for straightforward posterior sites with predictable ridge width.
- Two-sided flap. Adds one vertical release for moderate access, often used when a small dehiscence is anticipated.
- Three-sided (trapezoidal) flap. Two vertical releases plus a horizontal base. Gives wide exposure for augmentation but carries more scarring risk if placed carelessly.
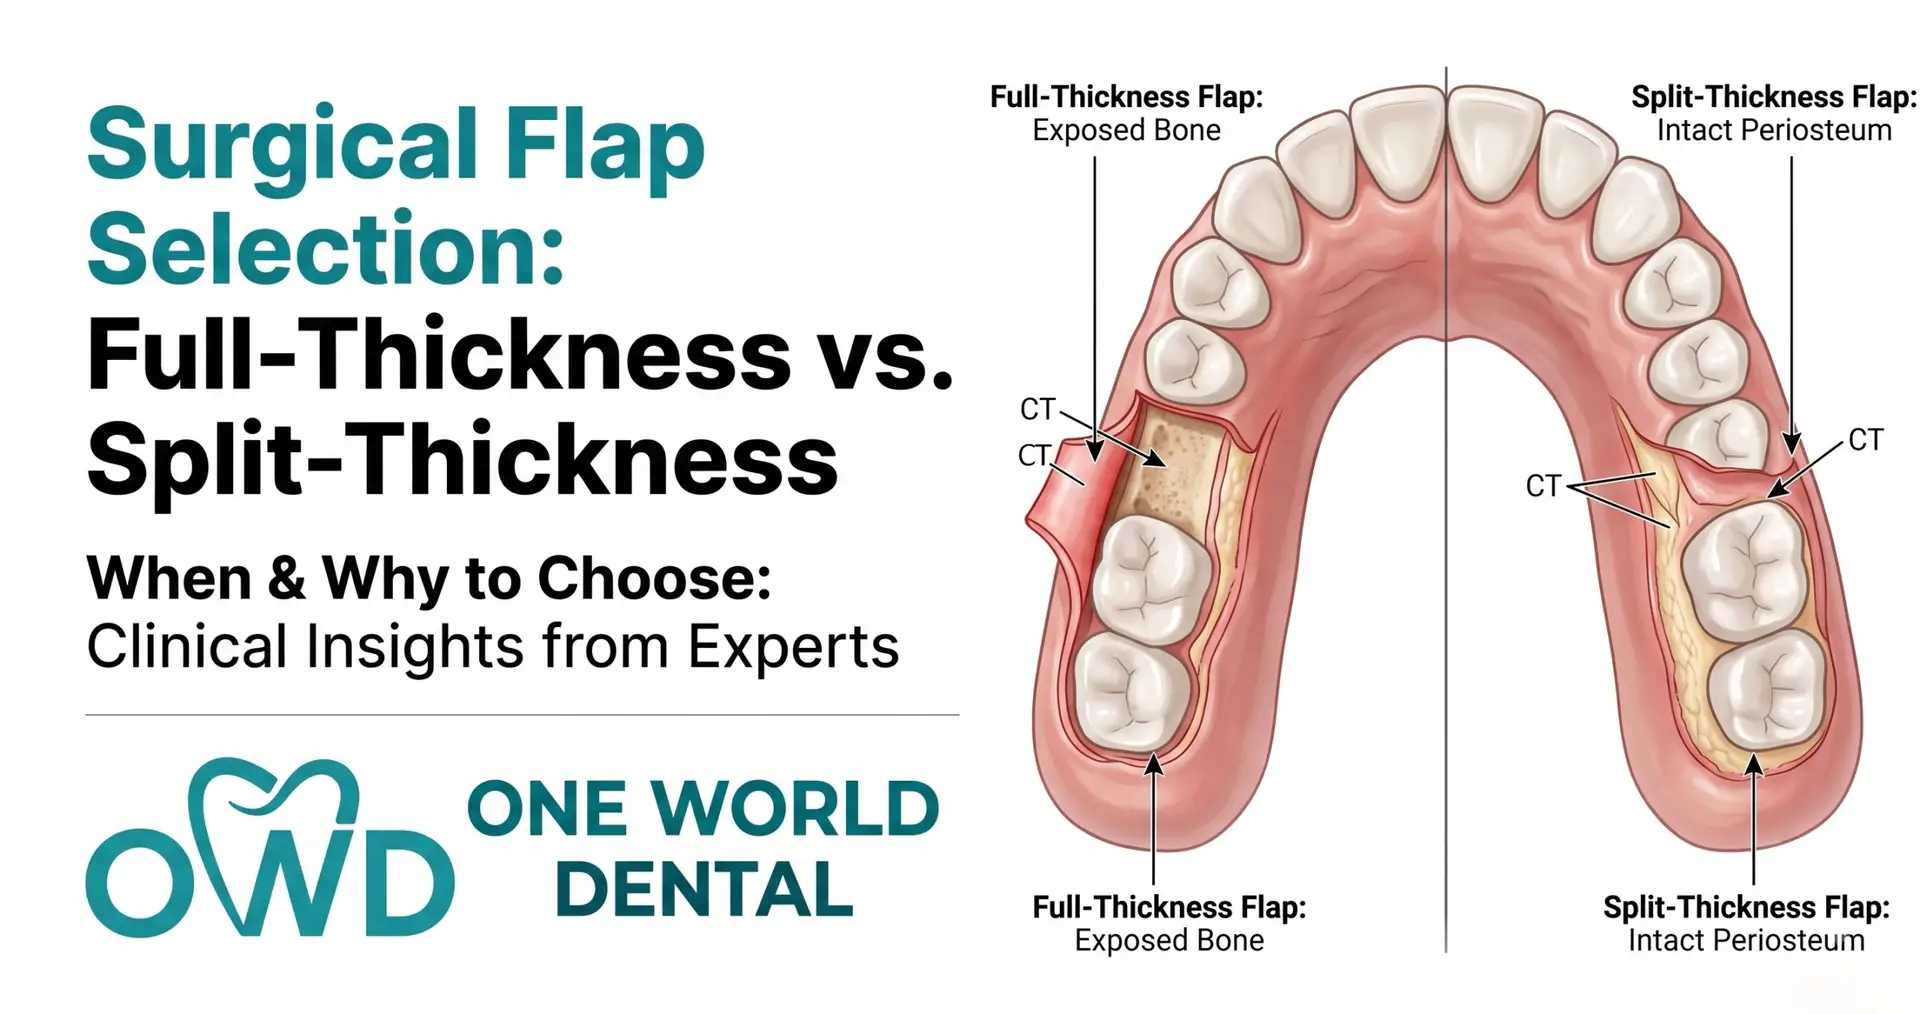
- Papilla-sparing flap. Split-thickness interproximal cuts preserve the papilla tip while still allowing buccal reflection.
- Triangular flap. One vertical release combined with a crestal incision, a middle ground between access and tissue disturbance.
A thin-biotype maxillary lateral incisor case calls for papilla-sparing design almost every time. A posterior mandibular site needing lateral ridge augmentation usually needs the trapezoidal approach because you need to see the buccal wall.
Incision Placement and Flap Elevation Technique
Where you cut determines whether the papilla survives the surgery. For papilla preservation, stay at least 1 millimeter from the papilla tip and route the incision along the sulcus rather than straight across the col.
- Start interproximally with split-thickness cuts to raise a surgical papilla while leaving the anatomical papilla undisturbed.
- Continue buccally with full-thickness elevation once you’re clear of the papillary vasculature, typically reflecting to about 3 millimeters apical to the bone crest.
- If visualization is still inadequate, convert to a vertical release rather than tearing the flap trying to stretch a design that’s too small.
- Score the periosteum at the base of any flap you intend to advance coronally, since this is what actually gains you length without tension.
This sequence, sometimes called split-full-split elevation, is the foundation for coronally advanced buccal flaps used around immediate implants and grafts.
Pro Tip: A releasing incision placed too close to the papilla base cuts across the very vessels you’re trying to protect. Move it one tooth further away and you’ll almost always keep the papilla pink instead of pale.
Immediate implant placement in the esthetic zone lives or dies on papilla vascularity. The horizontal crestal incisions surgeons default to elsewhere are the wrong choice here, because they sever the anastomoses that feed the papilla tip.
- Favor split-thickness interproximal cuts that leave the papilla’s blood supply intact, reserving full-thickness elevation for the buccal aspect only.
- Choose a buccal flap, not a flapless approach, whenever the case needs grafting, connective tissue stabilization, or coronal advancement over the graft material.
- A newer option, the Low Invasiveness Design (LID) flap, aims to combine papilla-sparing esthetics with enough access for immediate placement. Early results from a 2025 case series look promising but come from a small retrospective group, so treat it as an emerging option rather than a settled standard.
- If you start flapless and discover an unexpected fenestration or thin buccal plate, convert to a flap immediately rather than closing over a defect you can’t see.
Necrosis, dehiscence, and recession trace back to the same handful of design mistakes almost every time. A flap base cut too narrow, combined with excessive closure tension, cuts off perfusion at exactly the moment healing depends on it most.
Prevention comes down to a short list of habits:
- Keep the base at least as wide as the flap’s greatest extension, never narrower.
- Achieve connective-to-connective apposition at closure, since tissue mismatch is a leading driver of dehiscence.
- Release the periosteum rather than pulling harder on the flap margins when you hit resistance during closure.
- Stage the augmentation in a second surgery whenever primary closure would require tension you can’t relieve with releasing incisions alone.
Statistic Callout: Complication reviews consistently point to tension and poor tissue apposition, not graft material choice, as the dominant cause of flap breakdown after implant surgery.
Suturing Strategy for Tension-Free Closure
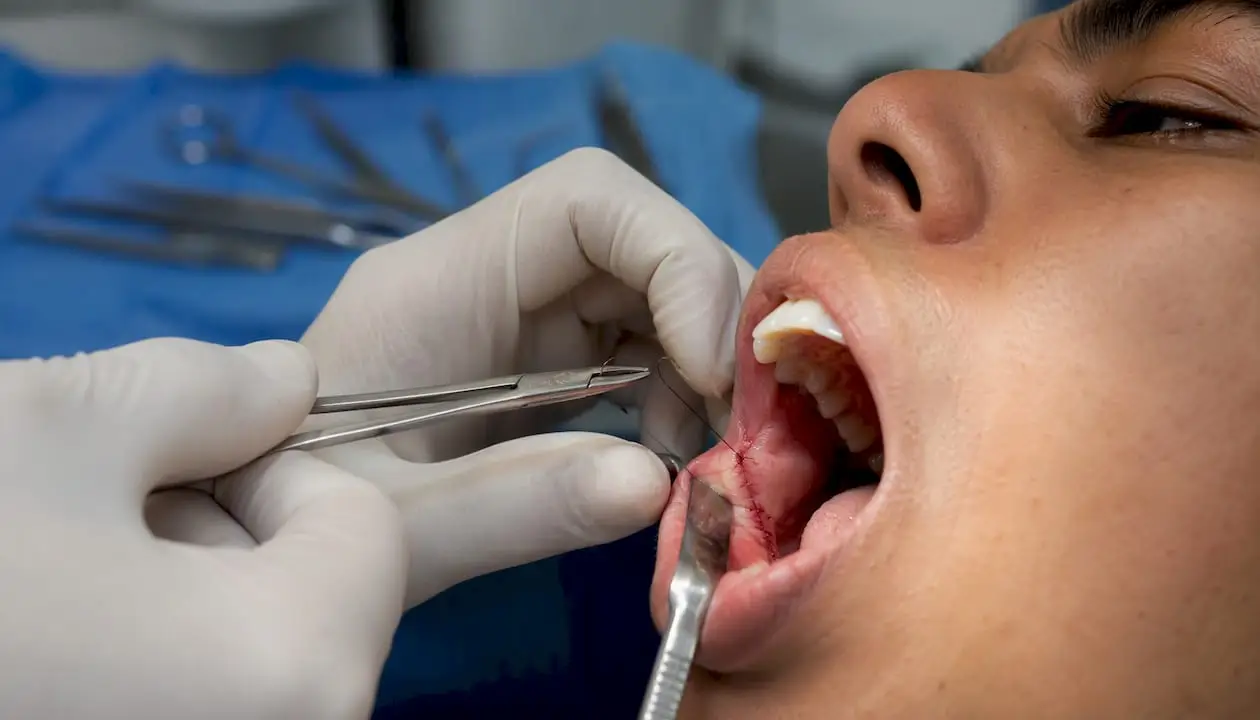
Closure technique is where good flap design either pays off or gets undone. The goal is even load distribution across the flap margin, not a single heroic stitch holding everything together.
- Match the pattern to the flap: sling sutures work well for papilla-sparing designs where you need to reposition the papilla without piercing it directly, while interrupted sutures suit straightforward crestal incisions.
- Use horizontal or vertical mattress sutures at the flap base when you need extra tension distribution over a graft site.
- Take bites deep enough to engage periosteum without strangulating the flap’s blood supply at the suture line.
- Place central sutures last so you can adjust flap position before locking the closure in place.
- Remove non-resorbable sutures at 10 to 14 days, longer if the site involved augmentation.
Getting the suture sequence and closure tension right matters as much as the flap design itself. A perfect flap undone by a strangled suture line still fails.
A Chairside Checklist for Choosing Your Flap
Before you pick up a scalpel, record four things: gingival biotype, buccal bone thickness on CBCT, keratinized tissue width, and whether the case needs grafting. Those four data points answer almost every flap question you’ll face.
- Thick biotype, adequate buccal bone, no grafting need? Flapless is reasonable.
- Thin biotype or esthetic zone concern, but bone volume adequate? Papilla-sparing flap with split-thickness interproximal incisions.
- Any buccal wall uncertainty or need to inspect bone directly? Full-thickness flap, minimum crestal design.
- Grafting or augmentation required? Trapezoidal flap with periosteal release, and consider staging closure over an immediate implant.
- Tension expected at closure despite releasing incisions? Stage the graft rather than force primary closure.
| Pre-op Finding |
Flap Decision |
| Thick biotype, no grafting |
Flapless or crestal one-sided |
| Thin biotype, esthetic zone |
Papilla-sparing, split-full-split elevation |
| Uncertain buccal wall |
Convert to full-thickness for direct inspection |
| Grafting or augmentation needed |
Trapezoidal with periosteal scoring |
| Anticipated closure tension |
Stage augmentation in a second surgery |
Print this table and keep it chairside. Decisions made under time pressure in the operatory are where flap design principles either hold up or fall apart.
Why Hands-On Training Closes the Gap Between Theory and Skill
Reading about flap design and executing it under pressure are different skills entirely. Supervised, hands-on training measurably reduces technical errors in flap elevation and suturing compared to lecture-only learning, because muscle memory for tissue tension and incision depth doesn’t develop from slides.
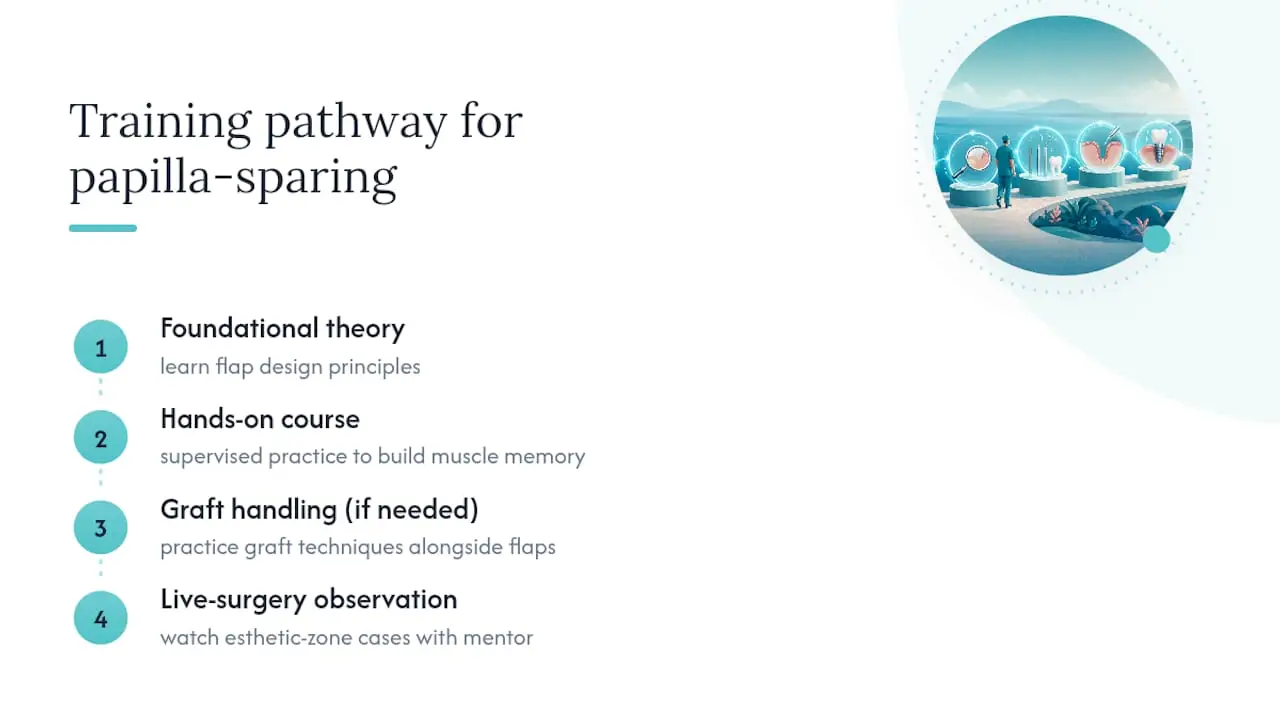
An effective implant training pathway pairs foundational flap theory with live mentorship, so clinicians can correct their technique in real time rather than after a complication. If bone grafting is part of your caseload, understanding graft handling alongside flap design rounds out the skill set. A clinician who wants to implement papilla-sparing technique safely should start with a hands-on course, then layer in live-surgery observation for the harder esthetic-zone cases.
What Most Flap-Design Advice Gets Wrong
Most articles on flap design treat flapless and flapped surgery as a philosophy question, as if you pick a camp and stay there. That’s backwards. The evidence supports treating flap choice as a case-by-case calculation, not an allegiance. Surgeons who commit permanently to flapless workflows lose the muscle memory for controlled full-thickness elevation, and that skill atrophy shows up exactly when an unexpected dehiscence forces a mid-surgery conversion.
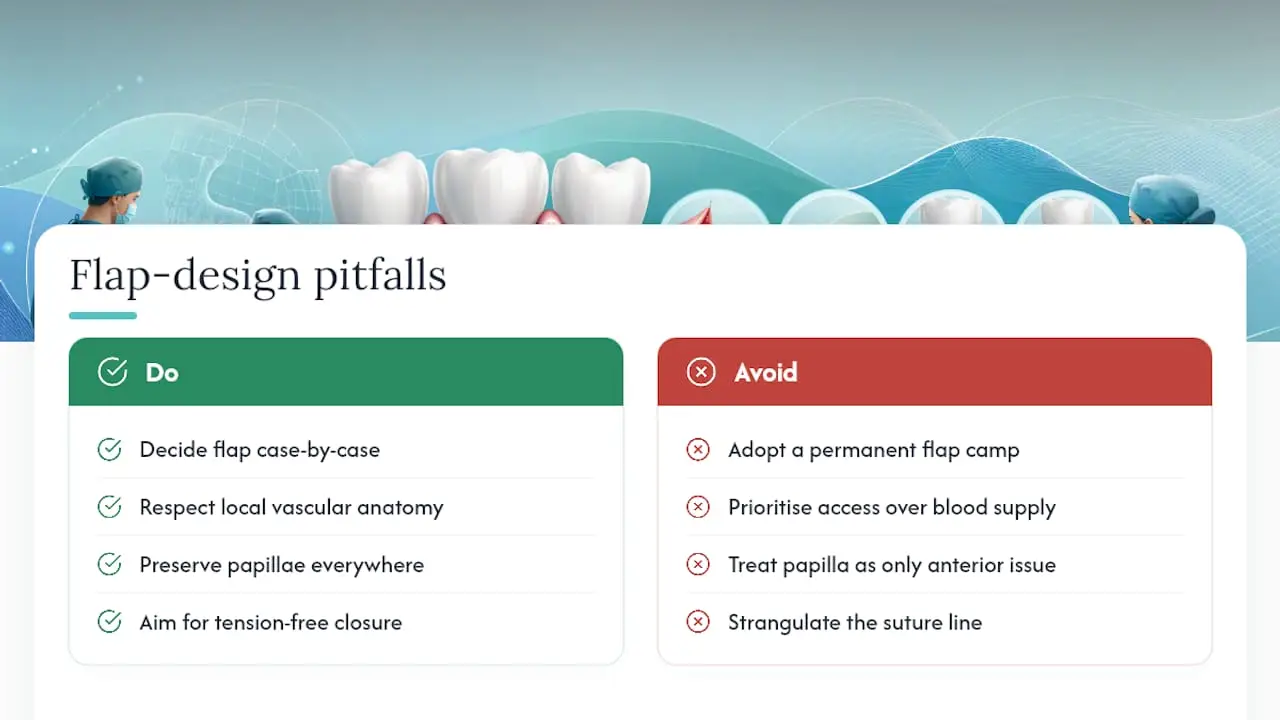
The bigger blind spot is how casually clinicians dismiss vascular anatomy in favor of access convenience. A three-sided flap gives you a beautiful view of the ridge and a much higher chance of scarring or recession if the base isn’t wide enough to support it. Papilla preservation isn’t an esthetic nicety reserved for anterior cases. It’s a vascular discipline that should inform incision choice everywhere, because the same anastomoses that feed a maxillary papilla exist, in smaller form, around every implant site you touch.
If there’s one place to focus first, it’s suturing technique, not flap classification. Even a perfectly designed flap fails under a suture line that strangulates the base. Get the tension-free closure right, and half your complication risk disappears before healing even begins.
— Jake
Which Onewd Course Actually Builds This Skill
Reading a flap design guide gets you the framework. Executing a split-full-split elevation under a microscope, with someone correcting your incision depth in real time, is what actually changes your outcomes. Onewd’s hands-on dental implant training puts you through flap elevation, tension-free closure, and suturing technique with direct mentorship rather than a slide deck.

For clinicians focusing on esthetic zone and immediate implant placement, training pathways often build from foundational flap principles up to papilla-sparing technique and live-surgery observation options. Prefer to study the theory first before committing to a seat? Browse the full training courses lineup and pick the format that matches where you are right now. Either way, the next step is simple: request the syllabus or check upcoming course dates before your next full-arch or esthetic-zone case lands on your schedule.
Recommended